Encounters in Dungeons and Dragons are ripe with danger, but some enemies use overwhelming strategies that almost always cut an adventurer’s journey short. These encounters can come simply from an under-utilized monster catching a party unprepared, or it can be an imbalanced fight from an existing module. Either way, some encounters require your party to make perfect choices to come out of them unscathed.
Assuming 5th edition adventure modules, some pre-built encounters are notorious for scoring a TPK (Total Party Kill) on even veteran players. Similarly, some 5e stat blocks are just designed to disrupt and challenge players more than your typical monster, creating some of D&D‘s deadliest enemies. Knowing which encounters are the most volatile can help you shape difficult situations in your games, leading to rewarding combats your players will remember.
10
The Death House (Curse Of Strahd)
A Cruel Start To Barovia’s Dark Dealings
One of the most infamous encounters in a D&D module is The Death House in The Curse of Strahd, perhaps the most beloved adventure in 5e. On the surface, the Death House is an optional introduction to the campaign, with players learning about the dark cruelty of the vampire lord’s realm. However, many DMs happen to skip the area entirely due to its difficulty, which has led to the TPK of many adventuring groups.
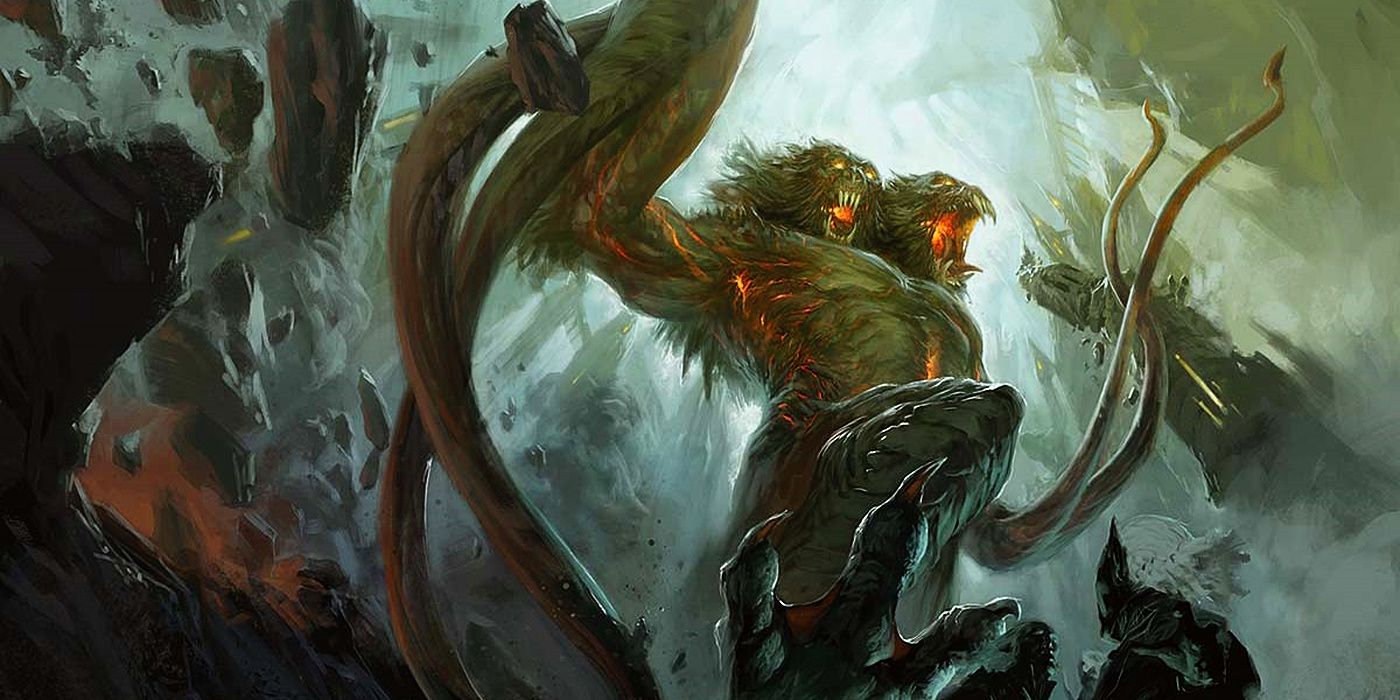
The finale of the Death House features a Shambling Mound, which is a powerful monster with damage resistances and immunities. Against Level 1 characters that usually go into the Death House, this monster can instantly kill targets before the real adventure even starts.
For starters, the Death House has a deadly specter that attacks from an upstairs nursery, easily ambushing a lone player who decides to explore on their own. The true horrors, though, lie underneath the House, where a secret dungeon hosts four ghouls whose single attack can rend and paralyze unsuspecting party members very quickly.
9
Cult Of The Dead Three (Descent Into Avernus)
Deadly Sins Before The Nine Hells
The start of Descent Into Avernus builds up a party’s journey into the Nine Hells by uncovering a plot in Baldur’s Gate. Fans of Baldur’s Gate 3‘s third story Act will recognize many locations, as this adventure also involves the Cult of the Dead Three in several characters. As players hunt down these cultists, they will eventually explore an underground sewer system under the city where the cult’s financiers are hiding.
This area is home to tons of enemies who can wipe out a low-level party, including a cultist who can make a character vulnerable to physical damage. Wizards, Sorcerers, and other low-health classes can easily be downed in these sewers, where cultist numbers can overwhelm parties. An extended series of encounters here can be devastating, especially if players fail to discover enemies before it’s too late.
8
Forge Of The Fire Giants (Storm King’s Thunder)
Aggravating Your Hosts Tends To Go Poorly
The Forge of the Fire Giants is a location in the Storm King’s Thunder where parties can choose to go out of several areas in the adventure. Should they go here, they’ll be met by at least eight different Fire Giants, who can be among the strongest single enemies characters can encounter in D&D.
Other encounters in Storm King’s Thunder are just as dangerous as the Forge of Fire Giants, including the Berg of the Frost Giants and the Castle of the Cloud Giants, which players can choose to visit instead.
One Fire Giant deals an enormous amount of damage, with fiery defenses and elemental manipulation to burn away their foes. Even experienced parties will struggle against this number of giants, unless they manage not to draw their ire. This is an encounter that players could try to fight through for extra loot, but it will take some clever tactics and some sacrifice to avoid a TPK.
7
The Sunblight Fortress (Rime Of The Frostmaiden)
Sheer Numbers Create A Cold Grave
Encountered when players are only Level 3 or 4, the Sunblight Fortress is a location in the Rime of the Frostmaiden adventure that is known to punish explorers who venture there haphazarly. This place is ruled by a figure named Xardorok, who has at least 30 duergar warriors under their command, as well as a Chardalyn Dragon who seeks to destroy nearby civilizations.
This place is made easier if your party seeks out Xardorok’s enemies in the castle, but it can be hard to go through the area without angering the forces within. This makes it hard for players to approach without violence, unless they are clever enough to find the tools they need to survive Xardorok’s wrath.
6
The Manticore (Dragon Of Icespire Peak)
Difficult Monster Against Beginner Players
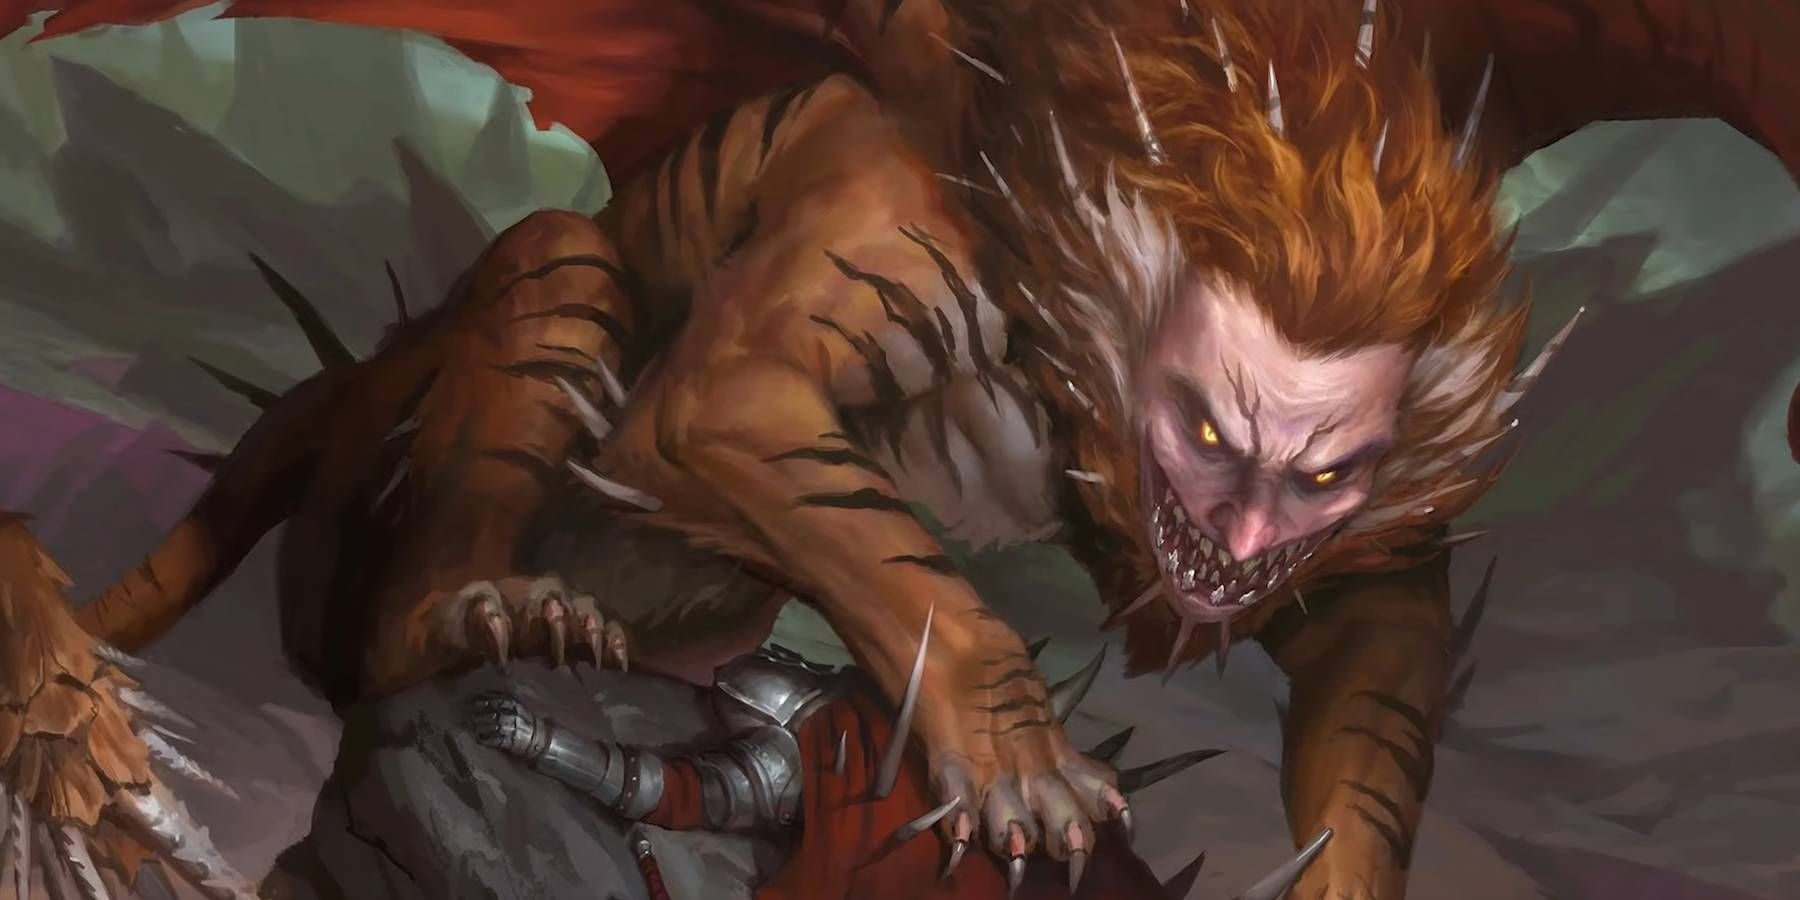
Anyone who has played through Dragon of the Icespire Peak as their first adventure will remember The Manticore, perhaps their first true test of difficult D&D combat. Usually, players encounter this spined, flying beast at Level 1, with very few means of attacking it in the air. Since they may also be protecting an NPC during this encounter, it’s easy to panic and fall victim to this beast’s ambush.
Manticores have three different attacks, both melee and ranged. This creates an extremely difficult battle with a creature that can multiattack everyone in a small party at once, leading to ruthless TPKs if parties refuse to work together against the monster.
5
The Old Bonegrinder (Curse Of Strahd)
One Coven Invokes Constant Terror
The brutality of Curse of Strahd continues even beyond the Death House, with hidden horrors besides the vampire lord who rules over Barovia. The Old Bonegrinder is an optional location the Tarot cards of Madam Eva might turn your party toward, but they are far from a location you’d want to visit willingly.
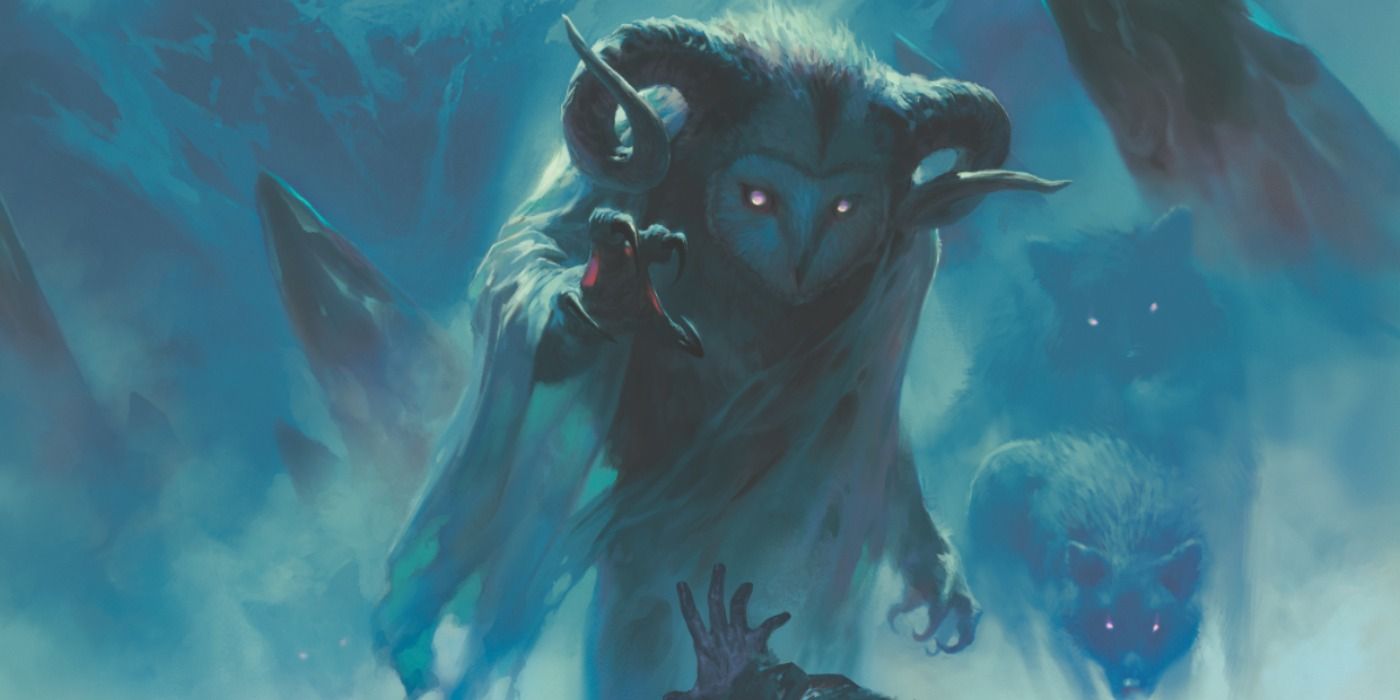
The Bonegrinder is host to a coven of Night Hags – incredibly powerful witches whose strength of spellcasting grows even stronger when working together. Capable of fading into the Etheral Plane, parties will have a hard time pining these creatures down, even if they gain an advantage. Hags can easily recover their strength before taking revenge later, creating a constant threat to a party already pursued by Barovia’s evils.
Dealing with a coven of Night Hags is difficult for parties of characters close to Level 6-7. Since the Bonegrinder is an early location in Barovia, though, it can lead to an instant TPK for Level 3–4 adventurers who encounter it.
The destructive and beguiling spells the Night Hags use make the Old Bonegrinder one of the most dangerous locations in Curse of Strahd. The windmill’s denizens can be taken down with the help of Strahd’s enemy (an ally found through Eva’s cards), but even this does not guarantee that the encounter will not claim the life of at least one wayward soul.
4
Demon Princes At Menzoberranzan (Out Of The Abyss)
One Horrifying Wedding To Remember
The final fight of the Out of the Abyss adventure is the culmination of a party’s adventures through the Underdark, where they end up in the drow capital of Menzoberranzan. Here, Demon Princes arrive from portals to the Abyss in a Fetid Wedding that sees some of D&D‘s most chaotic monsters clash in a truly apocalyptic display of madness, strength, and pure evil.
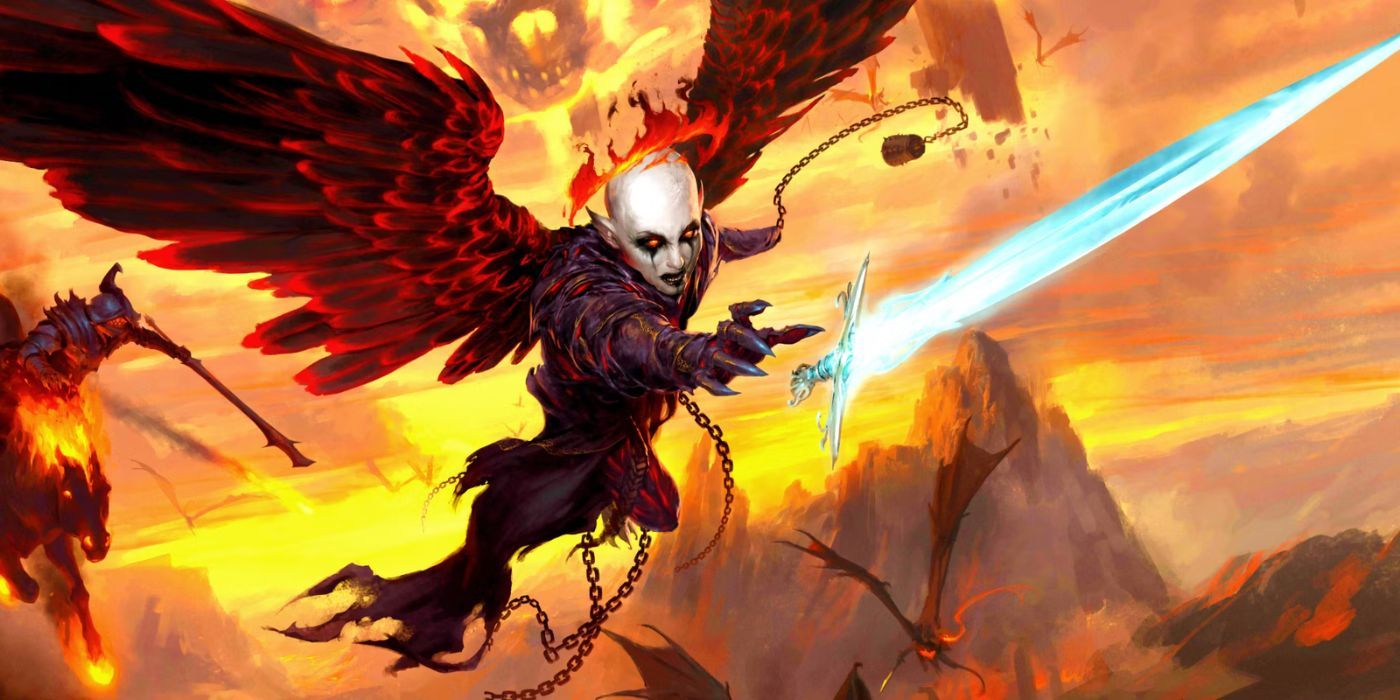
No matter how high of a level party members have reached, any Demon Prince that they attack could lead to instant death. This final showdown has a variety of outcomes, from fighting the infamous Demogorgon to challenging any Demon Prince who wins the brutal brawl at the Wedding. If a party was already weakened by fights leading up to this last encounter, no number of allies can prevent it from being a brutal affair.
3
The Goblin Ambush (Lost Mine Of Phandelver)
Sudden Surprises Can Claim More Lives Than You’d Expect
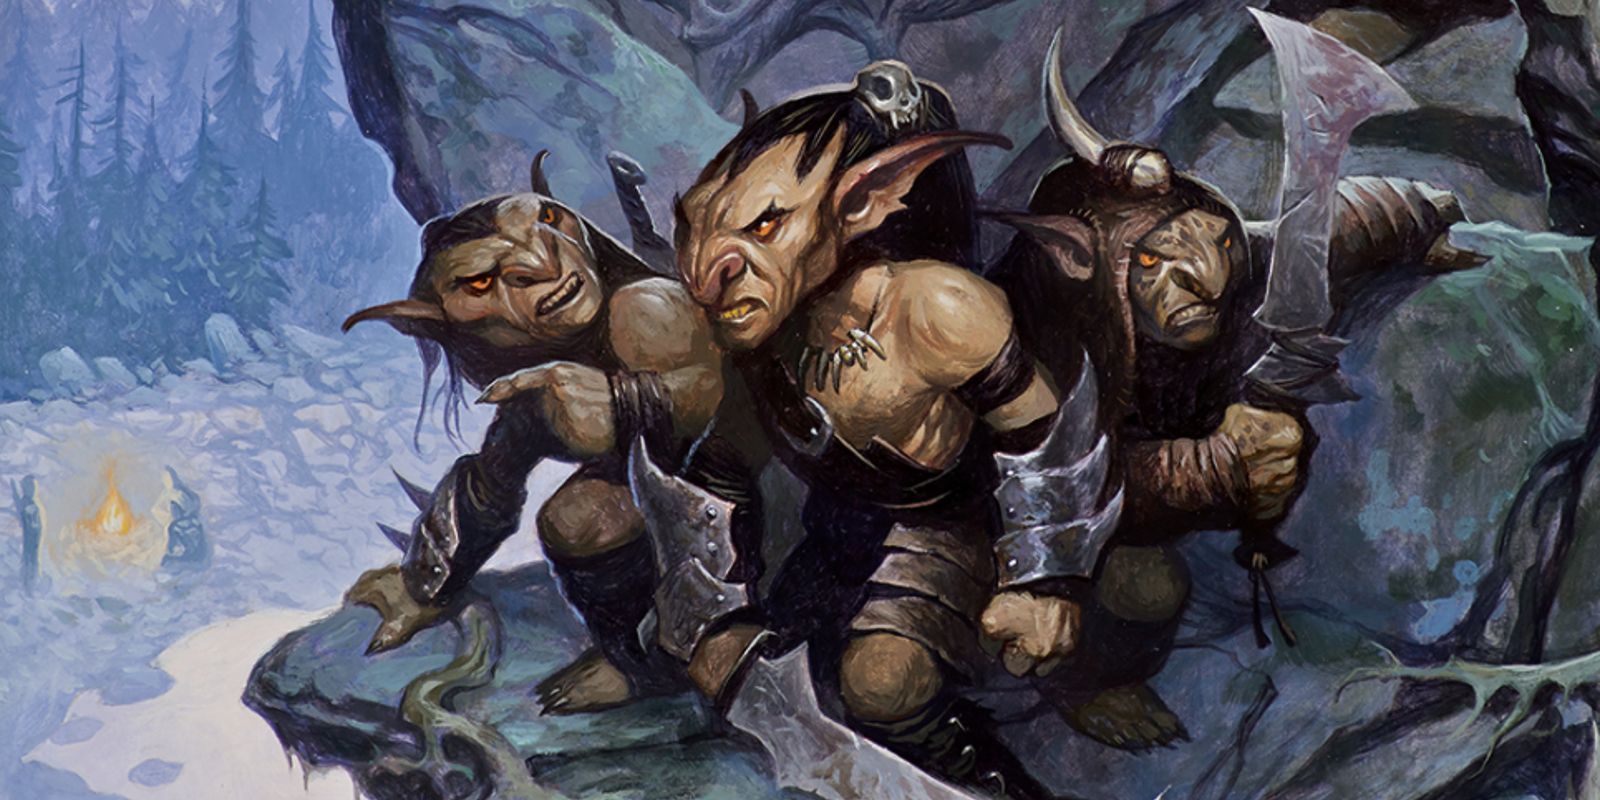
The Goblin Ambush is likely the most common TPK encounter in D&D for beginners, as it is often the first combat that most players experience. The Lost Mine of Phandelver is, typically, the most used 5th Edition starting adventure for those who’ve never played the game before. That being said, the first combat is unexpectedly lethal, as goblins that players don’t spot can tear through Level 1 first-time characters.
Goblins who get a surprise round from their ambush can deal a surprising amount of damage in one turn. If goblins land their attacks, characters can go down without ever getting a chance to fight. While this does require some unfortunate luck, it happens commonly enough to create an encounter DMs might have to rebalance beforehand.
2
Adult Or Ancient Dragon Encounter (Multiple Adventures)
The Titular Monsters Of The Game Never Make Battles Easy
Every time they appear, Dragons are always the catalyst to insanely challenging encounters in any adventure your party is in. From Imyrith the Blue Dragon in Storm King’s Thunder to the “Dark Duchess” White Dragon in Rime of the Frostmaiden, each dragon in any game instantly becomes a huge threat your party needs to overcome.
One of the most infamous dragons in D&D adventures you can encounter is Lennithon, a Blue Dragon found in the Hoard of the Dragon Queen campaign. This dragon can be fought by Level 1 players, who can be vaporized by its lightning breath easily if they take the risk of fighting.
Dragons can be benevolent, terrifying, cunning, or ruthless depending on the kind a party runs into. While some dragons are helpful in driving a party’s goals, an angered one is oftentimes far more powerful than even high-level characters. Dragon interactions are instantly memorable, testing a party’s ability to cooperate against one of the game’s oldest foes.
1
Acererak The Lich (Tomb Of Annihilation)
Conqueror Of Death Delivers It Well
Anyone whose characters have finally managed to reach the end of the Tomb of Annihilation adventure will already be familiar with death. The multiple traps of the many titular tombs are designed to claim the lives of players, forcing them into sacrifices to explore Acererak’s many dungeons on the isle of Chult. To lift the Death Curse afflicting the land, though, players have to challenge the remaining presence of the Lich responsible for all their suffering.
Acererak pulls no punches in the final encounter, casting some of the strongest magic in the game, including Time Stop. Spells like Wall of Force and Power Word Kill are combined with a moving Sphere of Annihilation to forcibly drop and separate party members, isolating them from each other. Acererak is arguably the strongest final boss in any D&D game, capable of killing characters instantly with his necromancy magic.
The arena of this encounter is just as oppressive as Acererak himself, so players are put to the absolute test to come out victorious. The most intense encounters in Dungeons and Dragons put players out of their comfort zone, challenging their ingenuity and combat prowess, but oftentimes claiming lives that will change the entire course of an adventure.
- Original Release Date
-
1974
- Publisher
-
TSR Inc., Wizards of the Coast
- Designer
-
E. Gary Gygax, Dave Arneson
- Player Count
-
2-7 Players


