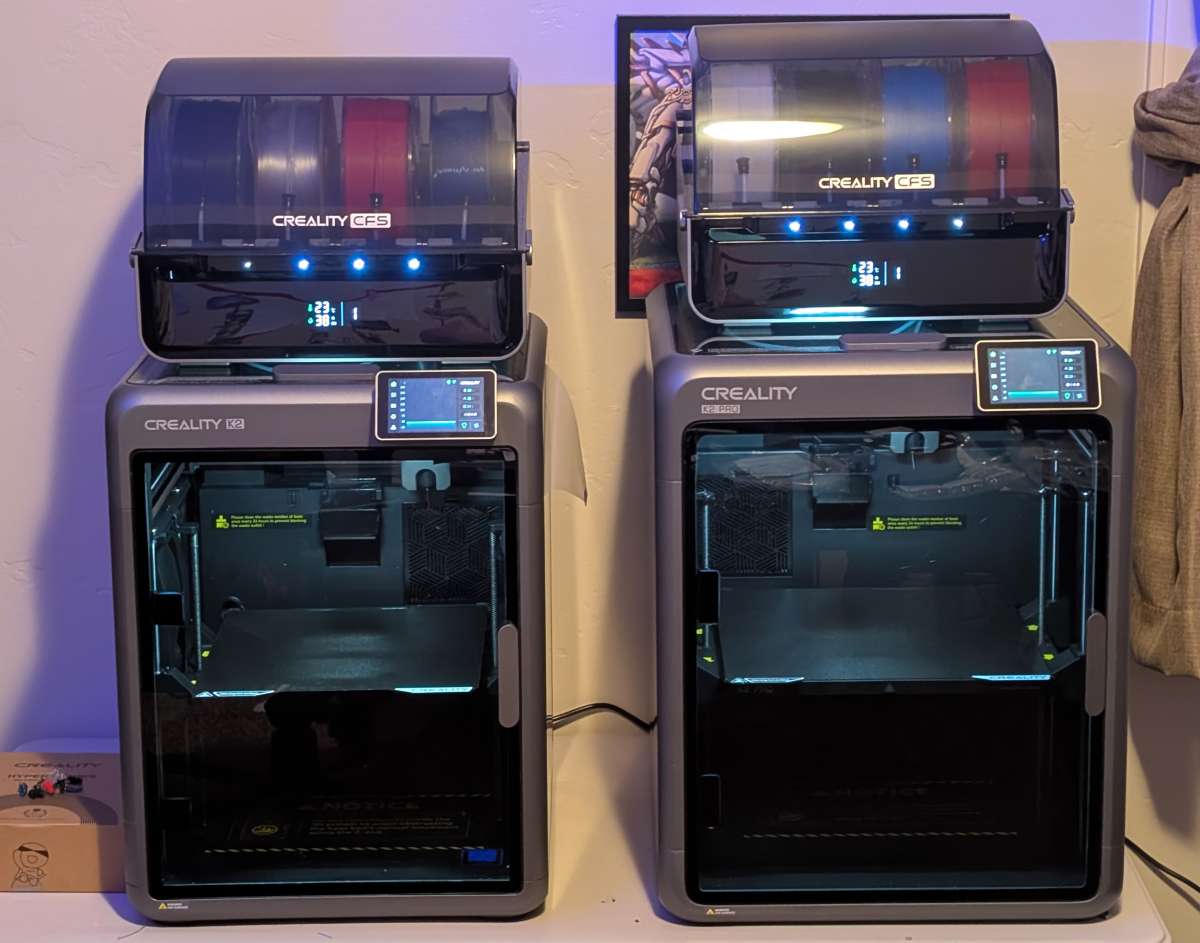
REVIEW – Today’s review offers a bit of a bonus, two 3D printer systems in one review! This past August, Creality announced the launch of their new K2 line of 3D printers. These are fully enclosed 3D print systems with built in cameras, multicolor and multi-material printing, and more. For this review, Creality provided both the K2 ANDfsp K2 Pro Combo 3D print systems, something I was not expecting when I initially signed on for the review, so I was very surprised when two large Creality boxes showed up on my doorstep. This is going to be a bit longer than my average review, but read on to learn more!
︎ Jump to summary (pros/cons)
Price: K2 Combo $799 / K2 Pro Combo $1099
Where to buy: Creality, Amazon
What is it?
The K2 and K2 Pro 3D printer combos are fully enclosed 3D printer systems with the ability to print in a wide range of different filament types in addition to utilizing a multi-filament CFS system that allows you to load and print with up to four different spools of filament.
What’s included?
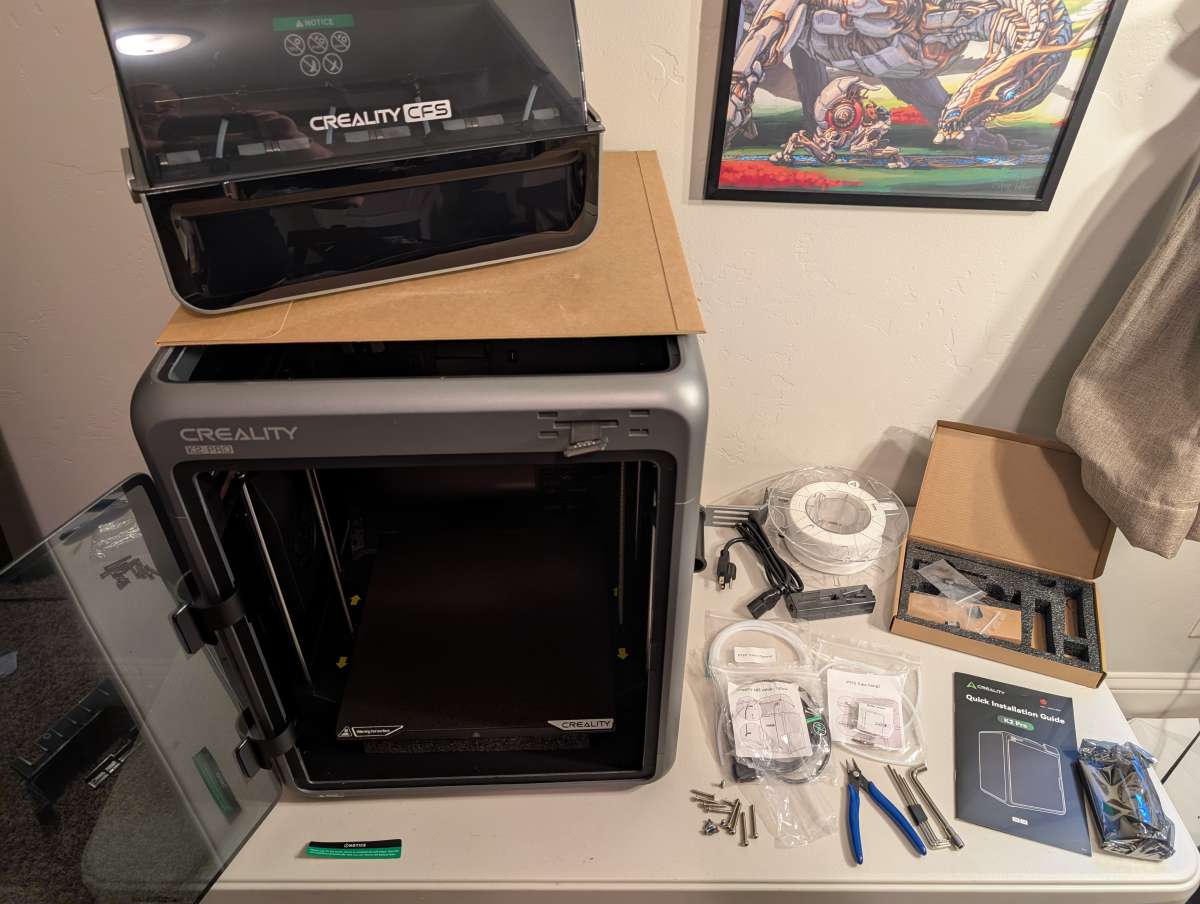
Packing items are very similar between the K2 and K2 Pro boxes:
- 3D Printer
- Touch Screen
- Spool Holder
- Filament Spool (Larger spool provided with K2 Pro than K2)
- PTFE Tube
- Quick Start Guide
- Toolkit (Allen wrenches, spare cutter blade, filament cutters, socket wrench, nozzle cleaner)
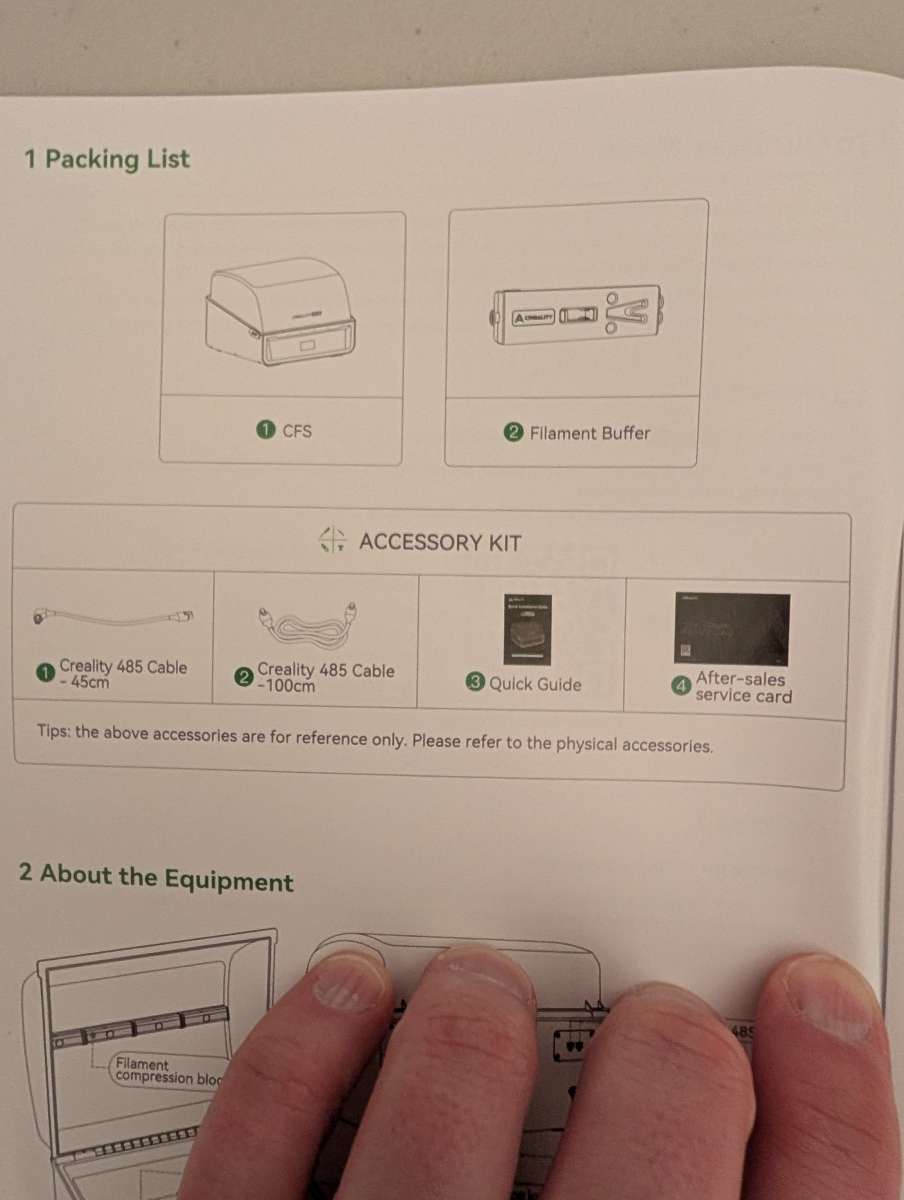
Creality Filament System (CFS)
- CFS
- Filament buffer
- Connector cables
- Quick user guide
Tech specs
K2
- Printing Accuracy: 100±0.1 mm
- Layer Height: 0.05-0.3 mm
- Printing Speed: ≤ 600 mm/s
- Acceleration: ≤ 20000 mm/s²
- Motion System: CoreXY
- Extruder: Direct Drive
- Hotend Material: All-metal
- Nozzle Diameter: 0.4 mm
- Nozzle Material: Steel-tipped Tri-metal
- Nozzle Temperature: ≤ 300 ℃
- Heatbed Temperature: ≤ 100 ℃
- Filament Diameter: 1.75 mm
- Supported Filaments: PLA/ABS/PETG/PLA-CF/PE
- Build Volume: 260*260*260 mm
- Printer Dimension: 404*436*545 mm
- Net Weight: 18.3 KG
- Build Plate: Flexible Build Plate
- Frame: Enclosed
K2 Pro
- Printing Accuracy: 100±0.1 mm
- Layer Height: 0.05-0.3 mm
- Printing Speed: ≤ 600 mm/s
- Acceleration: ≤ 20000 mm/s²
- Motion System: CoreXY
- Extruder: Direct Drive
- Hotend Material: All-metal
- Nozzle Diameter: 0.4 mm
- Nozzle Material: Steel-tipped Tri-metal
- Nozzle Temperature: ≤ 300 ℃
- Heatbed Temperature: ≤ 110 ℃
- Filament Diameter: 1.75 mm
- Supported Filaments: PLA/ABS/PETG/PA-CF/PLA-CF/PET/ASA/PPA-CF
- Build Volume: 300*300*300 mm
- Printer Dimension: 445*477*573 mm
- Net Weight: 23.7 KG
- Build Plate: Flexible Build Plate
- Frame: Enclosed
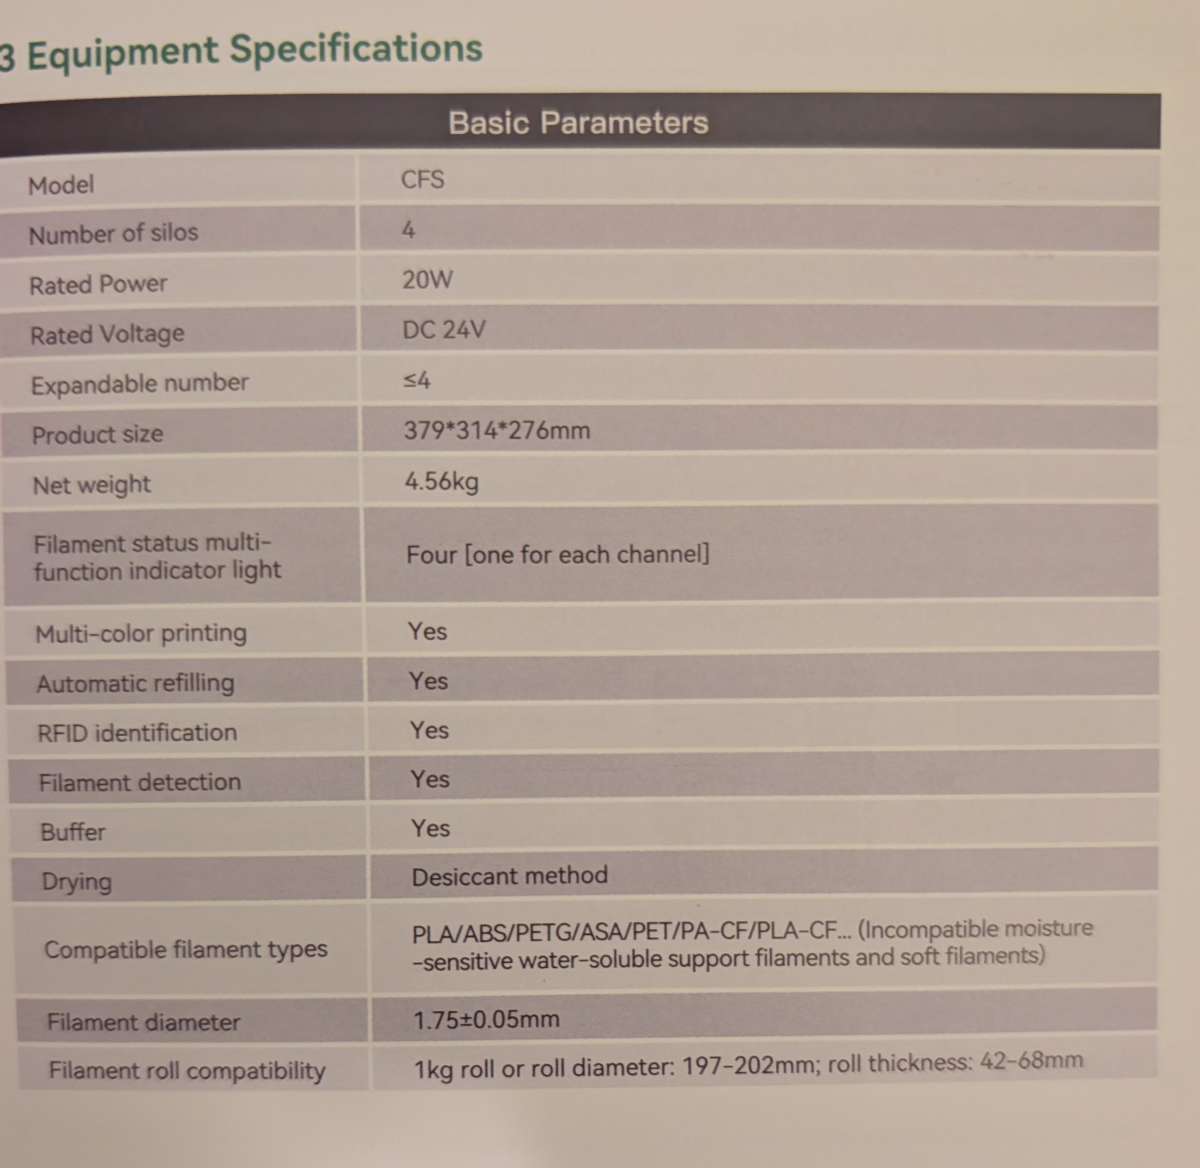
Creality Filament System (CFS)
Design and features
The basic idea of a fused deposition modeling (FDM) 3D printer is not a new concept at this point. They consist of melting and depositing plastic filament in layers to create an object. What the Creality K2 and K2 Pro do is give you features and an environment that is designed to make better and faster 3D prints with as little effort as possible. They utilize a fully enclosed printing space that is also heated to ensure a consistent and even environment for whatever you are printing, since some designs and different types of filament are more sensitive to changes in temperature.
The addition of the Creality Filament System (CFS) brings in even more functionality. It can store up to four different spools of filament while controlling the temperature and humidity inside, which brings even more consistency and stability to your prints. It also has built-in RFID chip readers that automatically recognize Creality RFID spools of filament and simplifies the process of loading new spools of filament. You aren’t locked into Creality filament, however, and can still use other brands and types of filament.
Assembly, Installation, Setup
K2 Assembly and Setup
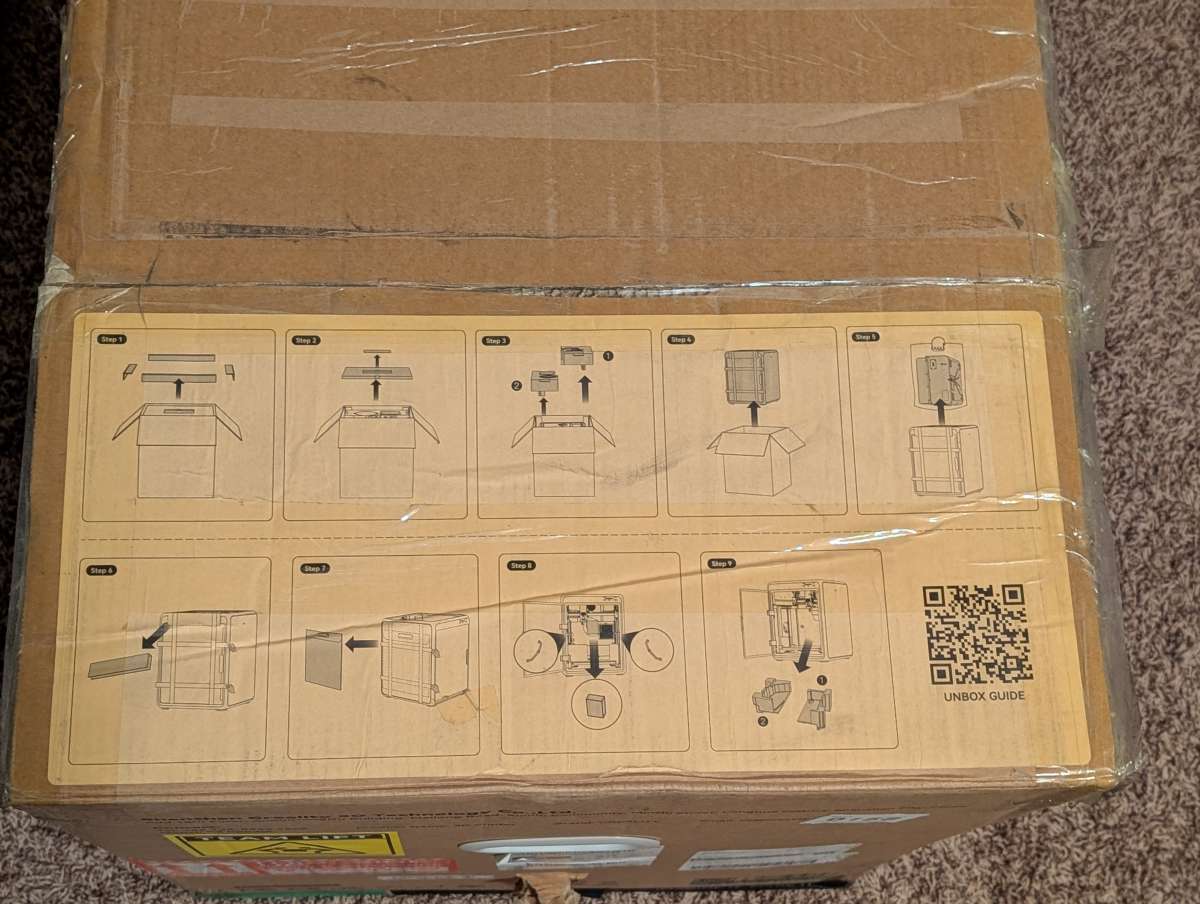
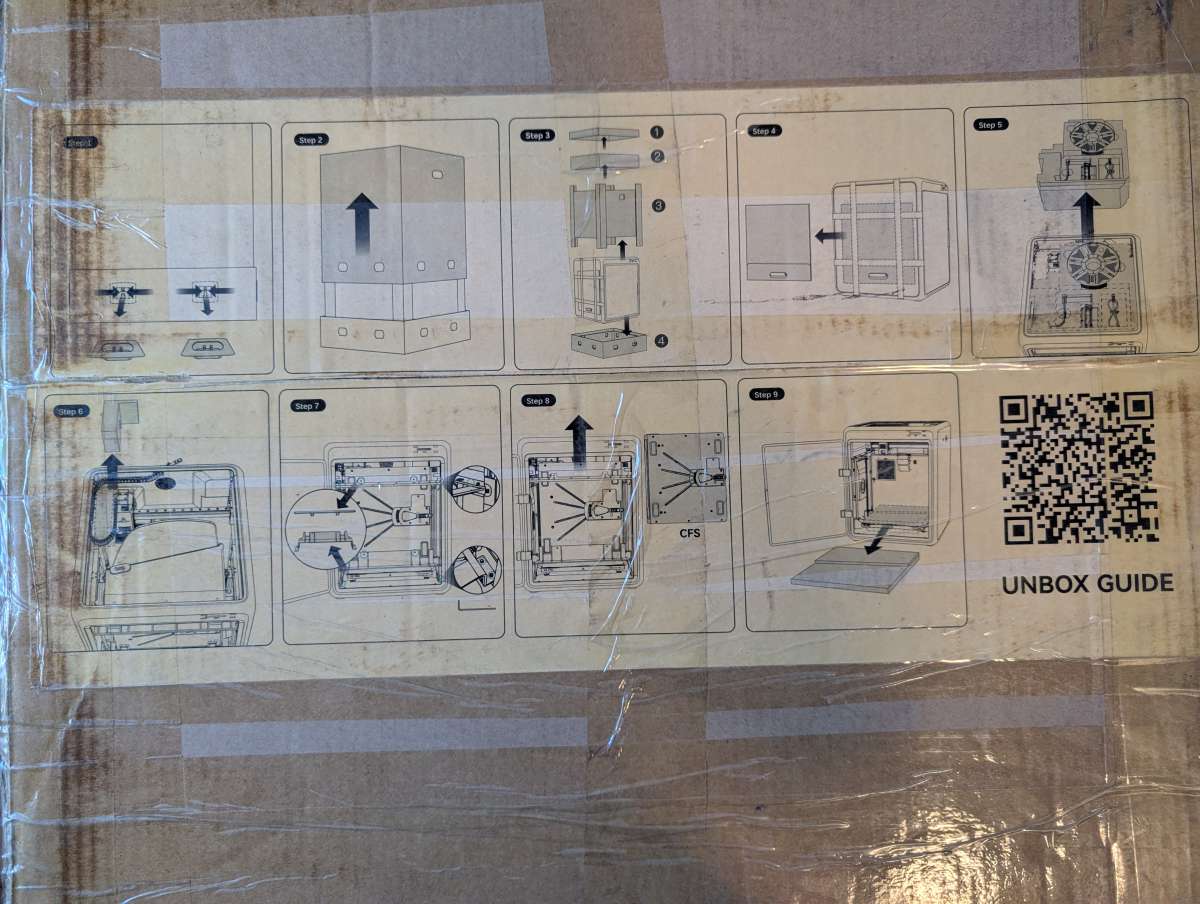
One of the first great things about these boxes is that the basic unpacking instructions are listed right on top of the packing box.
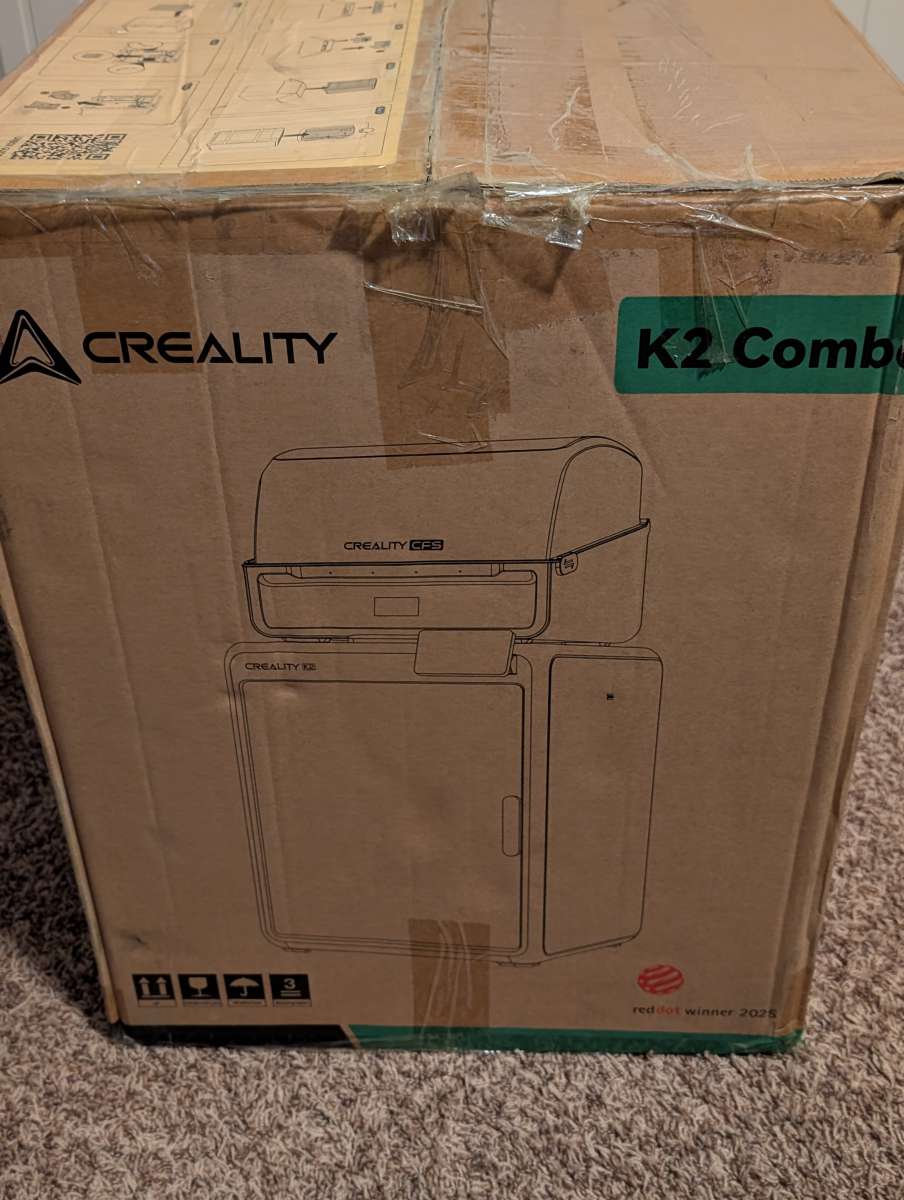
The K2 Combo box is a little simpler to open than the K2 Pro as you’ll see later on. It’s also lighter as it has a slightly smaller footprint and doesn’t have a full metal frame like the Pro.
For the unboxing, the graphic is great, but I also highly recommend using the QR code link to an unboxing video that is very thorough.
Pieces and a tiny starter spool of filament.
Next layer, main printer body with the CFS nestled inside. I recommend having two people to unpack and lift these pieces out. They are hefty!
All unpacked, you’ll end up with something like this. For the K2, the CFS lifts up out of the top of the printer. You may need to hold the cable to the side while you do this. Again, get a hand to unpack. The CFS install is the same for both the K2 and K2 Pro, so I’ll to that separately on its own.
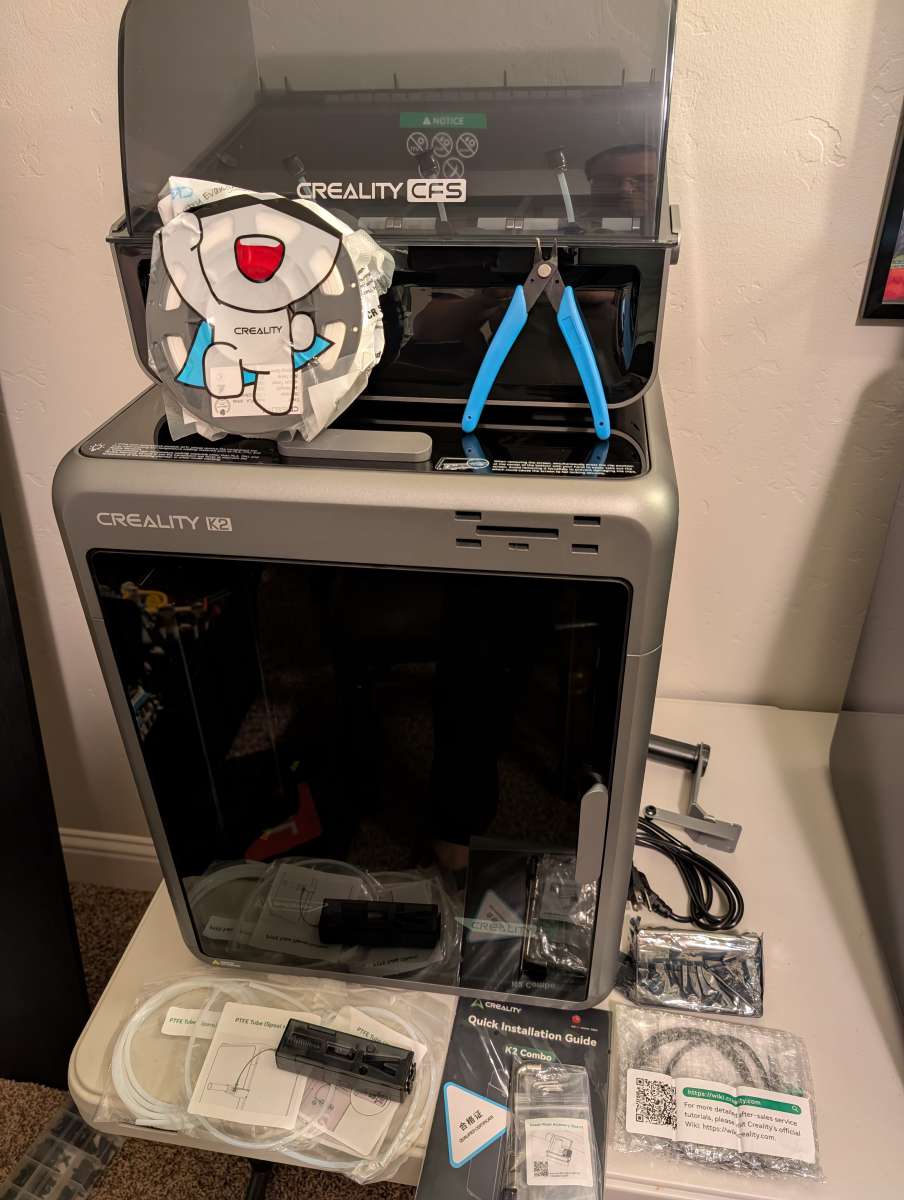
On the inside of the printer there are a few plastic bars that hold things in place inside. This requires the included toolkit, and I highly recommend following the video setup tutorial. I skipped a step and had to stop and start the tutorial to catch what I missed. You can see in the picture below one of those bars that needs to be removed. This one is held in place by friction, so you just need to pull it out by hand.
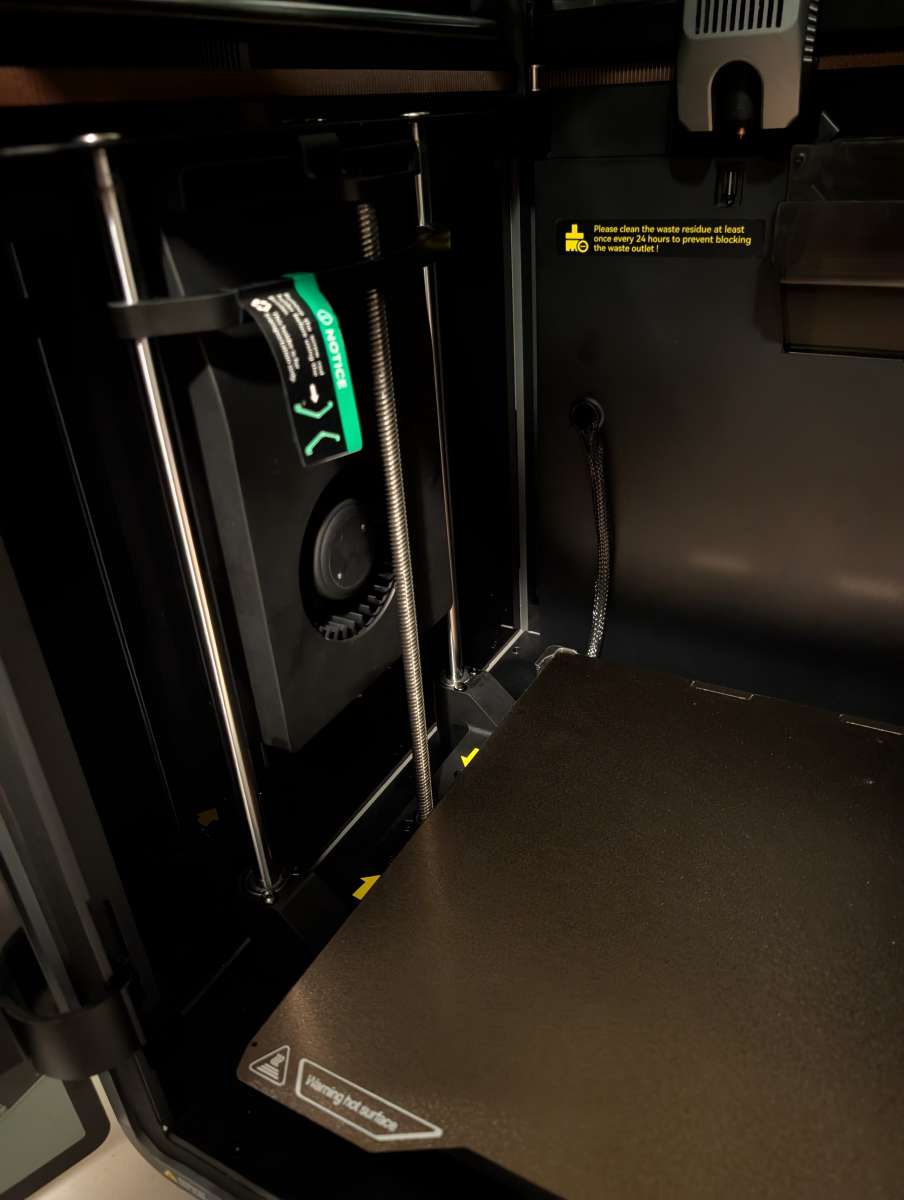
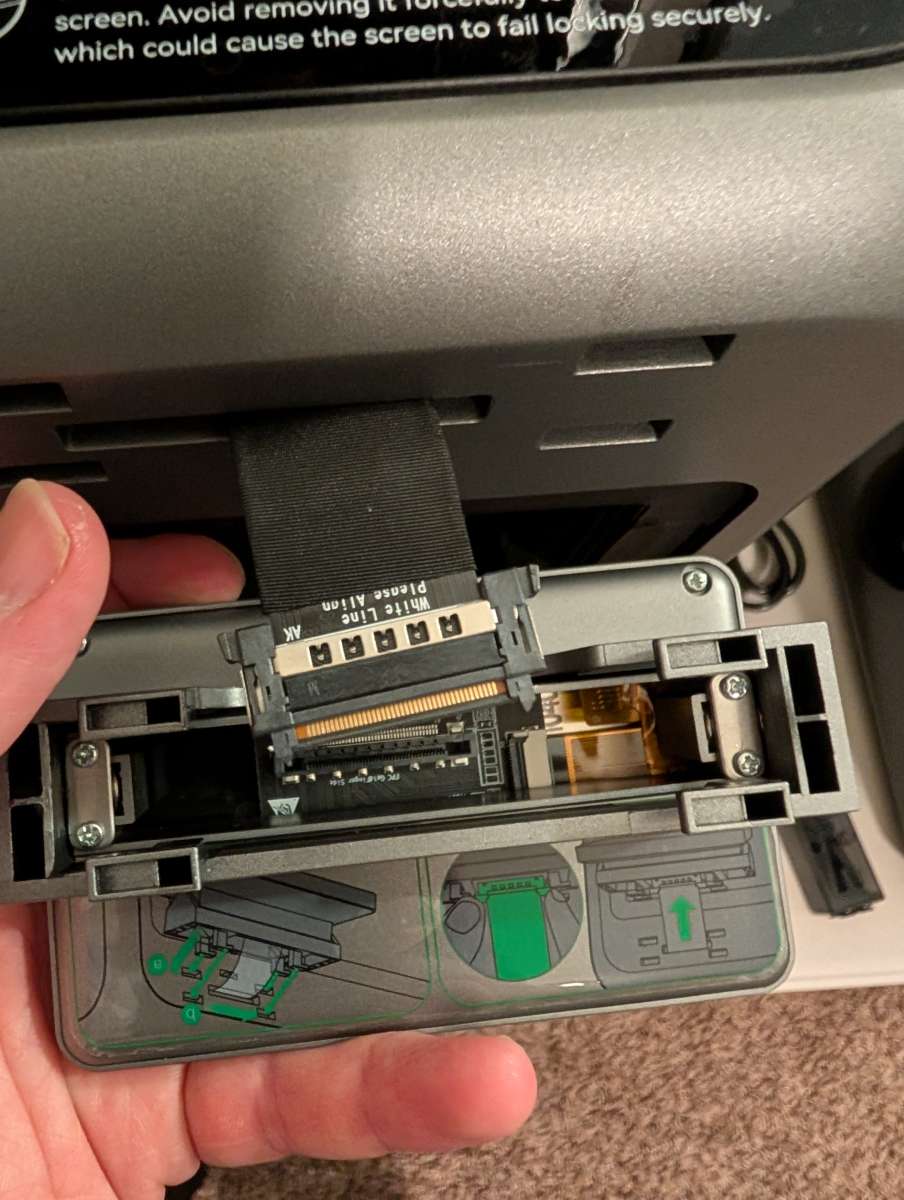
Once the internal packing hardware is removed, you can attach the screen interface. This is a little tricky, especially if you don’t have small hands. There is a ribbon cable on the inside of the printer that you need to thread through to the front and attach the screen. Plenty of instructions, but getting that ribbon cable to seat in was a touch difficult. Once connected, the unit attaches and locks in place on the front of the printer.
Plug in the CFS (as I’ll show below) and plug it in. Doublecheck to make sure that everything is set and make sure all the packing materials are removed and cleaned up. These units use a standard three prong plug the same as you see on most desktop computers and monitors.
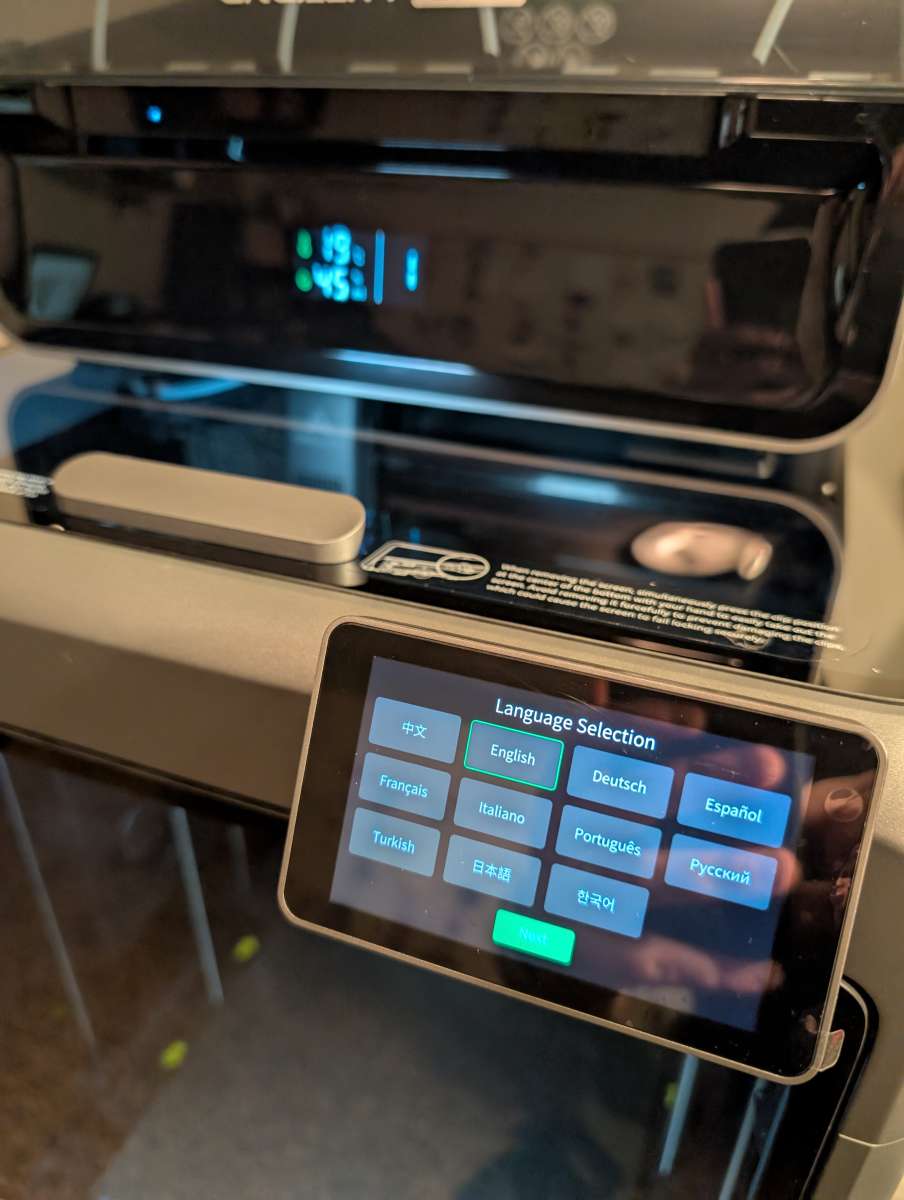
The printer will go through a pretty normal setup process and this is also where you can connect it via WiFi and to the Creality Cloud app.
I’m going to move on to the K2 Pro setup as it’s similar but has a couple of differences.
K2 Pro Assembly and Setup
The K2 Pro is a larger and heavier unit than the K2, so where having help to unpack and setup the K2 was nice, getting help to unpack the K2 Pro is almost essential. It’s a beast. Get some help with this one! Also, watch the tutorial. It will save you time.
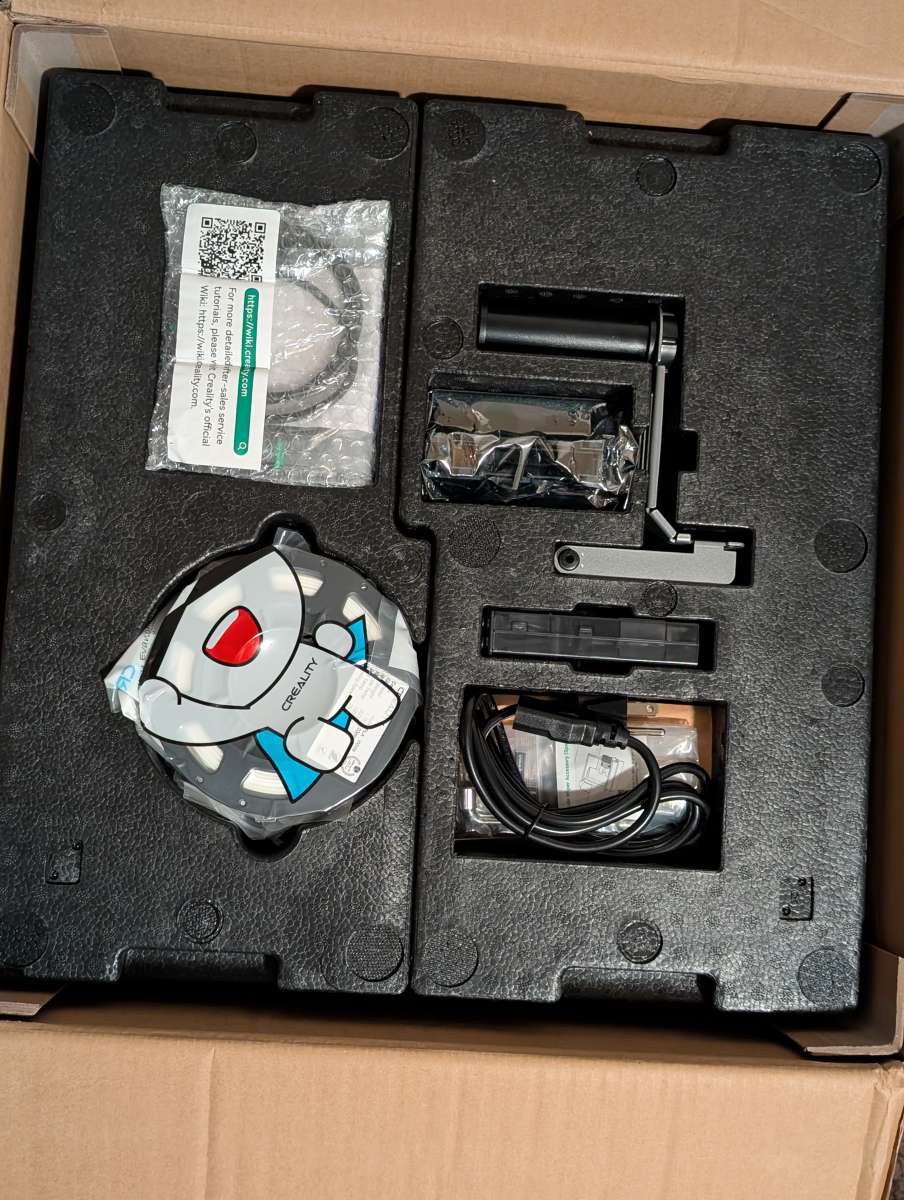
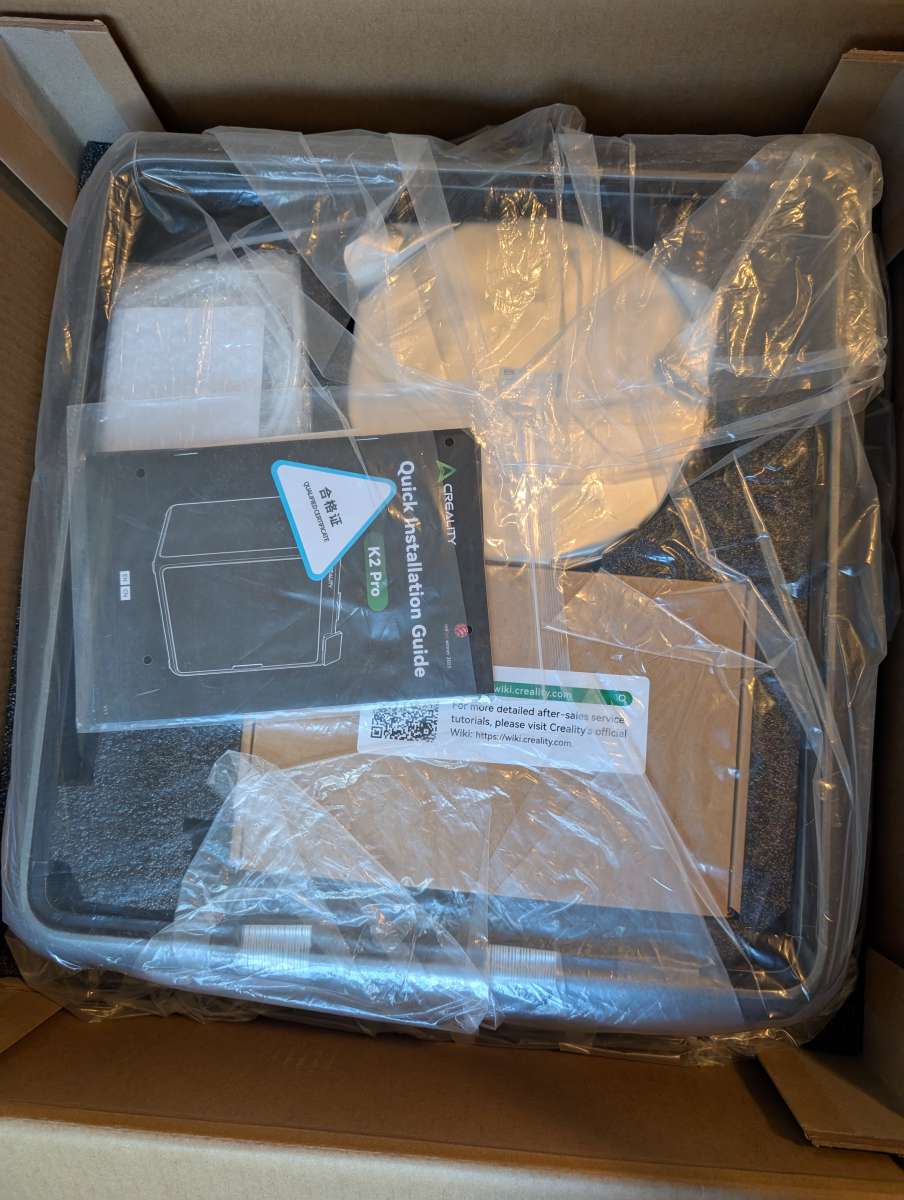
First layer has tools, user guide, filament tubes, and a half kilo of a full-sized roll of filament with included RFID chip.
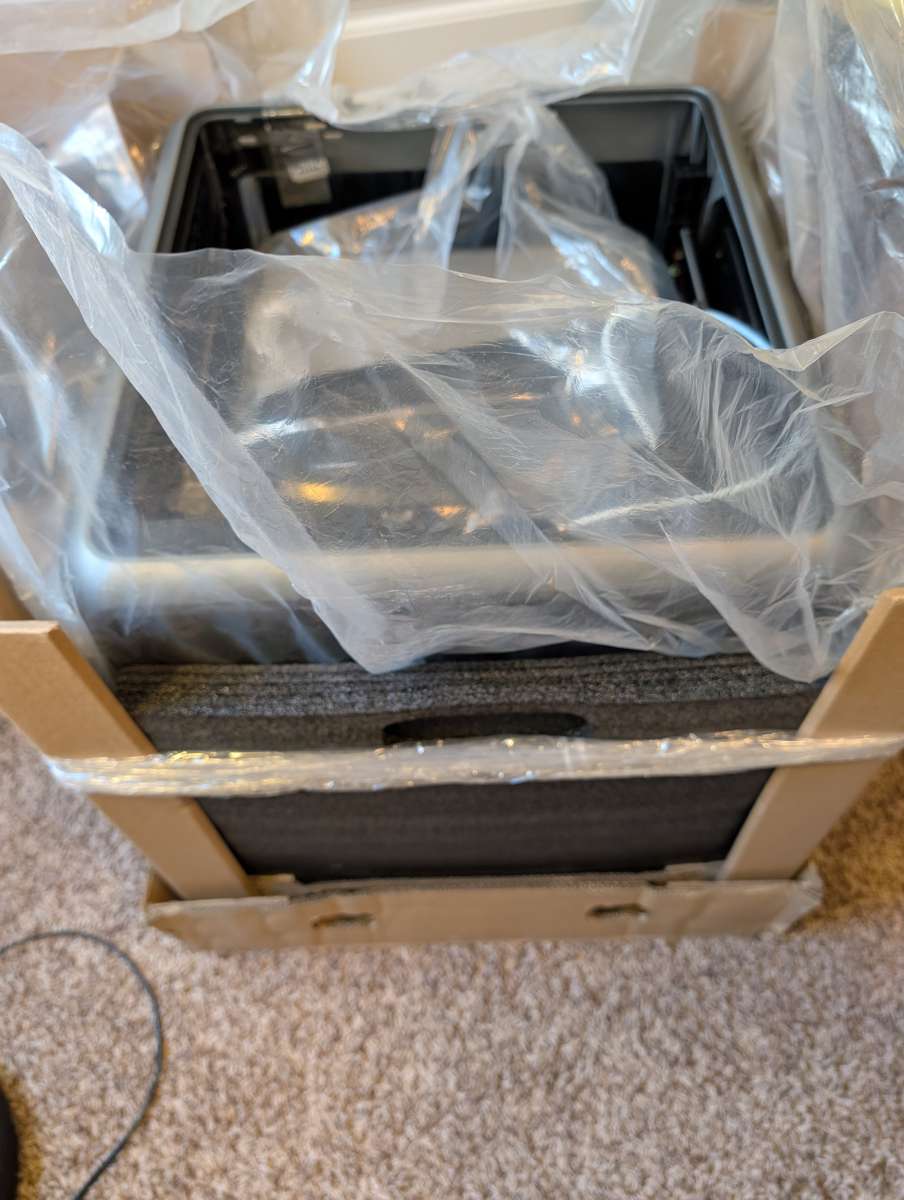
Second layer, you’ll see the included CFS is also nested inside.
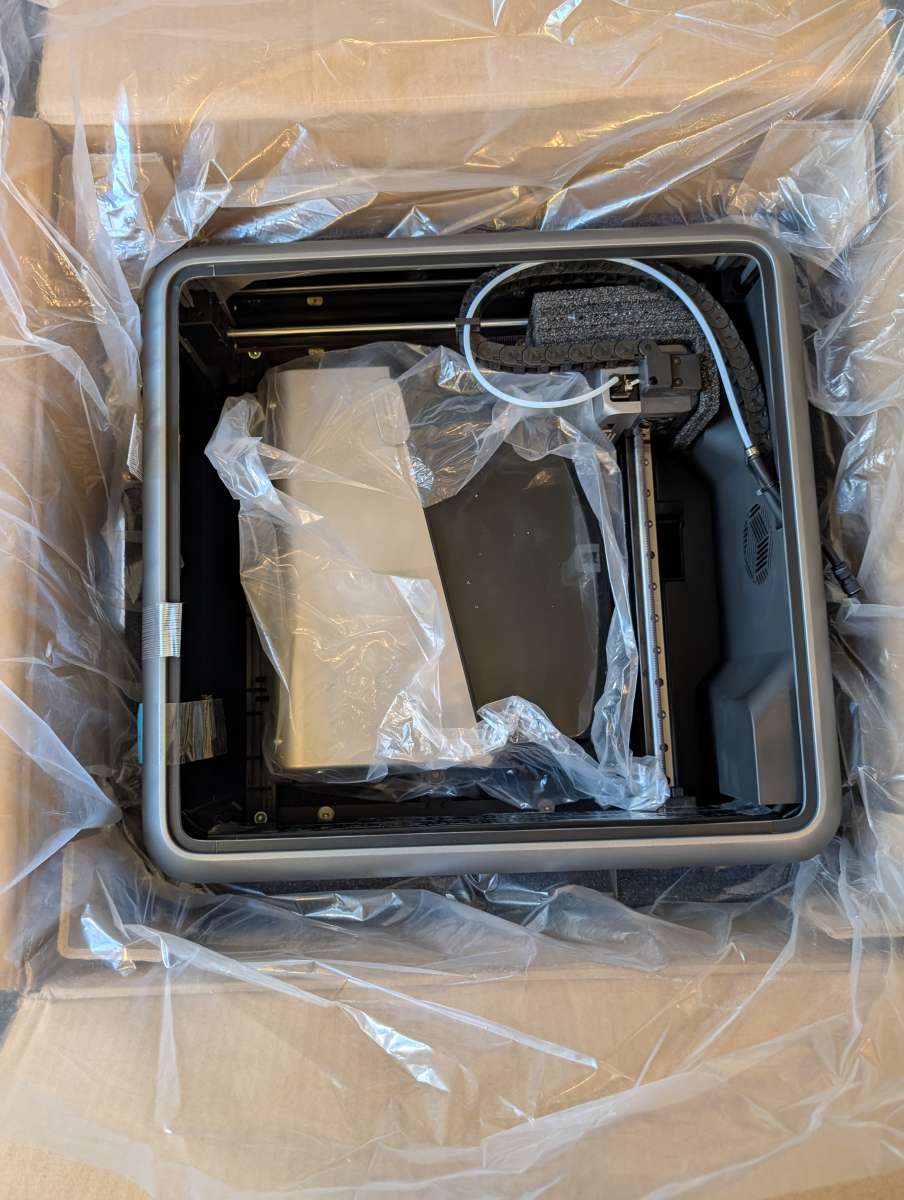
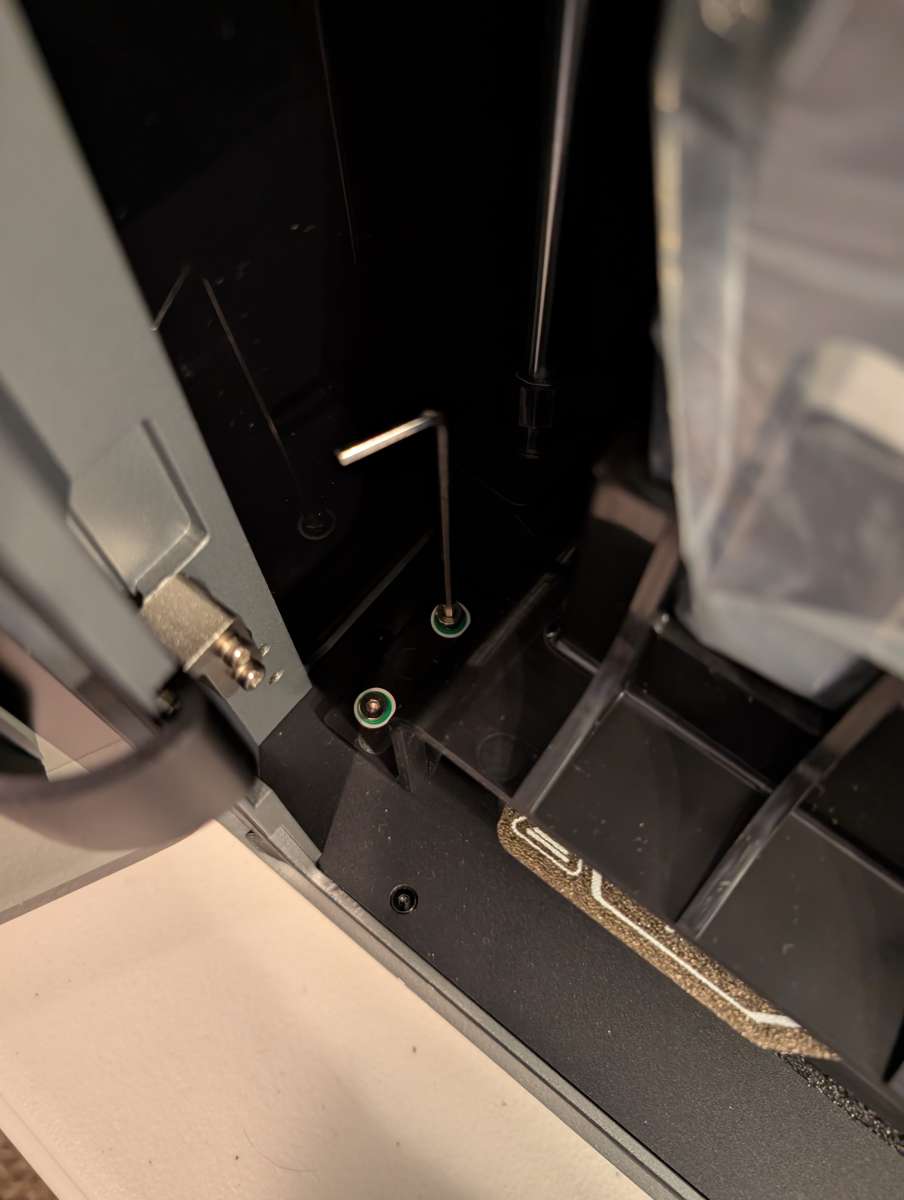
Pulling out the printer, you have to remove the packing braces and other materials before removing the CFS inside. I keep saying it, but follow the tutorial! Some of these pieces are really hard to get to if you remove them out of order and it will go much faster. There are more fasteners on the K2 Pro than the K2 and if you don’t get them all you can potentially damage the printer when you fire it up.
Similar to the K2, pull the ribbon cable out, attach it to the screen, and lock it into place on the front of the printer. Make sure it’s not upside down. (I somehow did that the first time)
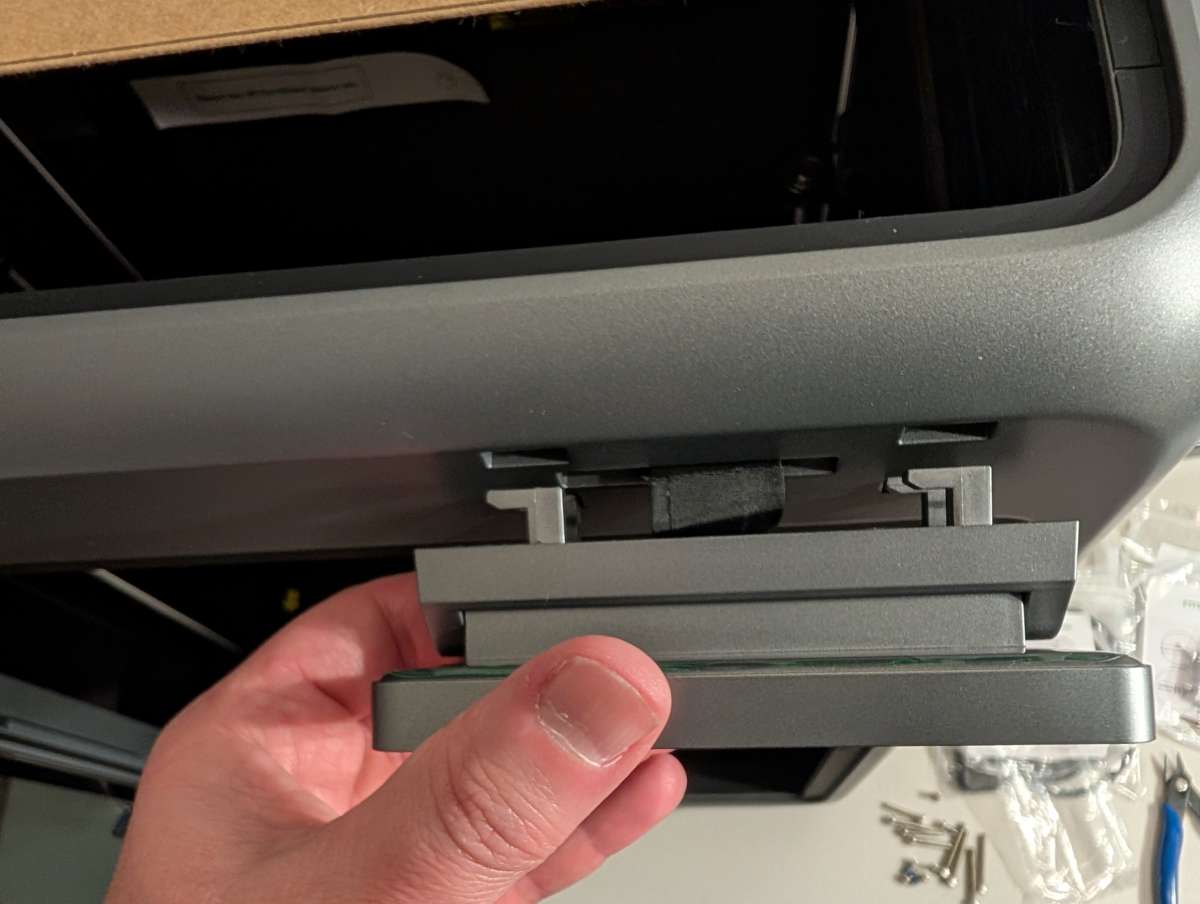
Plug it in and away you go. Same setup process as the K2. Follow the automated setup guide and you’re set.
Creality Filament System (CFS) Setup
The CFS in this setup sits just on top of the printer, but you can set it up off to the side or on a near shelf if that works better for you. You can also have multiple CFS modules set up for a single printer.
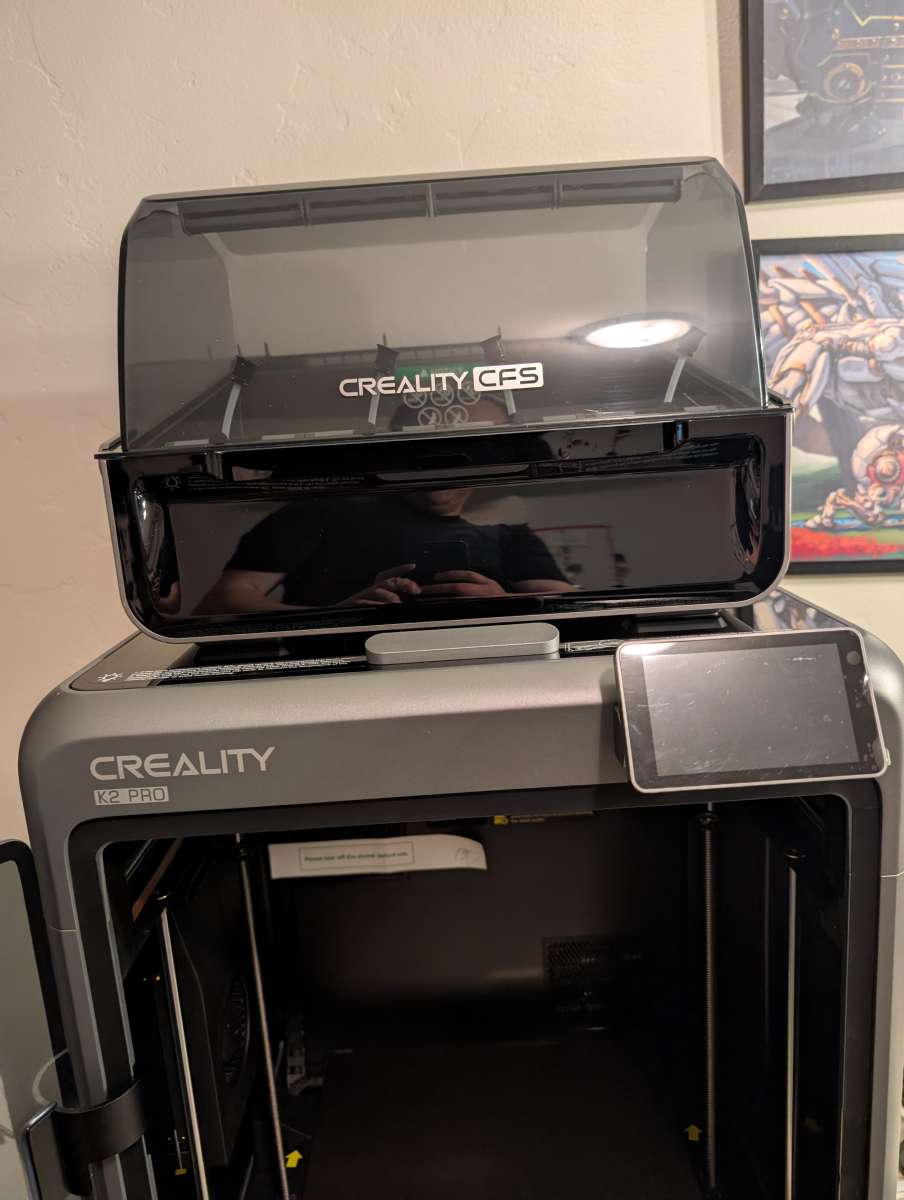
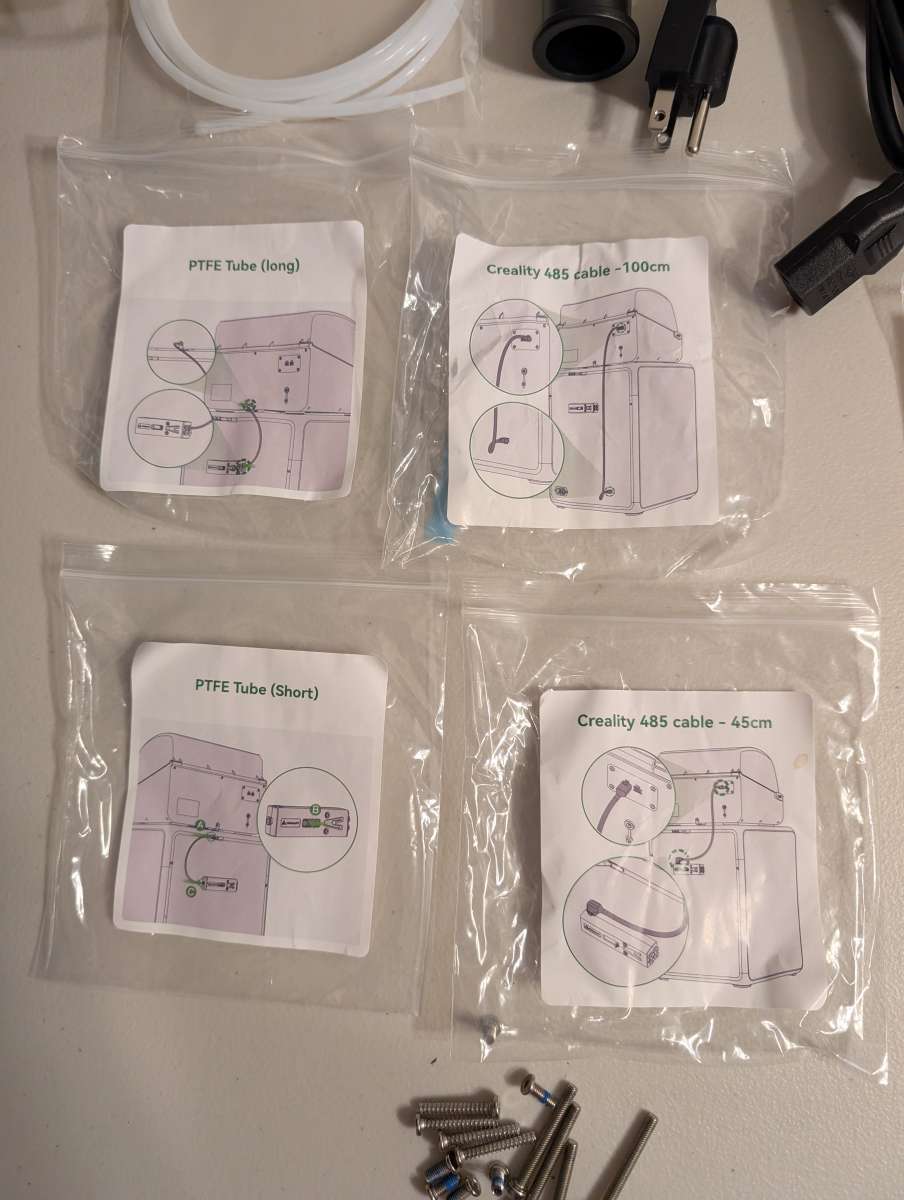
All of the cables and tubes are clearly identified in their individual bags and also indicate where they go in setting them up.
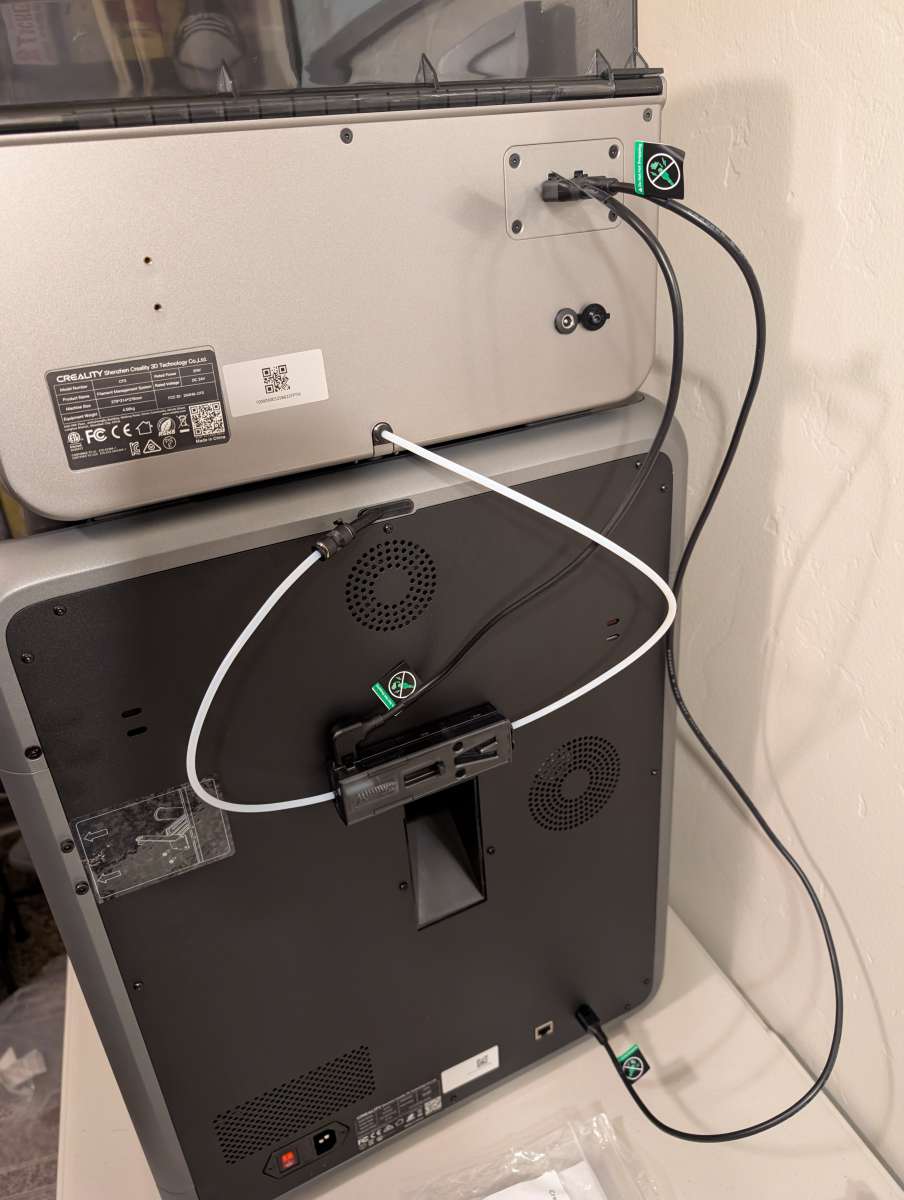
The filament buffer installs on the back of the the printer. This allows for multiple CFS modules to connect to a single printer. Install all the cables and tubes per included directions.
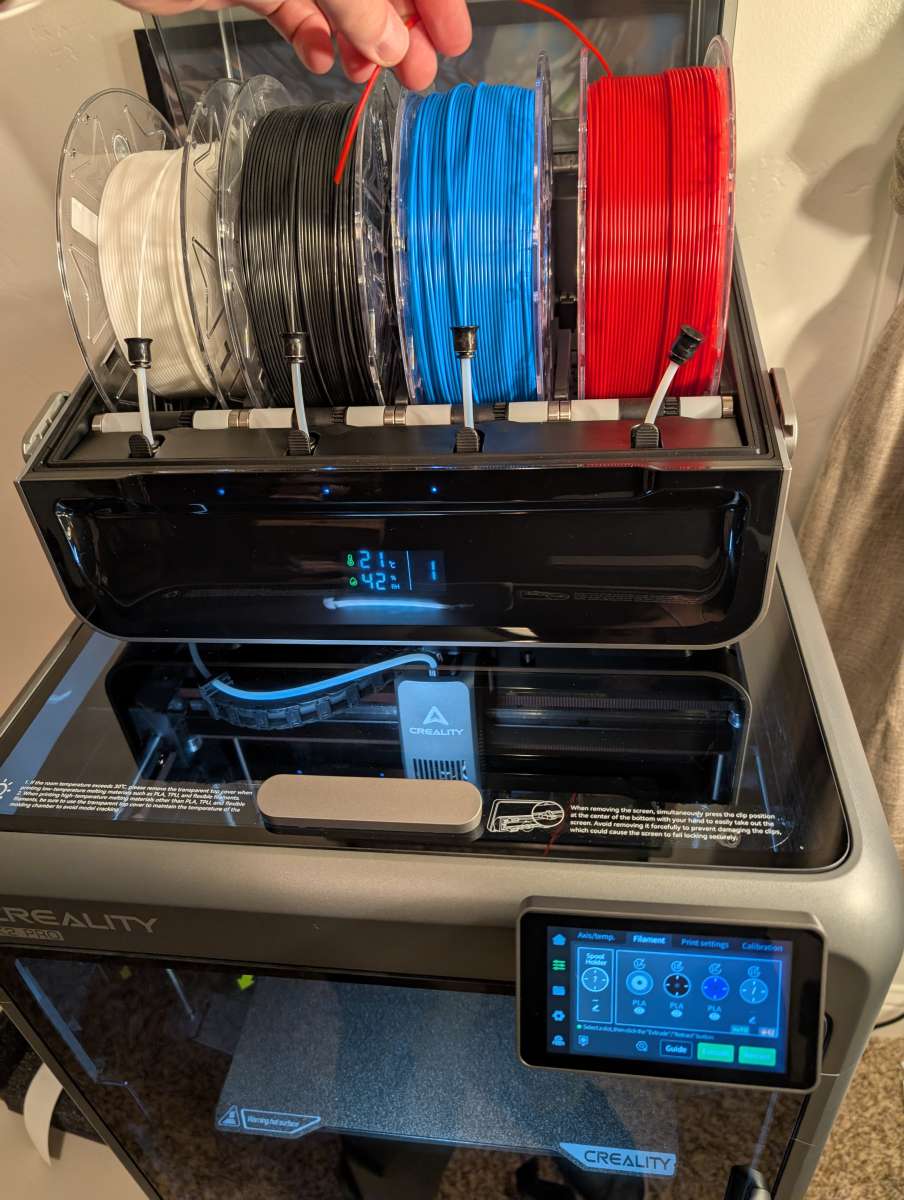
Once plugged in and set up with the printer running you can load your filament. Creality provided several rolls of their RFID PLA filament to load and the really neat part of this is that as you load the filament it automatically registers the color and amount on the system screen as you can see in the lower right hand corner.
Performance
Now for the real meat of the review. How do they hold up in printing?
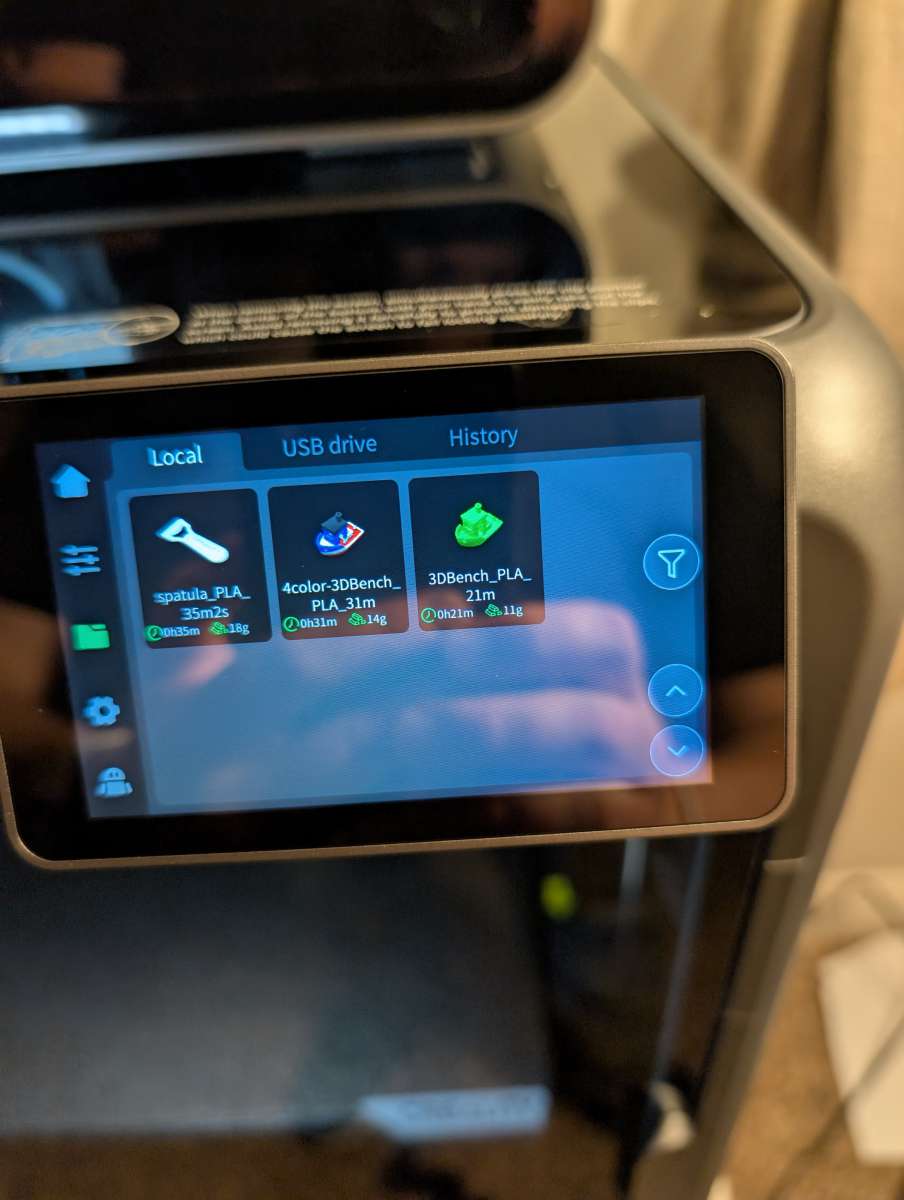
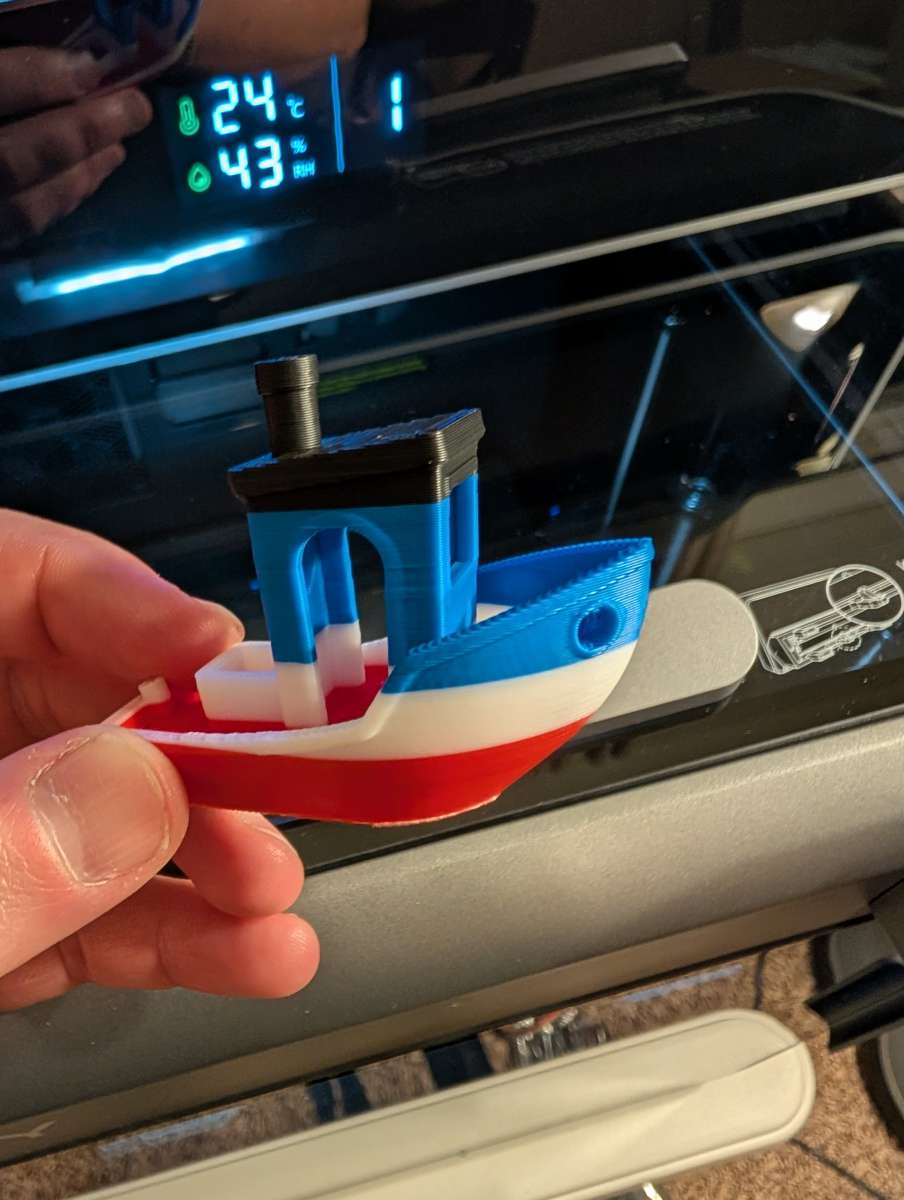
Pre-loaded on each printer are a couple of benchy files and a spatula to help take prints off the plate. I’m partial to a good benchy, so I decided to try out the multi-color option and see that CFS in action.
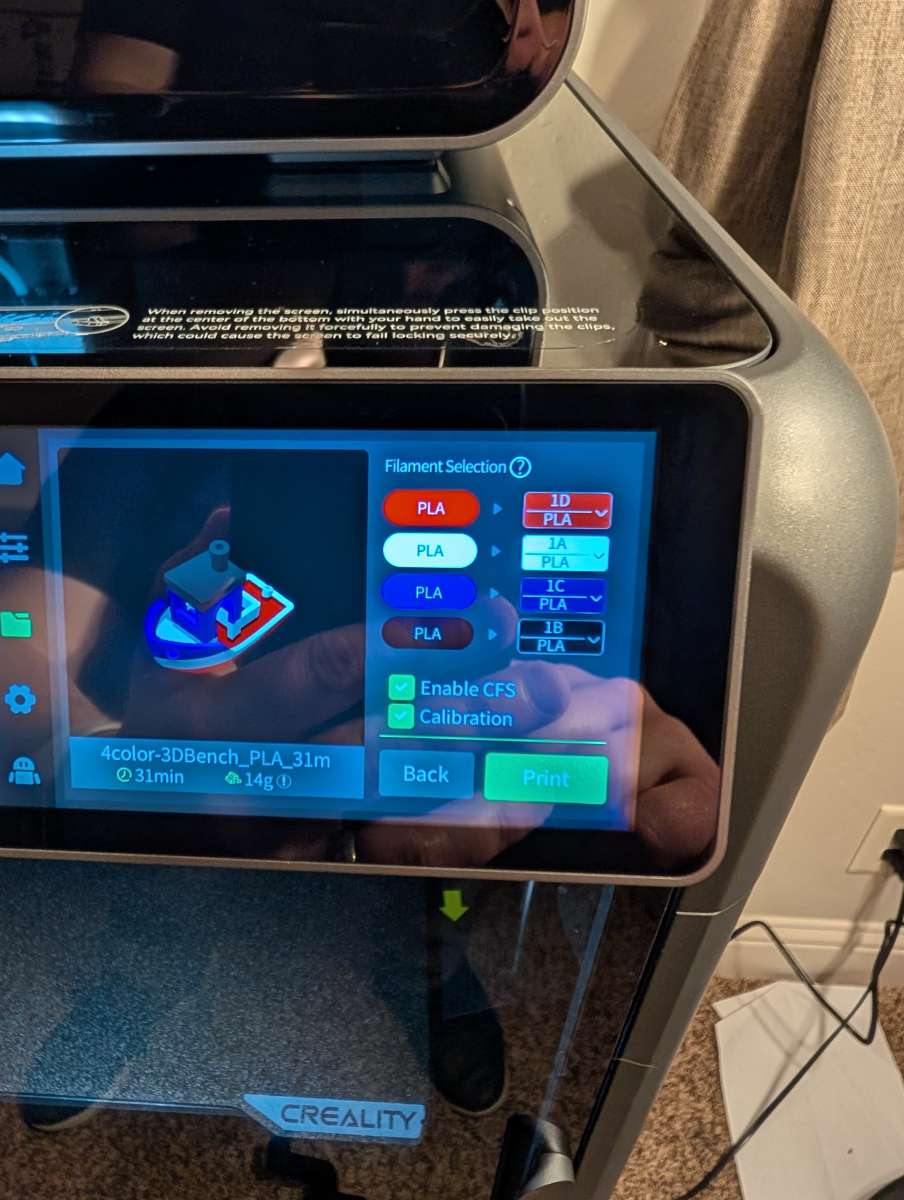
You can select which colors you which to use for each different layer and it all references the programmed CFS filaments.
I was very impressed. Clean lines and the bridging looked great.
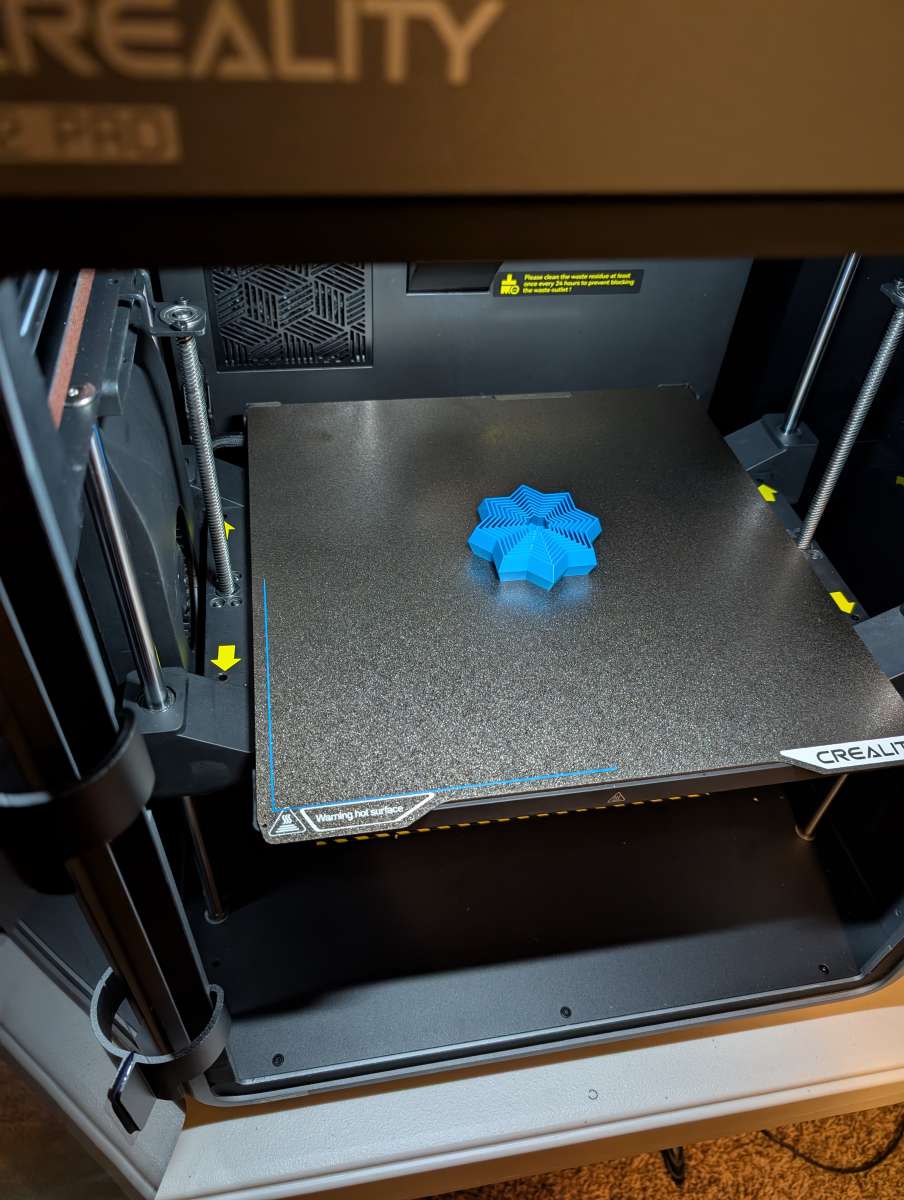
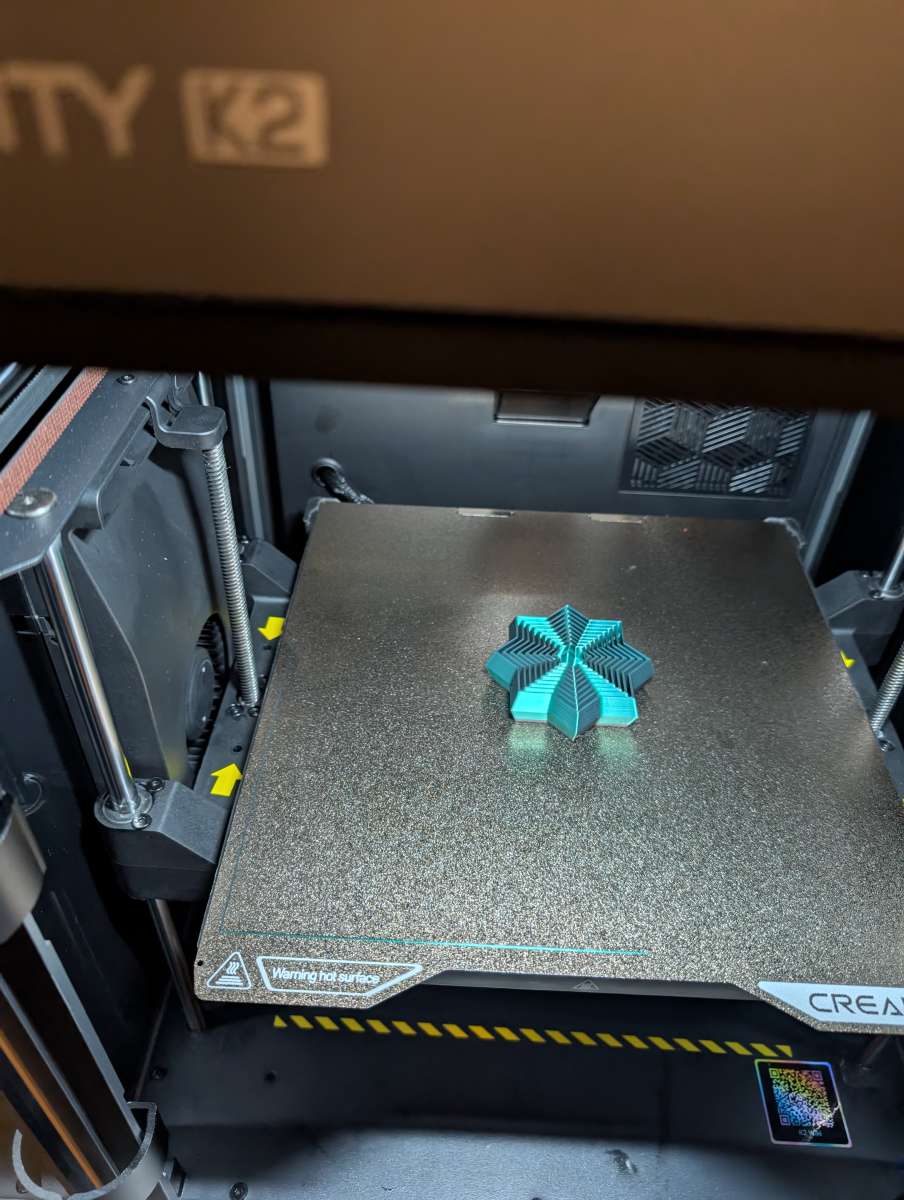
On to more prints. This is the first side by side comparison between printers I ran. The first fidget in blue filament is on the K2 Pro. The second in green is on the K2. Fairly simple files and both turned out great.
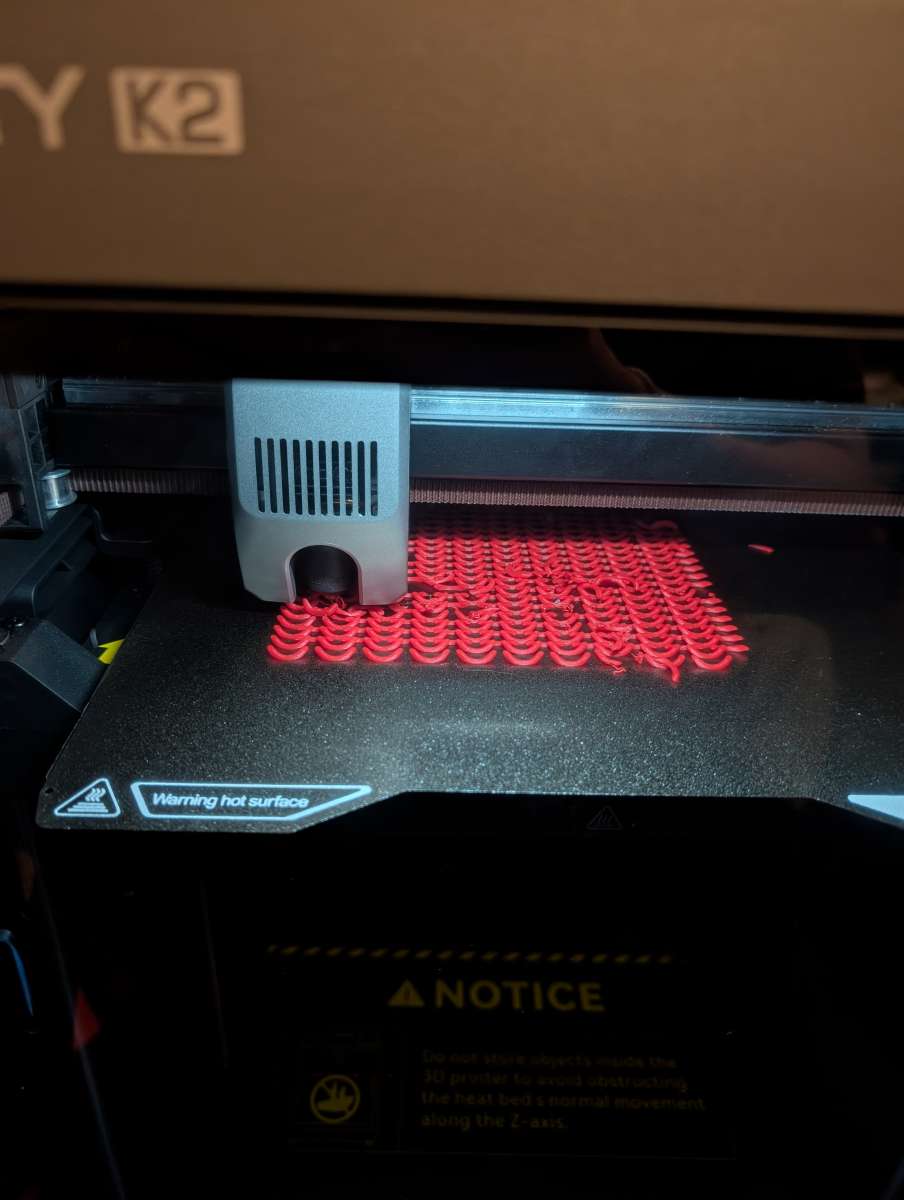
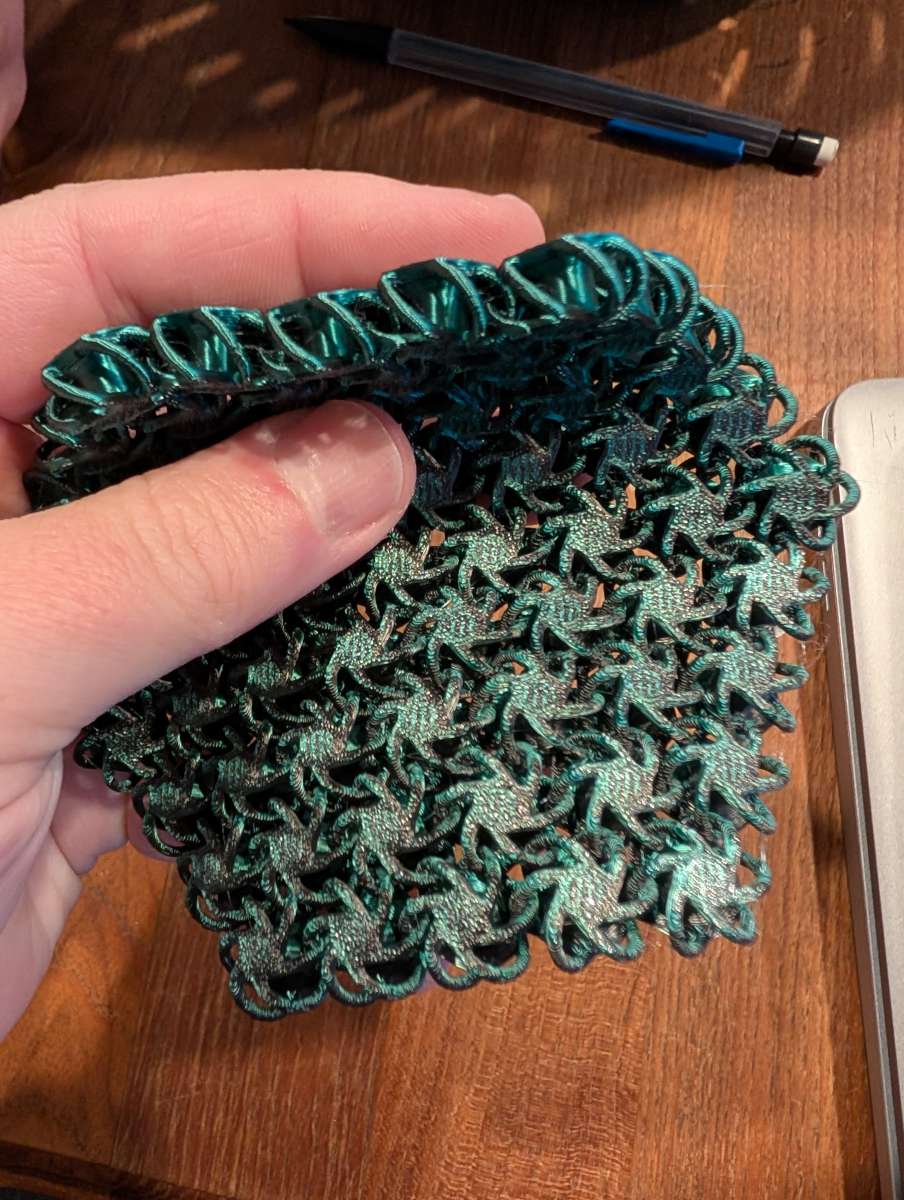
On to a much harder print. I found a file for chainmail style loops in a sheet and had to give it a try. On the K2 Pro it was able to complete successfully, but there were some flubs and artifacts.
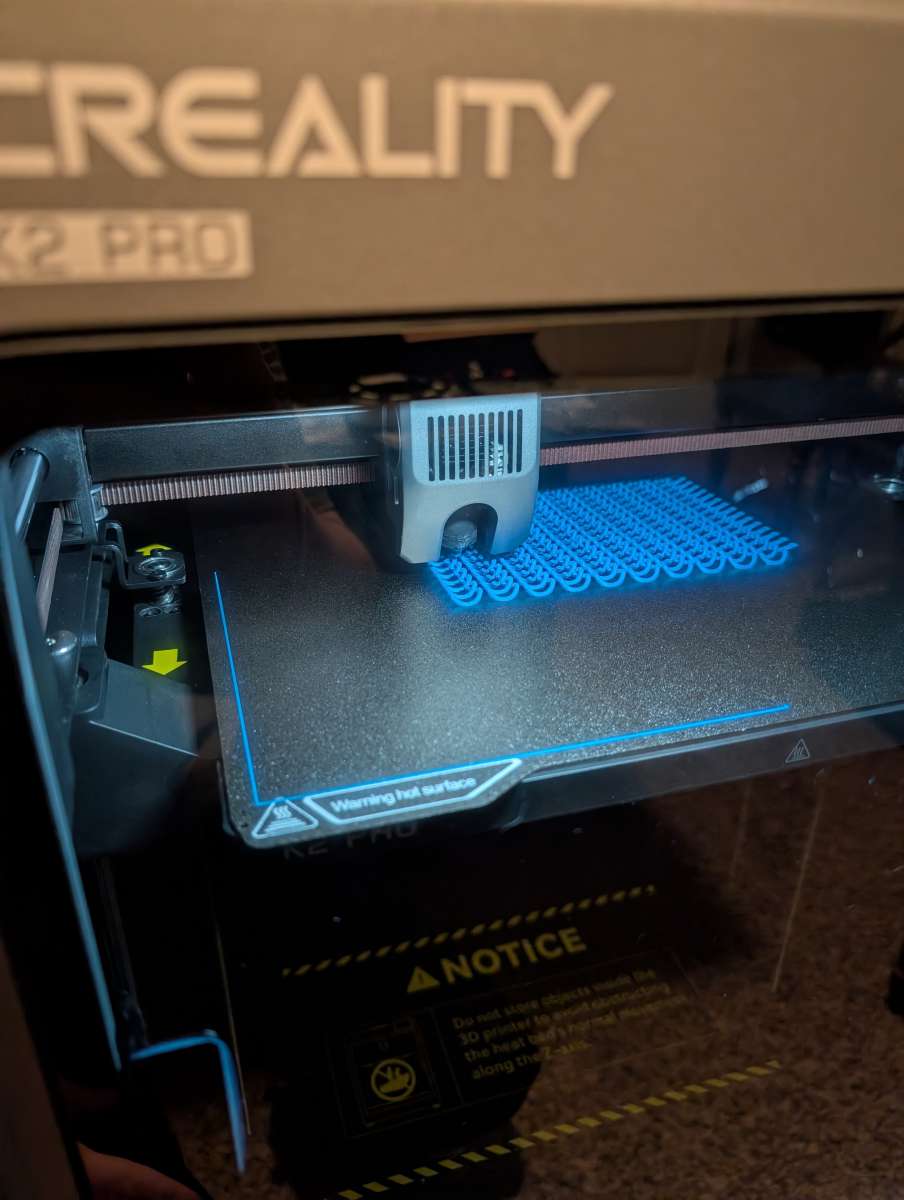
On the K2 it struggled a lot more. I had to stop the print because it came completely apart and left little bits everywhere. I tried running it again and it did the same. Not sure if that’s a filament or printer thing, but that’s 3D printing sometimes.
I found a different file for a type of mesh print that did work successfully on the K2 and had some very fine loops with no supports or additional structure.
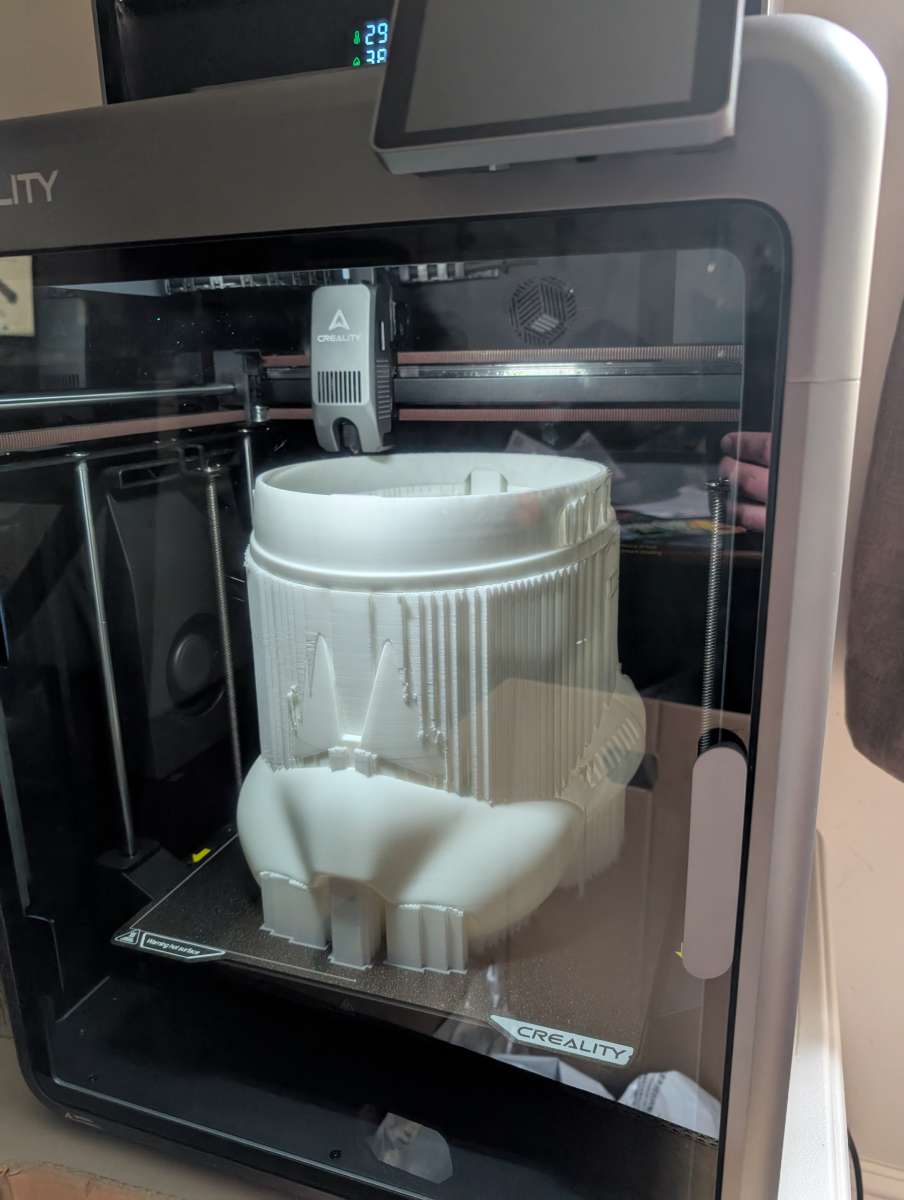
Time to print something big on the K2 Pro. I have a Clone Trooper helmet file that I haven’t been able to print on my other 3D printer because it’s just too small, so I had to take advantage of the large 300mm bed. After some finagling of the file to fit on the bed and get it sliced with supports, it started and was able to print successfully.
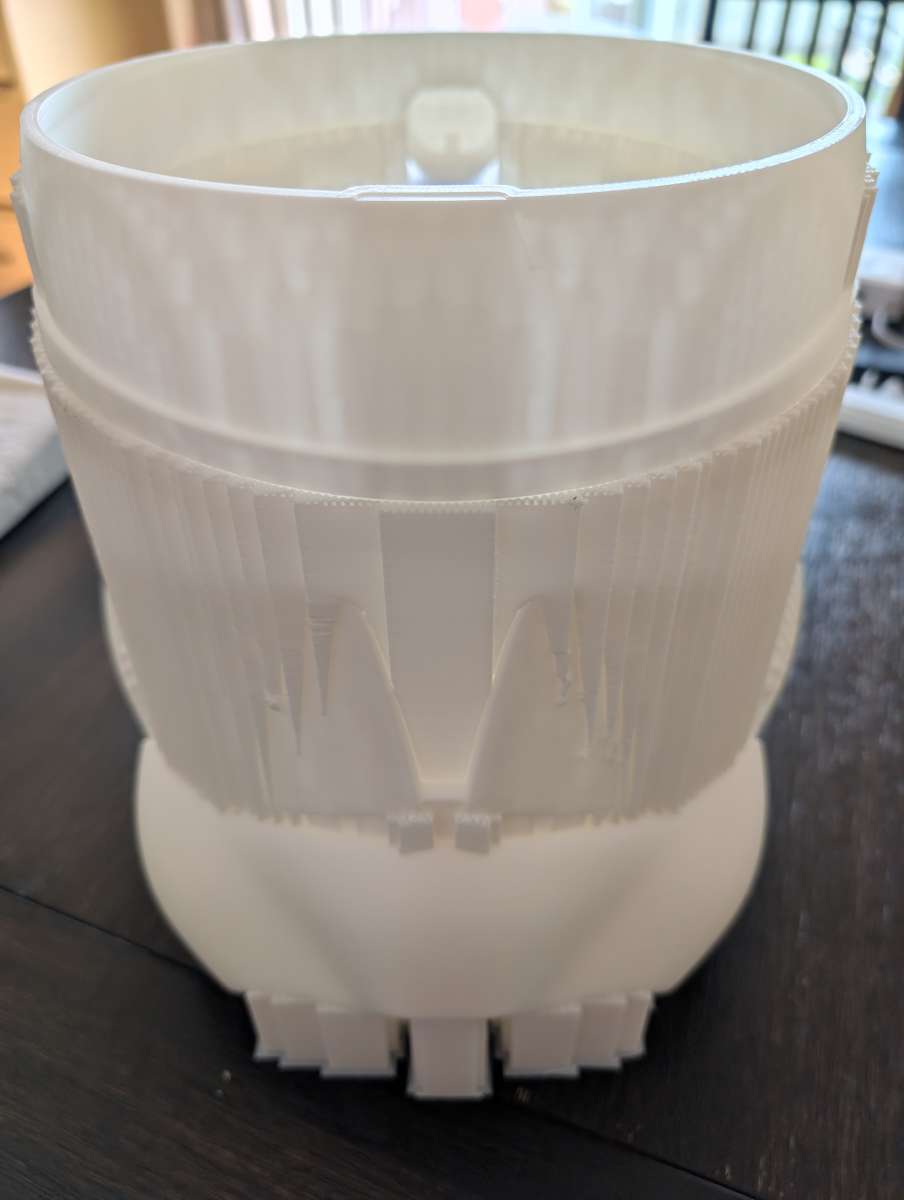
This is an exceptionally large helmet, so I did have to slice off the top and print separately, but I’m very pleased with how the main piece turned out.
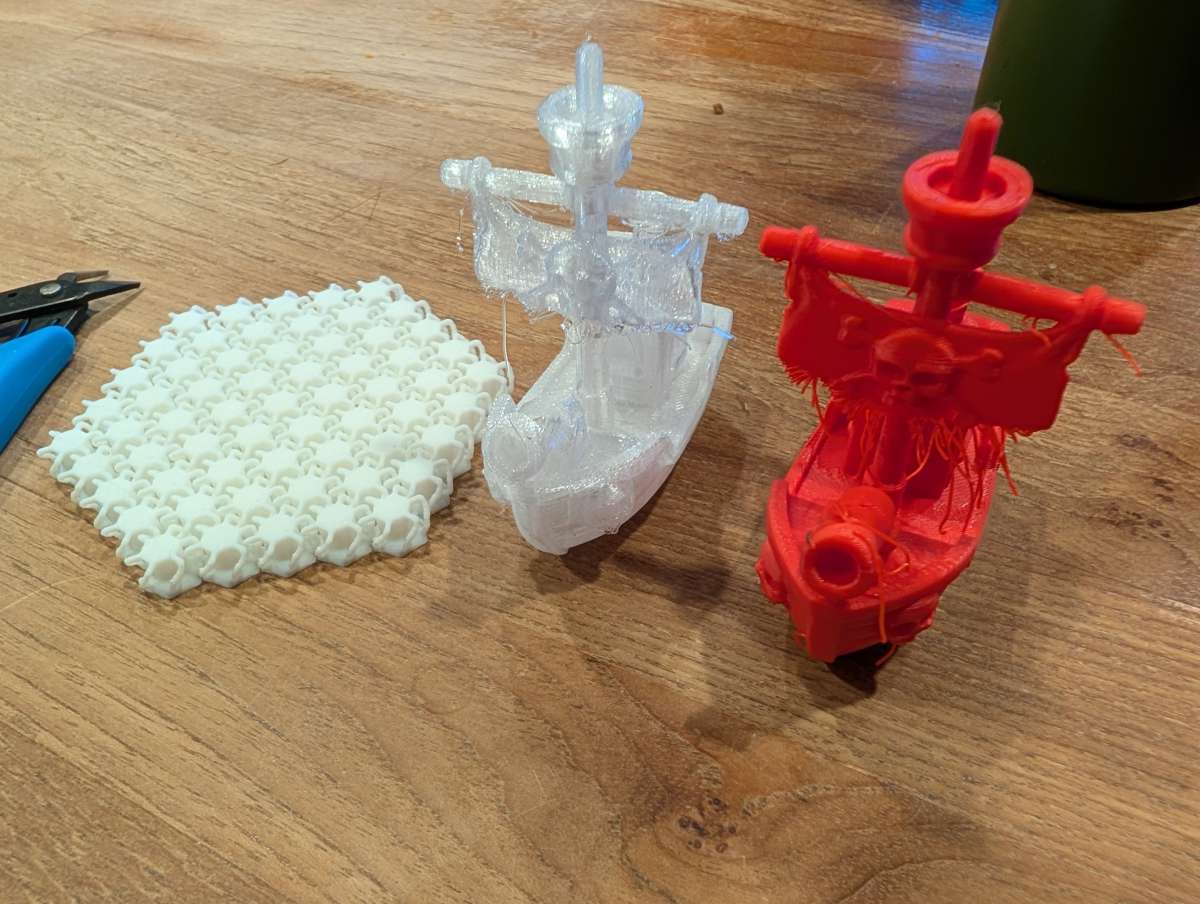
I have a roll of clear PETG filament that was notoriously difficult in my old 3D printer to use, so I had to give it a whirl in this system as well. I found a fun pirate ship bench on the Creality Cloud app and am pretty pleased with how it turned out.
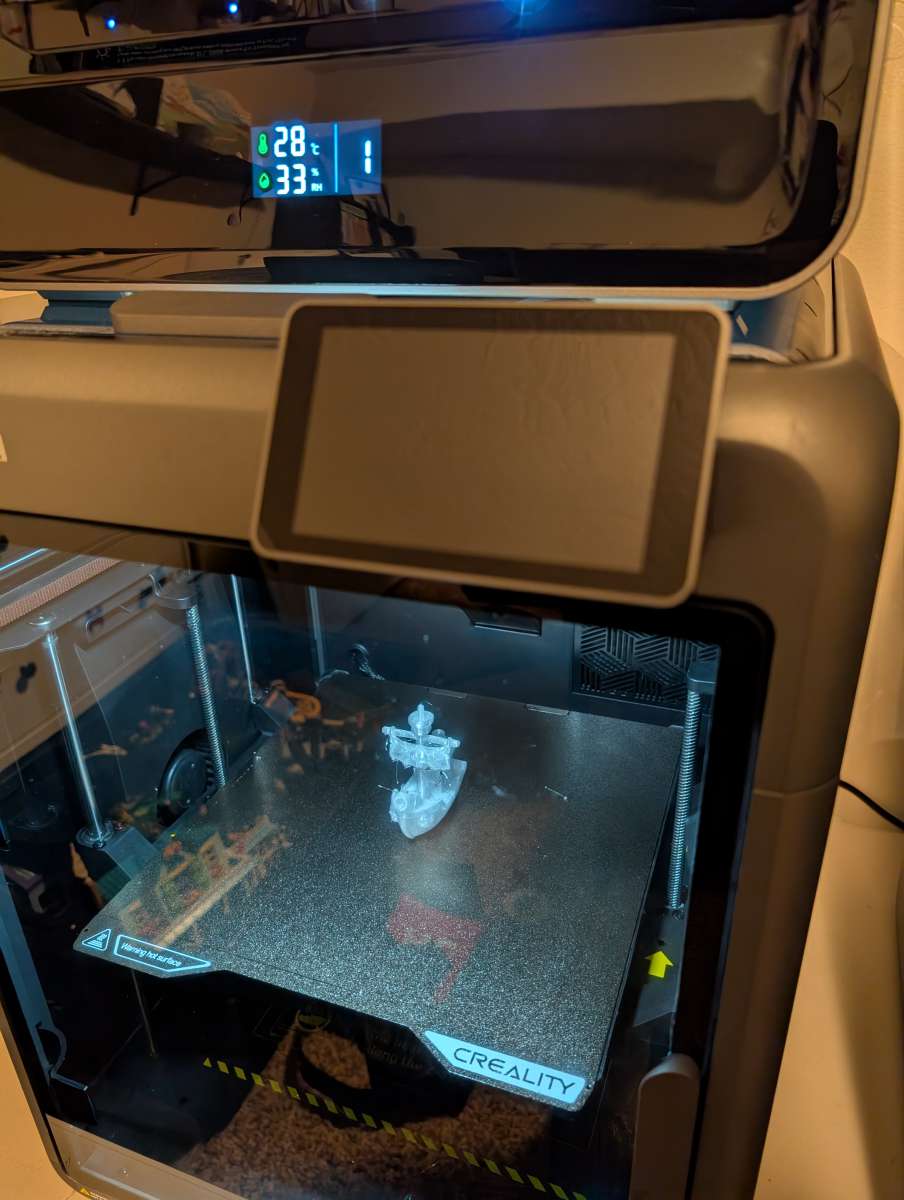
I printed the same file with Creality PLA and you can see the two below side by side. The large gaps on the sails have some decent stringing, but it still was able to print successfully nonetheless. These were printed on the K2.
Final thoughts
I could go on and on about testing and printing with these two printers. I really like both of them and they have some great features.
I love being able to use the Creality Cloud app to monitor and watch my prints even when I’m at work or out doing something else. There have been too many times on my old printer where a print failed and it kept going and I had no way to easily monitor things. With the Creality Cloud app and the cameras on these two 3D printers I can start and stop prints at any time from afar.
My only gripe is that they are not quiet printers. The fans on these printers are very robust and make a decent amount of noise, something in the 46 db range by my measure. Creality says there are some quiet running modes, so I need to investigate further.
Overall, I think that the combo of the CFS along with the fully enclosed printer makes for a great system for 3D printing. I definitely think this system is going to put some pressure on some of the competing systems out there.
Between the two, the larger bed on the K2 Pro and extra temperature range makes it the winner in my books. If you’re looking for something less expensive but still feature-rich, though, the K2 Combo is still a great system.
What I like about the Creality K2 and K2 Pro Combo 3D Printers
- Steel nozzles
- Creality Cloud app is great for monitoring and controlling printers remotely
- Multi-color printing with CFS module
- Full enclosure
- Ready straight out of the box. Auto-leveling and adjusting
- K2 Pro – 300 mm x 300 mm bed is great for larger prints
What needs to be improved?
Price: K2 Combo $799 / K2 Pro Combo $1099
Where to buy: Creality, Amazon
Source: The sample of this product was provided for free by Creality. Creality did not have a final say on the review and did not preview the review before it was published.
Check out these other reviews!
Love our content?
Sign up for our newsletter today.
No ads, no spam, just links to our latest articles!


