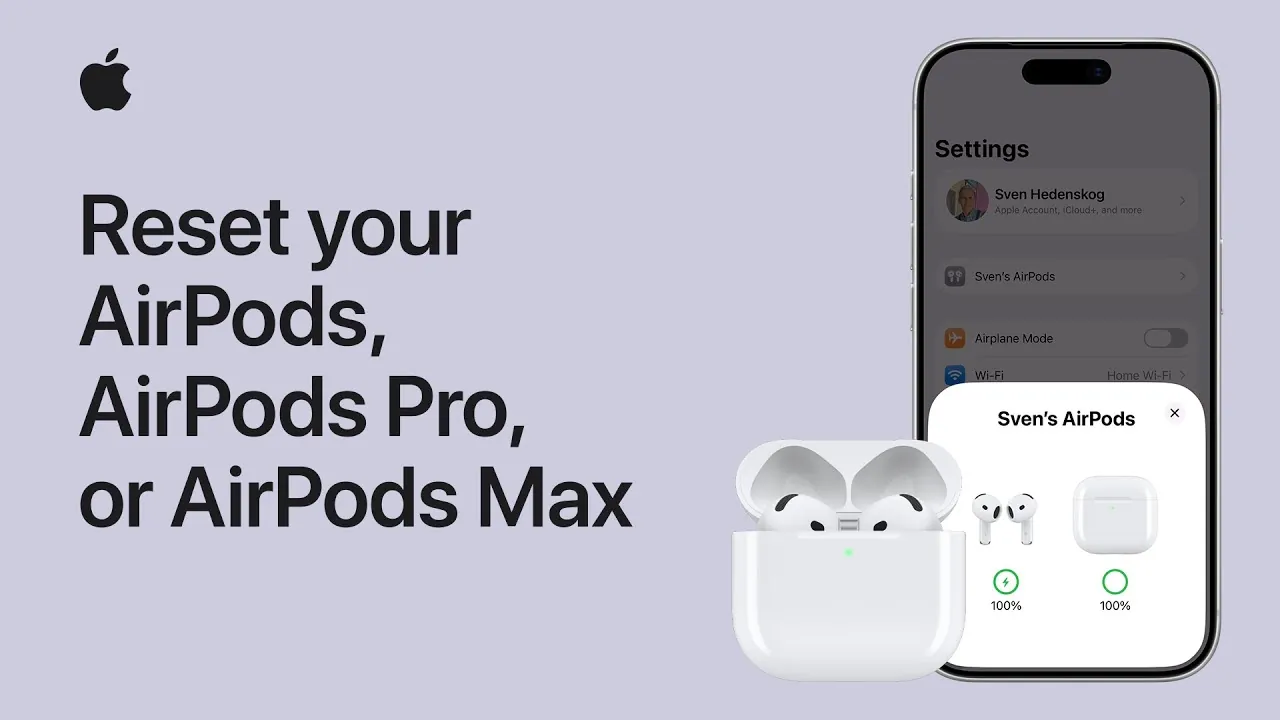
Resetting your AirPods, AirPods Pro, or AirPods Max is a straightforward process that can resolve connectivity issues, prepare them for pairing with a new device, or restore them to factory settings. The video below from Apple provides a detailed, step-by-step approach to unpairing and resetting each model, making sure your devices are ready for seamless use.
Unpairing AirPods or AirPods Pro
Before resetting your AirPods or AirPods Pro, it is essential to unpair them from your iPhone or any other connected devices. This step ensures they are no longer linked to your iCloud account, preventing automatic reconnections. Follow these steps to unpair your AirPods or AirPods Pro:
- Place your AirPods in their charging case and close the lid to ensure they are inactive.
- Open the lid of the charging case and dismiss any connection prompts that may appear on your device.
- Navigate to the Bluetooth settings on your iPhone or directly access the AirPods settings.
- Locate your AirPods in the list of connected devices and select “Forget This Device.”
Once unpaired, your AirPods are removed from all devices linked to your iCloud account. This step is crucial for preparing them for the reset process.
Resetting AirPods or AirPods Pro
The process for resetting your AirPods or AirPods Pro depends on whether your charging case has a setup button. Follow the appropriate instructions below based on your case type:
- If your case does not have a setup button:
- Double-tap the front of the case while the LED status indicator flashes white.
- Continue double-tapping until the LED flashes amber, then white.
- If your case has a setup button:
- Press and hold the setup button located on the back of the case for approximately 15 seconds.
- Release the button when the LED flashes amber, followed by white.
After completing these steps, your AirPods or AirPods Pro are reset to their factory settings and ready to pair with a new device.
Unpairing AirPods Max
The unpairing process for AirPods Max differs slightly from other AirPods models. To unpair your AirPods Max, follow these steps:
- Ensure your AirPods Max are outside their Smart Case and powered on.
- Access the Bluetooth settings on your iPhone or navigate directly to the AirPods Max settings.
- Select “Forget This Device” to remove the AirPods Max from your iCloud-connected devices.
This step clears the connection history, making sure your AirPods Max are ready for a reset.
Resetting AirPods Max
Resetting AirPods Max requires a brief charging period to ensure sufficient power. Follow these steps to reset your AirPods Max:
- Charge your AirPods Max for a few minutes to ensure they have adequate battery life.
- Press and hold both the noise control button and the digital crown simultaneously for 15 seconds.
- Release the buttons when the LED status indicator flashes amber, then white.
Once reset, your AirPods Max are restored to their factory settings and ready to pair with a new device.
Pairing After Reset
After resetting your AirPods, AirPods Pro, or AirPods Max, they are ready for a fresh connection. To pair them with a new device, follow these steps:
- For AirPods or AirPods Pro: Open the charging case near your device and wait for the setup prompt to appear on the screen.
- For AirPods Max: Power on the headphones and bring them close to your device to initiate the pairing process.
- Follow the on-screen instructions to complete the setup and establish a connection.
By following these steps, you can efficiently reset and pair your AirPods, making sure they perform optimally and are ready for use with any compatible device. Resetting your AirPods not only resolves technical issues but also ensures a smooth transition when switching between devices or preparing them for a new user.
Enhance your knowledge on Reset AirPods by exploring a selection of articles and guides on the subject.
Source & Image Credit: Apple Support
Filed Under: Apple, Gadgets News, Guides
Latest Geeky Gadgets Deals
Disclosure: Some of our articles include affiliate links. If you buy something through one of these links, Geeky Gadgets may earn an affiliate commission. Learn about our Disclosure Policy.


