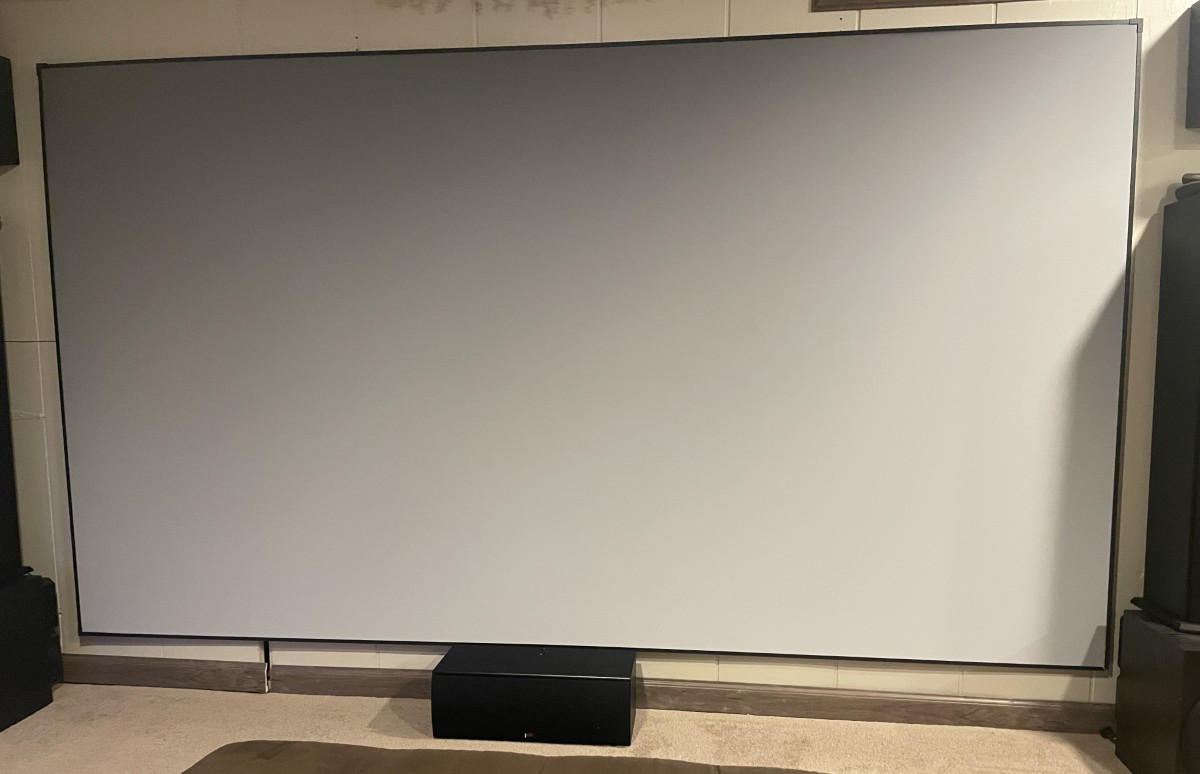
REVIEW – I’m always on the lookout for products that enhance the home theater experience, and jumped at the chance to see how Nothing Projector’s Ambient Light Rejecting screen could make my screen images pop! Let’s have a look to see how it performs!
︎ Jump to summary (pros/cons)
Price: $626 for 100″, $1090 for 110″ and 120″, $399 and $799 on Amazon
Where to buy: Nothing Projector, Amazon
What is it?
The Nothing Projector screen is an aluminum-framed panel equipped with a vinyl sheet that features a surface designed to reject ambient light, enhancing the image from an ultra-short-throw video projector.
What’s included?
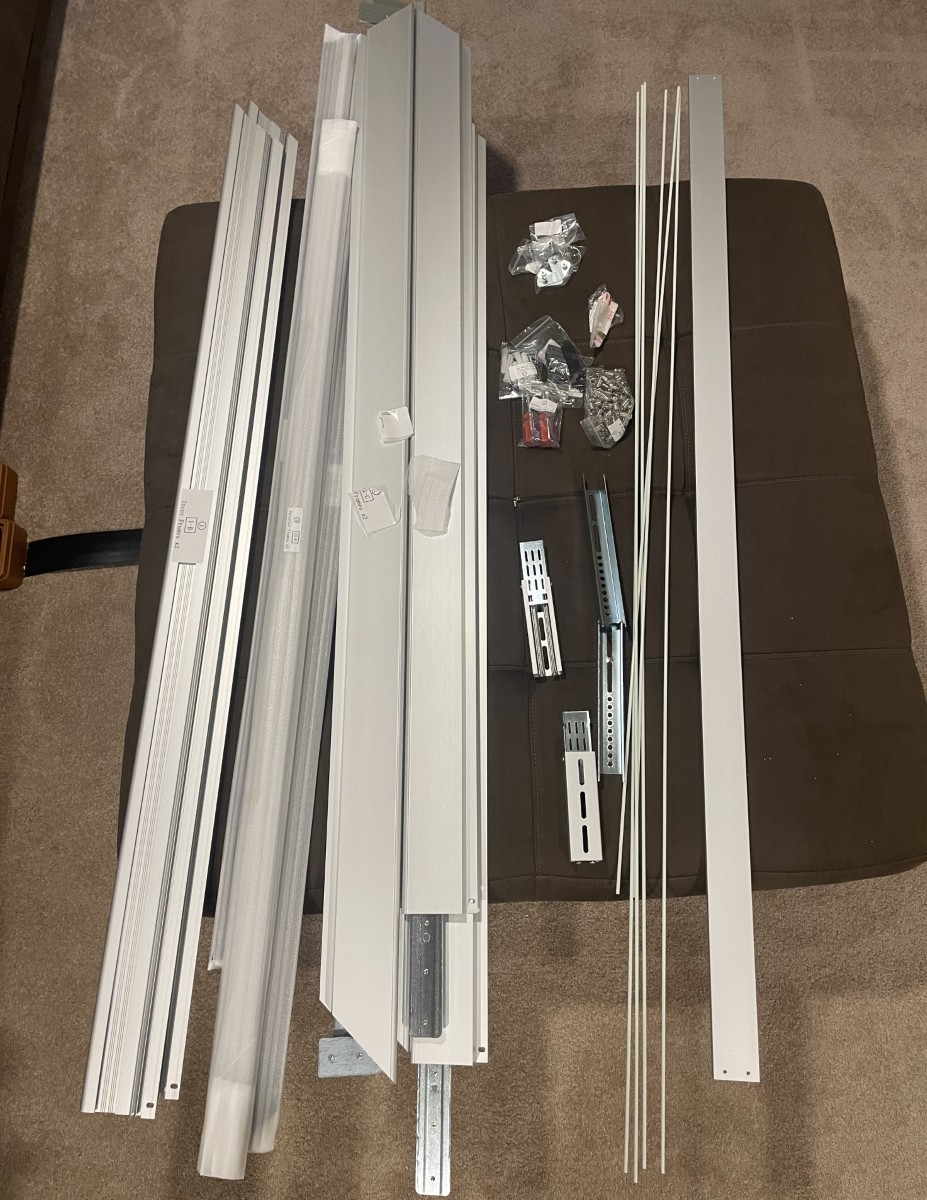
- Inside frame assembly with support rod, brackets, and screws
- Exterior frame with brackets and screws
- Rolled screen
- Fiberglass rods
- Tension springs
- Upper wall brackets (2)
- Lower wall brackets (2)
- Gloves
- Wall bracket screws and wall anchors
- Screwdrivers
- Pull hook tools
- User manual
Tech specs
- Ratio: 16:9
- Gain: 0.6
- Projector type: Ultra short throw
- Viewing angle: 170°
- Coating: ST carbon black
- Resolution: 4K/8K UHD
- Materials: CBSP
- Available sizes: 84 to 150 inches
- Ambient light rejecting ability: Up to 95%
- Mounting type: Wall
Design and features
I’ve been reading about Ambient Light Rejection (ALR) screens and wondering if one could enhance the viewing experience. Nothing Projectors (an interesting name) gave The-Gadgetter.com a chance to take a look.
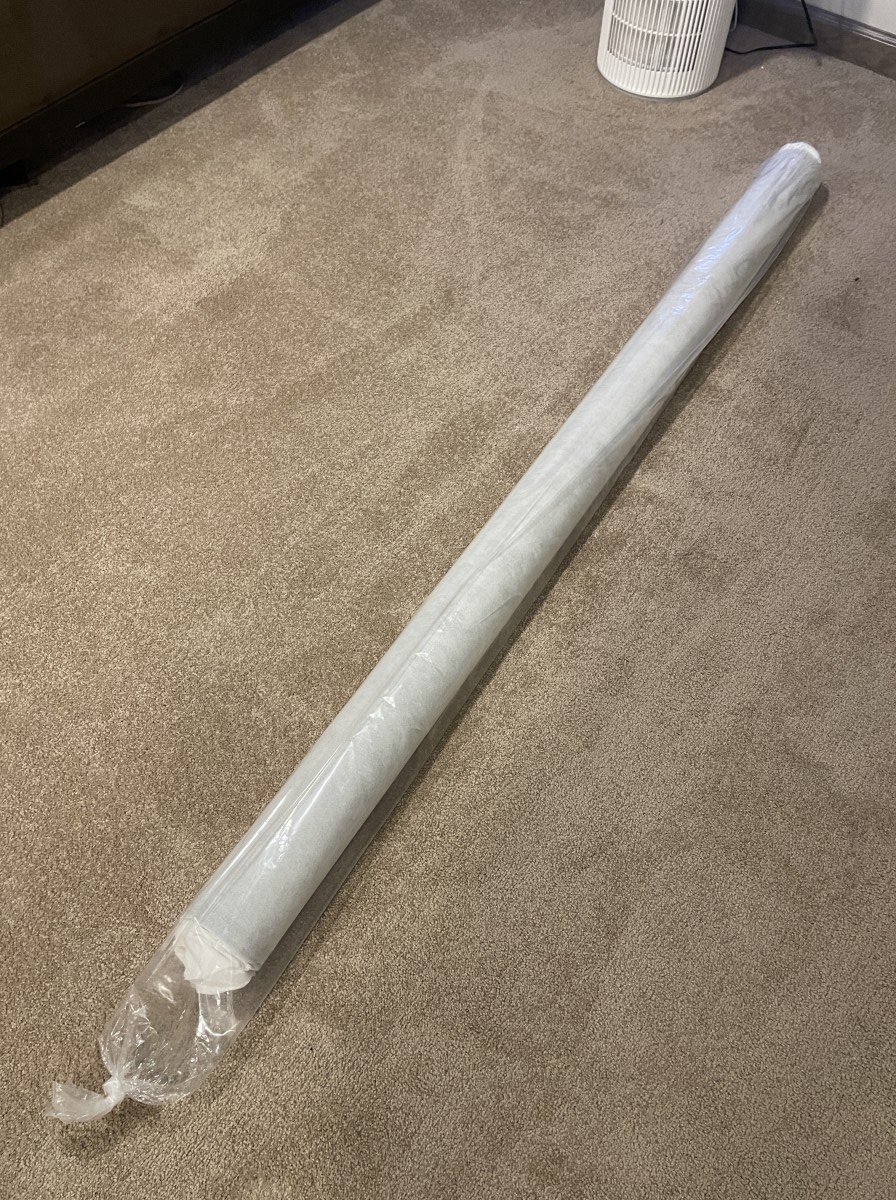
Initially, I received the wrong screen (a 100-inch model) that wouldn’t work for my home theater setup. I was very pleased that Nothing Projector was responsive and quickly sent the correct size, which arrived in a very long box.
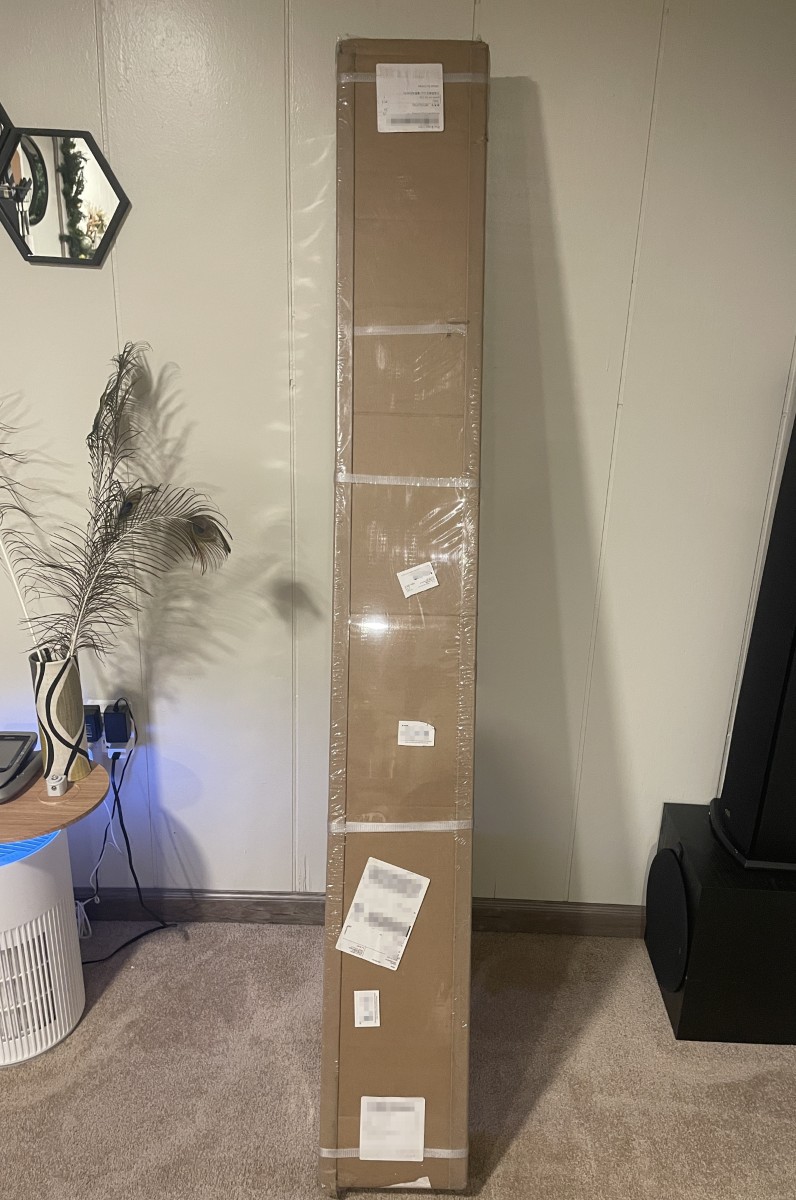
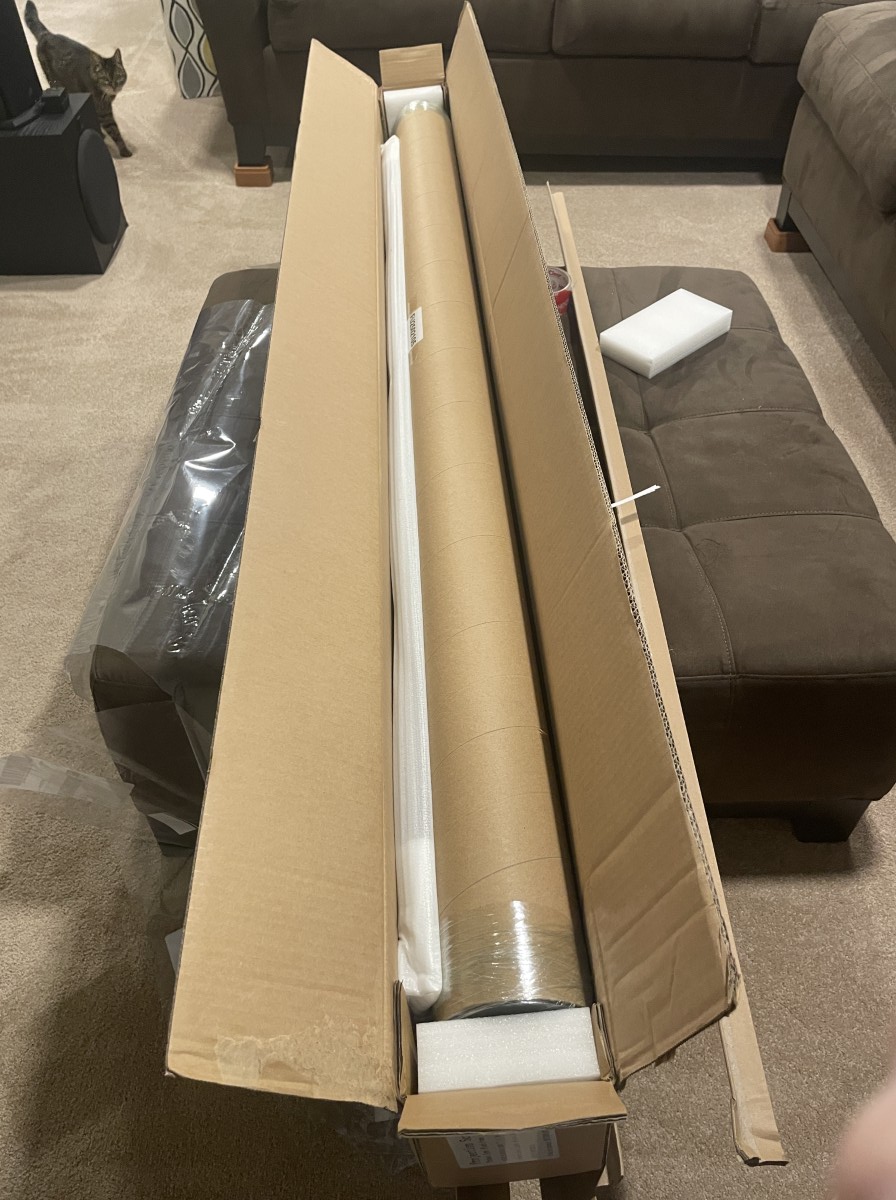
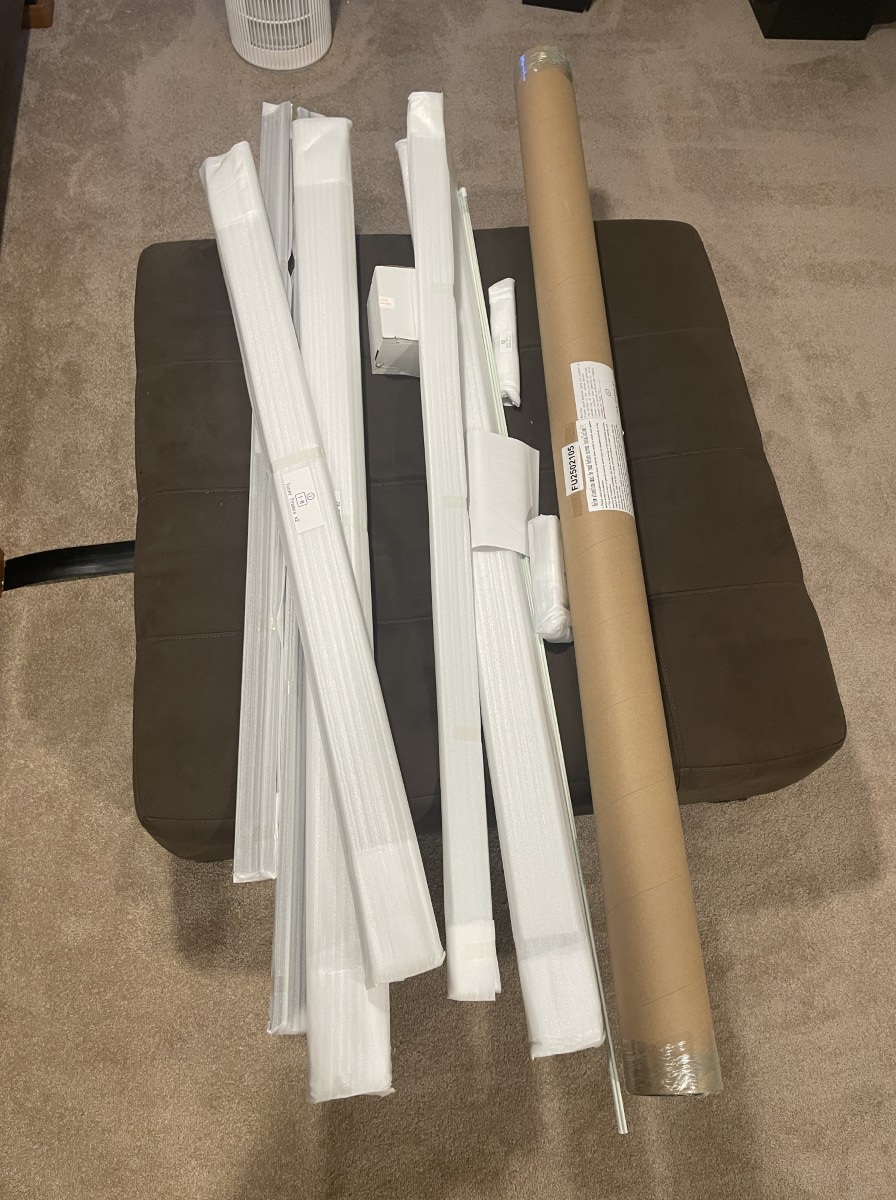
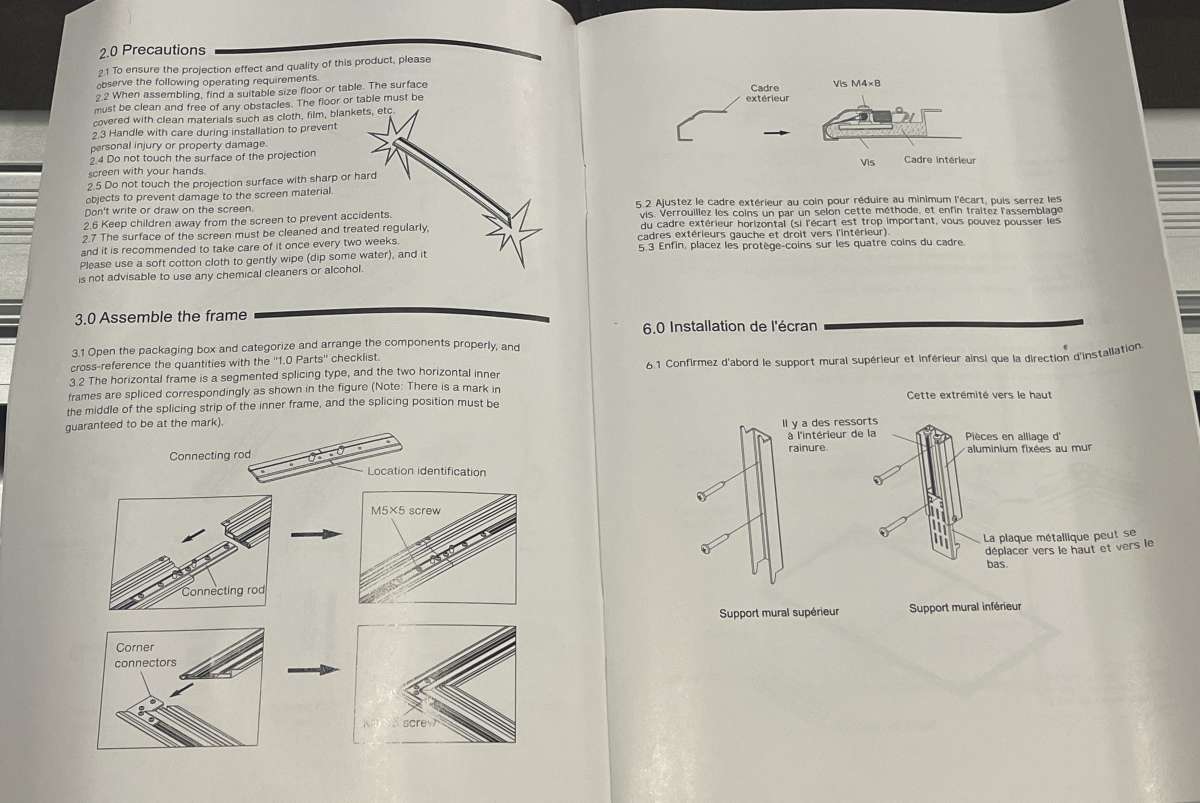
Whenever I write a review, the first step is to open the box, find the manual, and read it from cover to cover. This manual is super confusing! The pages are seriously mixed up, the instructions are out of order, there are no page numbers, and English, French, and German jumble in a chaotic mess. I ended up pulling the staples out to put the English instructions in the correct order. However, I discovered that the French and German instructions were still incorrect, interspersed, and disordered.
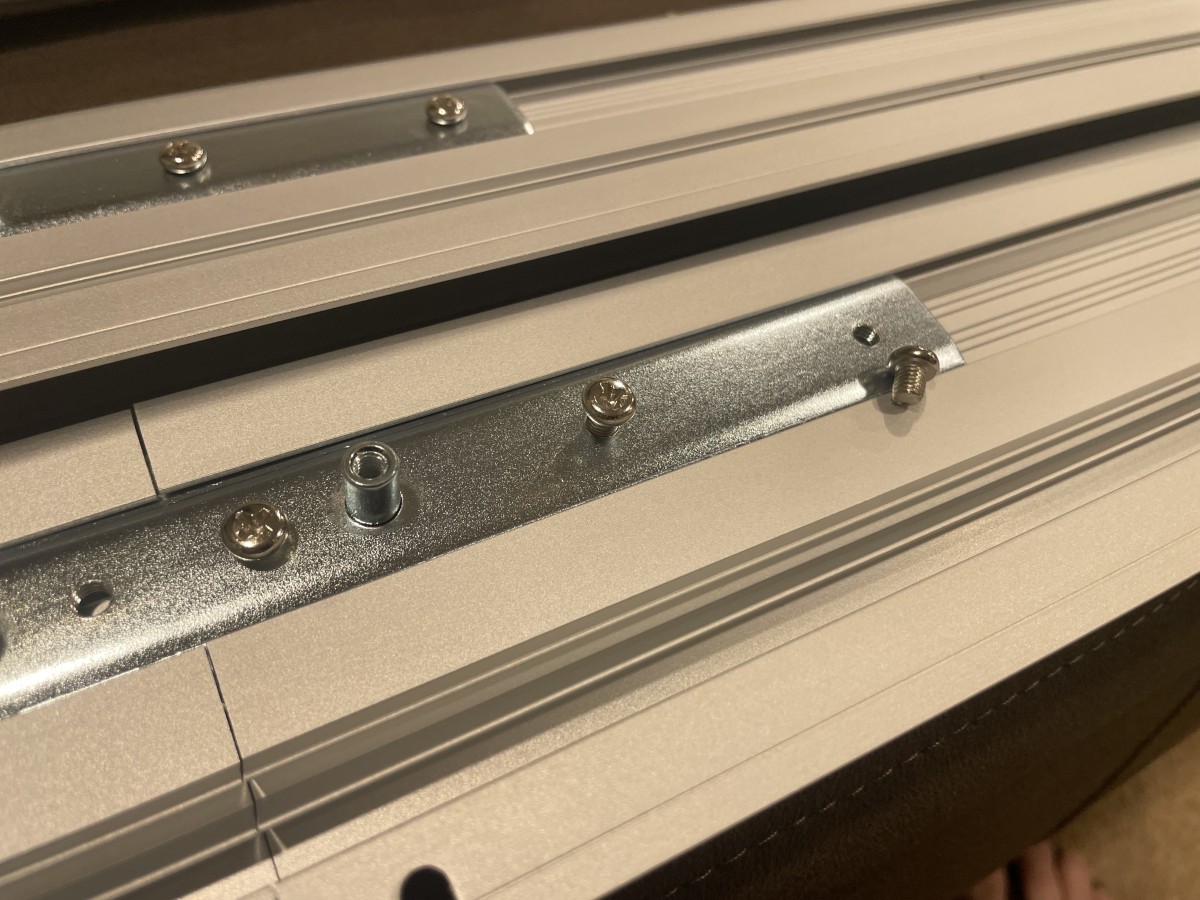
I found a few renegade screws chittering around in the bow. Be Careful not to throw them away. Thankfully, there are a few spares if you do.
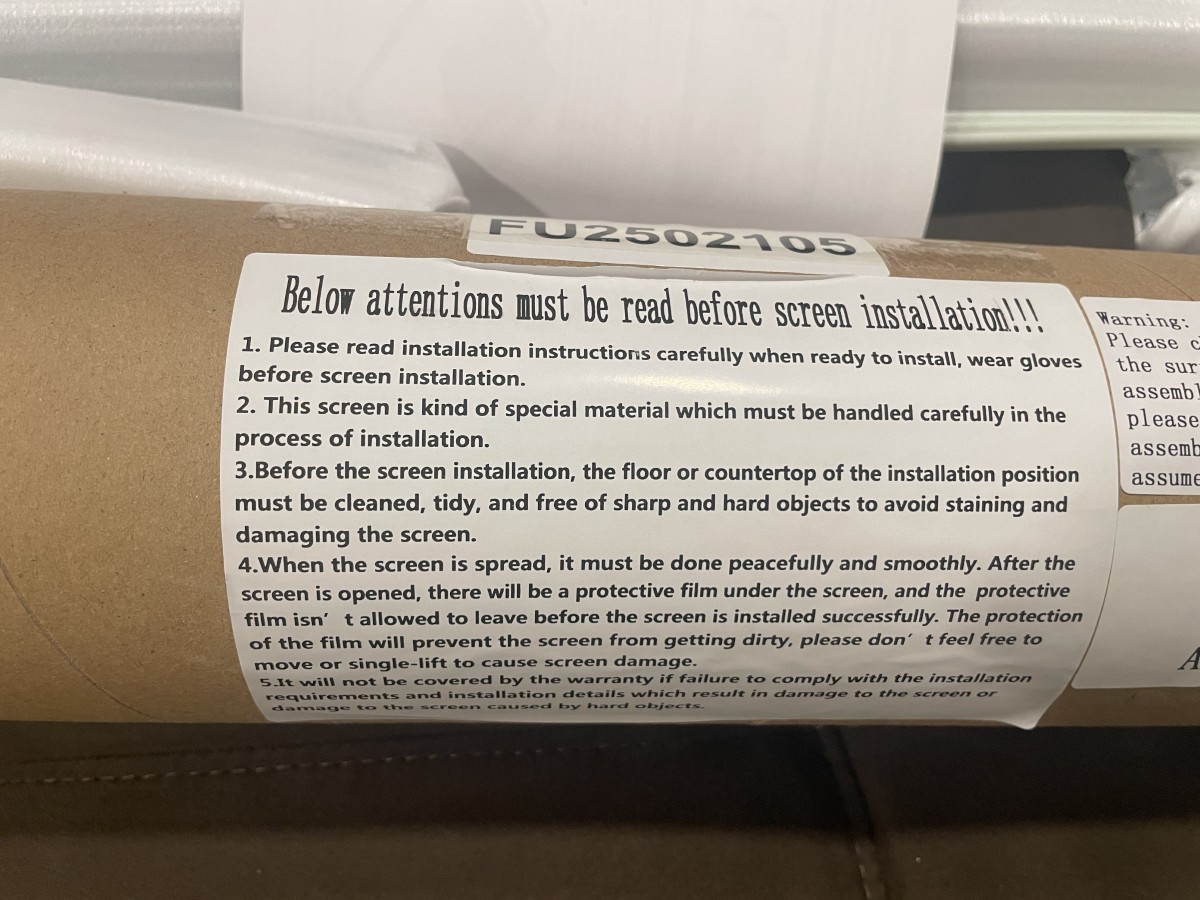
Ensure you have sufficient space and a clean, flat surface. The screen material is easily damaged. Nothing Projectors wisely includes two pairs of gloves to minimize mishaps.
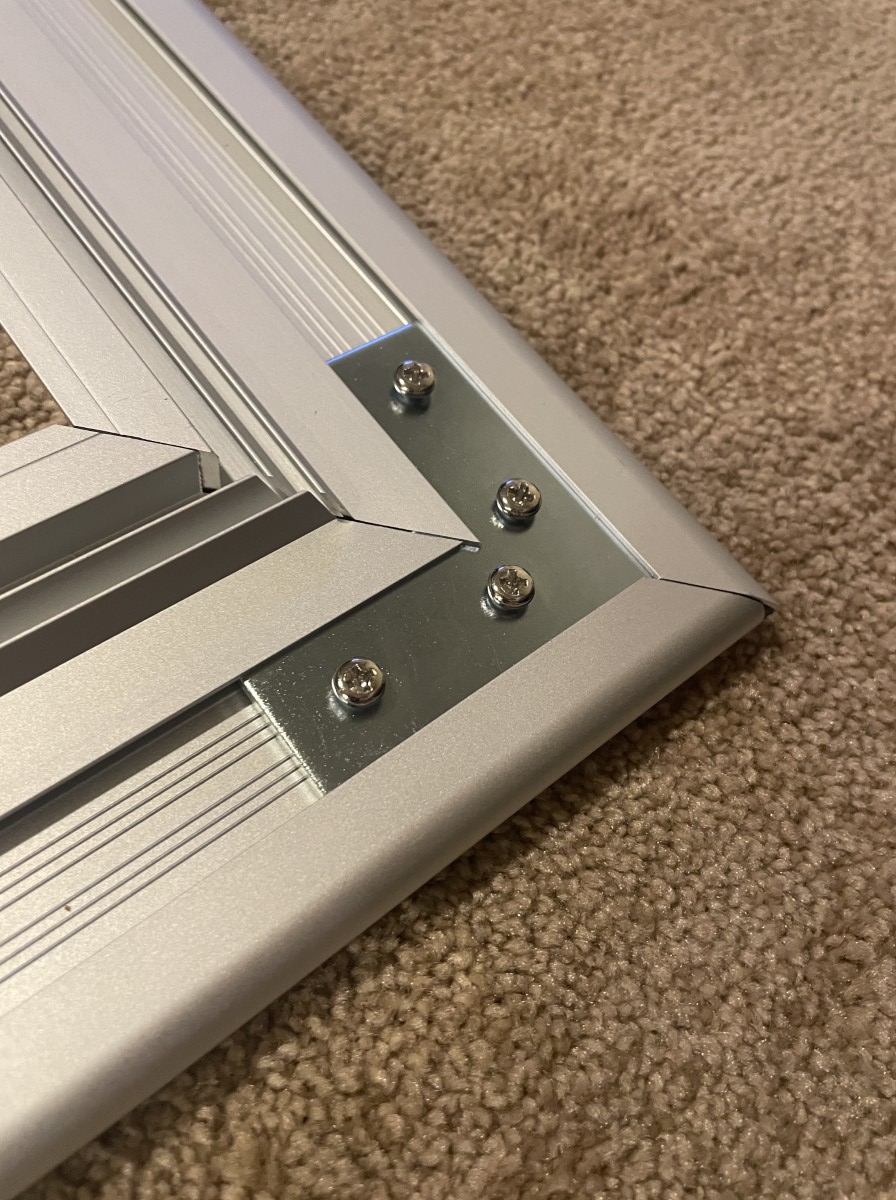
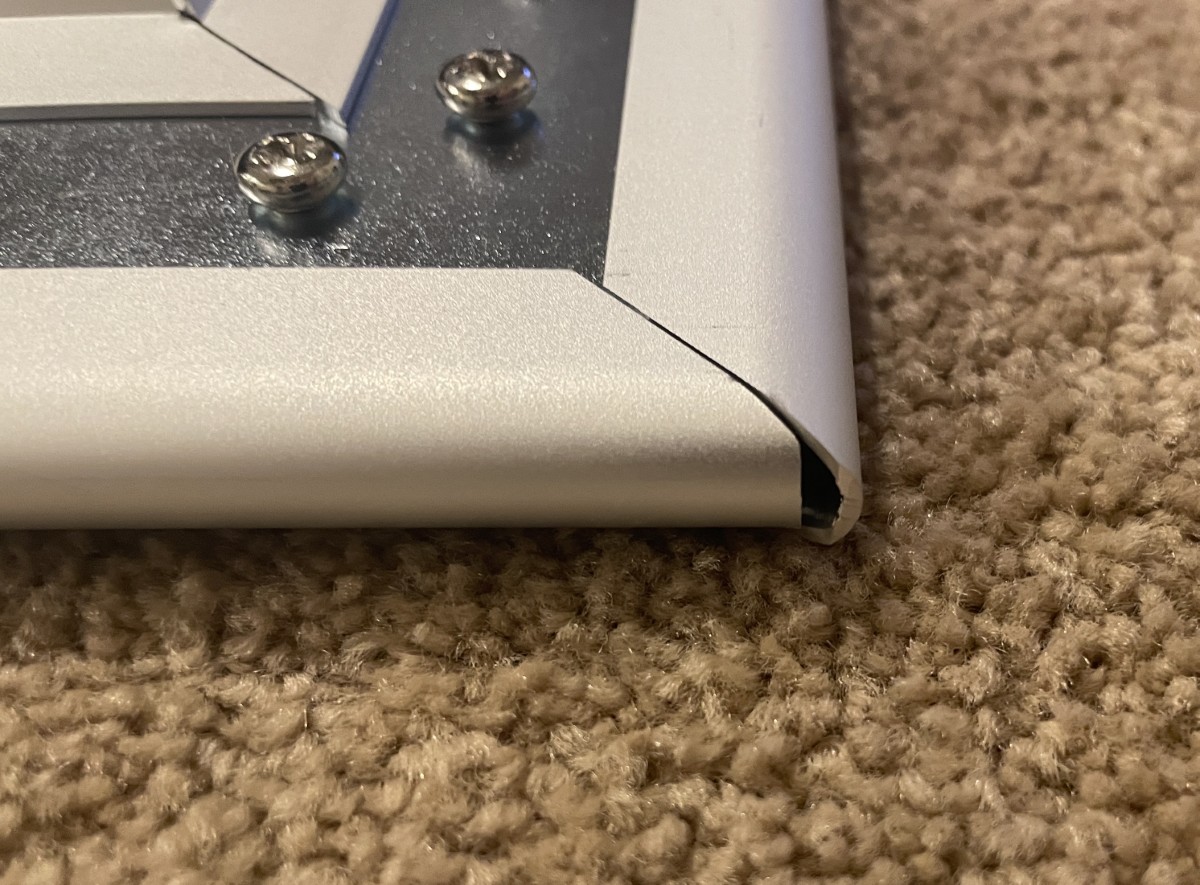
Construction starts with the inner frame. The parts fit together well, but the corners didn’t look as precise as I expected in a $1,000 screen.
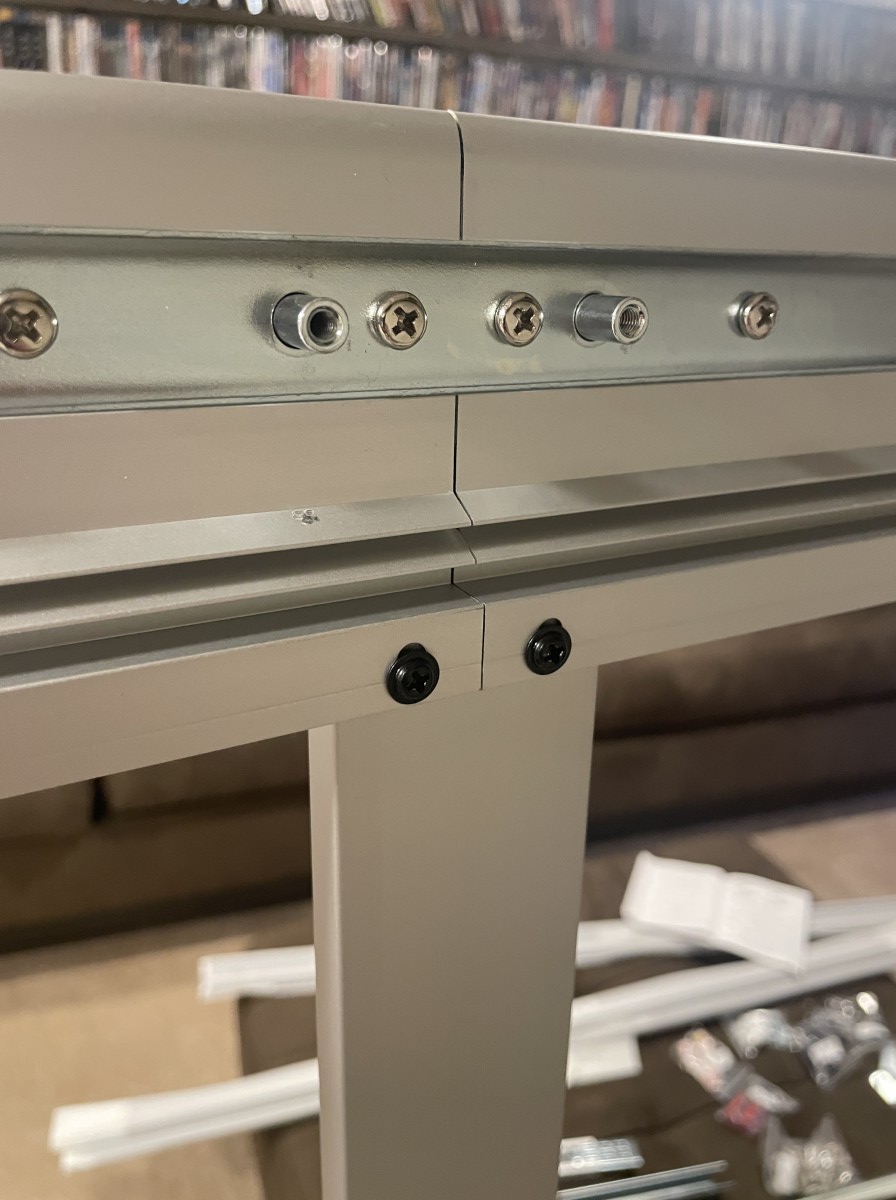
The unions between the upper and lower frames were excellent.
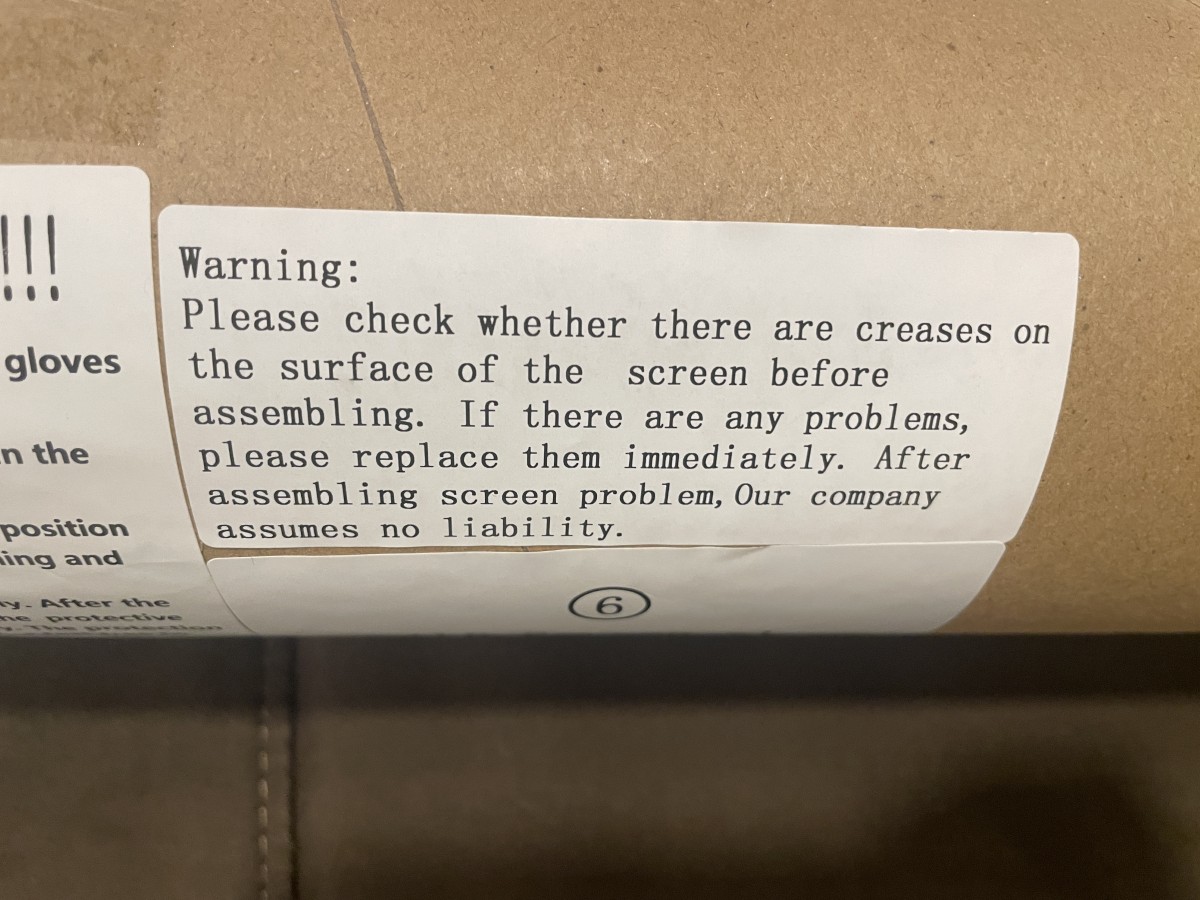
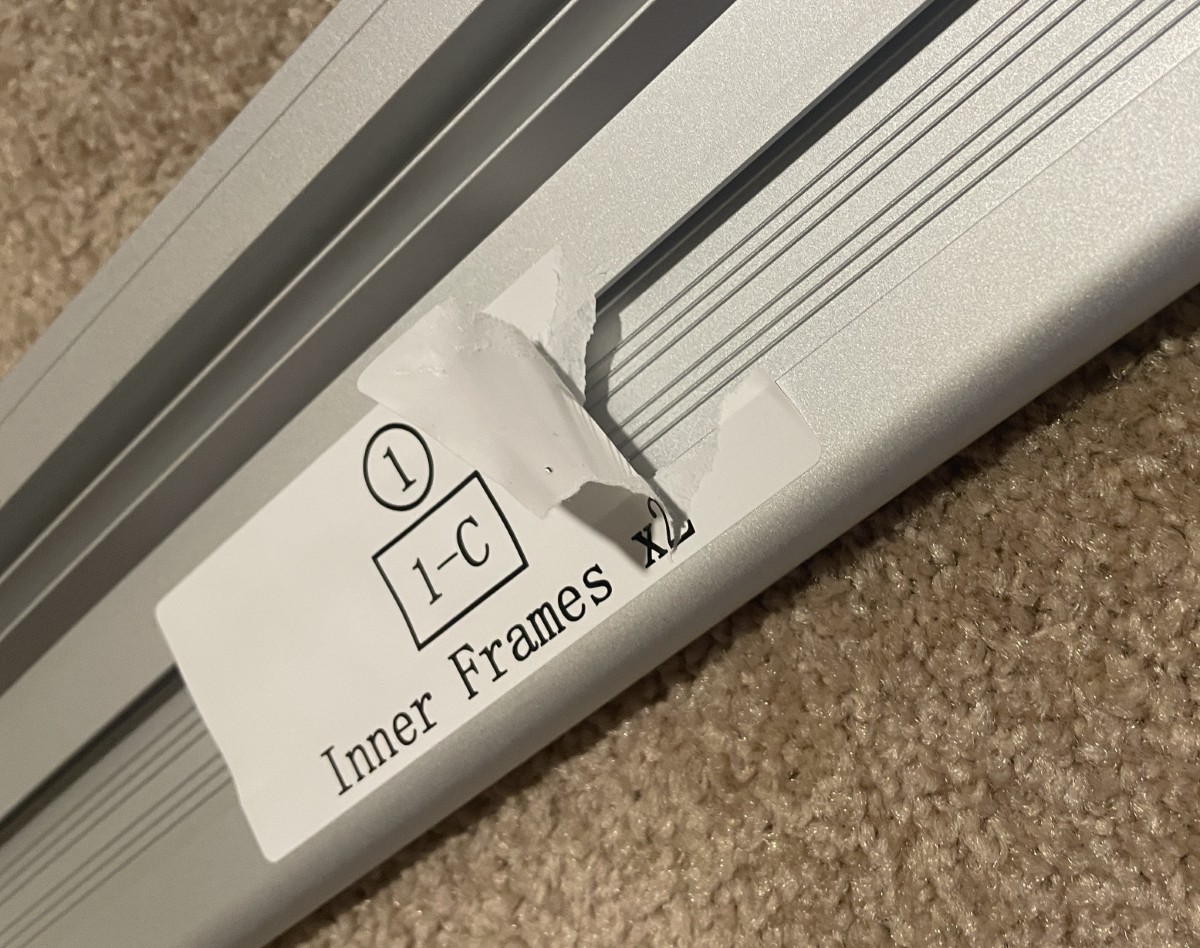
The identifying stickers didn’t peel off cleanly. I would have liked to remove them, but I was afraid to use chemicals that might react with the screen material.
With the inner frame assembled, it’s time to unroll the screen material on the floor. Nothing Projectors was thoughtful in including a fabric sheet to help prevent damage. A strong odor (resembling Gorilla Glue adhesive spray) lingered for a few days.
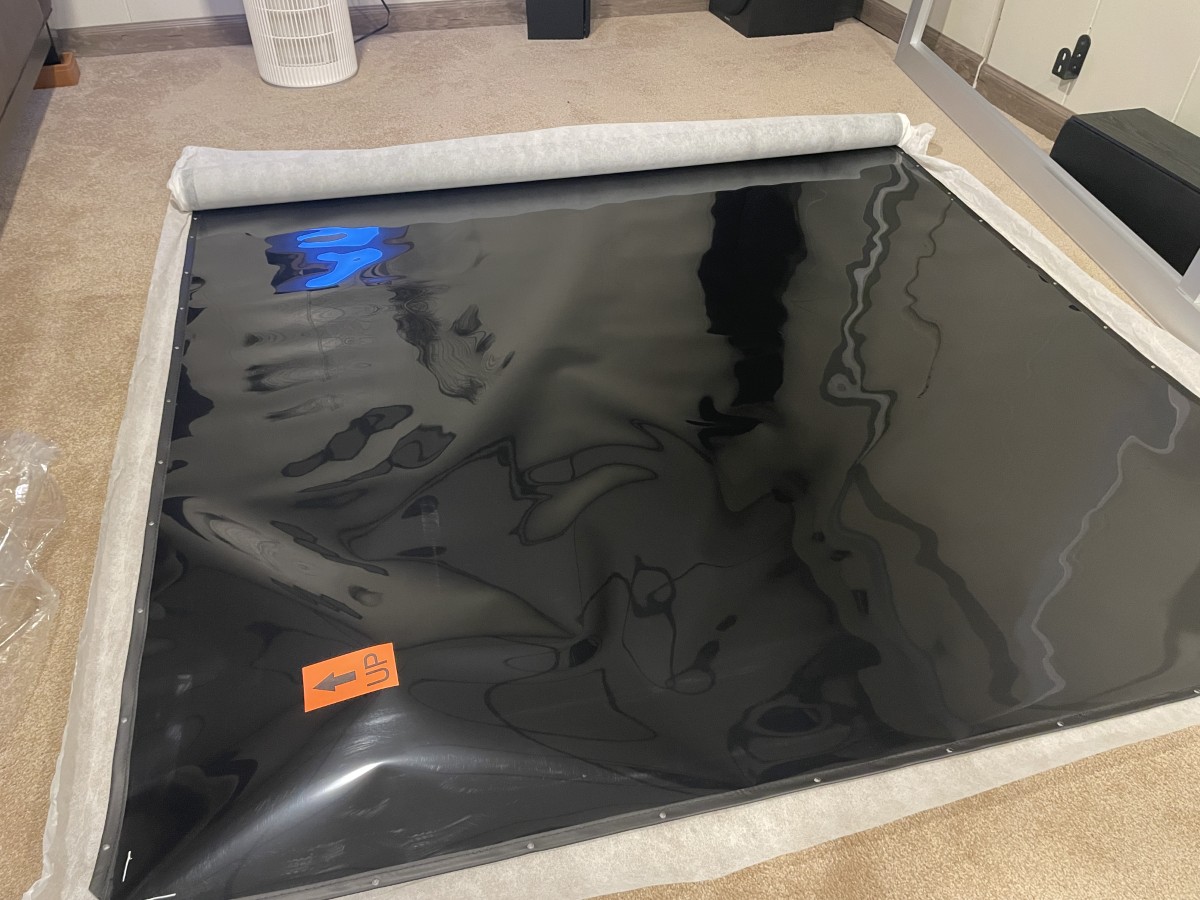
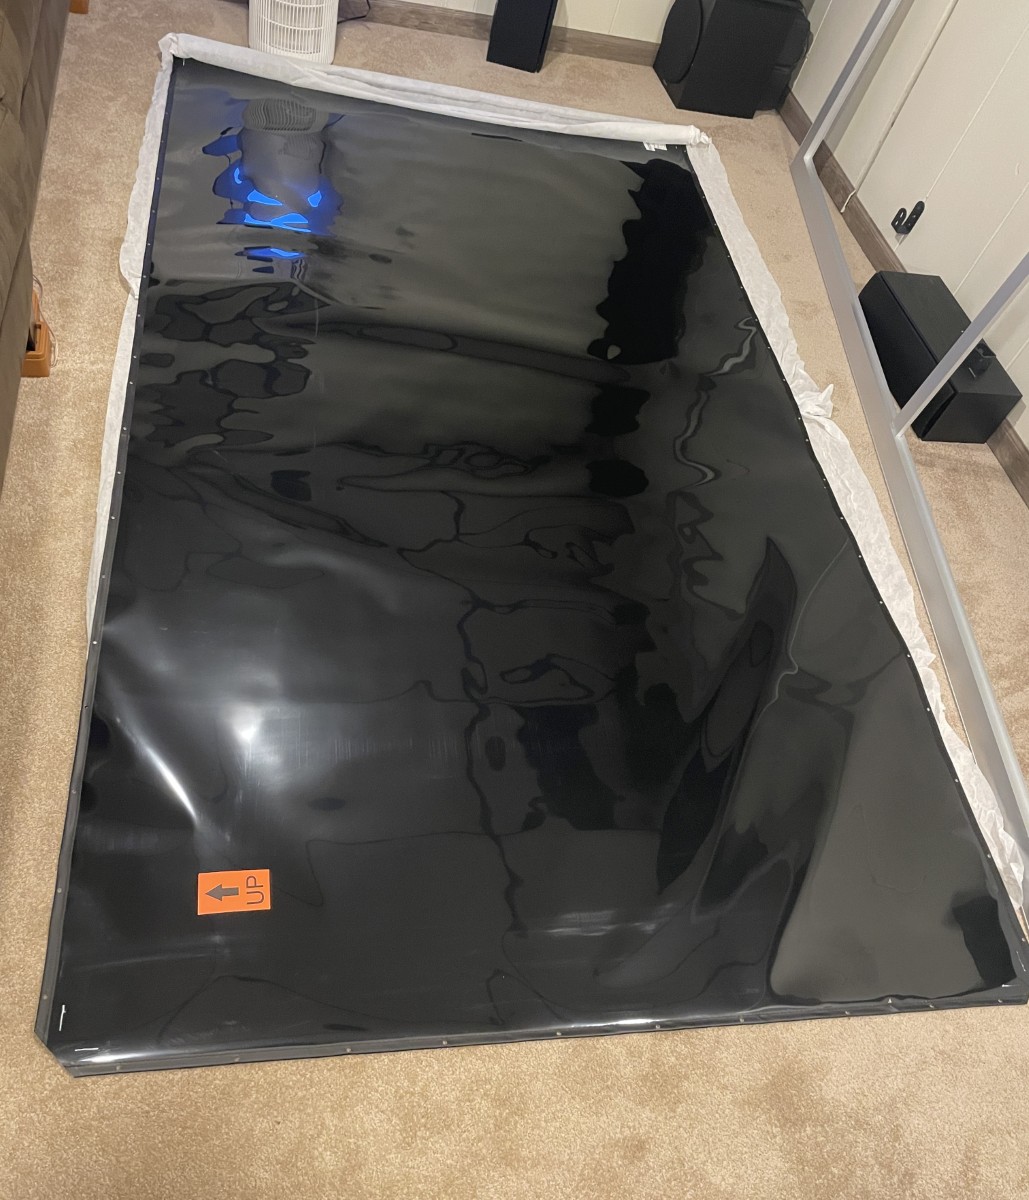
Fiberglass rods fish through sleeves around the perimeter of the screen fabric.
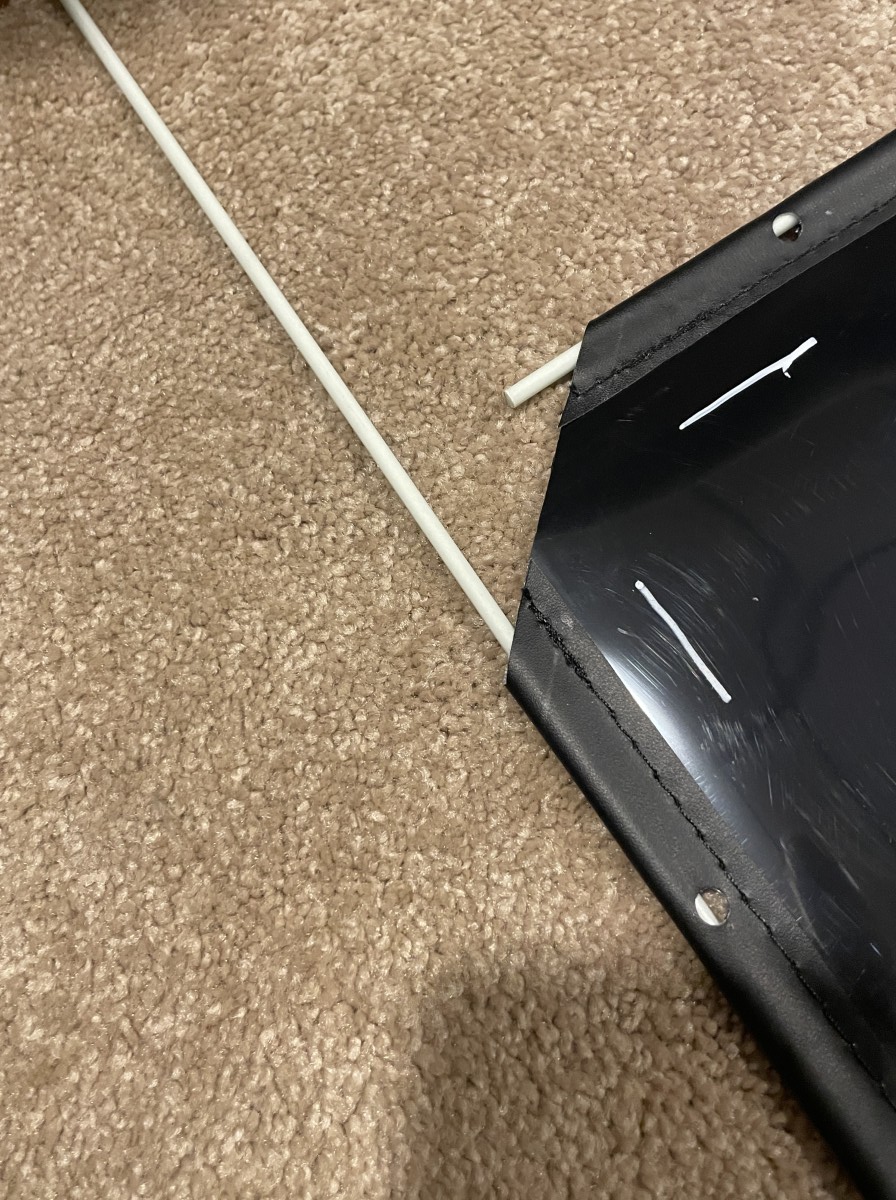
There are six rods, but the manual does not provide descriptions on how to install them. One long and one short one go in each top and bottom, and one long one on each side, but I ran into some trouble here, too – a wrinkle in the sleeve prevented the rod from freely moving, which took almost an hour to resolve.
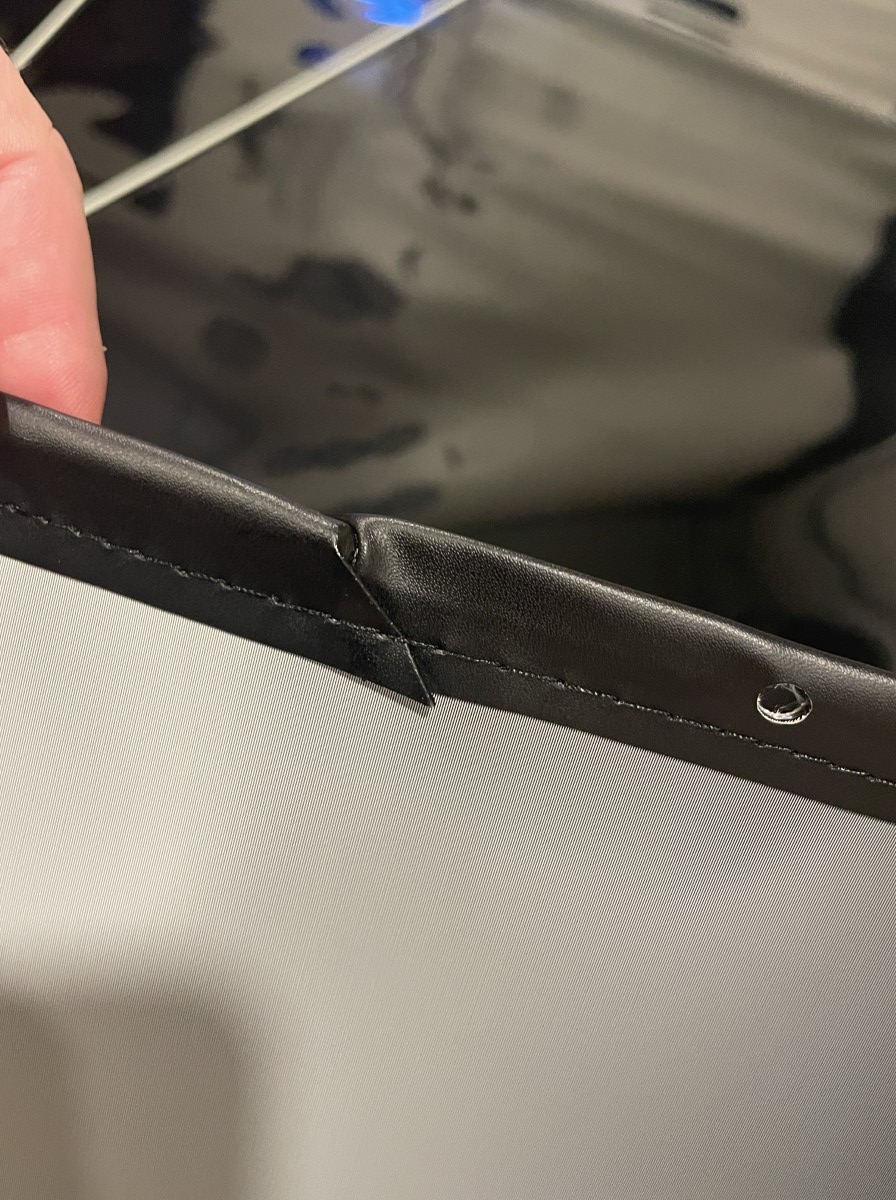
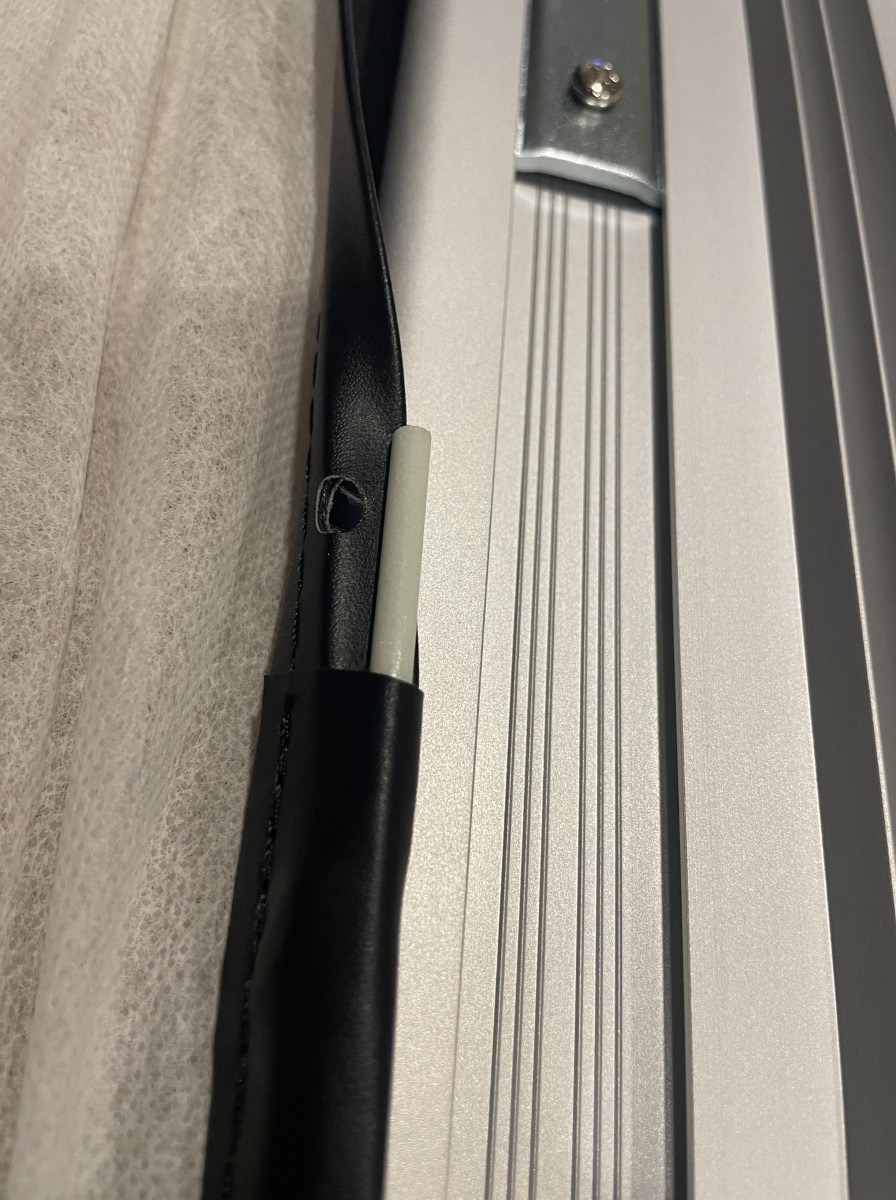
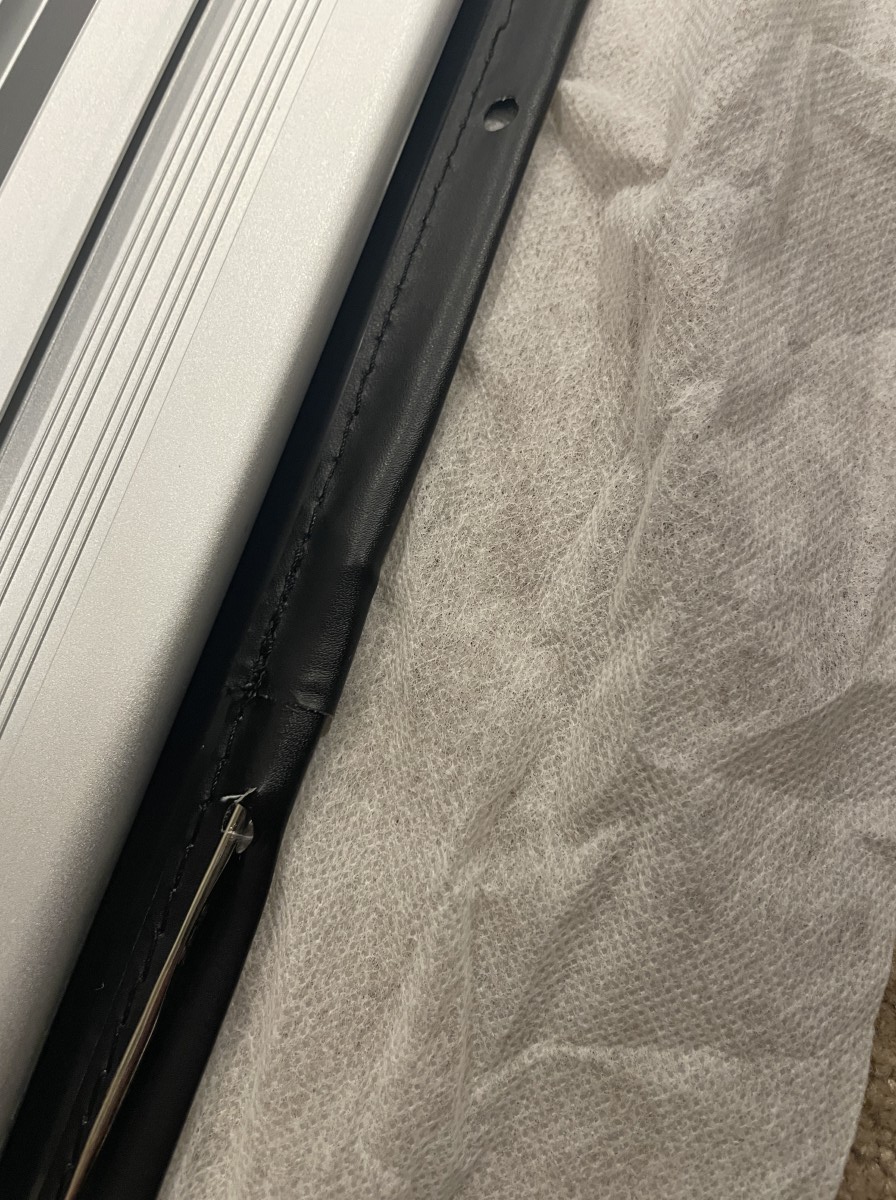
Additionally, a lack of stitching on another sleeve permitted the rod to protrude unexpectedly. My wife came to the rescue with a crochet needle, which successfully guided the rod through.
The manual illustrates the correct order for installing the tension springs. I appreciate the pull loops and the two-level adjustment – Less tension on the outer rib, more on the inner. The screen was mostly smooth and tight on the first try.
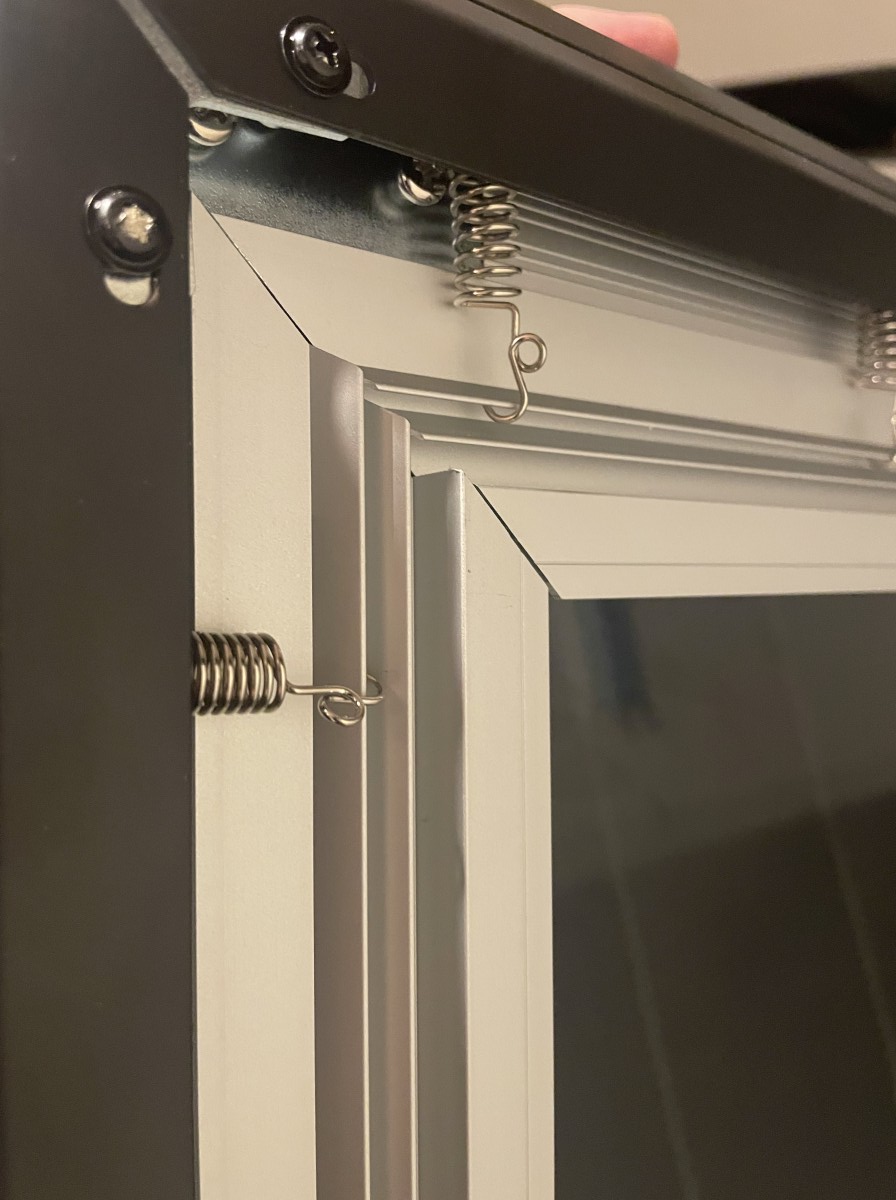
The last step is to assemble the outer frame by attaching it to the inner frame and corner connectors using screws. I was able to get three sides to connect, but spent well over an hour fumbling around to get the screws to line up and get the final piece in place. Ultimately, I was disappointed that the outer frame corners did not align well and looked unfinished.
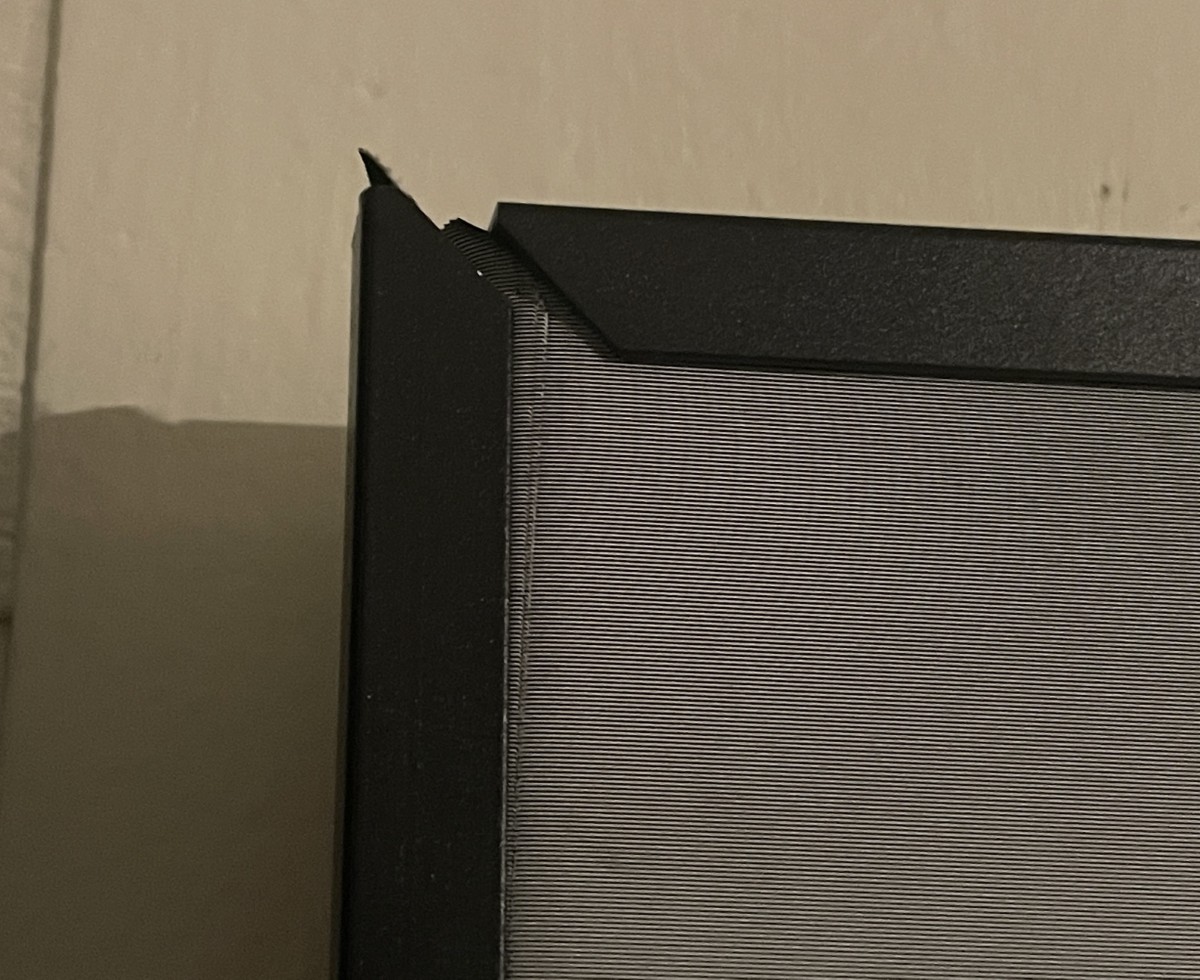
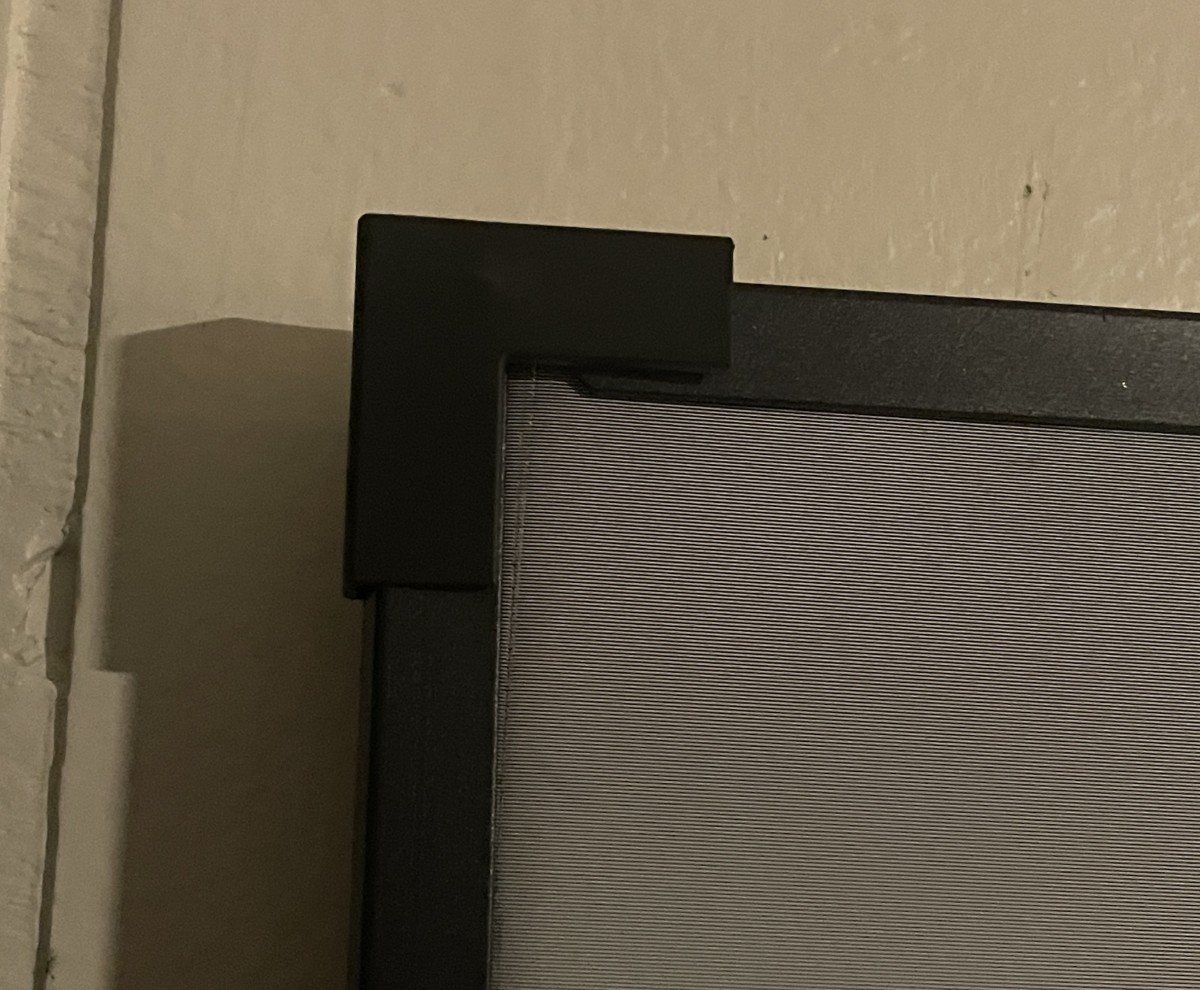
Thankfully, Nothing Projectors included these little plastic pieces to bridge the gaps. It’s attractive, but they pop off easily.
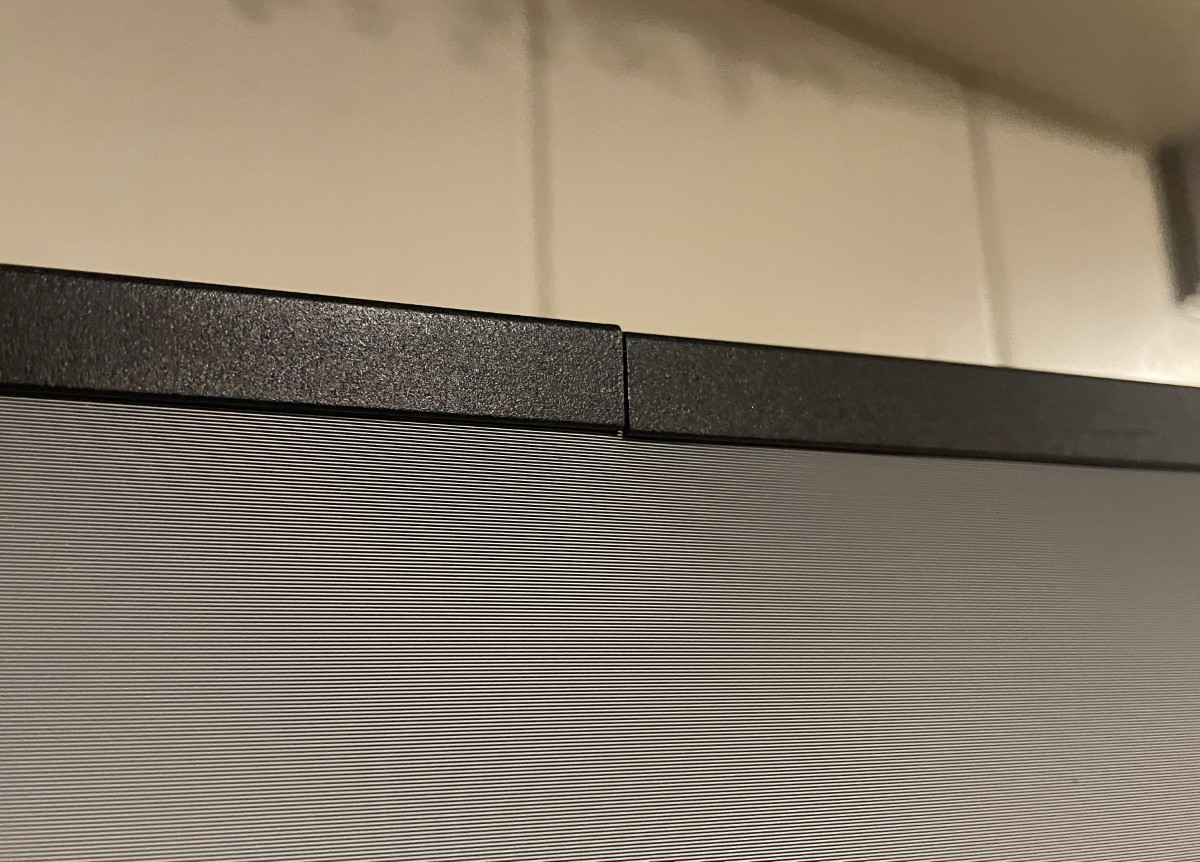
The middle seams look good.
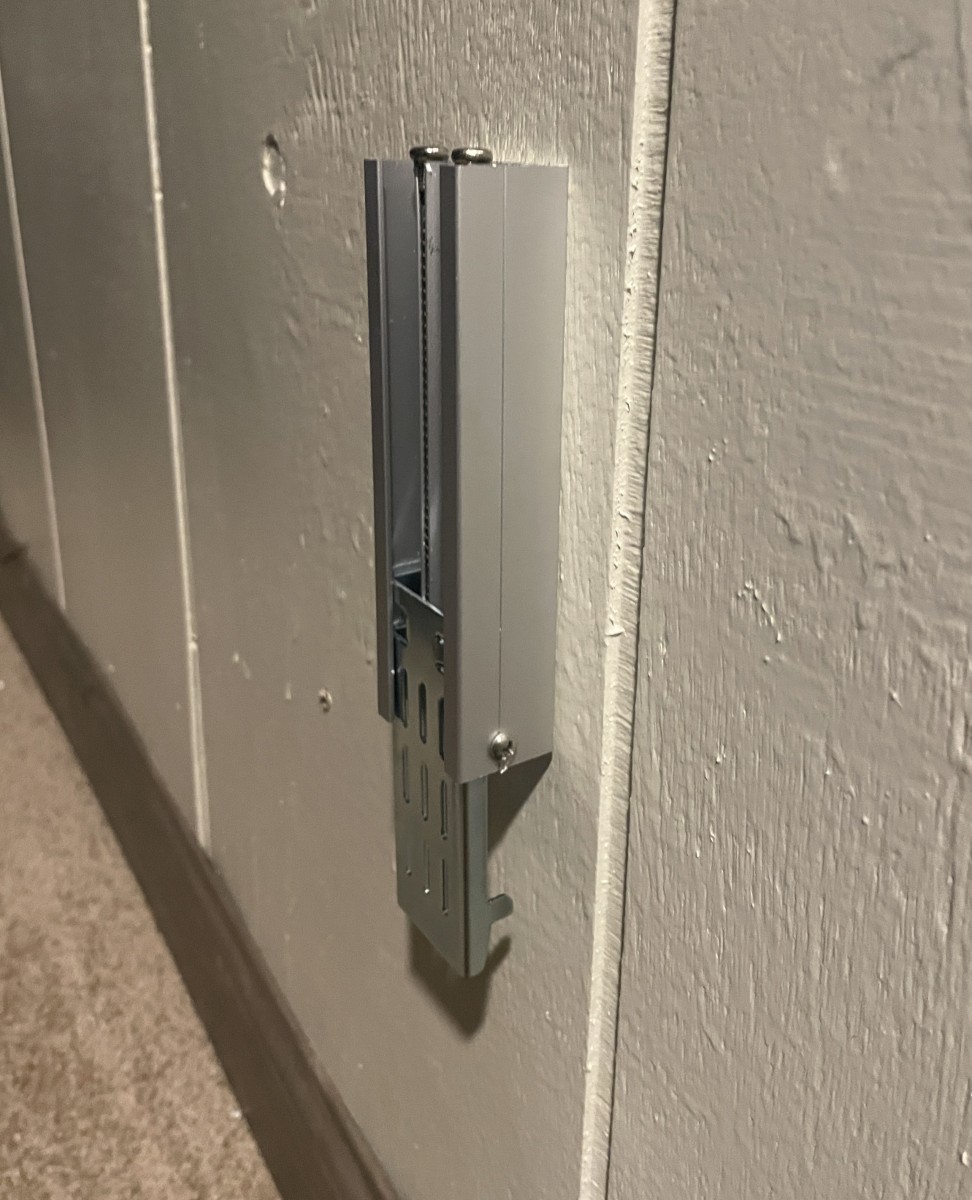
Now the assembled frame attaches to the wall. I like the brackets very much. The upper pair engages with the innermost edge of the inner frame.
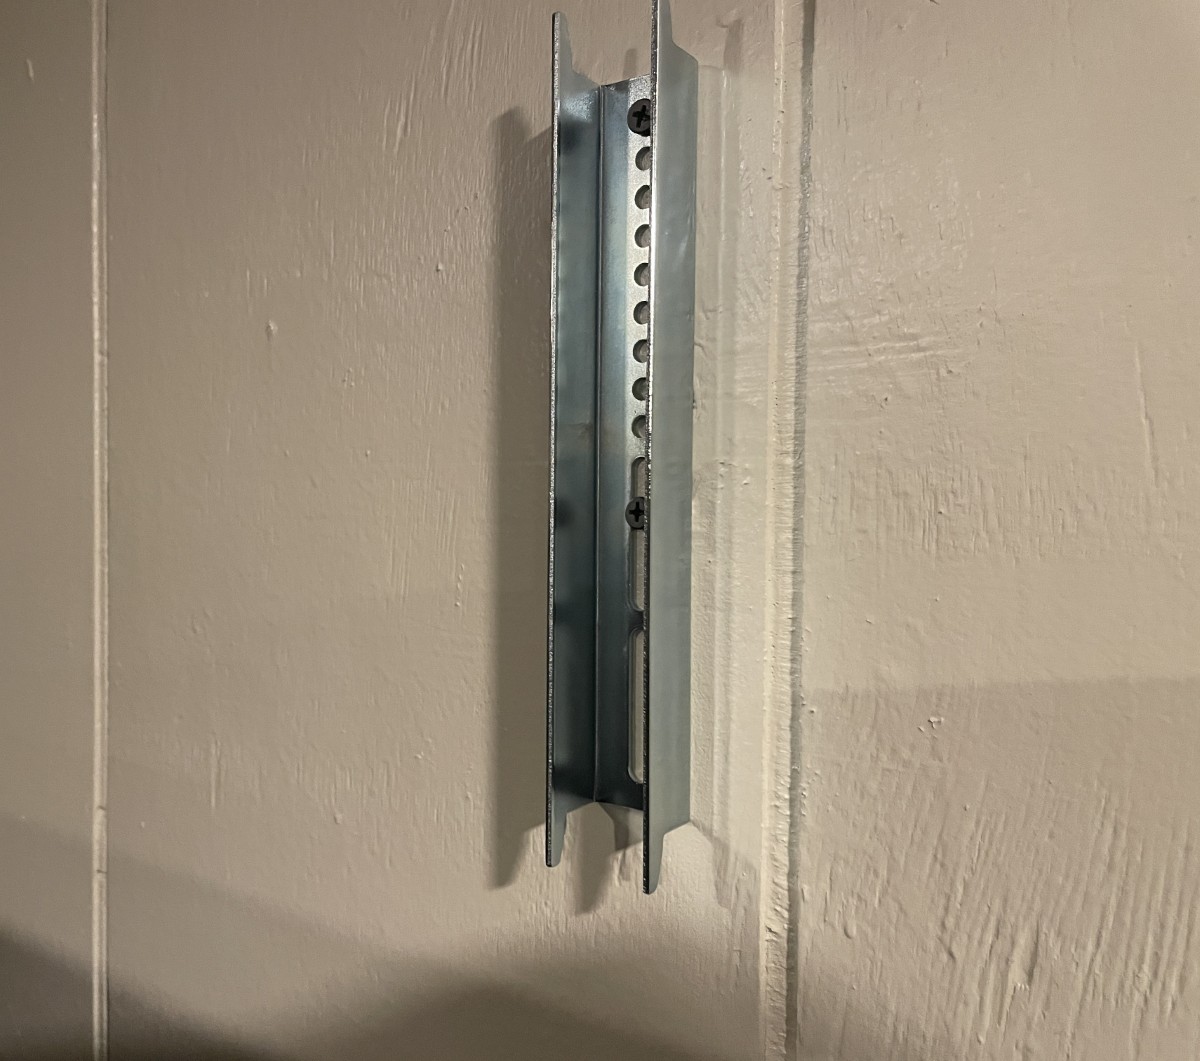
The lower brackets are spring-loaded. To attach the frame to the wall, start at the bottom and lift the screen to compress the springs, then push the top of the frame against the wall. It’s very secure.
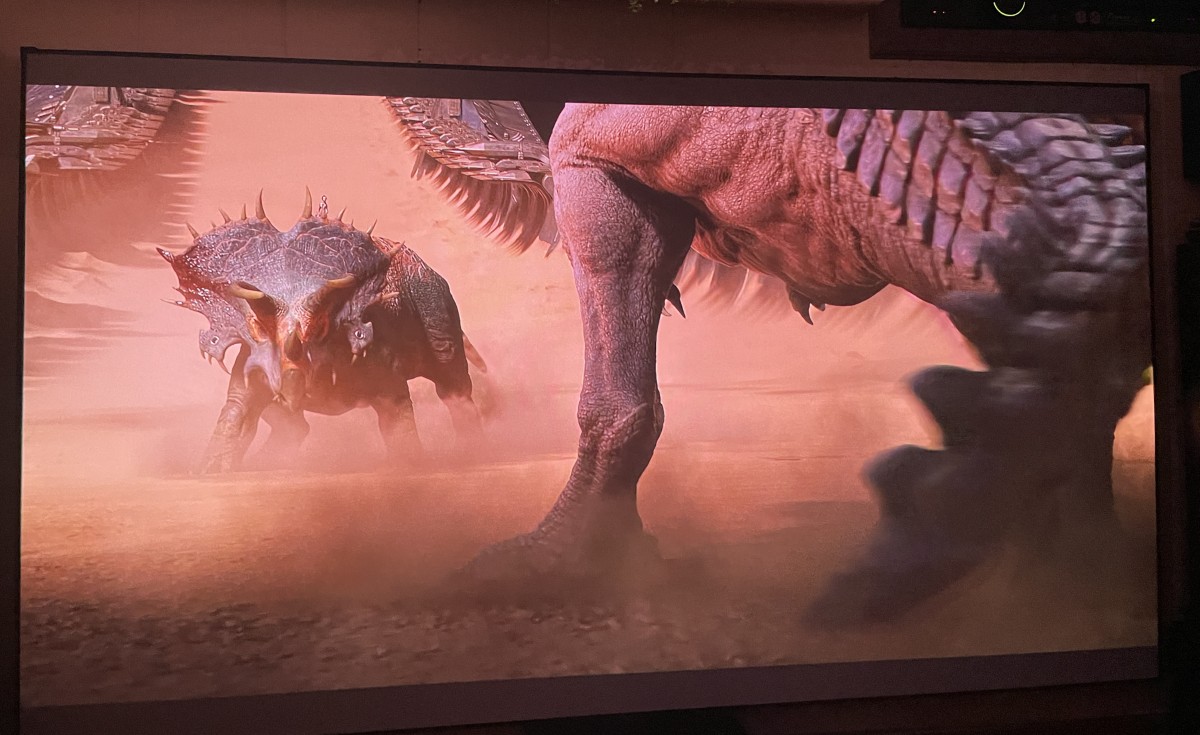
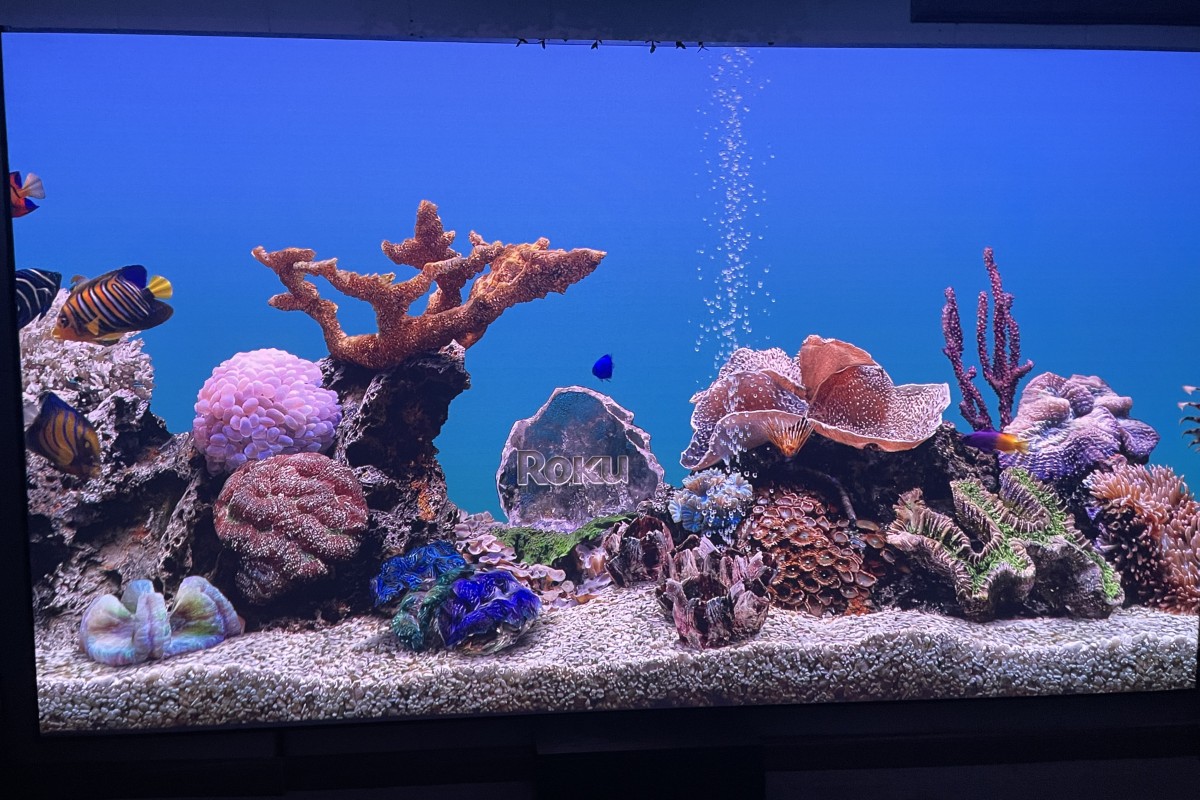
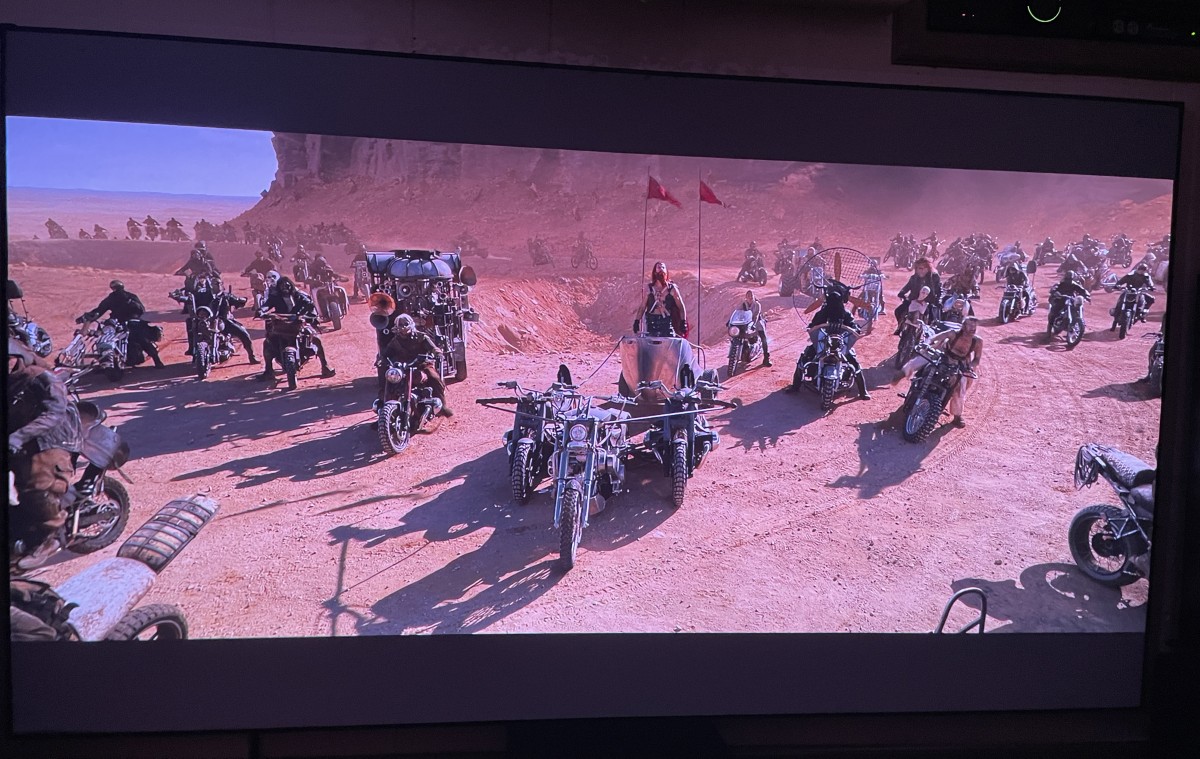
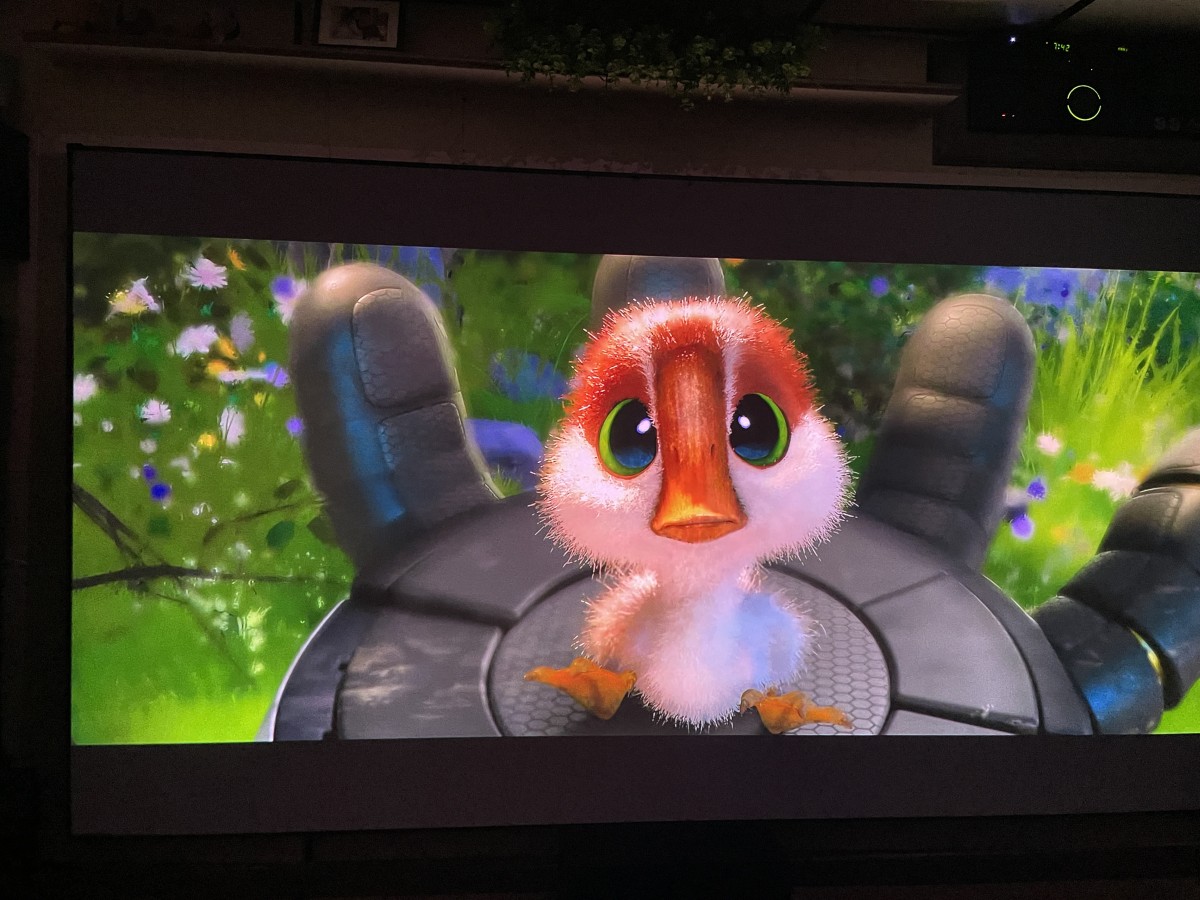
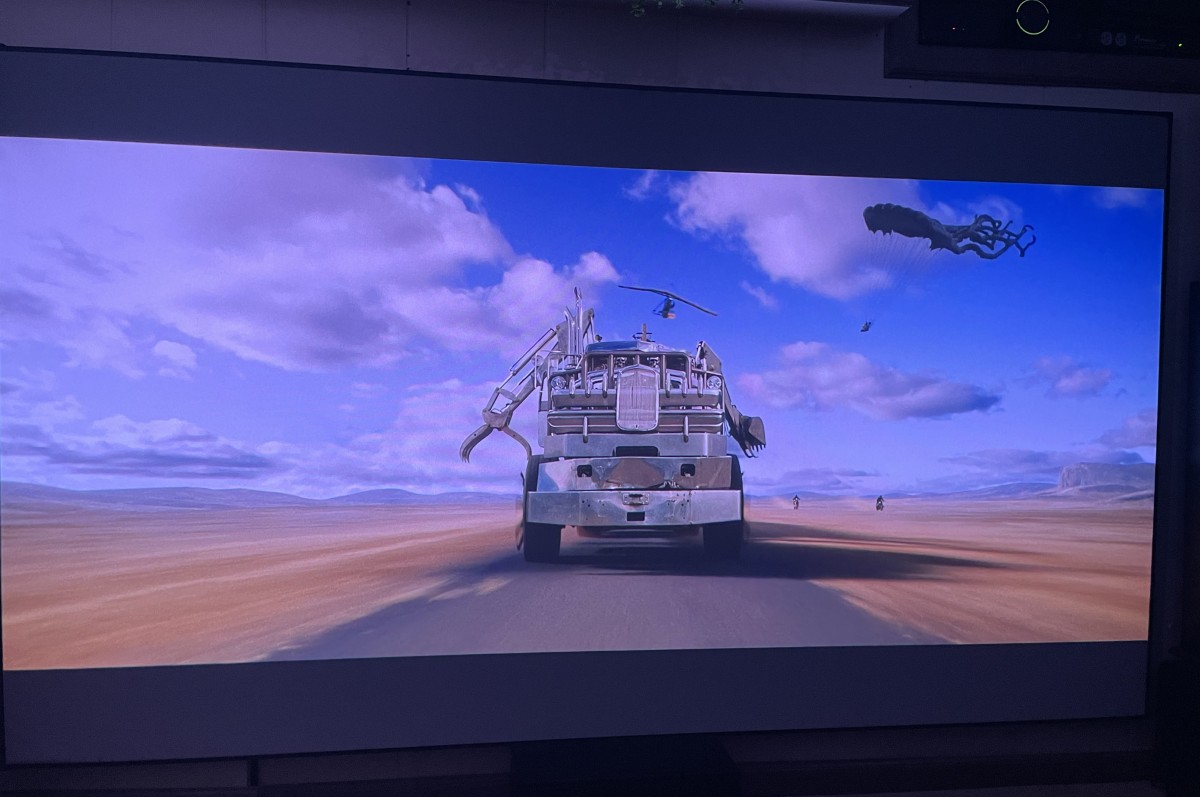
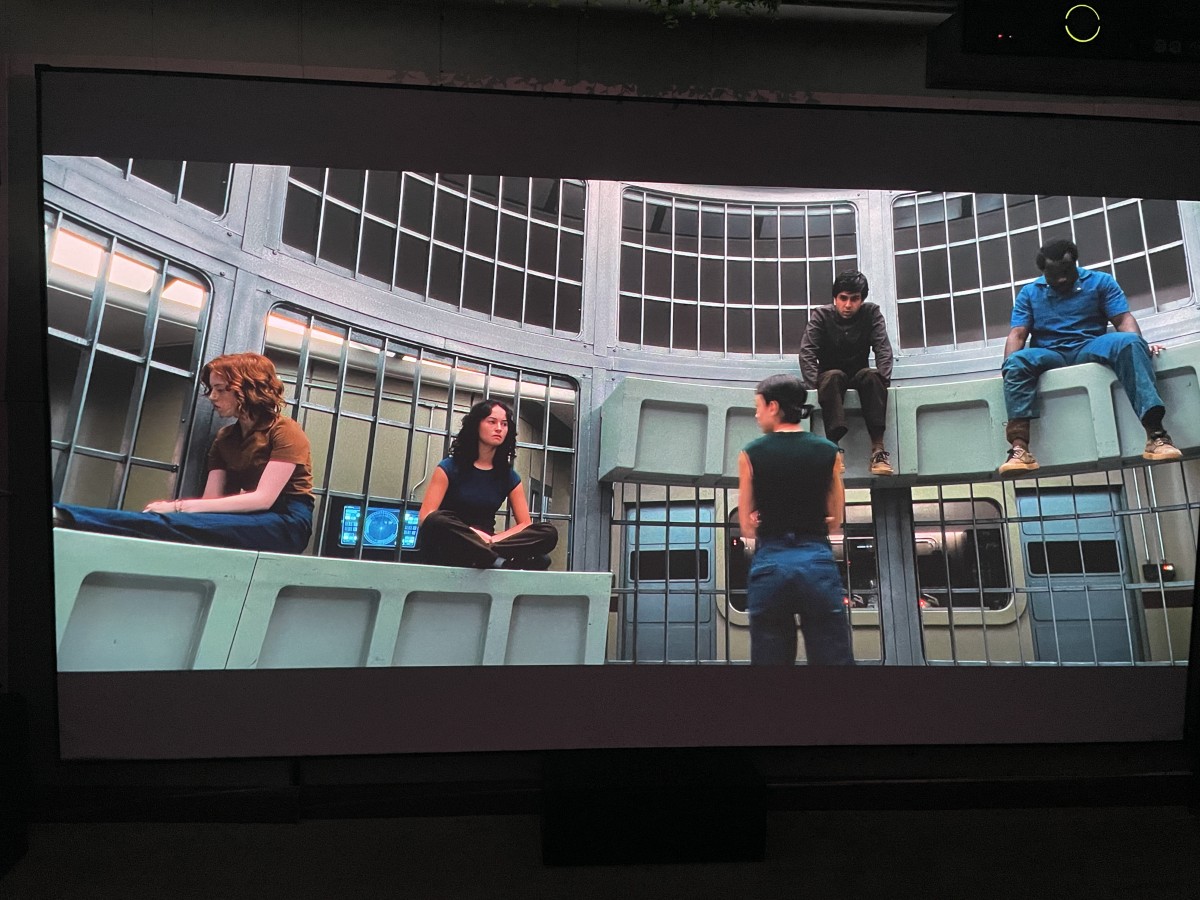
The finished screen looks great! There was an immediate improvement in contrast and black levels, particularly when the light was on.
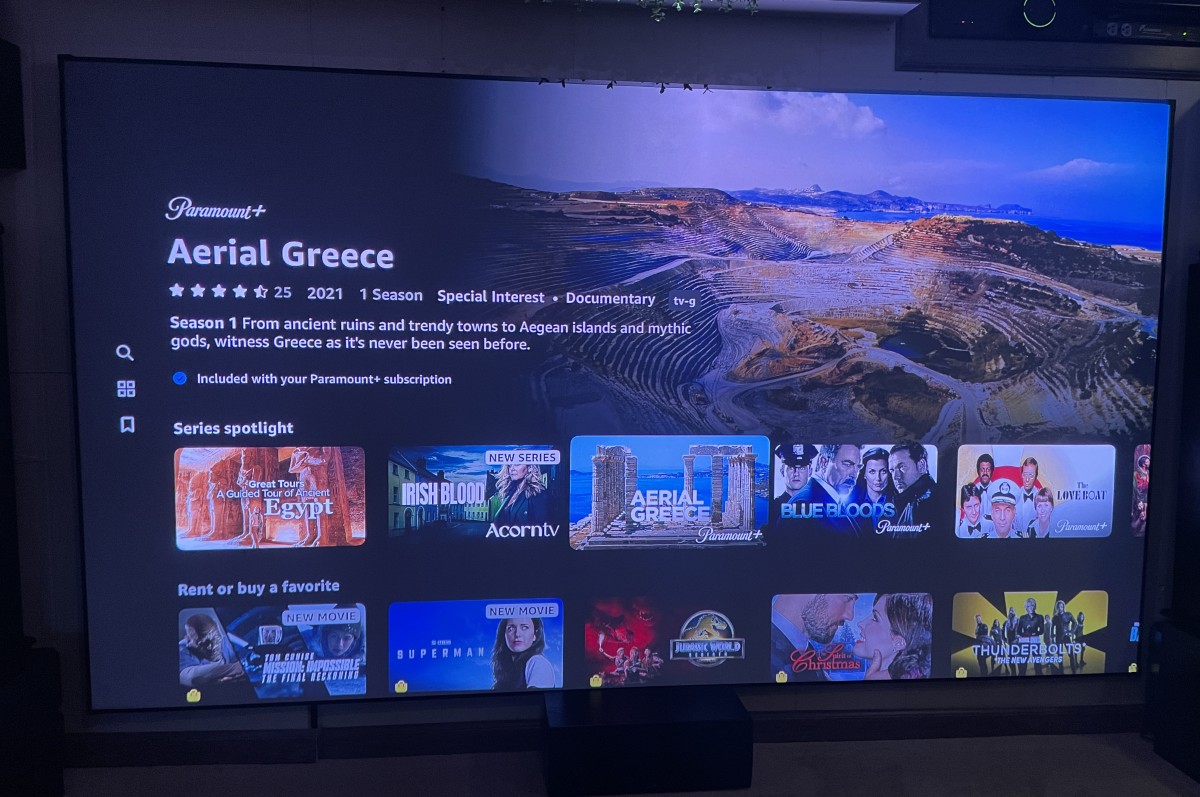
I spent a few hours getting my projector recalibrated, and the image is the closest I’ve ever had to perfection —a definite improvement over a non-ALR screen. Nice!
Final thoughts
My home theater has undergone many overhauls and iterations. Few are as dramatic as the inclusion of a good screen. The Nothing Projector ALR Screen improves contrast, black levels, and brightness. My wife noticed the image difference, too! The instruction manual, fiberglass rod sleeve stitching, and frame fitment could be improved, but overall, the screen is attractive, and I love the final results. Great job, and thank you, Nothing Projector!
What I like about the Nothing Projector 120″ ALR UST screen
- Excellent light blocking, black levels, color, and clarity
- The wall brackets are solid.
- The finished screen looks great.
What needs to be improved?
- The manual requires significant improvements, reorganization, clarification, and additional detail to enhance its effectiveness.
- I encountered some quality control issues with the fiberglass rod channels, which made the assembly process frustrating.
- Not the best choice for ceiling-mounted UST projectors (unless your ambient lighting is on the floor;-))
- The fit of the outer frame is disappointing, especially considering the $1,000 investment.
- Due to the screen’s properties, it’s highly susceptible to smudges and scratches.
Price: $626 for 100″, $1090 for 110″ and 120″, $399 and $799 on Amazon
Where to buy: Nothing Projector, Amazon
Source: Nothing Projector provided a free sample for this review, but did not provide input, guidance, or editing prior to publication.
Check out these projector reviews!
Love our content?
Sign up for our newsletter today.
No ads, no spam, just links to our latest articles!
HAPPRUN Native 1080P Bluetooth Projector, Full HD Portable Outdoor Movie Projector with Built-in Speaker, Compatible with Smartphone, HDMI, USB, AV, Fire Stick, PS5 for Home, Bedroom, Outdoor Use
10% Off $99.99 $89.99 (as of October 7, 2025 21:25 GMT -04:00 – More infoProduct prices and availability are accurate as of the date/time indicated and are subject to change. Any price and availability information displayed on [relevant Amazon Site(s), as applicable] at the time of purchase will apply to the purchase of this product.)


![Nothing Projector 120" ALR Short-Throw Projection Screen review [ Native 1080P Full HD Resolution ] - Enjoy crystal-clear visuals with HAPPRUN H1's native 1920x1080 resolution, delivering sharper, brighter, and more vibrant images for an immersive viewing experience. This 1080p projector is perfect for creating a...](https://m.media-amazon.com/images/I/51GC9+X+r3L._SL160_.jpg)