When it comes to optimizing performance on the ice, every detail counts—and that includes how you lace your skates.
Proper skate lacing isn’t just about keeping your boots on; it’s essential for comfort, support, and performance. Whether you’re just starting out or you’re a seasoned pro, knowing how to lace hockey skates the right way can reduce foot pain, prevent injuries, and give you greater control over your game.

Why Proper Lacing Matters
The way you lace your skates directly impacts your ankle support, stability, and overall comfort. Poor lacing can lead to reduced power in your strides and even contribute to serious foot issues like lace bite.
On the flip side, good lacing techniques ensure your foot is snugly locked in place, improving your agility and reducing the risk of injury. This secure fit not only boosts your confidence with every stride but also helps maximize energy transfer.
Think of your skates as a high-performance vehicle. You wouldn’t drive a race car without adjusting your seatbelt, right? Lacing your skates properly helps your body and gear work together in harmony.
Too-tight laces may restrict circulation, causing numbness and discomfort. Too loose, and your ankles lack the support they need to make quick cuts or stay stable. That’s why learning the fundamentals—and a few advanced tricks—can give you a real edge and a more enjoyable ride every time you hit the ice.
Understanding Lace Types and Choosing the Right One
When you’re gearing up, the type of skate laces you choose matters. Laces come in a variety of lengths, textures, and designs; the right pair can make all the difference—helping you dial in the perfect fit, avoid unnecessary pressure points, and stay focused on performance.
Here’s what you need to know:
Waxed vs. Non-Waxed Laces
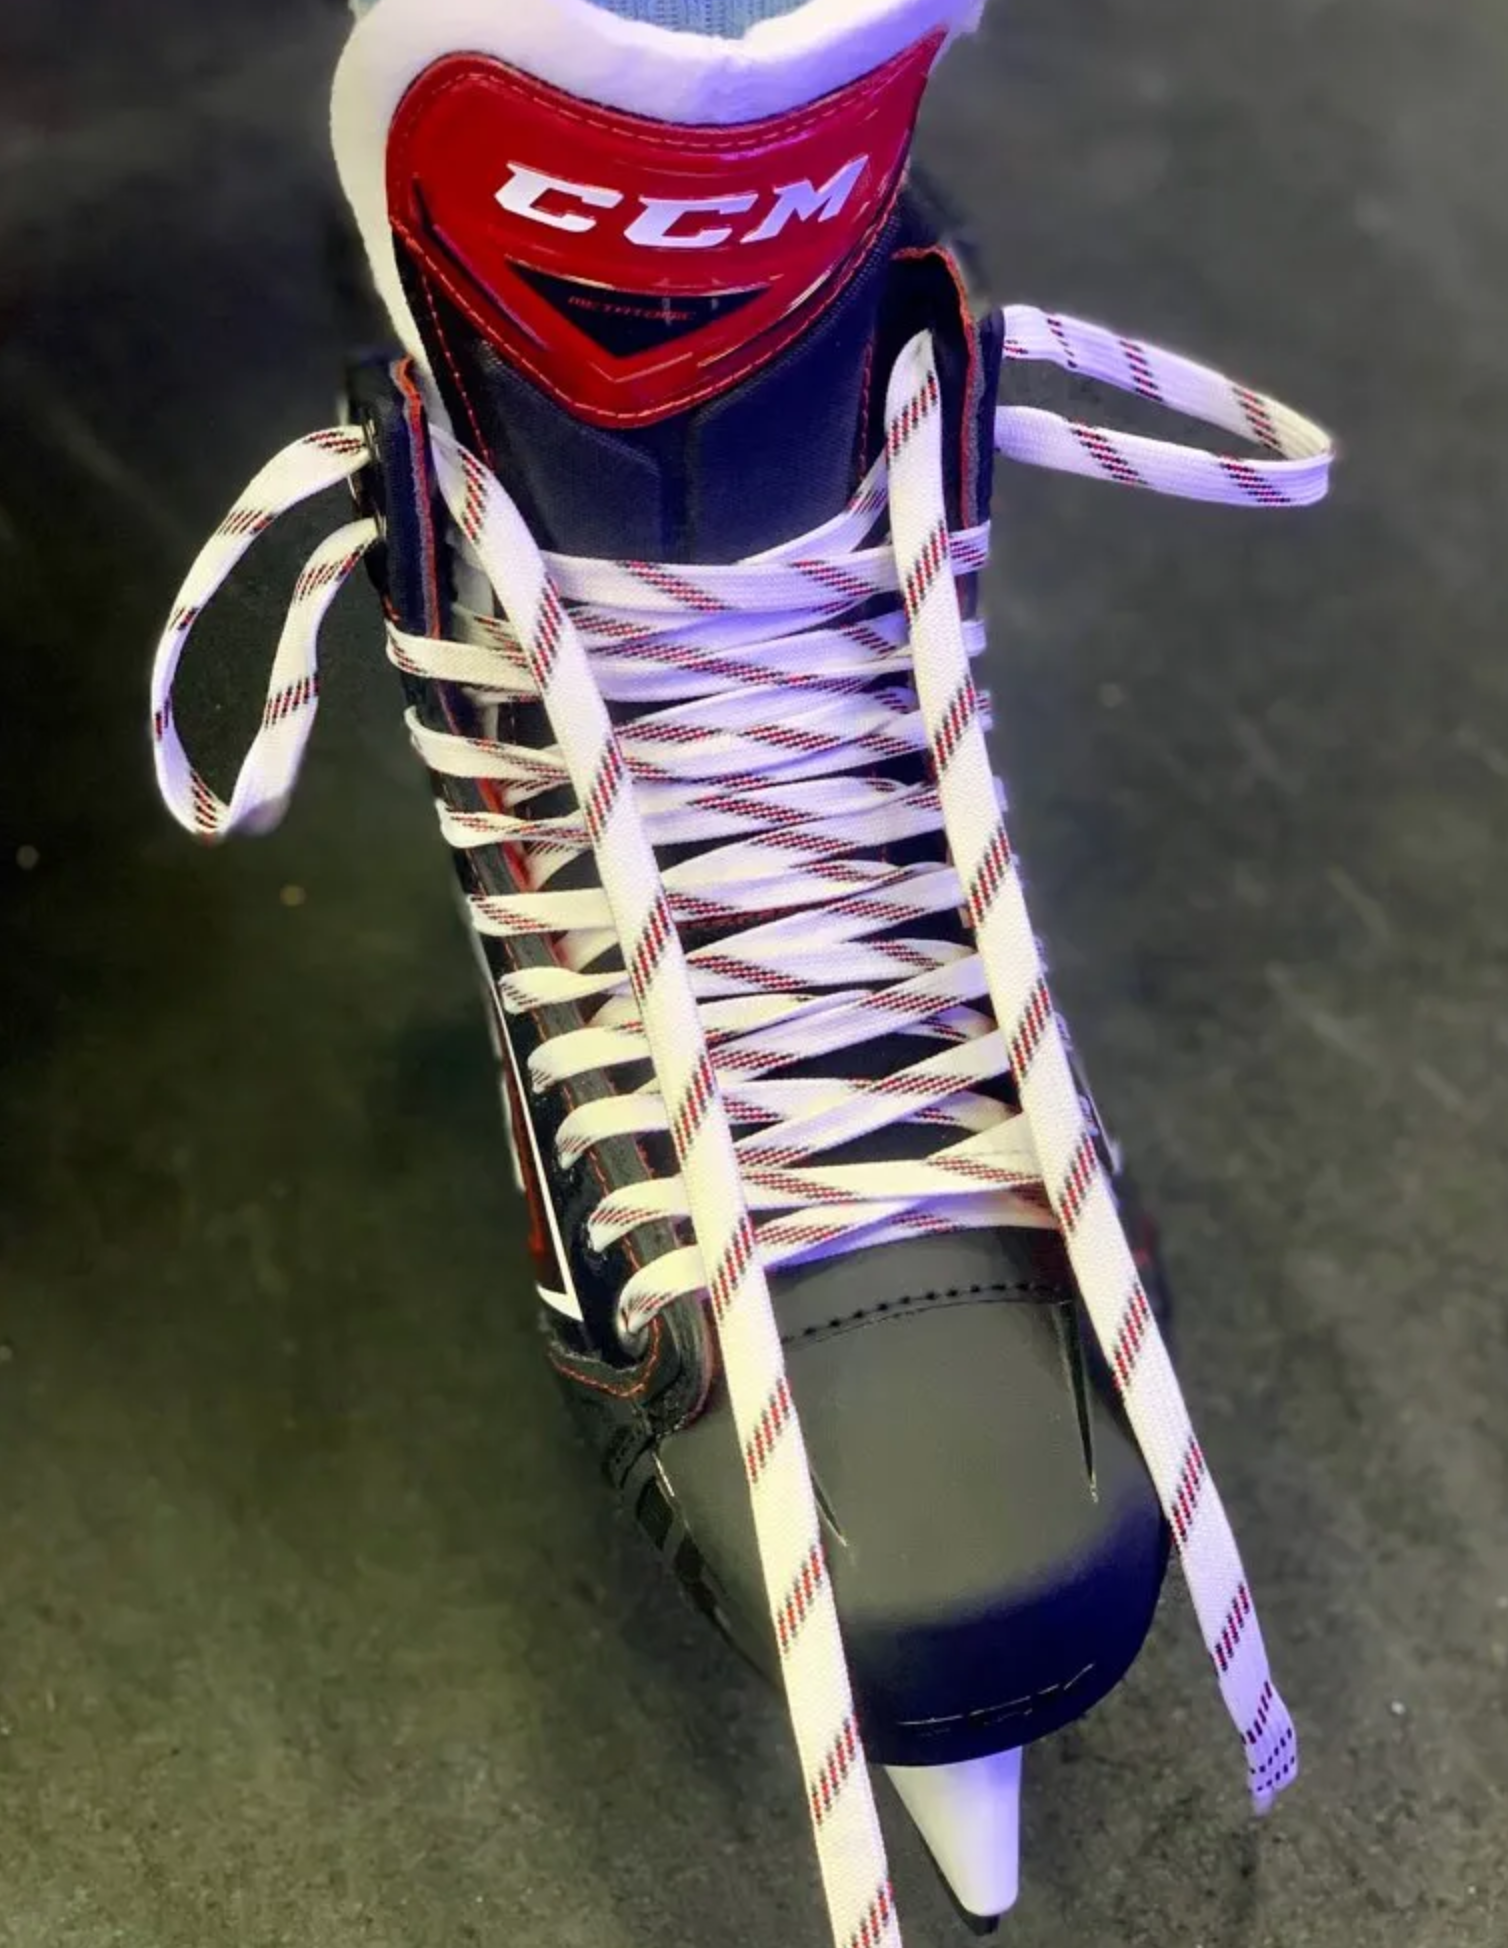
- Waxed laces: These are coated in a thin layer of wax, giving them a tacky feel that grips tightly when tied. They’re ideal for players who prefer their laces to stay put throughout the game.
- Non-waxed laces: Softer and easier to adjust on the fly, non-waxed laces are great for beginners or anyone who wants more flexibility.
Waxed laces tend to prevent loosening and are particularly helpful in avoiding lace bite, especially for players who engage in tight turns and aggressive stops. If you’re tired of retying your laces mid-game, switching to waxed laces might be a total game-changer.
Choosing the Right Length
Your lace length depends on the number of eyelets your skates have. Most adult skates require laces in the 96″ to 120″ range, while youth sizes typically range from 72″ to 96″. Make sure the laces are long enough to double knot for security, but not so long that they become a tripping threat.
When in doubt, longer is better than shorter—you can always tuck in the excess. And hey, if you’re rocking custom tongues or thick socks, that extra slack can come in handy. Browse Pro Stock Hockey’s full selection of hockey skate laces to find durable options in various lengths and styles.

The Basic Crisscross Lacing Technique
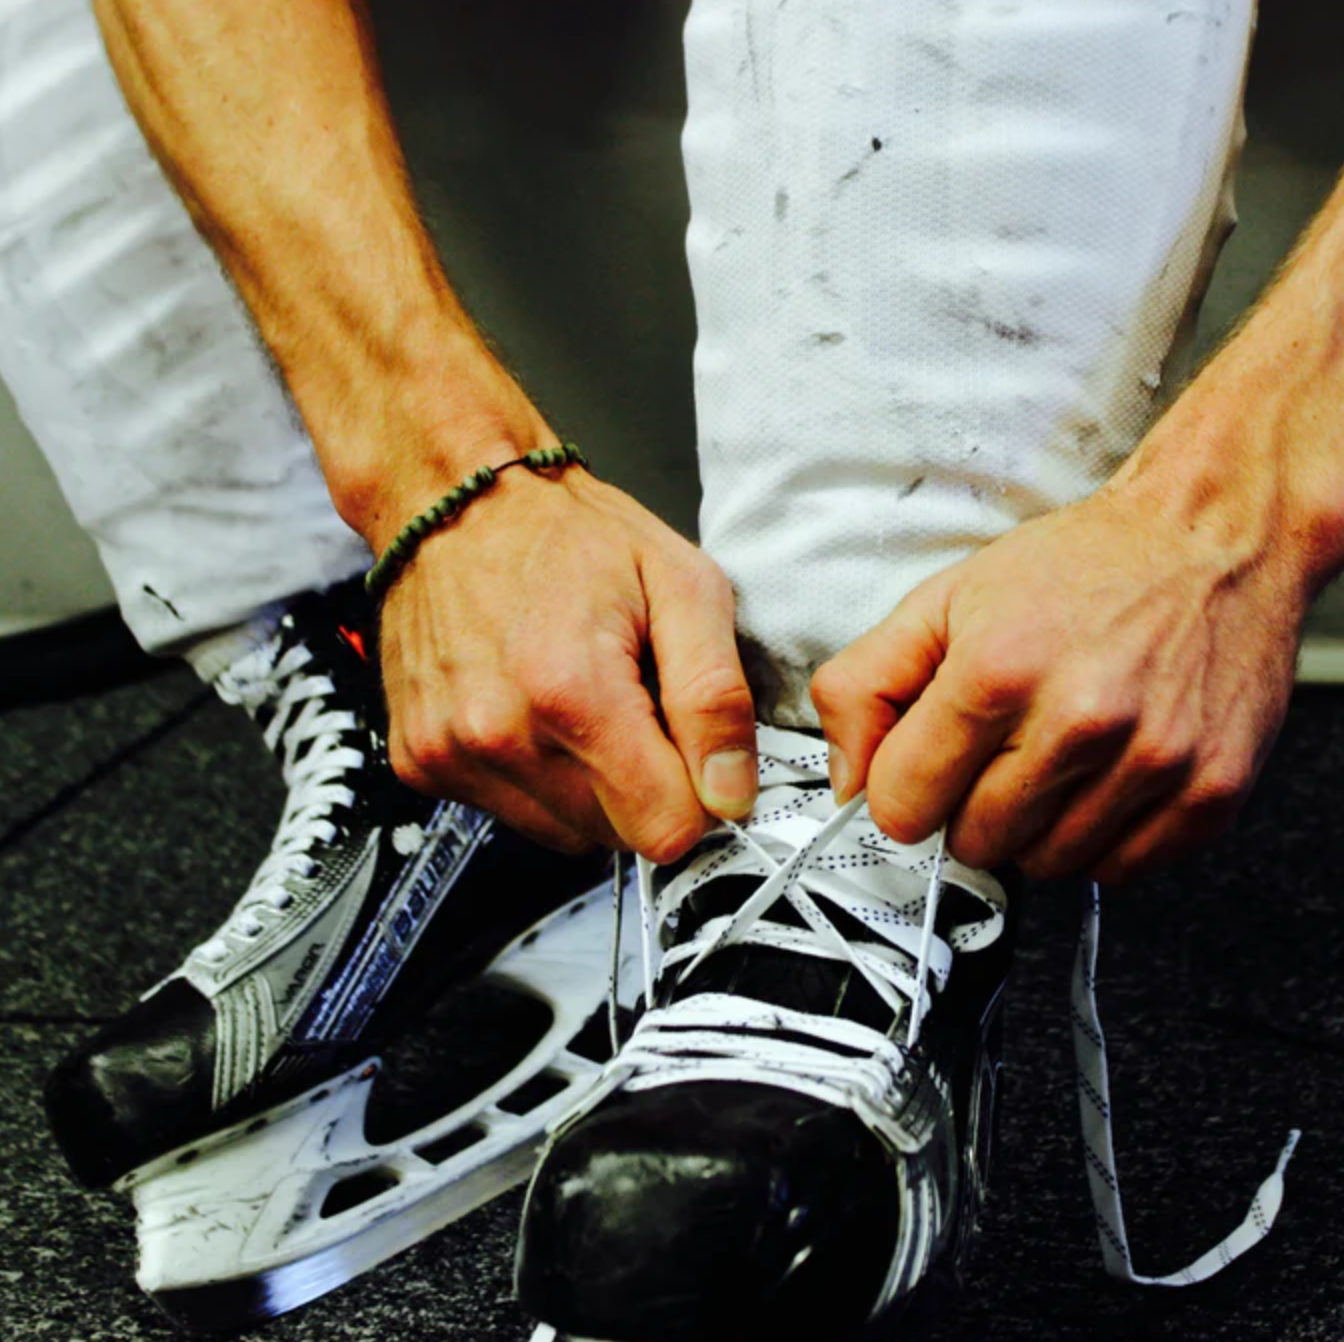
Before you try advanced tricks, it’s crucial to master the basics—starting with the tried-and-true crisscross method. It’s the most common and reliable lacing technique in hockey, and for good reason.
Here’s how to do it:
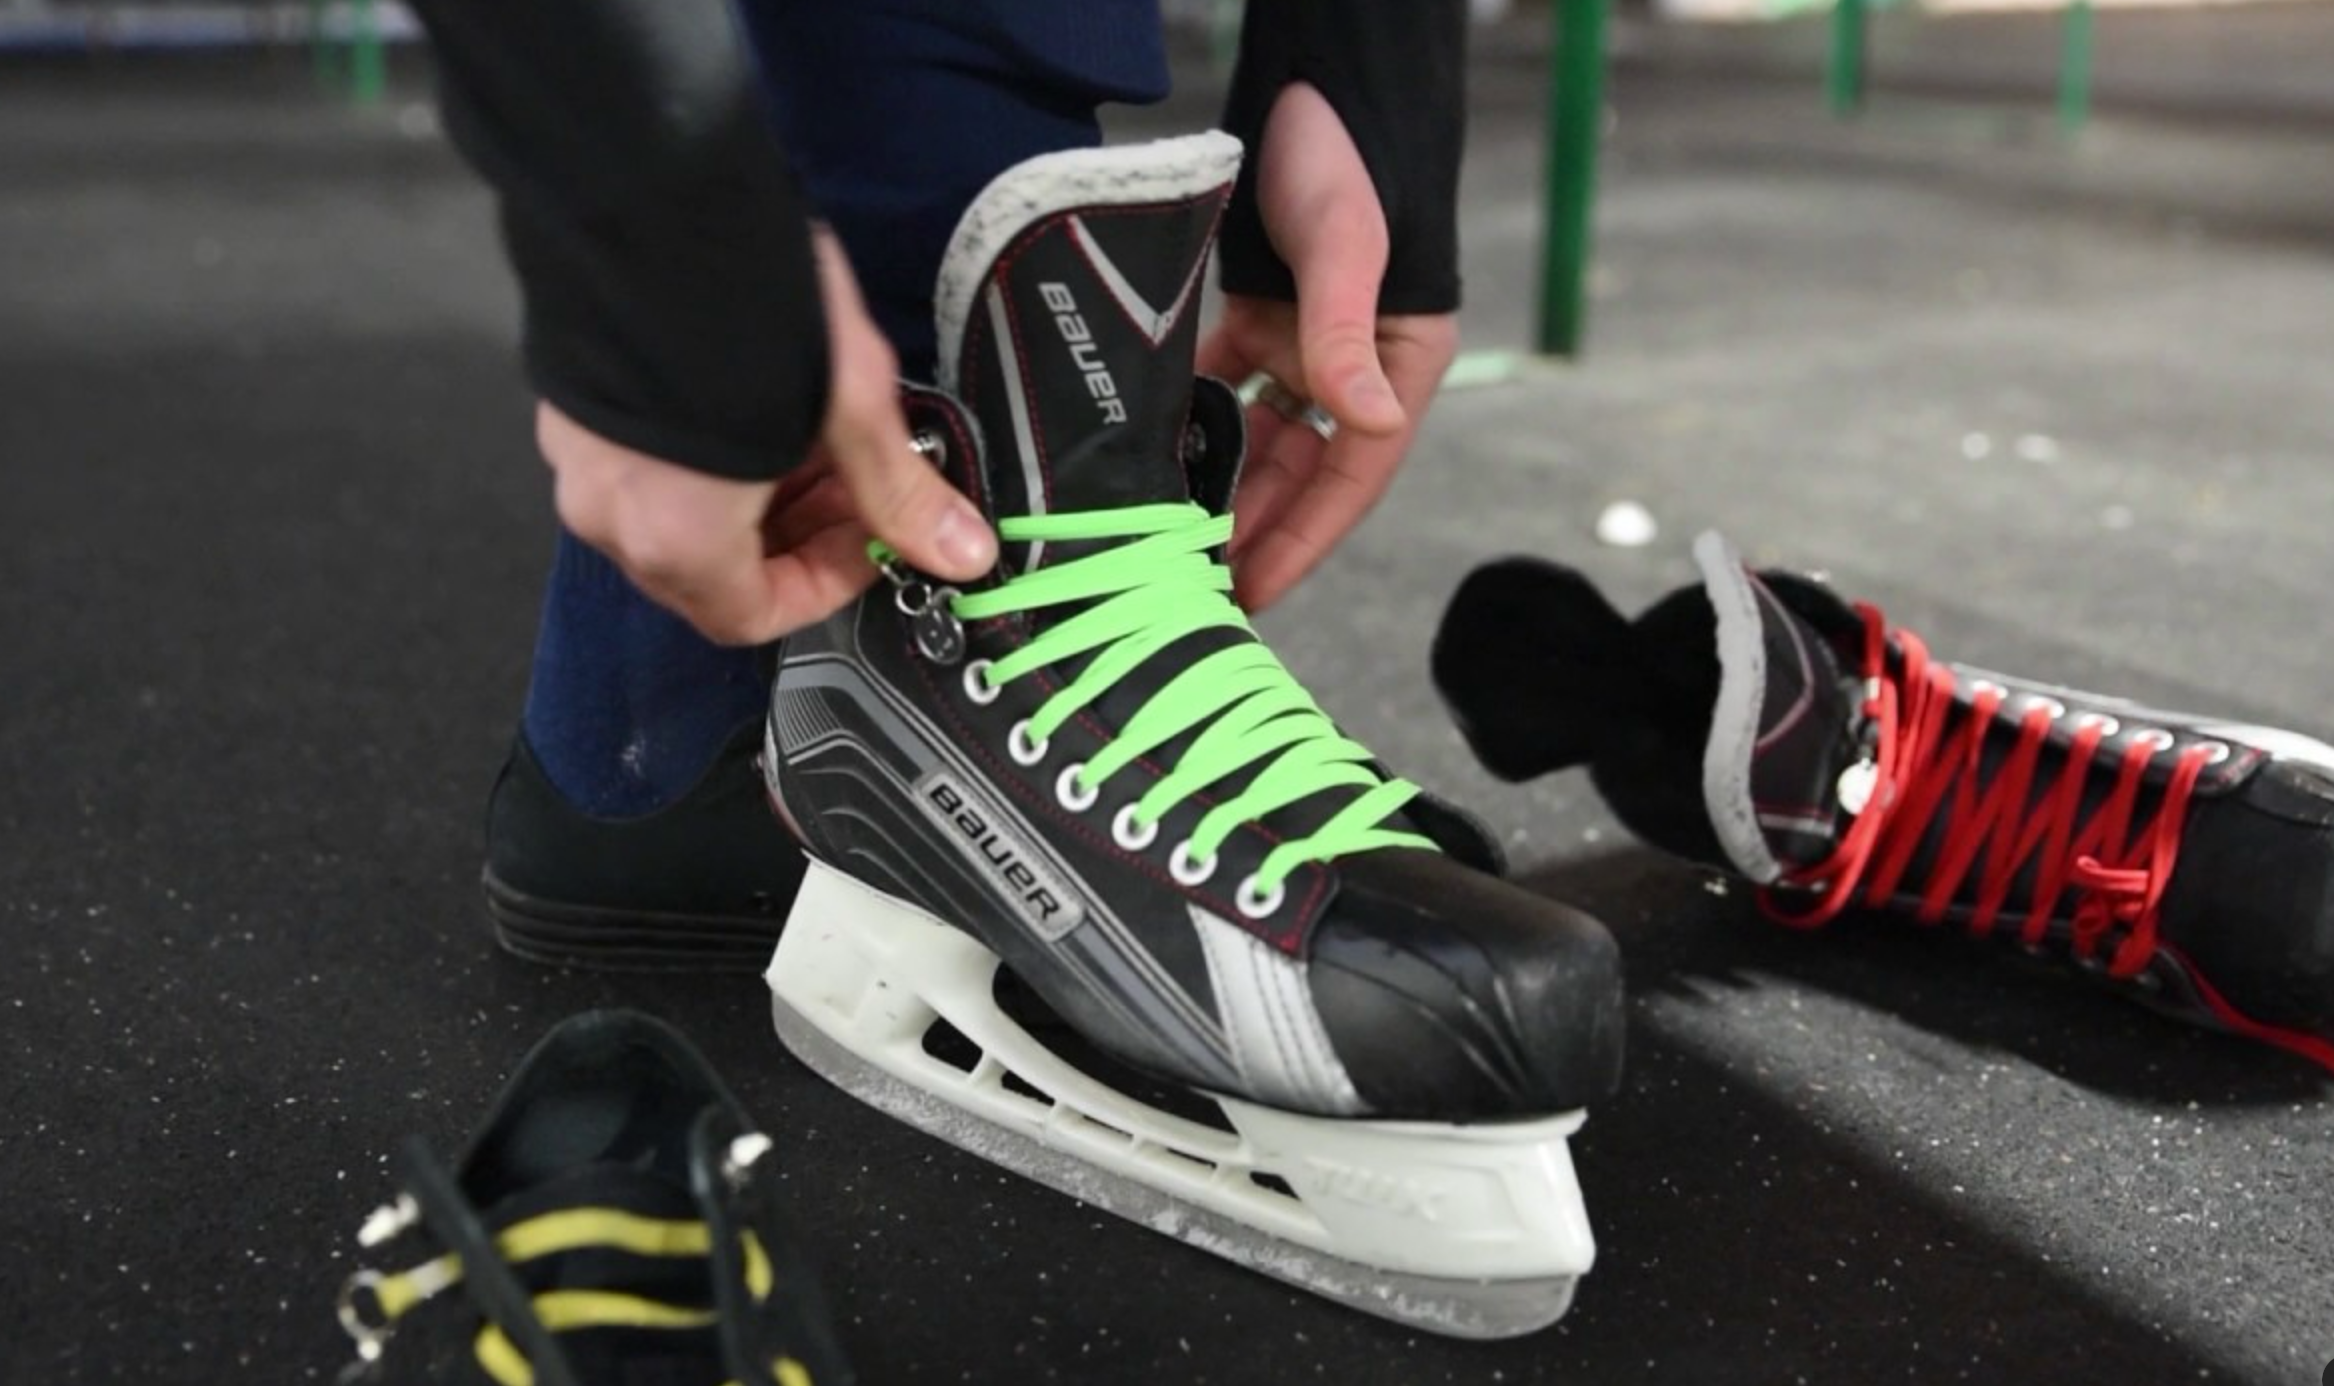
- Start at the bottom set of eyelets, threading the lace through from the outside in.
- Pull the ends evenly and start crisscrossing through each pair of eyelets.
- As you lace up, ensure each pull is snug but not overly tight.
- When you reach the top eyelets, double knot the laces for added security.
This method balances snugness and mobility, offering ample support for most foot shapes. Always check that the skate is tightest at the ankle for optimal control without discomfort. You’ll know you’ve nailed it when your foot feels secure but still able to flex naturally during each stride.
Think of this like tying the perfect bow on a gift—tight enough to hold everything in place but not so tight it cuts into the wrapping. Proper crisscross lacing helps prevent your heel from lifting, keeping your stride efficient.
Advanced Techniques to Avoid Lace Bite
Lace bite occurs when laces press too tightly against the front of your ankle, causing pain and inflammation. It’s the hockey player’s version of getting a pebble in your shoe—annoying, painful, and totally avoidable with the right technique.
Thankfully, there are a couple of clever lacing tricks you can try to keep the pressure off your ankles without sacrificing stability.
Lock Lacing
Lock lacing uses a loop-through technique at the top eyelets to anchor the laces, preventing slippage and minimizing friction on the ankle.
- Thread the lace through the last eyelet from inside out.
- Cross and feed each lace under the vertical loop created on the opposite side.
- Pull tight and tie normally.
This method is excellent for players who need extra heel and ankle support. It’s especially useful during long shifts or for players breaking in new skates, when extra security makes a big difference.
Double Cross Lacing
In double cross lacing, you thread each lace through the eyelet twice in a figure-eight pattern. This distributes tension more evenly and relieves pinpoint pressure on the ankle.
You might need to play around a bit to find the sweet spot, but trust us—it’s worth it. These small adjustments can mean the difference between powering through a third period or sitting it out with throbbing feet.
Lacing Tips for Younger Players and Parents
Youth skaters need special attention to ensure they’re not hampered by improperly tied skates. New players are still developing coordination and strength, so their skates need to be laced with care to protect growing feet and ankles.
Parents should follow these best practices:
- Check for snugness at three key points: toe box, mid-foot, and ankle.
- Encourage kids to practice lacing their own skates, focusing on consistency over tightness.
- Re-check laces midway through practices or games as skate boots tend to loosen with wear.
When teaching younger players, it helps to turn lacing into a pre-game ritual. It builds independence, muscle memory, and ensures their skates are game-ready. You can even use fun analogies like “snug like a hug” to help them get the right feel.
Choosing the right skates is also critical. Pro Stock Hockey carries a wide range of hockey player skates and hockey goalie skates for players of all skill levels. And don’t forget to keep those blades covered off the ice—hockey skate guards or soakers can help prevent nicks and rust.

Comfort and Fit Are Key
There is no one-size-fits-all answer for how to lace hockey skates, and that’s the beauty of it.
From basic crisscross lacing to advanced methods like lock lacing, experimenting will help you discover what gives you the best fit and performance. Whether you prefer waxed laces for grip or have to modify your setup to avoid lace bite, the key is to prioritize comfort and control.
Just like a great pass or a solid slap shot, the right lacing technique comes with practice. Don’t be afraid to try new methods and see what feels right. Your feet will thank you, and your game will speak for itself.


