The Golden Route of Japan is a travel path that whisks you through the highlights of the country, hitting major spots like Tokyo, Kyoto, and Osaka with all their amazing sights and bites! With all things though, this traditional path is a little cookie cutter so we’ve updated and optimized for the modern day.
You’ve been dreaming of going to Japan for years and the time’s finally come but as you start to try to plan the trip you start getting overwhelmed with how much you need to learn in a short amount of time for the 10 or so days that you’ll be there.
In this Japan itinerary, you’re going to get the specifics of how to plan your dream vacation, with deep insight from our hands-on experience, saving you time and money.
What You’ll Get Out of This Itinerary
- Day-by-day breakdown that covers how to build a 10 day itinerary of Japan’s Golden Route.
- In-depth insight from our experience completing this itinerary ourselves.
- Details for important attractions and activities so you don’t have to search them on your own.
- Interactive map with all locations pinned.
- Access to the spreadsheet of the itinerary which will help accelerate trip planning.
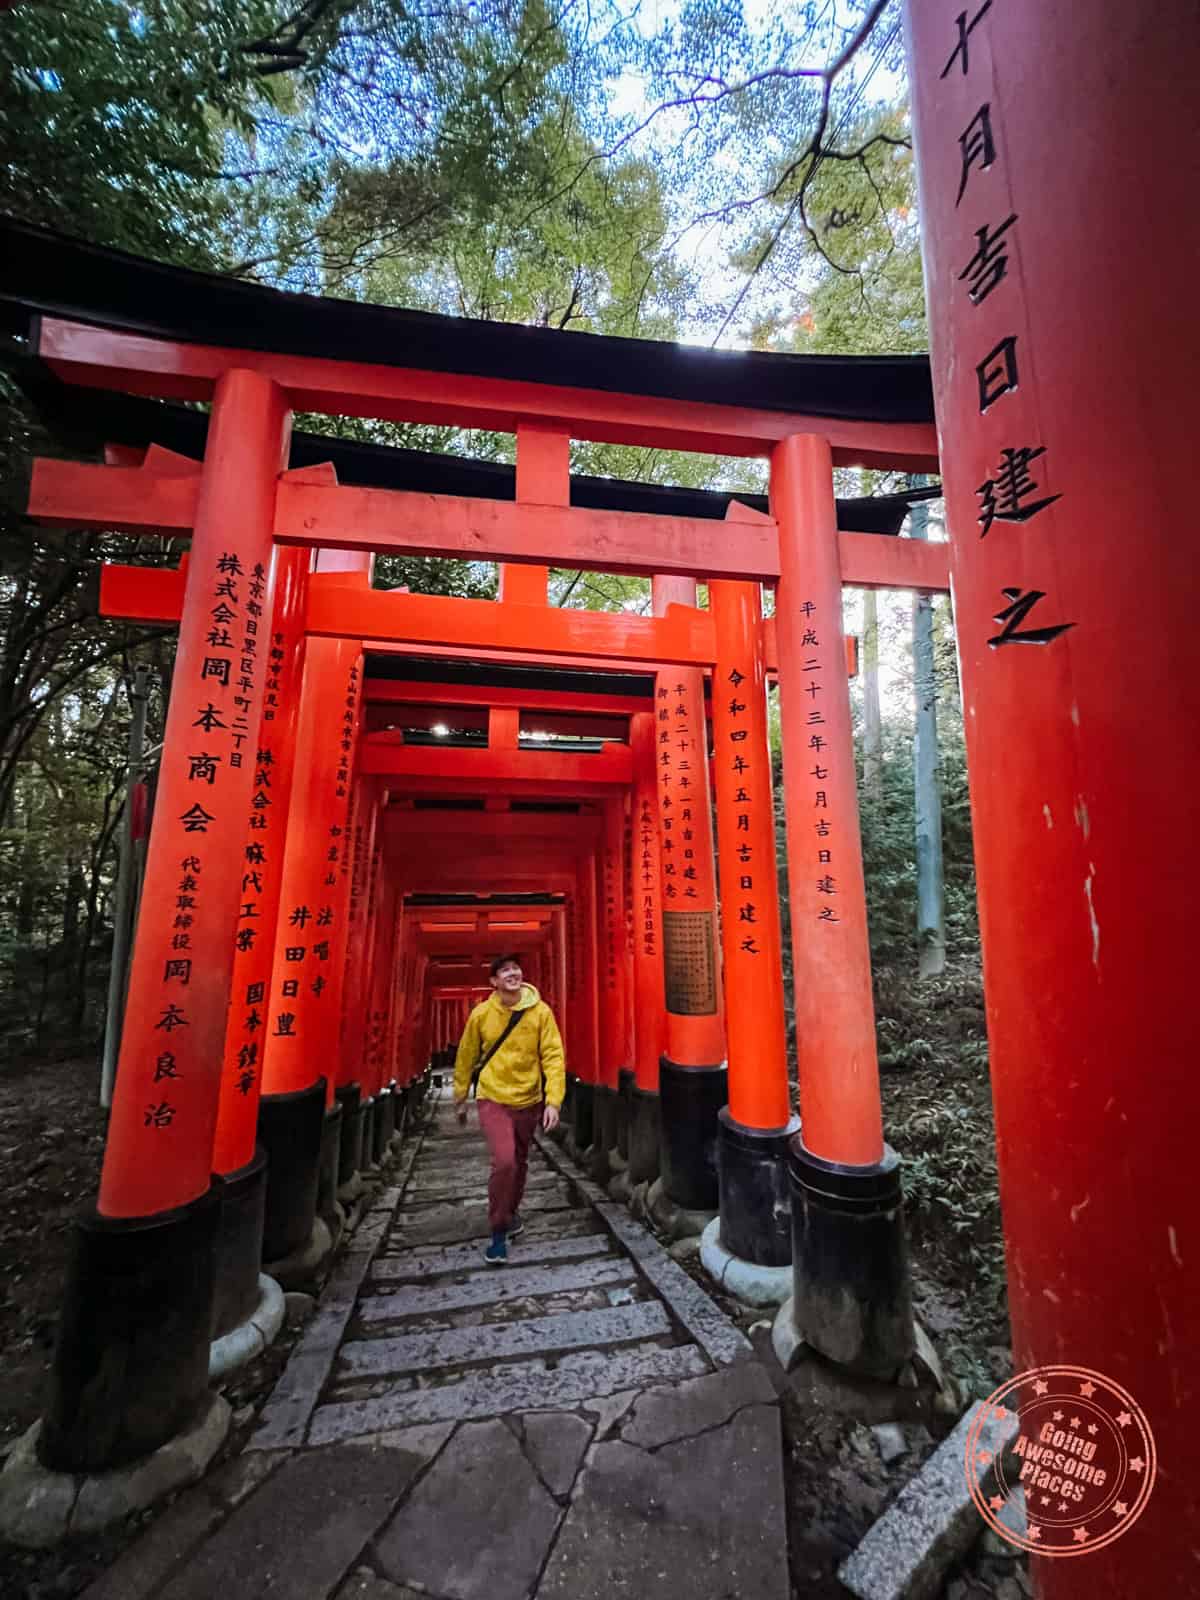
Highlights You’ll Love With These 10 Days In Japan
What I love about this itinerary is that it is truly a gateway to what makes Japan such an incredible travel destination. It’s jam-packed with highlights without feeling overwhelming.
If I were to pick out 5 of my favourite things about doing the Golden Route, they’d be:
- Mt. Fuji is beautiful (when it’s out) – You can’t control the weather but if you’re lucky enough to see the famous snow-capped mountain from Fuji Five Lakes.
- Fall foliage is ablaze– It’s totally worth seeing the vivid glow of the autumn colors all around Japan.
- Icons of Japan – We were able to visit so many of my favourites in Japan including the Shibuya Scramble, Tsukiji Fish Market, the gorgeous temples of Kyoto, tea ceremony, Kobe beef, Glico man, and so much more.
- Getting away from the crowds – I love that we also found opportunities to get away from the tourist path a few times including the temple with 1200 unique statues, having bamboo forests all to ourselves, exploring Kobe for a day, and enjoying the onsen in Kawaguchiko.
- Outrageously good food – From Kichi Kichi Omurice, fire ramen, flamethrowers on tuna cheeks, I was all for the “wow” culinary experiences.
Who This Itinerary Is For
This is a modern take on the Golden Route Japan itinerary which was originally defined by Japan’s tourism board, JNTO. We’ve made it more efficient by starting in Osaka and it’s much more realistic for someone to follow.
Of course, you could also do it in reverse by starting in Tokyo but we liked the idea of starting west and making our way east.
With so many different iterations of 10 days in Japan, let’s refine who might want to use an itinerary like this.
- First timer to Japan – There’s a reason why the Golden Route is the most popular amongst first time visitors. This is the perfect introduction to the beauty of Japan.
- Want to see the popular sights – This itinerary hits up some of the most popular locations in Japan so you won’t feel much FOMO.
- Interested in culinary experiences – The restaurant selections will surely fire up all your senses.
- Seeks great photography opportunities – Not everything should be about Instagrammable locations but you will end up in so many places that’ll lead to stunning photos.
- Have limited time – You can actually see a lot in 10 days. Let us show you how!
How To Use Our Golden Route Itinerary
Our itineraries, are our bread and butter because we recognize that trip planning is hard and while there’s a lot of information out there, it’s often scattered and piecing the puzzle is challenging.
This 10 day Japan itinerary helps you connect all the pieces so you have a complete picture of how you could potentially do a trip like this. With “what you need to know” boxes, daily summaries, downloadable maps and itineraries, you’ll be able to plan like a pro.
As itineraries go, this is just one in an infinite amount of possibilities but our goal with these is to provide you inspiration, and a practical look at a trip we actually went on, laying out what worked and what didn’t. Use our itinerary as a template and tweak it to make it your own.
Before you go, make sure to sign up to get access to our pre-made spreadsheet of this exact trip, a tool we swear by for our trip planning process.
Lastly, feel like we missed something or want ideas for other things you can swap in? We have you covered with our What We Missed in Japan section.
Japan Golden Route Mini Guide
Best Hotels – Travelodge Honmachi Osaka, Kyomachiya Ryokan Sakura Urushitei, Fuji Lake Hotel, and The Royal Park Canvas Ginza 8.
Vacation Rentals – Browse top rentals in Osaka, Kyoto, Kawguchiko, and Tokyo.
Where To Eat – Izakaya Toyo, Kobe Beef Steak Ishida, Kichi Kichi Omurice, Menbaka Fire Ramen, Shimizu-Ippoen, Micasadeco & Cafe, Unagi Sora, Bairin Ginza Honten, Kitsuneya, and Uobei Shibuya Dogenzaka.
Best Places To Visit – Dotonbori, Kobe Nunobiki Herb Gardens, Kiyomizu-dera, Kinkaku-ji, Fushimi Inari Taisha, Sanjusangendo, Arashiyama Bamboo Forest, Otagi Nenbutsuji Temple, Arakurayama Sengen Park, Oishi Park, Momiji Corridor, Tsukiji Outer Market, Senso-ji, Harajuku, Shibuya Scramble, and Tokyo Metropolitan Government Building.
Must Do Activities – Kimono Tea Ceremony and Crossing View & Rooftop Lounge
10-Day Japan Itinerary For First Timers
Itinerary Day 1 – Flaming In Osaka
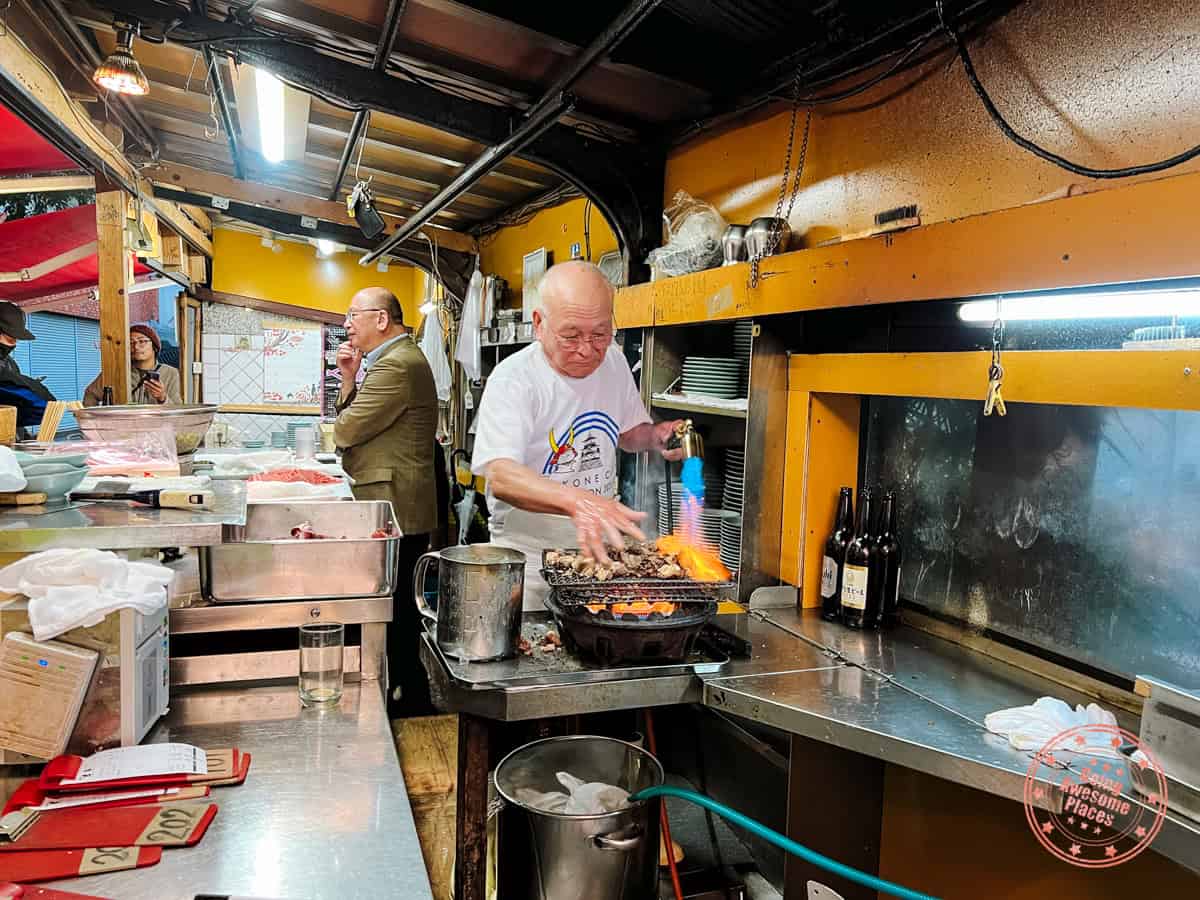
It’s the exciting start of your Golden Route adventures and what better way to acquaint yourself with the culture than to be in the food capital of Japan. With neon-laden streets, over-the-top storefronts, and scrumptious food at every corner, you’ll be eating your way through the day.
Touch Down in Osaka
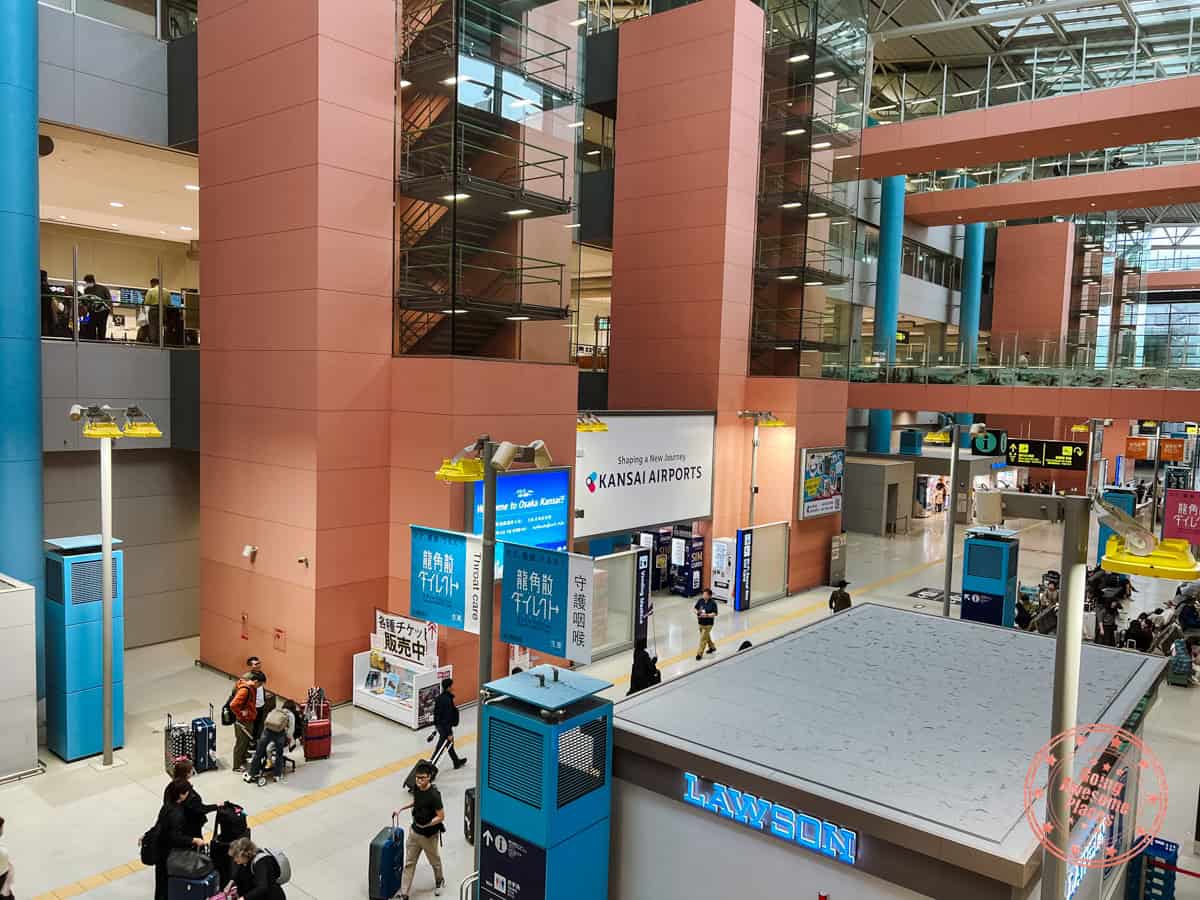
Everyone’s first day is going to look a little different depending on where they’re coming from but the goal is to start in Osaka and work your way east.
For international travellers, Tokyo will still end up being easier to land into the country but if you can, directly connect to a flight to Osaka which is ultimately faster than taking the train.
The arrival procedure at Kansai International Airport (KIX) is pretty simple if you’ve prepared ahead of time.
- Before you leave home, create an account on Visit Japan Web.
- On the website, create a new travel plan. Fill out your details including dates and your first hotel.
- When you arrive in Osaka, you’ll be guided to the visitors line where staff will be on hand to scan your passport, take a photo you, and take your finger prints.
- You’ll then speak to an immigration officer. It’s at this point that you’ll open up Visit Japan Web and go to the yellow QR code. They’ll scan it and there shouldn’t need to ask any questions if it was done correctly.
- After you pick up your bags from the carousel, look for special machines to scan your second blue QR code. This is for declaration of goods. Once this is done, go to the designated exit for those that used a QR code. Note that there’s a longer line for those that didn’t use Visit Japan Web.
Get An IC Card
Before you get on the train from the airport, we highly recommend that you pick up an IC card. These are prepaid smart cards that allow you to tap into all forms of transportation. They can also be used to tap to pay at vending machines, shops, and restaurants.
What is confusing though is that there are several types of these cards because each regions have their own. For simplicity, here are a few major ones
- ICOCA – This is the card that folks in Osaka use.
- Suica – IC card by JR East for trains in Greater Tokyo, Niigata, and Sendai.
- Pasmo – Also originating in Tokyo for their railways, subways, and buses that aren’t by JR.
- Kitaca – IC card by JR Hokkaido for use in the Greater Sapporo area.
- Sugoca – IC card for JR Kyushu.
While each is made by companies in specific regions, all of them are mostly compatible all around the country so you only need to get one.
An added benefit is that on some forms of transportation, using an IC card gives you an automatic discount.
Convenience wise, nothing beats just taping through the turnstile versus the tedious process of buying paper tickets every time.
WHAT WE RECOMMEND: To simplify this, if you’re going to Japan for the first time and Osaka is your first city, just get the ICOCA.
HOW TO BUY AN ICOCA?: At the airport, look for a JR West ticket vending machine. From the machine, you can pay cash to get a ICOCA card. ¥500 is a refundable deposit and everything else is added to the balance of the card.
CAN YOU REFUND AN ICOCA?: Yes, you can return the card at a JR West station ticket counter. You’ll get the balance returned to you including the ¥500 deposit back minus a ¥220 refund fee.
PRO TIP: From personal experience, we wouldn’t recommend converting your physical card to a digital card. While convenient to have it in your Apple/Google Wallet, if it glitches out, you’re out of luck. You also won’t be able to give this to friends or family to use later.
STARTING IN TOKYO?: Get the Suica. You can also have it ready for pick up at Haneda International Airport.
CAN YOU USE ICOCA AROUND JAPAN?: Yes, if you get the ICOCA card in Osaka, it’s compatible all over Japan.
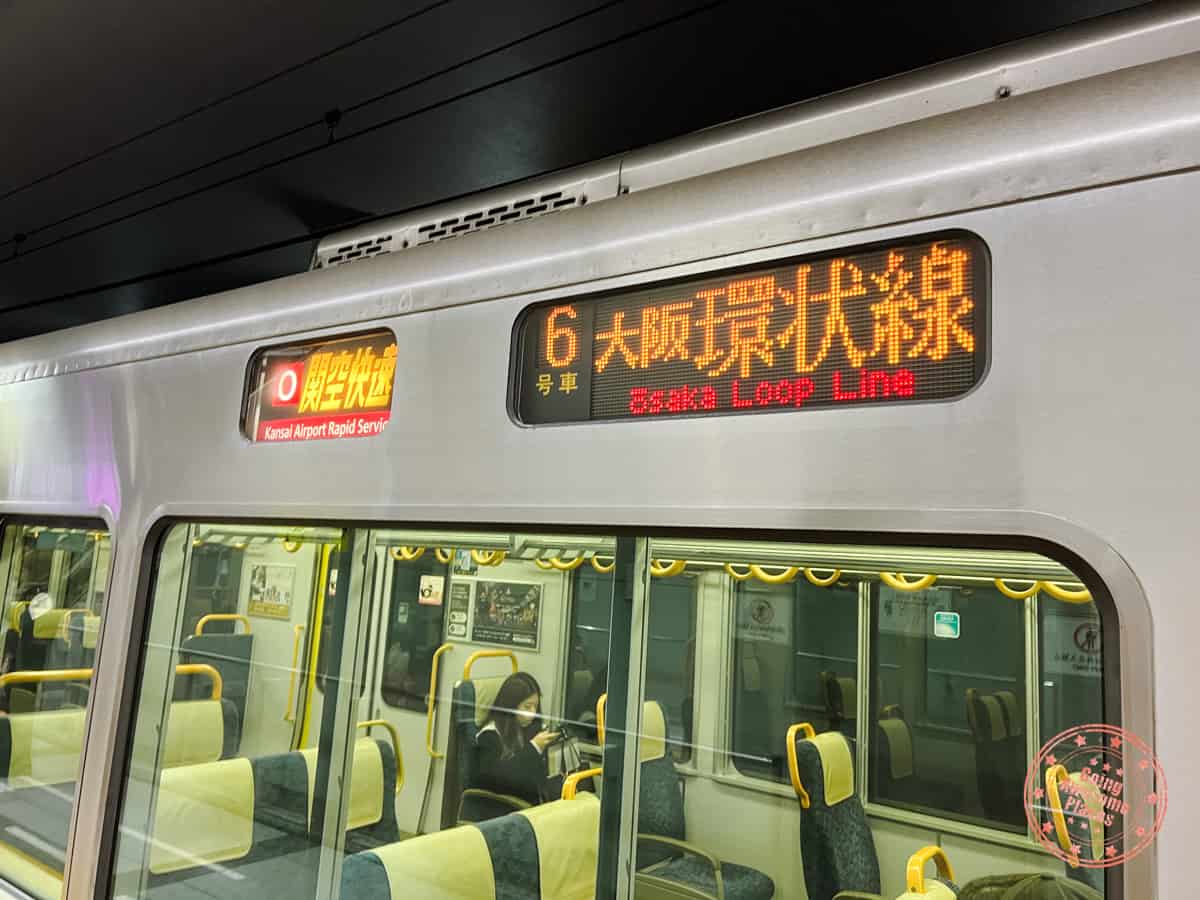
Kansai International Airport is built on a man-made island and is a fair bit of a distance away from the downtown core. As a result, you’ll need to take one of the main trains into the city.
There are several options which can be confusing but our best advice is to use Google Maps, punch in your hotel, and see what the fastest method is based on the current time.
WHAT YOU NEED TO KNOW
The Most Popular Way – Train – Kansai Airport Rapid
This train connects to the Osaka Loop Line where it’ll make the most sense to get off at JR Namba station. This connects with Osaka-Namba with Osaka Metro on the red line (M – Midsojui Line).
- Company: JR West
- Location: Kansai Airport Terminal 1, 2nd Floor
- Frequency: Every 20-30 minutes
- Duration: 50 minutes to Tennoji
- Price: ¥1,080 (regular and IC)
- Reserved seats: No
- Covered by Japan Rail Pass: Yes
- IC tap to enter: Yes
- Advantage: Cheaper than Limited Express Haruka and is more frequent.
- Important note: When you take this train, make sure you are in the first four cars. The other cars split off at Hineno station.
A Faster Alternative – Train – Limited Express Haruka
This is one of those limited express trains that’ll feel more like a Shinkansen so it’s fast and comfortable. You get on one of the platforms at the airport like the other trains. Just keep in mind that it’s also more expensive (nearly $25 USD per person). For where you need to go, you’ll get off at Tennoji to connect with the Osaka Metro on the red line (M – Midsojui Line).
- Company: JR West
- Location: Kansai Airport Terminal 1, 2nd Floor
- Frequency: Every 30 minutes
- Duration: 34 minutes to Tennoji
- Price: ¥2,570 regular ticket, ¥1,080 with IC card
- Reserved seats: Available
- Covered by Japan Rail Pass: Yes
- IC tap to enter: Technically you can but there’s an extra fee for the Limited Express but you can pay that to the conductor on board. Alternatively, you can buy the full ticket from the machine.
- Advantage: Faster and has free wifi.
- Tip: This train is also useful to get to Shin-Osaka and can also go directly to Kyoto.
Get To Namba Directly – Train – Nankai Airport Line
There is another private company that runs trains in Osaka and they are cheaper and more convenient if you’re hoping to get right to Namba.
- Company: Nankai Electric Railway
- Location: Kansai Airport Terminal 1, 2nd Floor
- Frequency: Every 20-30 minutes
- Duration: 45 minutes to Namba
- Price: ¥970 (regular and IC)
- Reserved seats: Available
- Covered by Japan Rail Pass: No
- IC tap to enter: Yes. If you’re riding the Limited Express Rapi:t, you’ll need to pay the Limited Express Ticket fee on board. Alternatively, you can buy the full ticket from the machine.
- Advantage: Fewer connections if trying to get to Namba.
- Tip 1: The recommended train is the Airport Express but they also have a Limited Express Rapi:t which is 34 minutes and costs more. They also have a slower Local train that stops at every station. Avoid this one.
- Tip 2: You can buy tickets online in advance for the Limited Express Rapi:t, which will save you time and money. Regular seats are ¥1,300 or ¥1,490 for a super seat.
Get To Namba Bus Terminal – Bus – Kansai Airport Transportation
If you’re a fan of taking the bus, this is an available option. This is great for those with lots of oversized luggage and if you prefer not having to deal with stairs and escalators. Unfortunately, it is not cheaper.
- Company: Kansai Airport Transportation Enterprise
- Location: Kansai Airport Terminal 1, 1st Floor, Bus Stop 11
- Frequency: Every 20 minutes
- Duration: 50 minutes to Namba
- Price: ¥1,300 (regular and IC)
- Reserved seats: No
- Covered by Japan Rail Pass: No
- IC tap to enter: Yes, you can tap your IC card when boarding on the bus. Otherwise, get a ticket from the machine.
- Advantage: You get a nice view of the bay from the bus, more comfortable seats, and there’s plenty of dedicated room for luggage.
- Tip: You can buy tickets online through Klook for a lower price ($8.85 USD) and at the same time not be locked into a specific time.
Go Straight To Your Hotel – Taxi
You can always hail a taxi from the airport.
- Location: Terminal 1, Taxi stand location 3
- Price: These are metered fare. Approximate total is ¥19,420 including bridge and express tolls. There’s a 20% increase for rides between 10PM – 5AM.
- Advantage: Great for larger groups to split fare and you also get dropped off right at your hotel.
- Tip: There aren’t any scams or unsafe practices you need to worry about with taxis in Japan.
You can also book private transfers. These are considerably more expensive but you can order larger vehicles if you have a big group and you get better service. We’ve seen prices under $75 USD.
Tips:
- The entrance to the trains is on the second floor (one level up from arrivals).
- To buy tickets, you won’t be able tap your IC card and enter. Instead, you’ll need to use the ticket vending machine.
- At Kansai Airport, look out for two entrances to the train station. One is for JR (blue) and the other is for Nankai (red).
- While it’s easy to overcomplicate, we recommend looking to see which train is departing soonest. Of course, if you’re on a budget, avoid the Haruka and Limited Express Rapi:t and stick to the Kansai Airport Rapid (JR) or Nankai Airport Line (Nankai).
Frequently Asked Questions:
- Do I need to reserve tickets? You certainly can reserve JR trains (JR-West Online Reservation) or Nankai (Rapi:t Digital Ticket) but in this case, we wouldn’t advise it since your flight might be delayed. If you do, you can pick up your reservations from special vending machines.
- Which is the best way from the airport to the city? Out of all of the options, Nankai Airport Line is the cheapest and fastest of the economy methods to get to Namba in the heart of Osaka.
Website:
Drop Off Bags At The Hotel
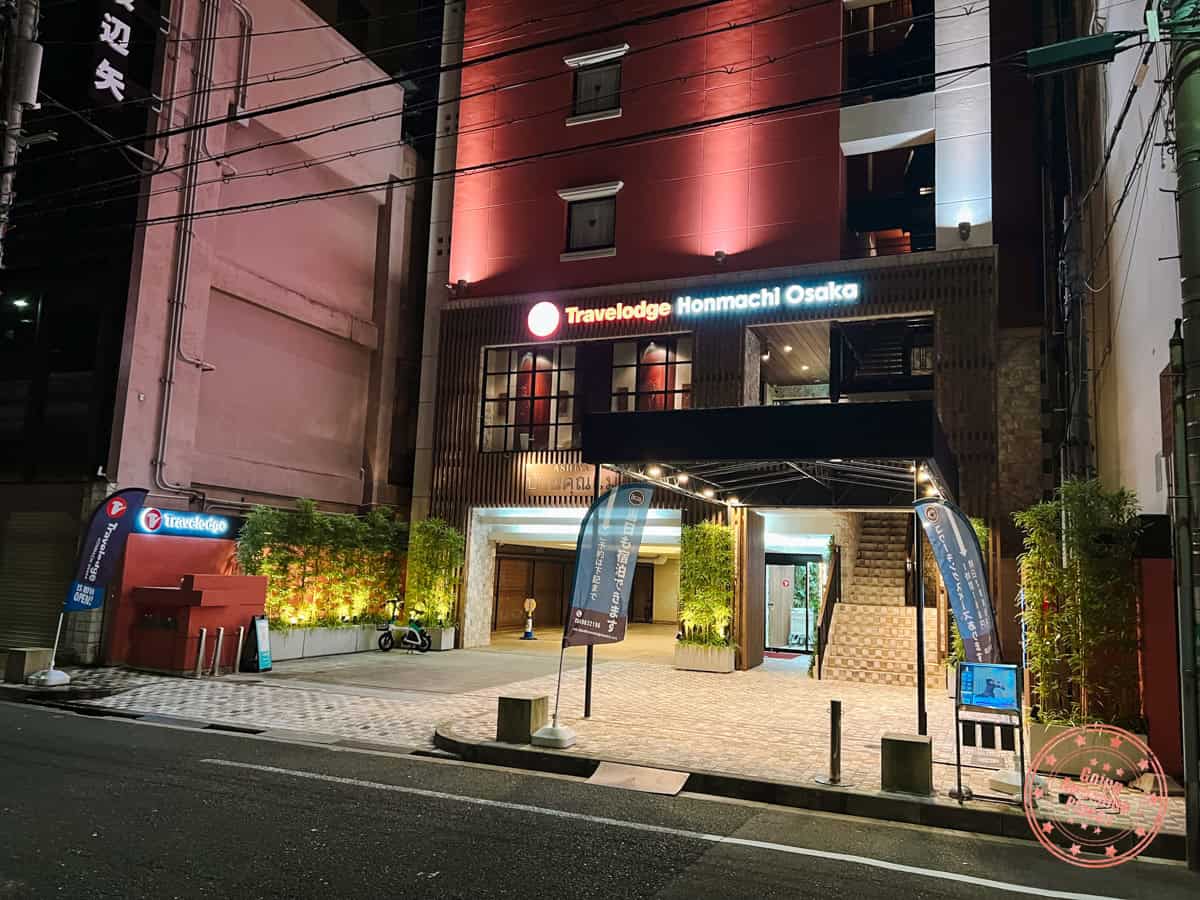
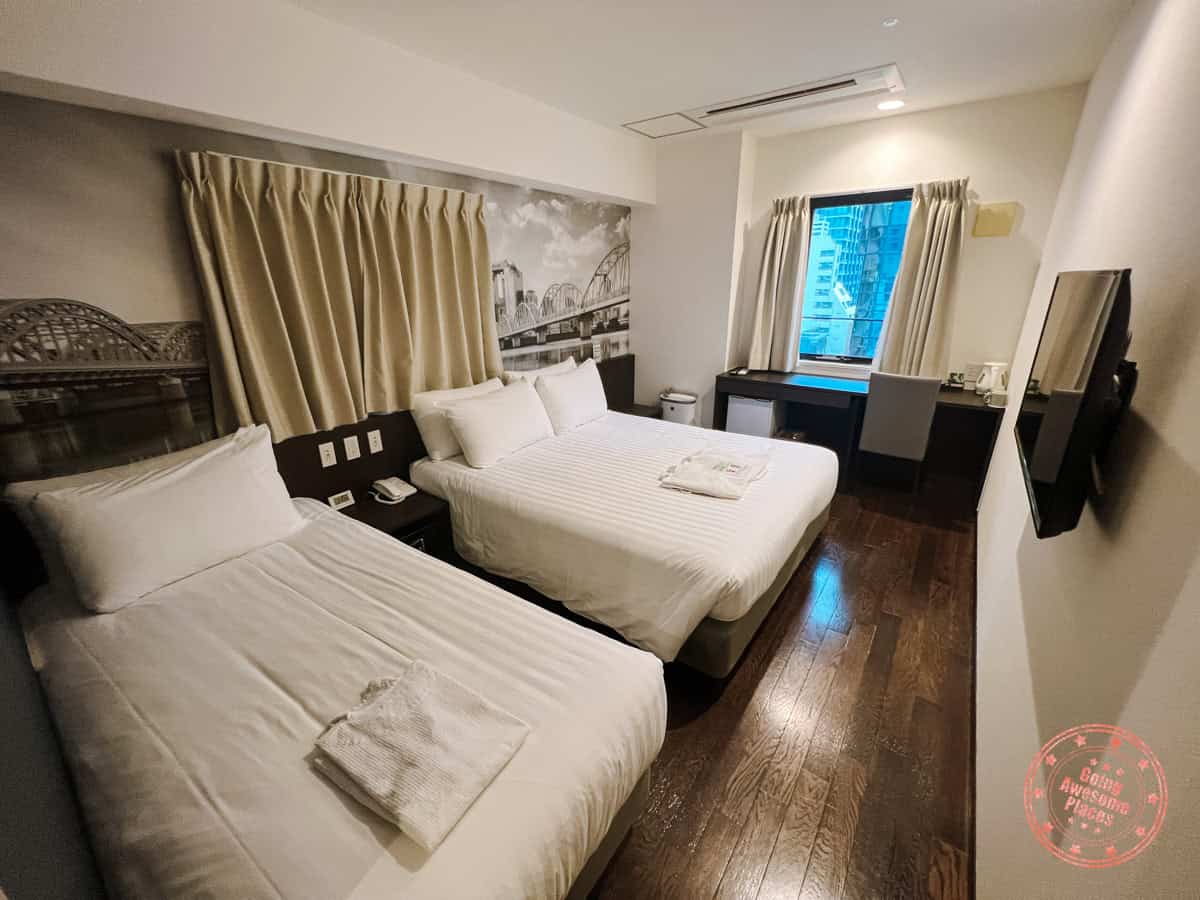
The hard part is over and the fun can begin after you drop off your bags at the hotel. In our case, we were lucky in that the Travelodge Honmachi Osaka allowed us to check into our triple room early.
You know know the Travelodge brand from your travels in North America but you could tell right away that the Japanese brand is completely different. It carries the same name but is more of a fun, upbeat, modern filled with bold artwork and photos of the city. The room was surprisingly spacious as well.
Eat At The Beloved Blowtorch Flaming Izakaya
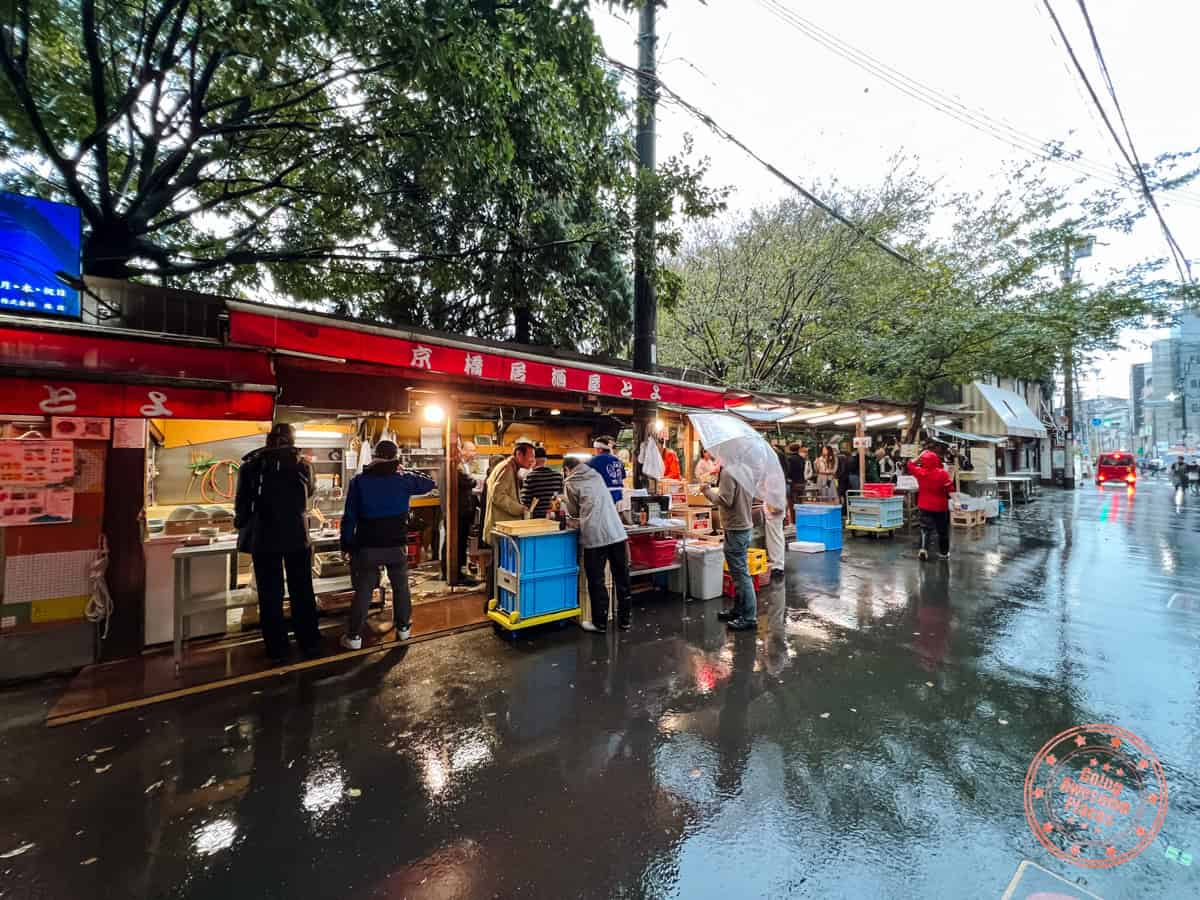
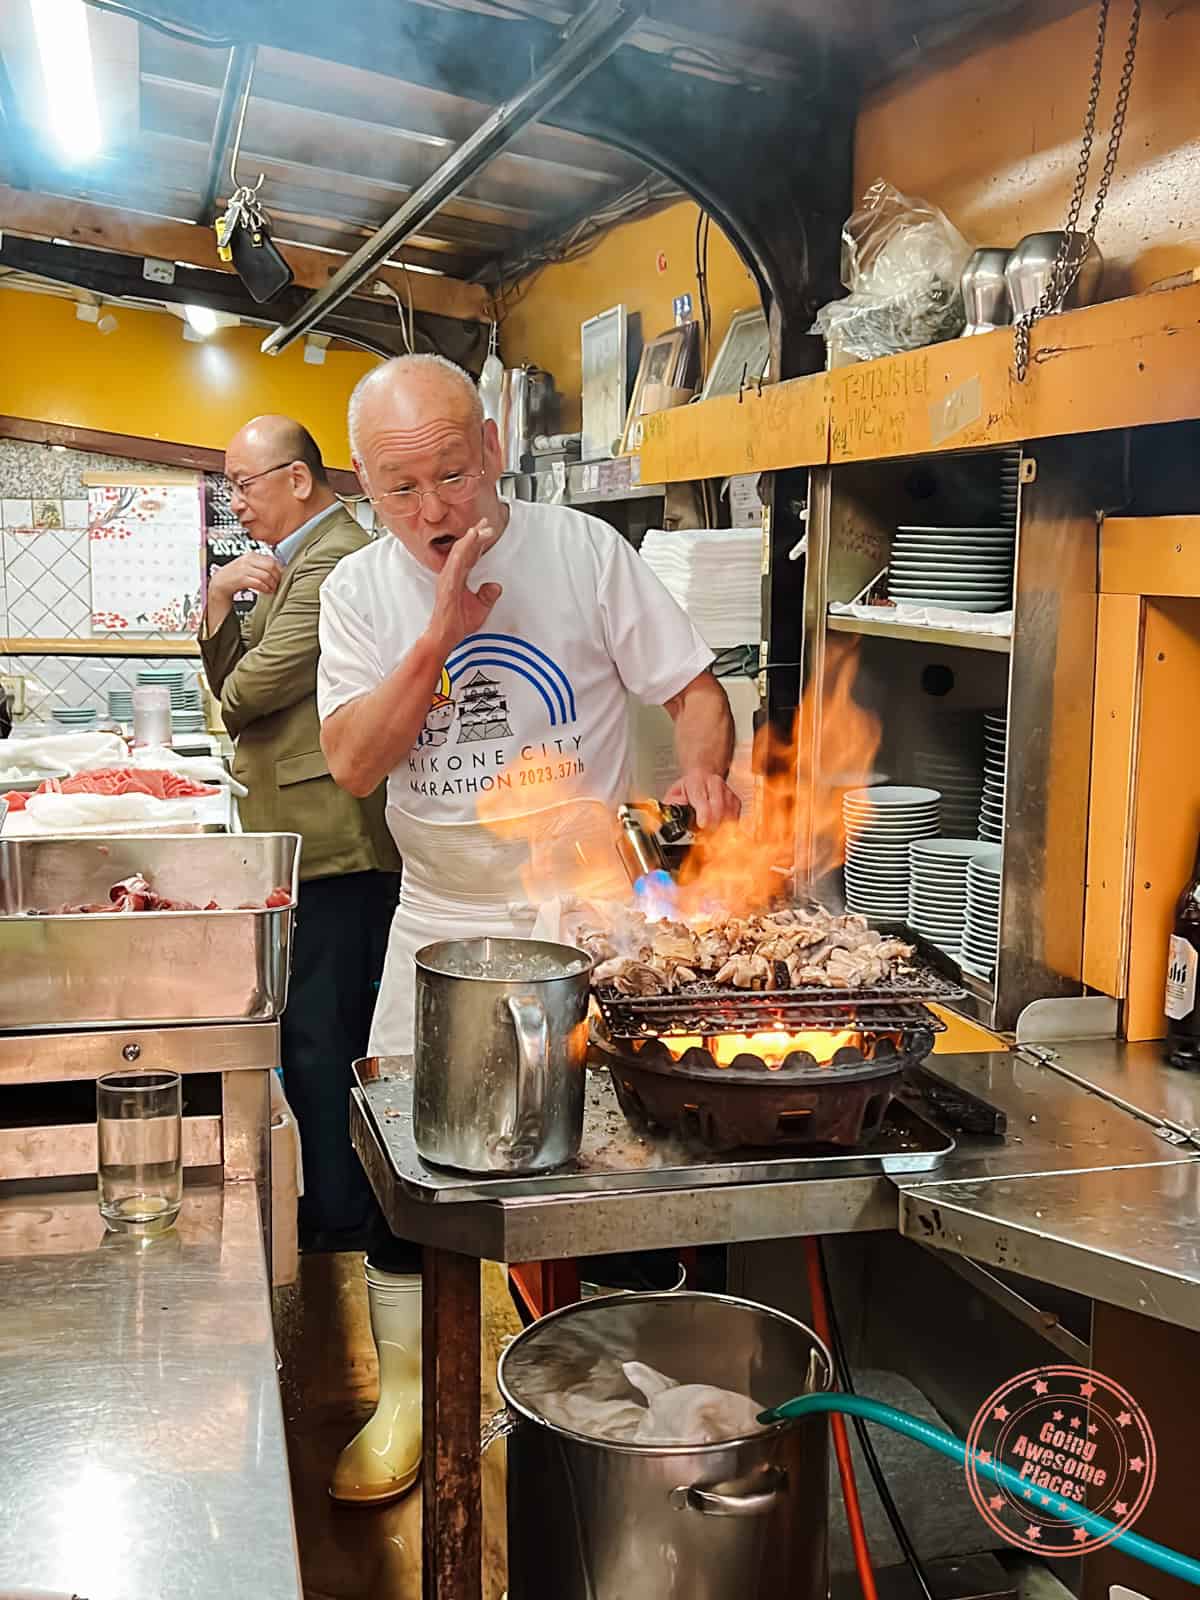
Made famous thanks to Netflix’s Street Food: Asia, you’ll be heading straight to an obscure subway station, Kyobashi Station to have lunch at the one and only Izakaya Toyo.
Staying true to what makes Osaka such a great city for foodies, this an unassuming side-of-the-street food stall filled with standing tables and locals drinking the local brew that is more than meets the eye.
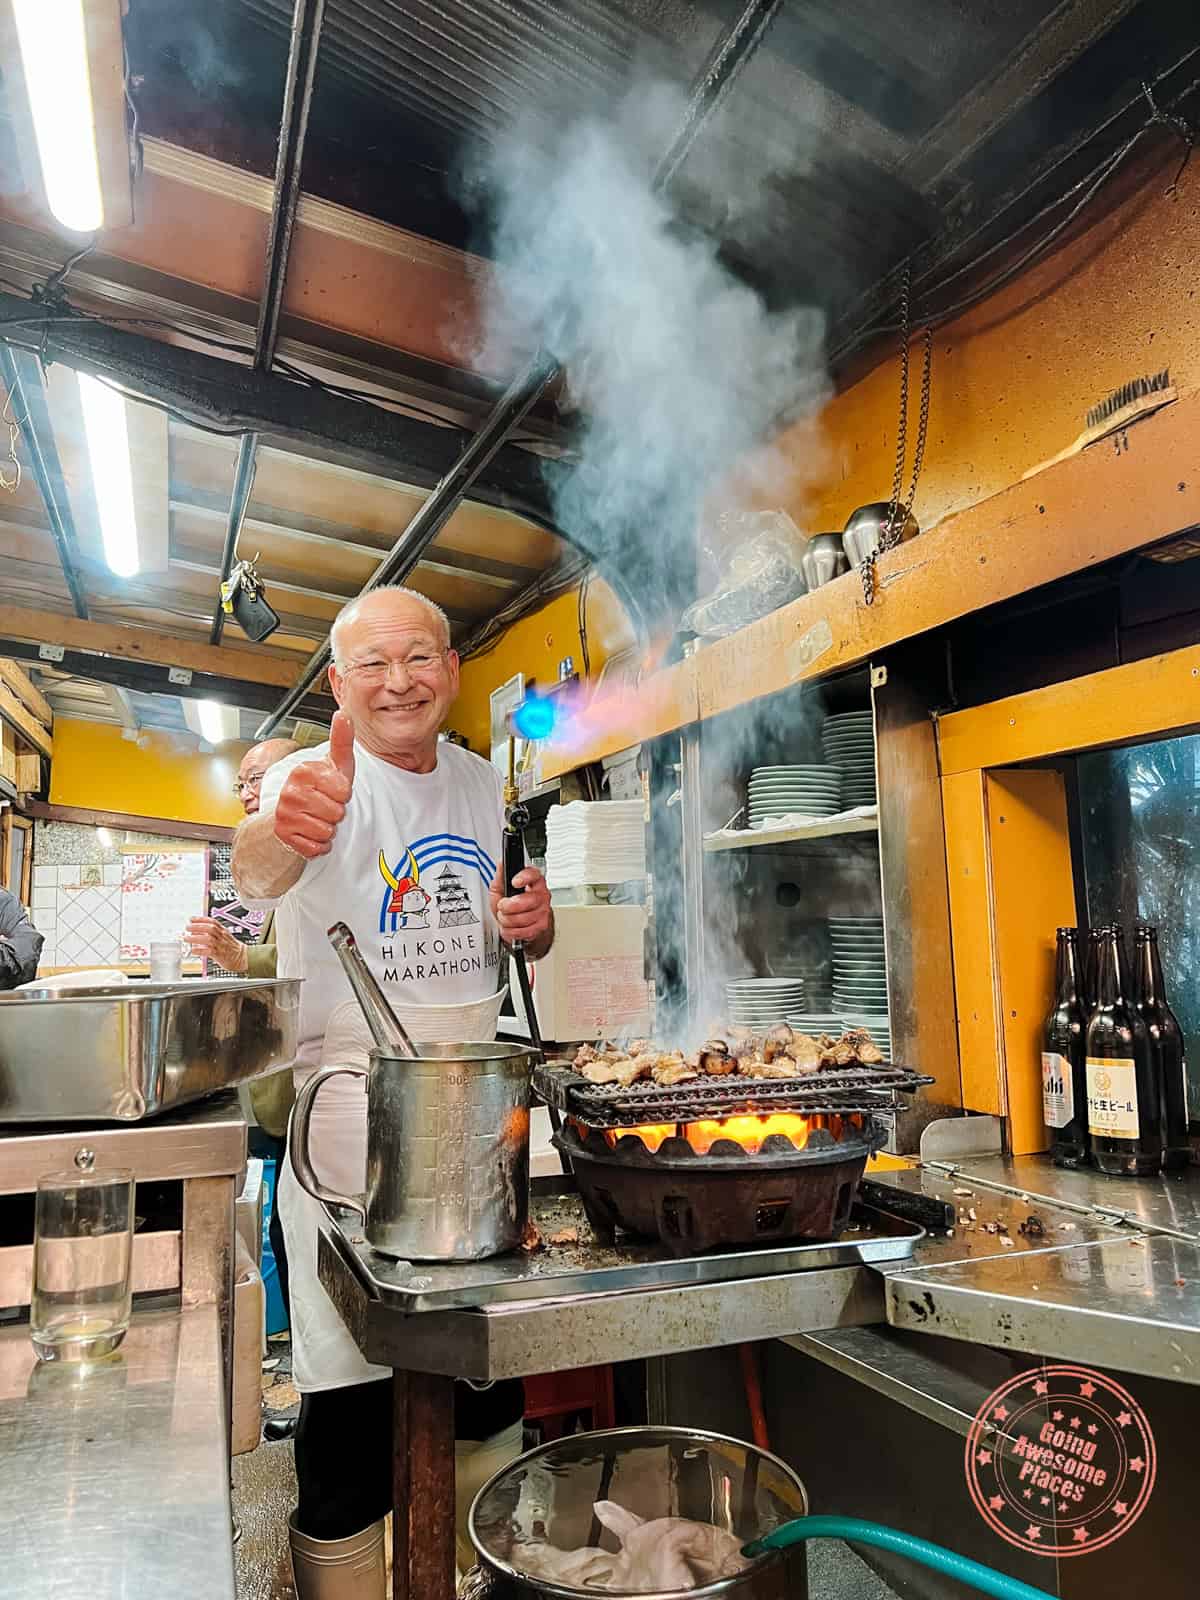
Stay awhile and yo’ll be able to see Chef Toyoji Chikumoto put on a performance for his patrons when it’s time to cook the tuna cheeks. From out of nowhere he pulls out a flamethrower. It starts with the lighting of a cigarette which he takes two puffs. After a huge bucket of tuna cheeks gets poured over the grill, he blasts it with the flame, as he uses his hands (dipped in icy water) to toss the tuna.
As he’s doing this, he pauses to look at the cameras trained on him, pretends to be taken aback by the intensity of the flame, followed by his signature thumbs up.
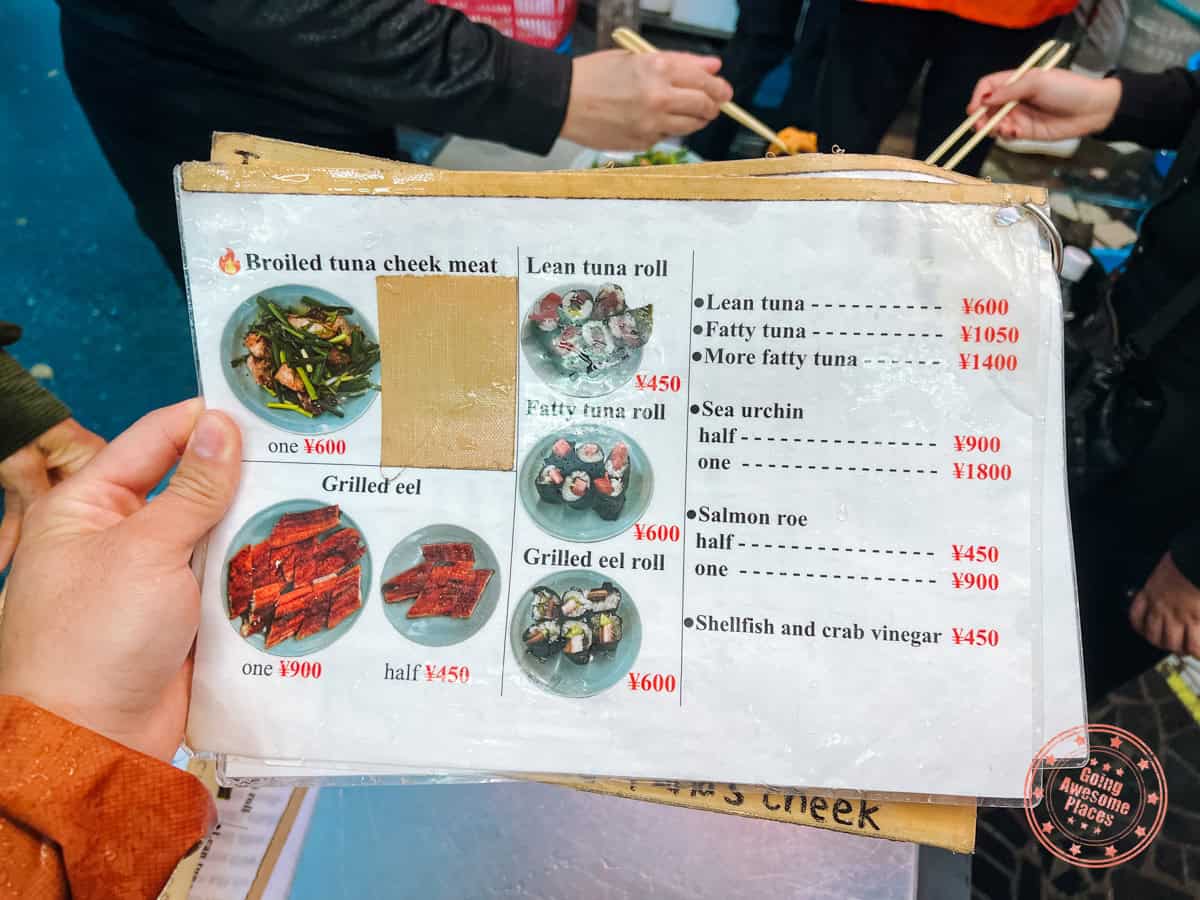
While I wouldn’t say that the quality of the food was high-end, I just kept thinking that this would cost way more back in Canada. The broiled tuna cheeks weren’t my favourite as they were a bit chewy and stringy in texture but the uni was the real star.
Come here for the experience of it all. You won’t necessarily be blown away by the food but the flames and chef Toyo’s energy certainly will.
WHAT YOU NEED TO KNOW
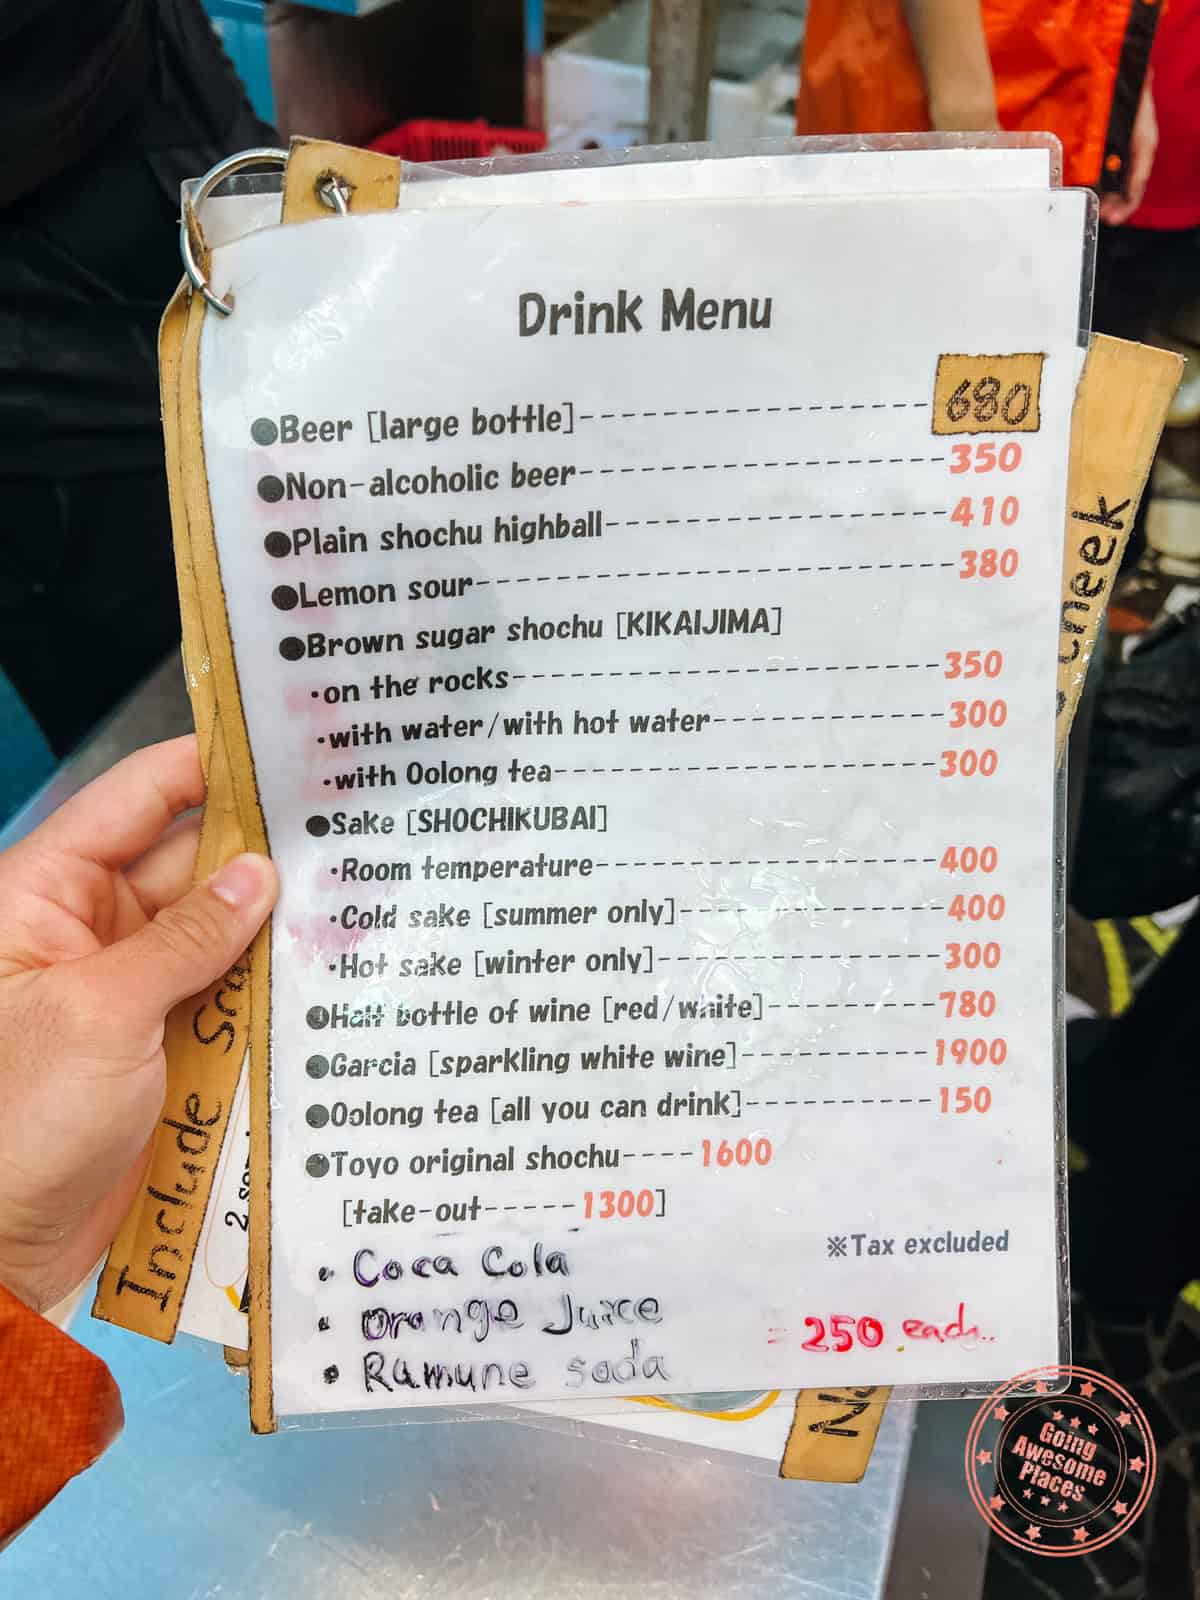
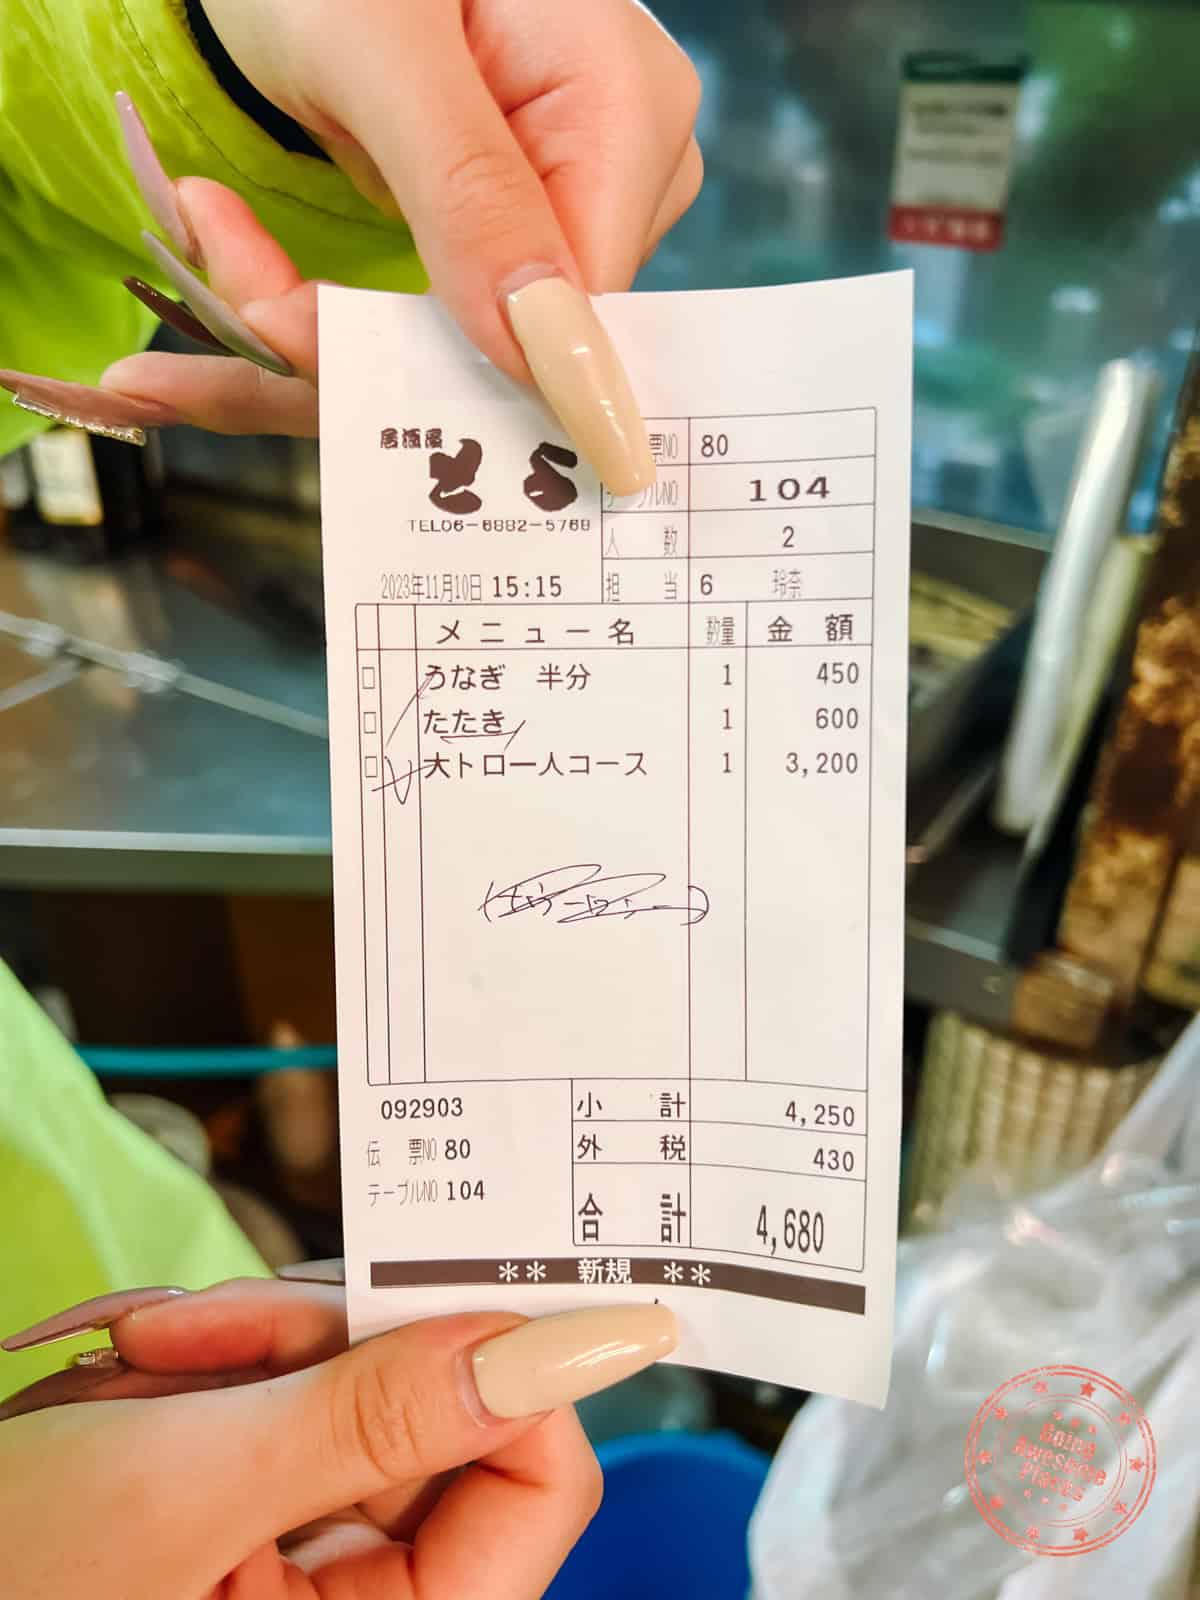
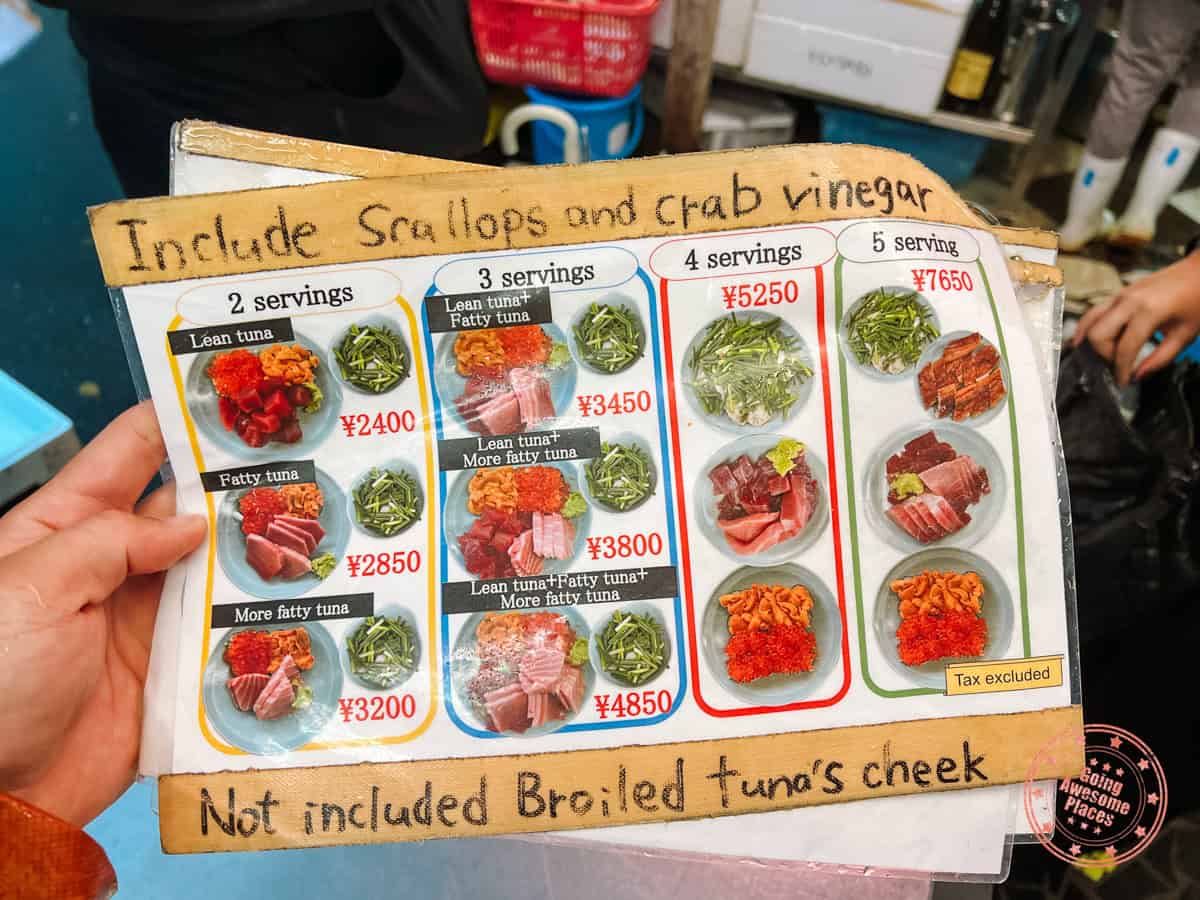
Address: 3 Chome-2-26 Higashinodamachi, Miyakojima Ward, Osaka, 534-0024, Japan
Hours:
- Tuesday, Wednesday, Friday – 1 – 4PM
- Saturday – 12 – 4PM
- Closed Sunday, Monday, and Thursday
FAQ:
- Does this restaurant take reservations? No, they do not take reservations.
- Are there seats? There are a few bar seats in front of the chef but those seem to be usually taken by local regulars. All of the other seats are all standing bar-top tables.
- How long is the average wait time? On average, expect to wait 30 minutes to get a spot.
- Do they take credit card? No, this is a cash-only restaurant.
- Do they have English menus? Yes, they do.
Tips:
- They are only open Tuesday, Wednesday, Friday, and Saturday so if you want to eat here, make sure to plan your itinerary accordingly.
- Keep in mind that this is outdoor seating. The good news is that it’s covered so there isn’t a worry if there’s rain but you’ll certainly want to be dressed appropriately.
- The menu item you want to order where Chef Toyo uses the flamethrower is the broiled tuna cheek. This item is not included in the combo sets and needs to be ordered separately.
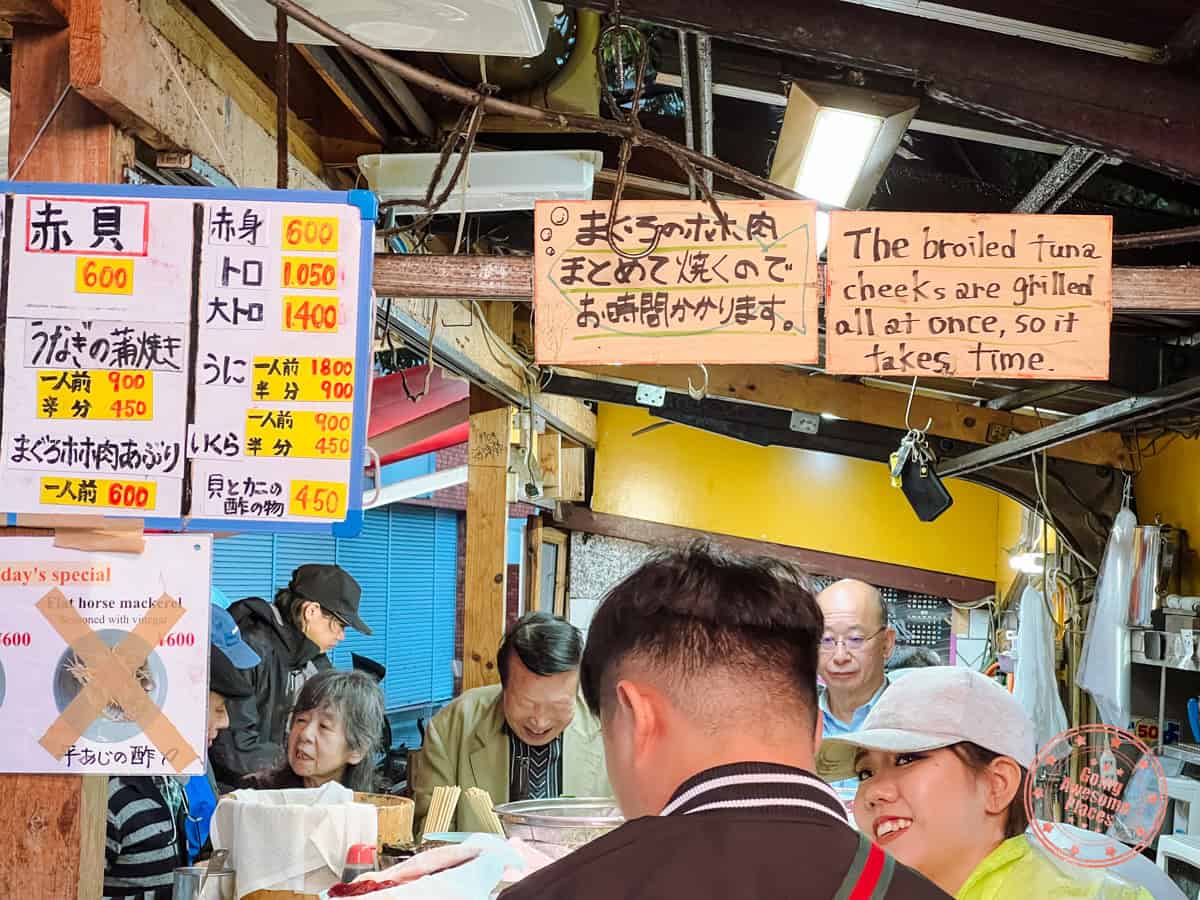
- As the sign says in front of the chef, he makes the broiled tuna cheeks in a big batch so don’t worry if it doesn’t happen right away. You’l know when it’s time. Don’t be afraid to get up to the front to get great photos and videos.
- This has become a popular spot thanks to Netflix, you can imagine how busy it is. The queue is much shorter at 3PM near the end of the day.
Roam Around The Famed Dotonbori
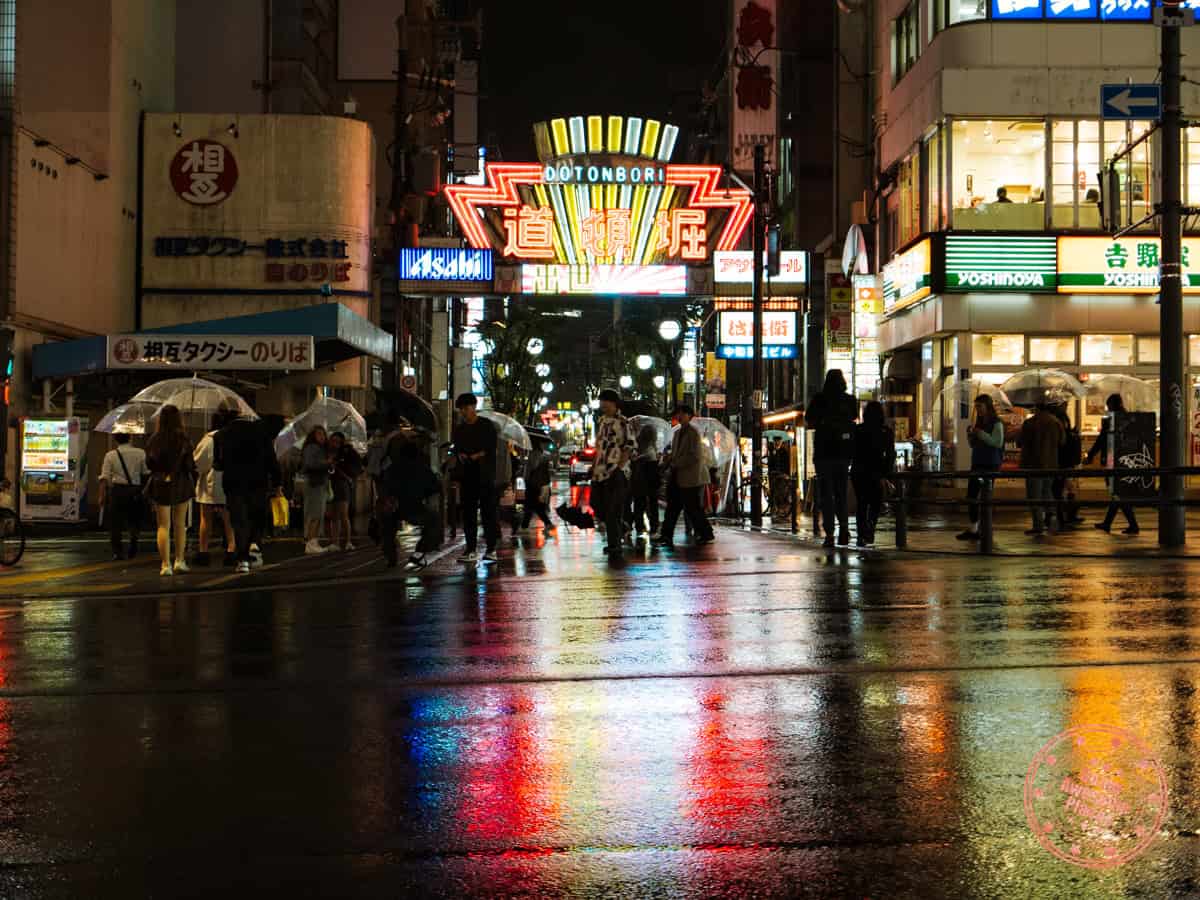
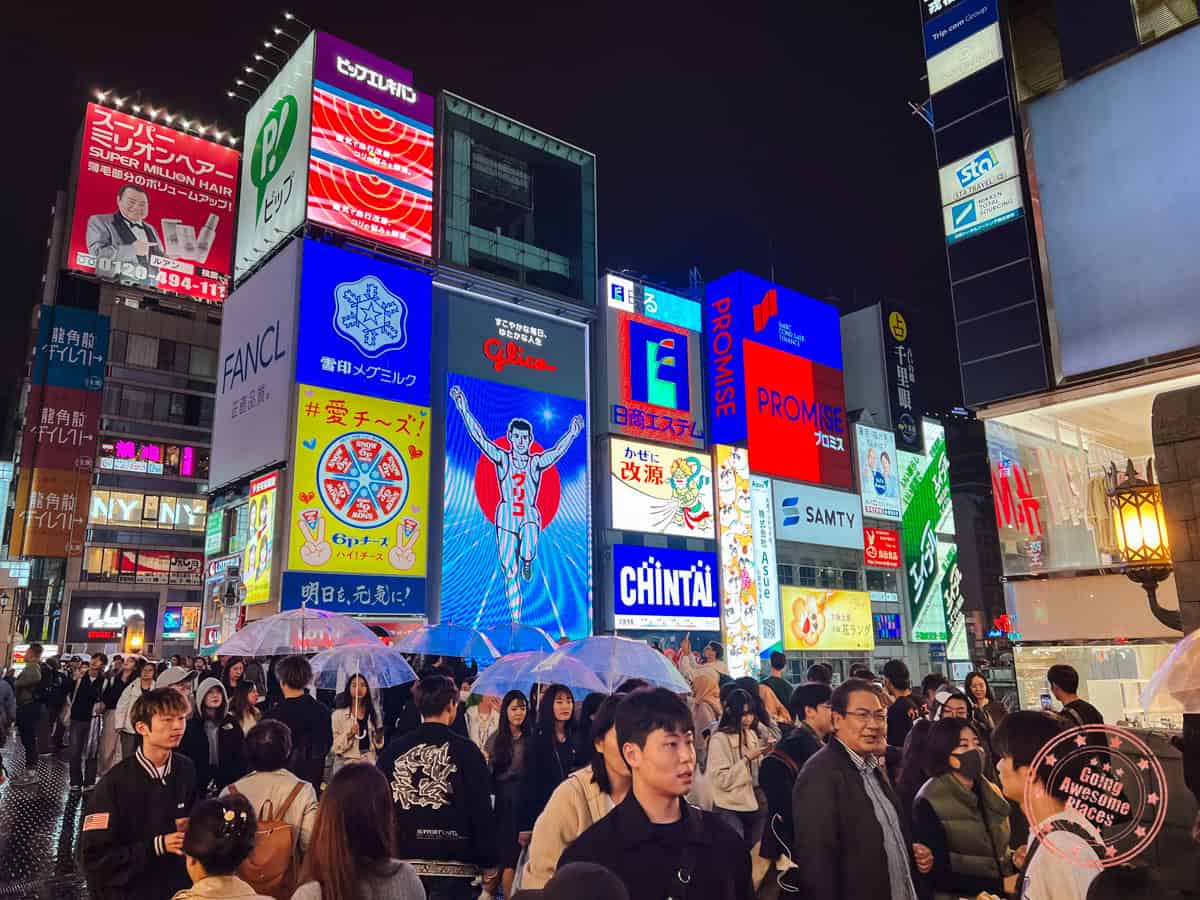
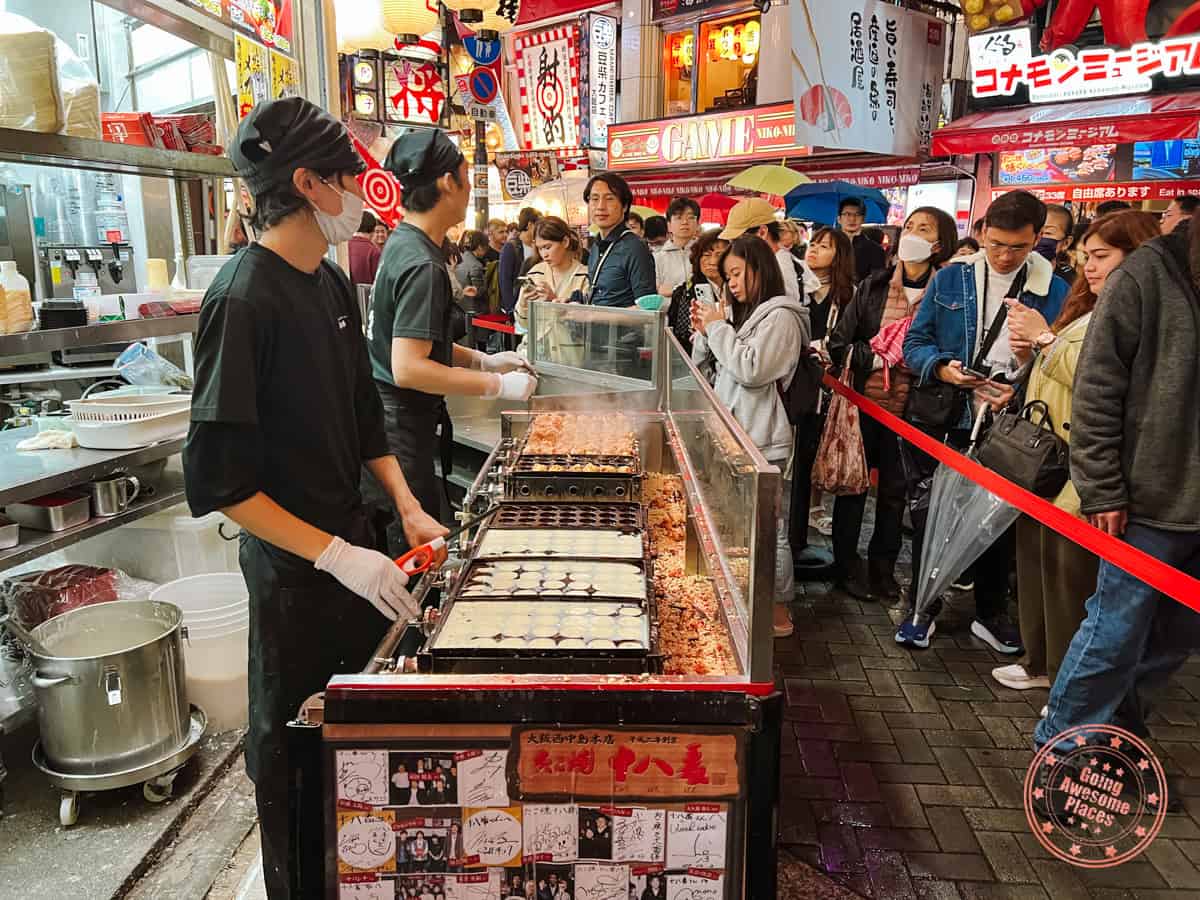
Your self-guided food tour continues!
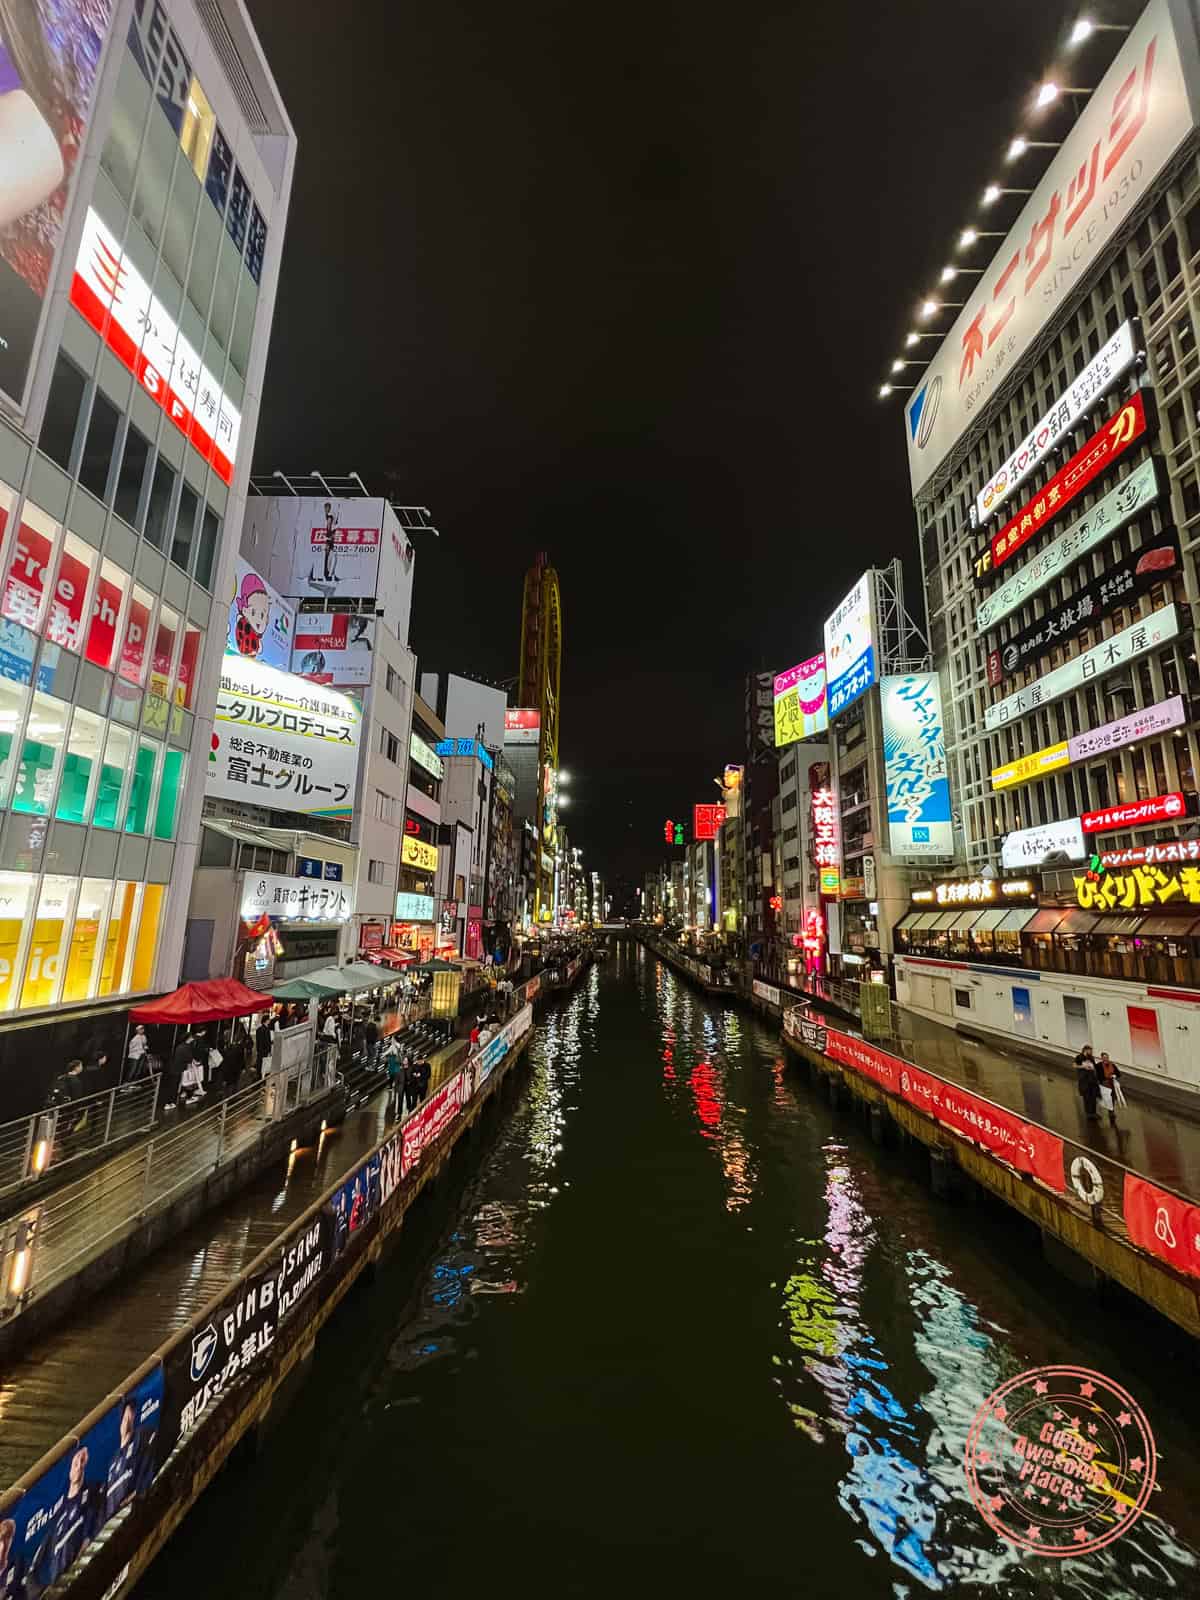
Take the subway into the heart of Osaka. Centered along the Dotonbori River, this is the convergence of two neighbourhoods – Shinsaibashi and Namba. Simply called Dotonbori, we are not kidding when we say it’s a sensory overload here.
With neon lights, bars, street food, restaurants, shopping arcades, and clubs all crammed together, this gives you a glimpse into quintessential nightlife here.
There isn’t a right or wrong way to explore. Coming out of Namba station, follow the covered shopping promenade until you reach the Ebisubashi Bridge. Do a 360-degree spin around and you’ll see the glowing billboards including the famous Glico Running Man.
Parallel to the river on both sides are streets lined with bars, restaurants, and shops so take your time to explore.
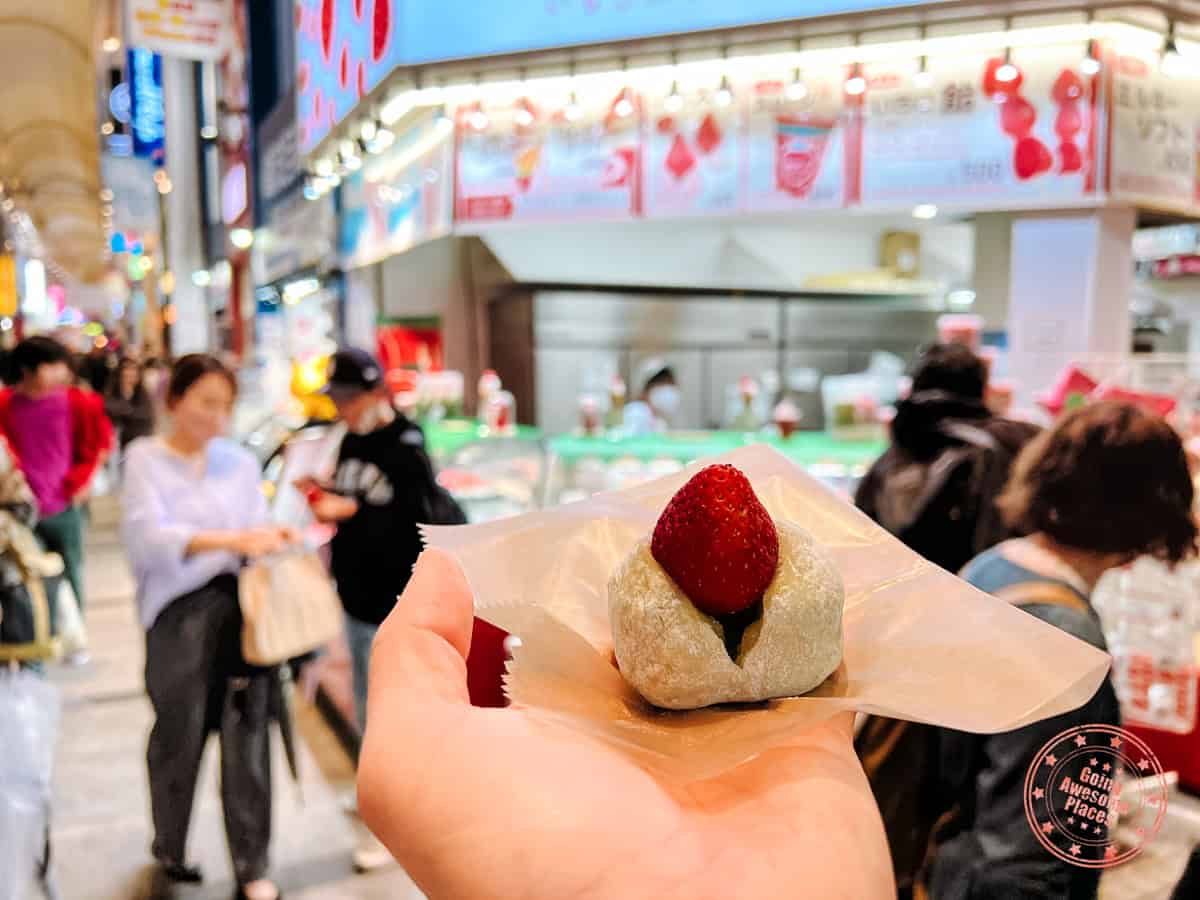
We ended up snacking and shopping along the way. My Mom was able to find a nifty shoulder purse that was perfect for her smartphone. We also snacked on strawberry mochi, takoyaki (octopus balls), dango (sticky rice balls on a stick), and matcha soft serve.
Satisfied with all of the good food you’ve had, head back to your hotel and hit the hay.
Day 1 Summary
What you’ll see & do:
Where you’ll eat:
- Lunch – Izakaya Toyo – Made famous from Netflix’s Street Food: Asia’s Osaka episode, eat at the street-side standing izakaya where the main event is the chain-smoking chef Toyoji Chikumoto using a flamethrower to grill tuna cheeks. It’s certainly a spectacle worth seeing as it’s unlike anything we’ve seen but at the same time, it’s very much a staged show where he’s gotten really good at posing for the camera with his signature thumbs up. The seafood is good but you can certainly get better elsewhere. You’re very much coming here for the experience.
- Dinner – Snack around Dotonbori – Instead of picking one place for the evening, see where you stomach takes you as this district is filled with so many different food stalls. We recommend at a minimum trying the strawberry mochi of Strawberry Mania, chewy mochi balls on a stick at a random dango stall, octopus balls at Takoyaki Juhuchiban Dotonbori, and end off with green tea soft serve from Maccha House. Don’t worry, if you can’t have them all, you’ll be back tomorrow!
Where you’ll stay:
- Travelodge Honmachi Osaka (Review/Agoda/Booking) – The brand that you might know from road trips in the US has gone through a dramatic makeover in Asia. In fact, the Travelodge brand is run completely separate to the main brand so it actually isn’t tied to Wyndham. That said, we found this hotel to be in the perfect location that’s easy to get to by Osaka Metro (Honmachi Station) and in a really quiet part of town. Rooms have a retro spunk to them and are newly renovated so it’s extremely comfortable and surprisingly spacious for Japan. We also chose this hotel because of their availability of triple occupancy (single + queen bed).
Itinerary Day 2 – Kobe Stimulating The Senses
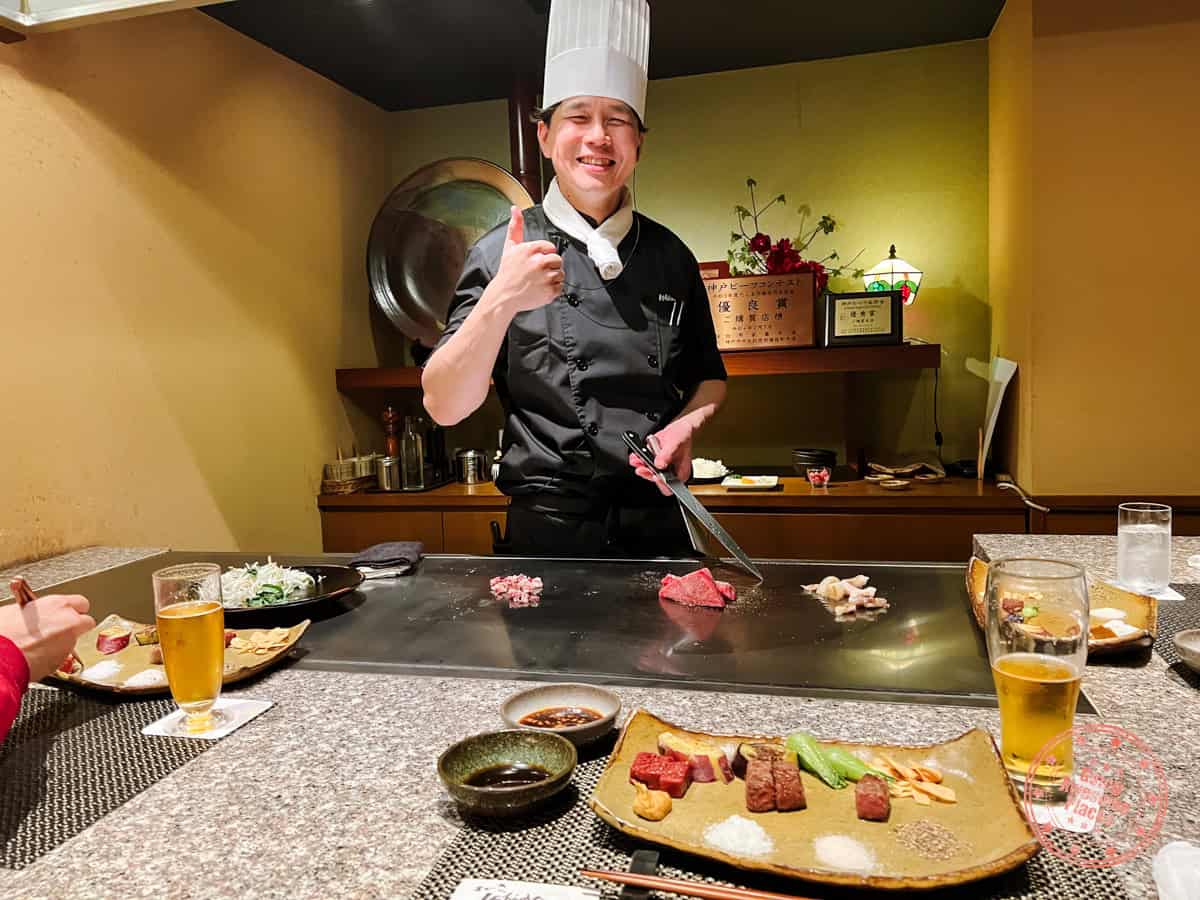
I thought long and hard about visiting Nara but I couldn’t say no to the option of having proper Kobe beef and incorporating a city that most don’t get to see along the classic Golden Route.
This is going to be a fun slower-paced day that you’ll definitely appreciate having in your itinerary.
Easy Hop Over To Kobe
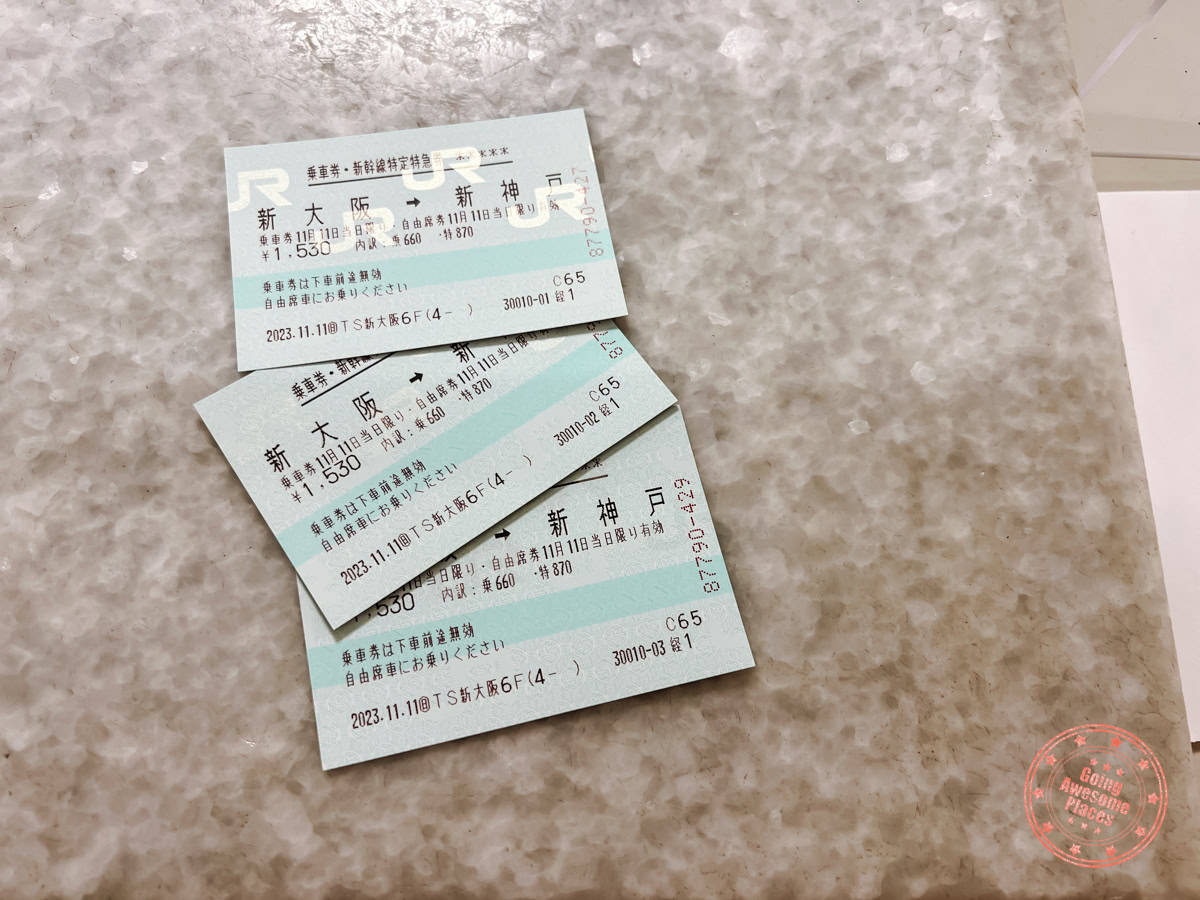
Get a jump-start to the day by heading Shin-Kobe station. There’s a super fast Shinkansen (bullet train) that stops in Kobe which is going to take only a shocking 12 minutes.
WHAT YOU NEED TO KNOW
Getting to Kobe from Osaka is incredibly easy but there are a few things you want to keep top-of-mind so there aren’t any hurdles:
- Going to the right station – If you’re starting the day at Kobe Nunobiki Herb Gardens, you’ll want to go to Shin-Kobe. The only way to do this from Osaka is to start at Shin-Osaka and take the Sanyo Shinkansen. This is a 12 minute ride.
- You need to buy tickets – Anytime a shinkansen train is involved, you won’t be able to tap your IC card. In this case, you’ll need to buy tickets from a machine or at the ticket office.
- You don’t need to return the same way – As you’ll see later on, you don’t need to return to Osaka from Shin-Kobe. Instead, take a train from Sannomiya Station. As to not over-complicate things, you’re better off doing a Google Maps direction search when you’re ready to leave to see which train is the easiest to get to where you want to go to next.
FAQ:
- Do you need to buy train tickets in advance? No, especially since you’re taking it a short distance. You can buy tickets on the spot but make sure you give yourself some buffer time to use the ticket booth or machine.
Roaming the Kobe Nunobiki Herb Gardens
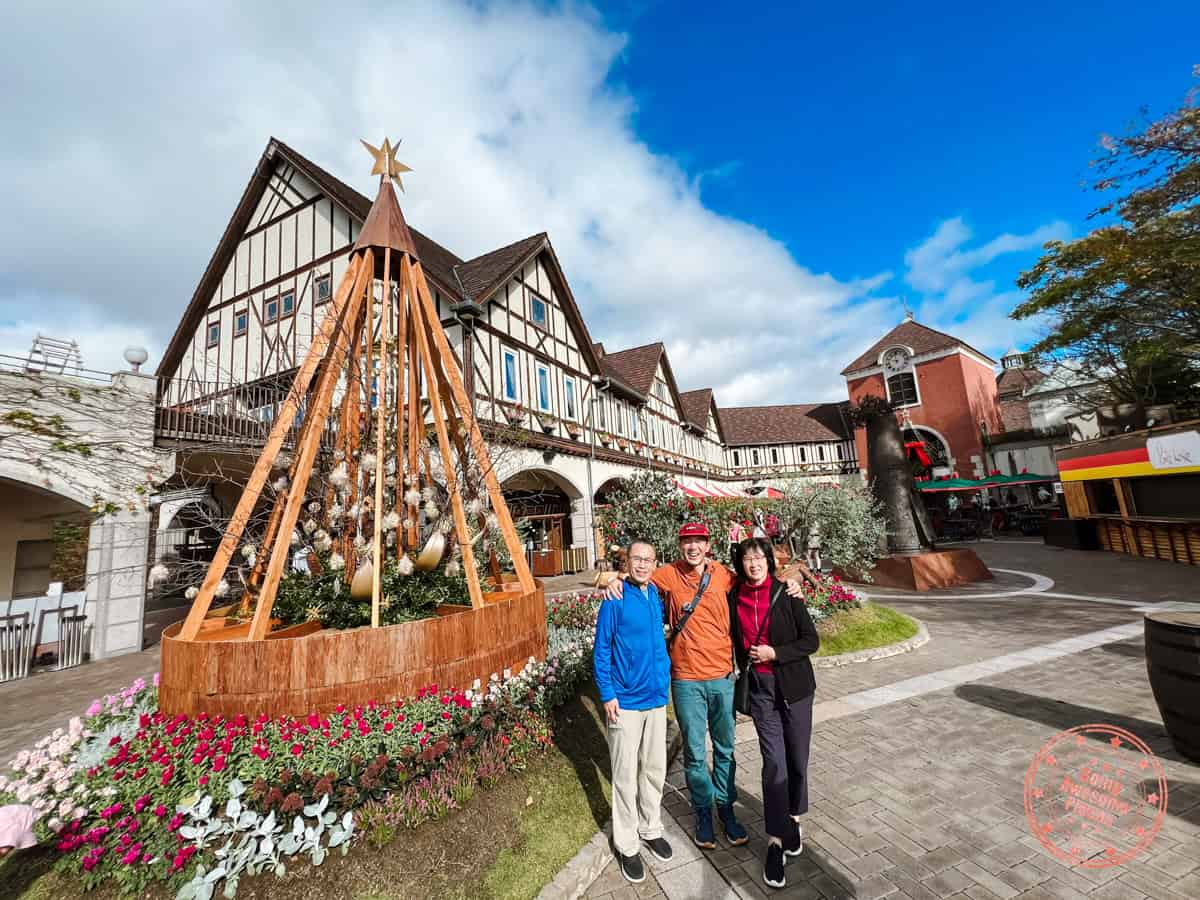
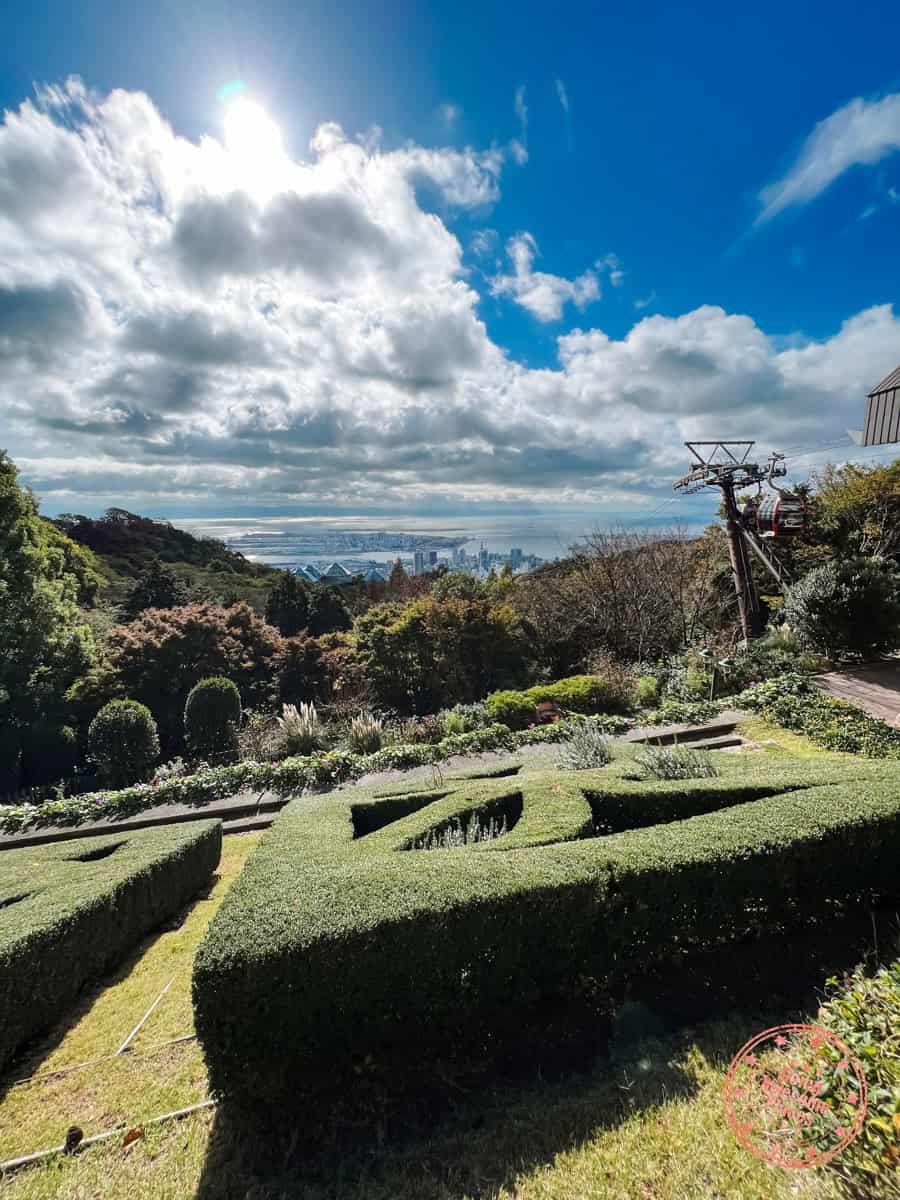
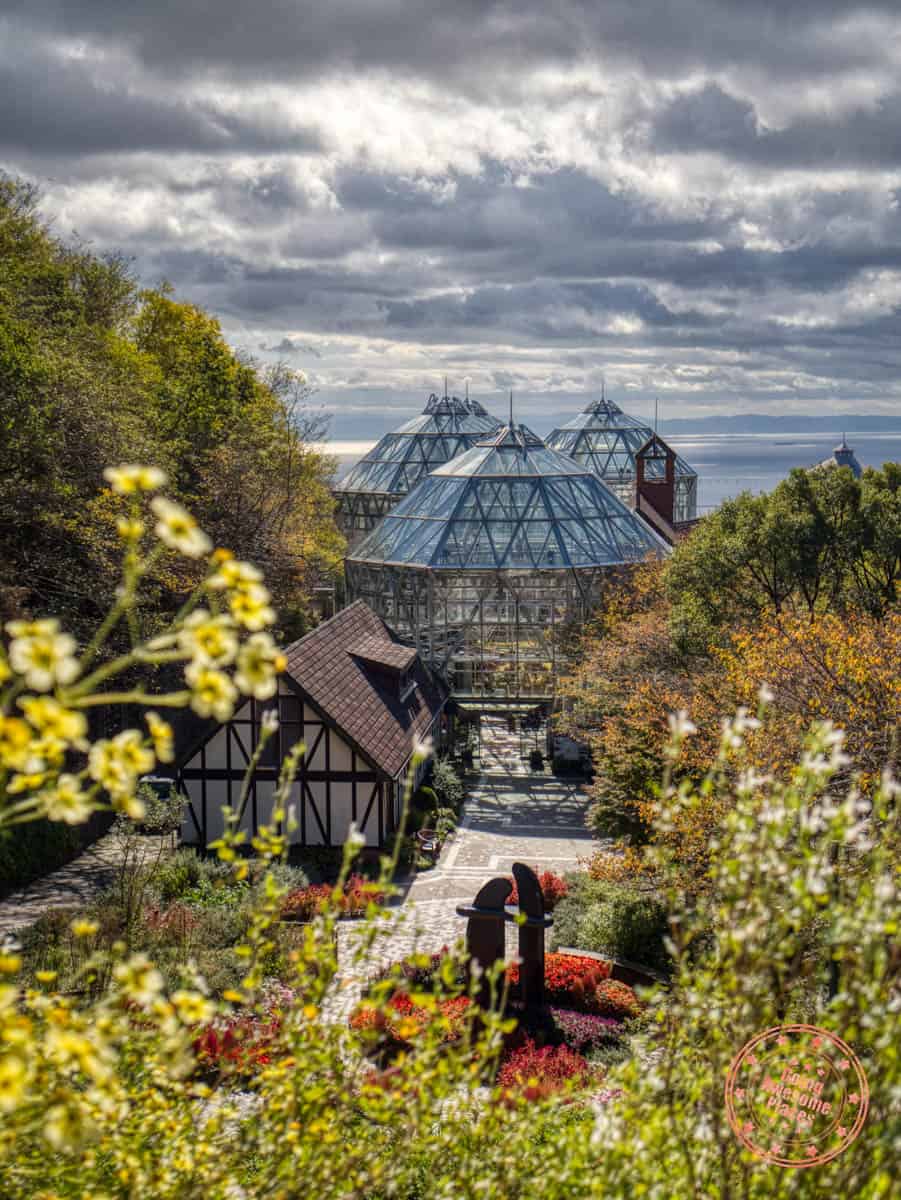
Your first destination today is the Kobe Nunobiki Herb Gardens & Ropeway. Taking the ropeway up the mountain, you’ll be treated to a relaxing morning walking through Japan’s largest gardens and their 75,000 herbs and flowers of approximately 200 different species.
At the top is where you’ll find a castle gate which was inspired by Wartburg Castle in Germany. Here is also the rest house, Rose Symphony Garden, concert hall, and fragrant garden.
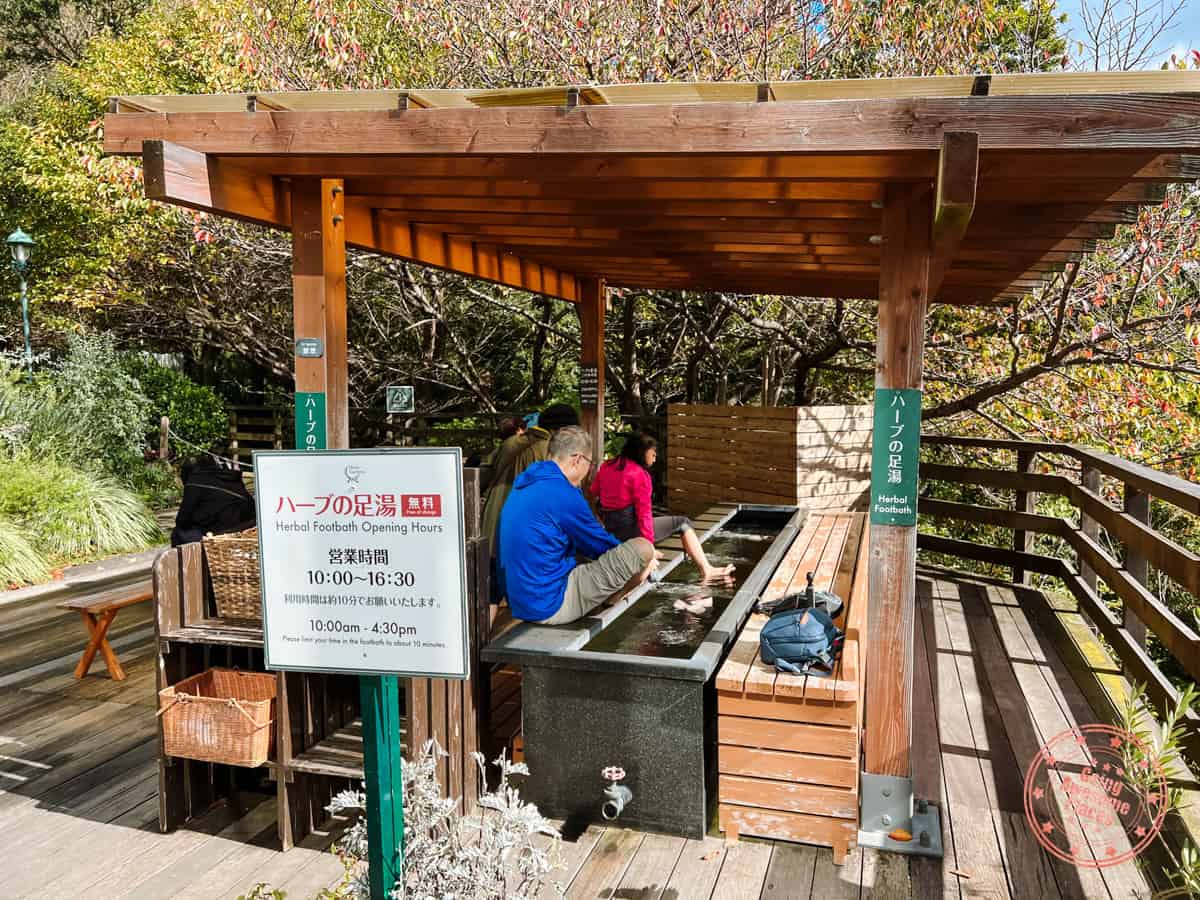
From the top, you walk the gentle downhill path, passing through a variety of themed gardens, a glasshouse, patio hangouts (with hammocks), a cafe, and best of all, a footbath (foot onsen).
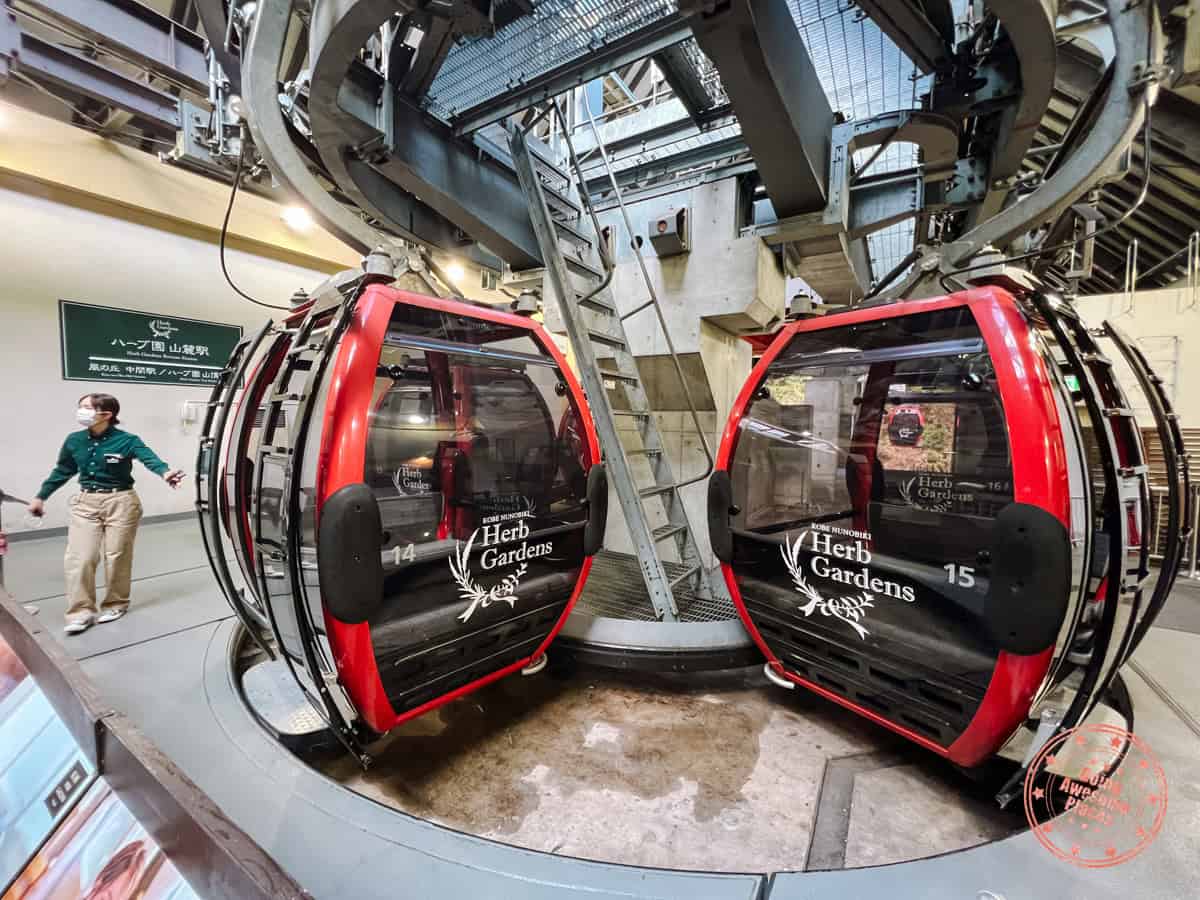
Once you get to the bottom, you’ll be at the mid-way station to catch the ropeway back down.
WHAT YOU NEED TO KNOW
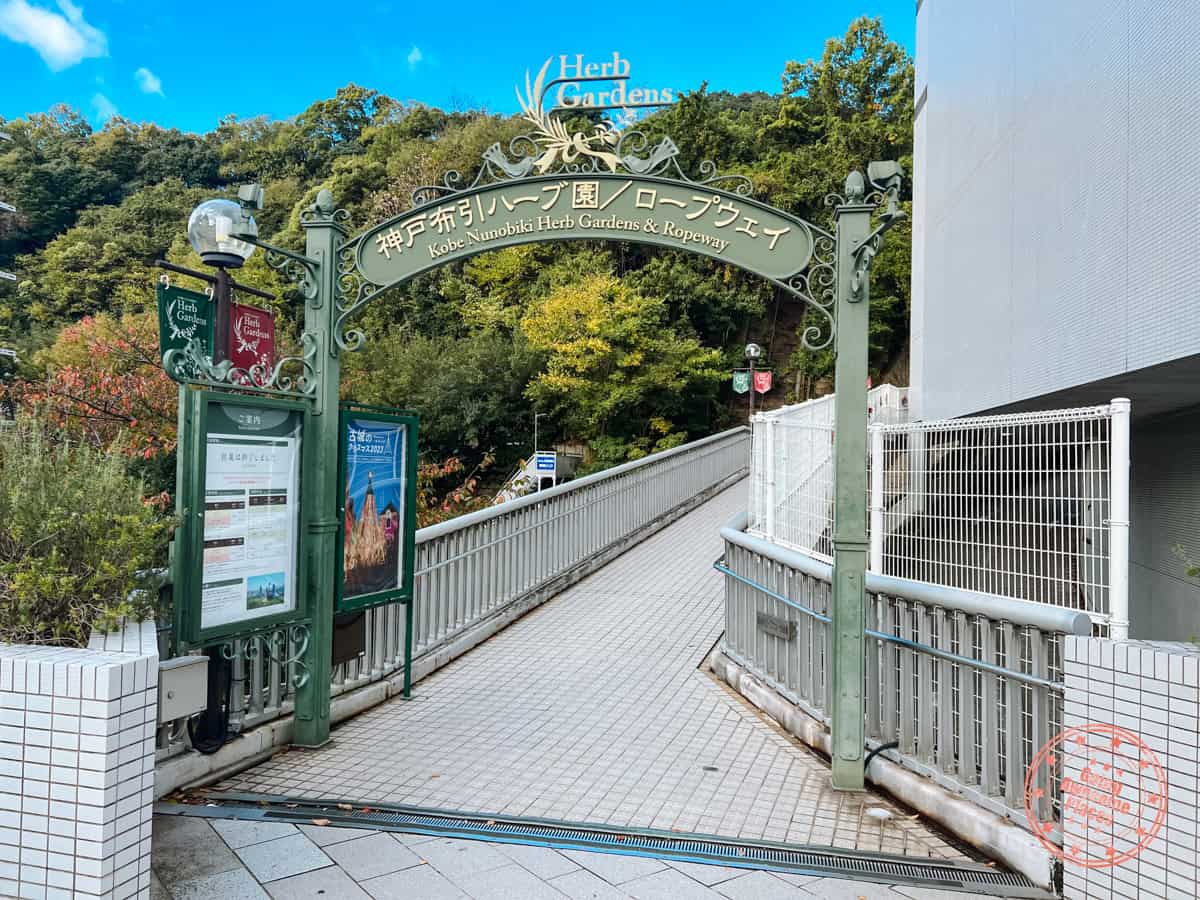
Address: 1 Chome-4-3 Kitanocho, Chuo Ward, Kobe, Hyogo 650-0002, Japan
Hours: They are open daily but the hours change depending on the season. The most important part to pay attention to is when the ropeway is open and closed. Last admission is 30 minutes before closing.
Price: Free for preschool children.
| Round Trip | One-Way | |
|---|---|---|
| Daytime (9:30AM – 5PM) | ||
| Adult | ¥2,000 | ¥1,400 |
| Youth | ¥1,000 | ¥700 |
| Evening (5PM – 9PM) | ||
| Adult | ¥1,500 | Not available |
| Evening | ¥950 | Not available |
Booking: While not mandatory, save some of the stress by buying tickets ahead of time. If you would like to have a guide of the gardens, there’s also a 90-minute guided tour that includes the ropeway and admission tickets.
Website: Kobe Nunobiki Herb Gardens & Ropeway
FAQ:
- How do you get to the Kobe Nunobiki Herb Gardens? You can walk to the ropeway from the Shin-Kobe station (pay close attention to the station name). You’ll pass through a mall as you cut your way through. This should only take you 10-15 minutes.
- How much time do you need at the gardens? Conservatively, account for 3 hours here.
Tips:
- The main hidden gem is the foot onsen which is tucked away behind The Verdana cafe. It’s sanitary, soothing, and relaxing.
- When taking the gondola up and down, make sure to look out for the Nunobiki Falls, dam, and reservoir.
- If you arrive early and you have some time to kill, there’s a glass house that’s walking distance from the ropeway. The walking path also has a good view of the city.
The Finest Kobe Beef
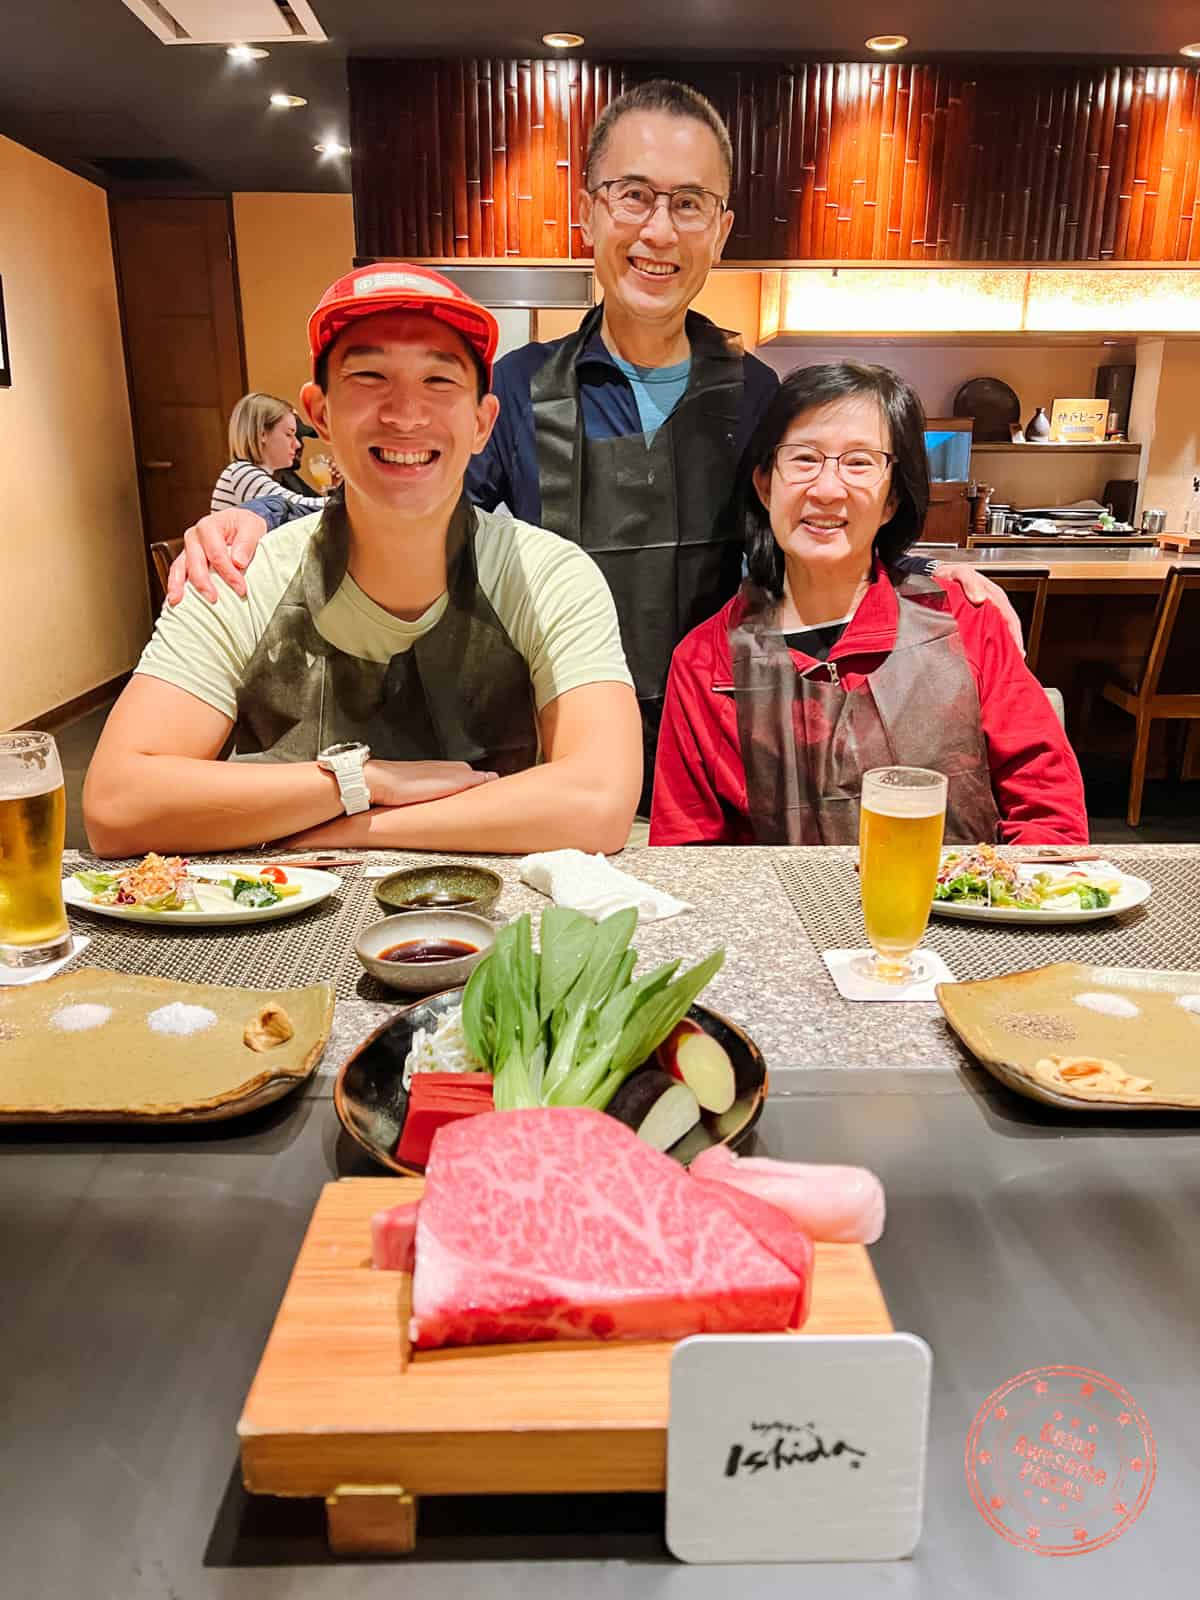
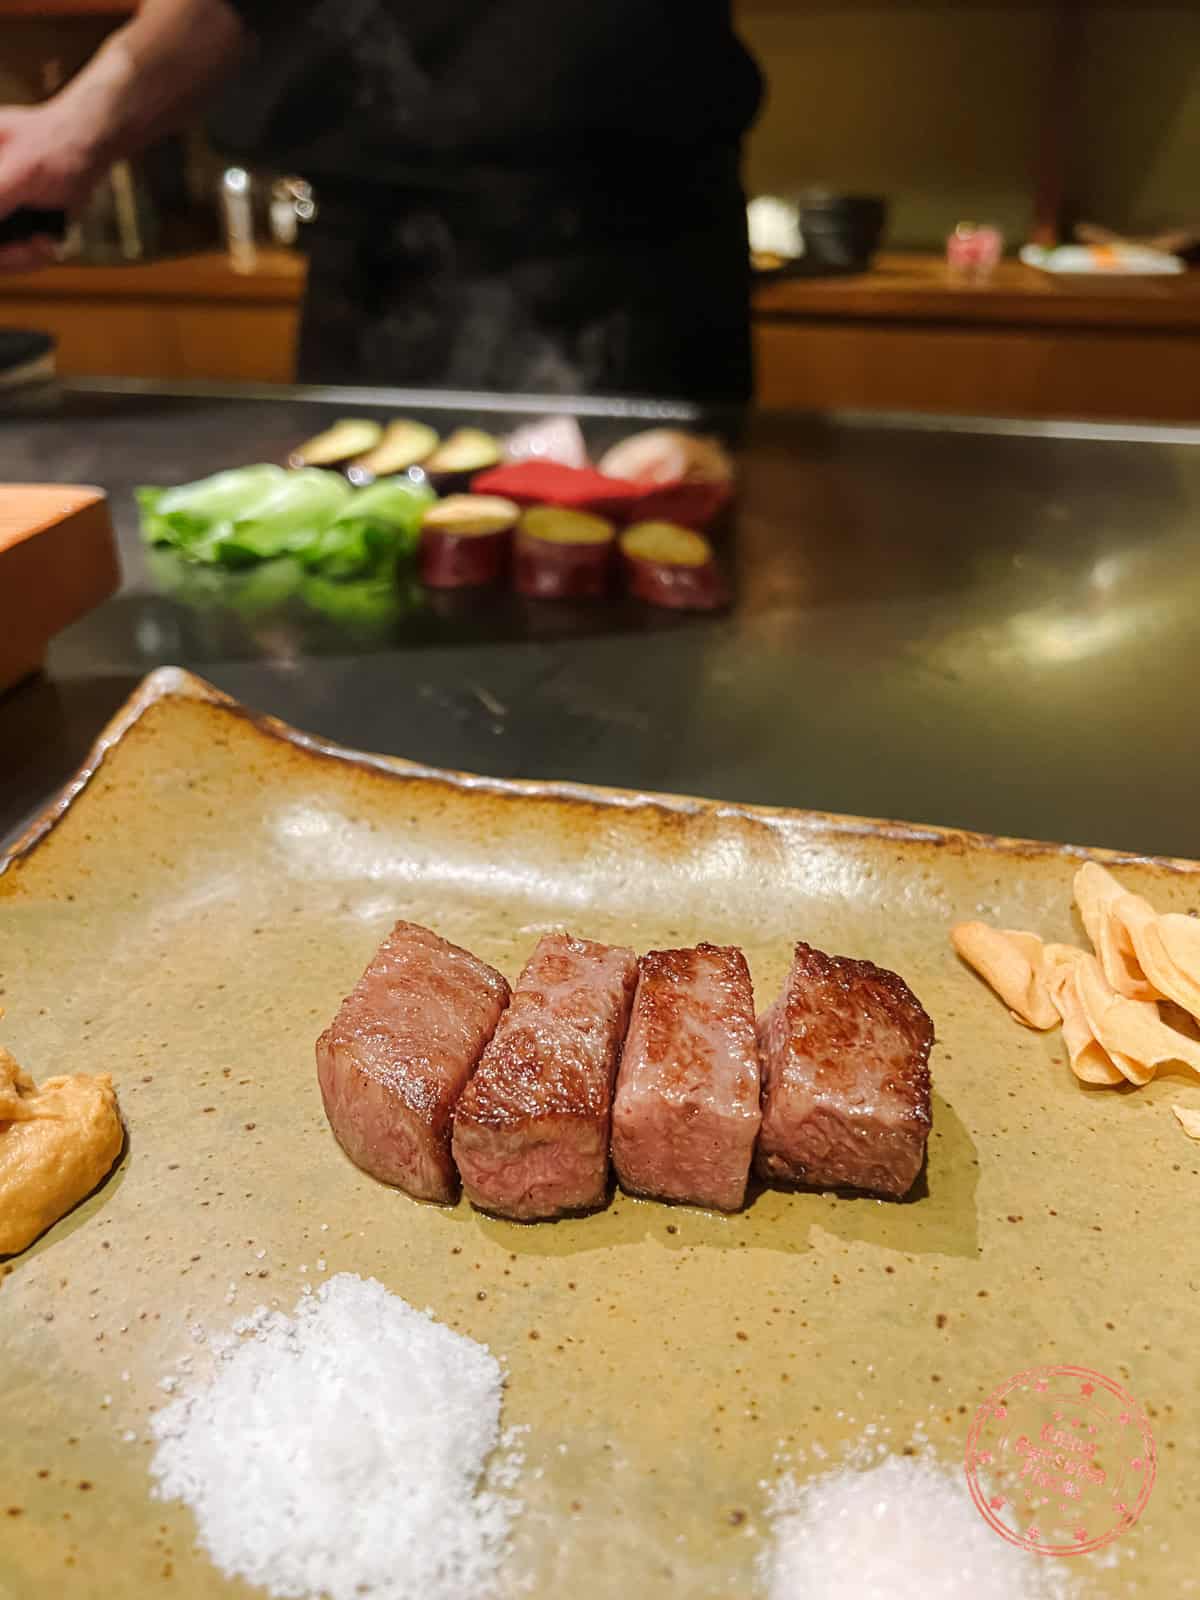
At this point you will have built up the appetite for one of the most opulent meals you’ll have on this trip. There are certainly many Kobe beef restaurants all around Japan, if not the world, but there’s something special about having it in the same prefecture they are raised.
The one we selected that had a reasonable price for their lunch menu and could be reserved online through an English-website was Kobe Beef Steak Ishida.
I’m just going to put this out there that this was the best steak experience that I’ve ever had. While it looks very much like teppanyaki (aka hibachi), your chef cooks all of the premium ingredients with precision and mastery.
It’s not a wild show of tricks and onion volcanoes but you will get a filling combo meal that culminates in a true melt-in-your-mouth Kobe beef that will likely ruin all other steaks for life.
WHAT YOU NEED TO KNOW
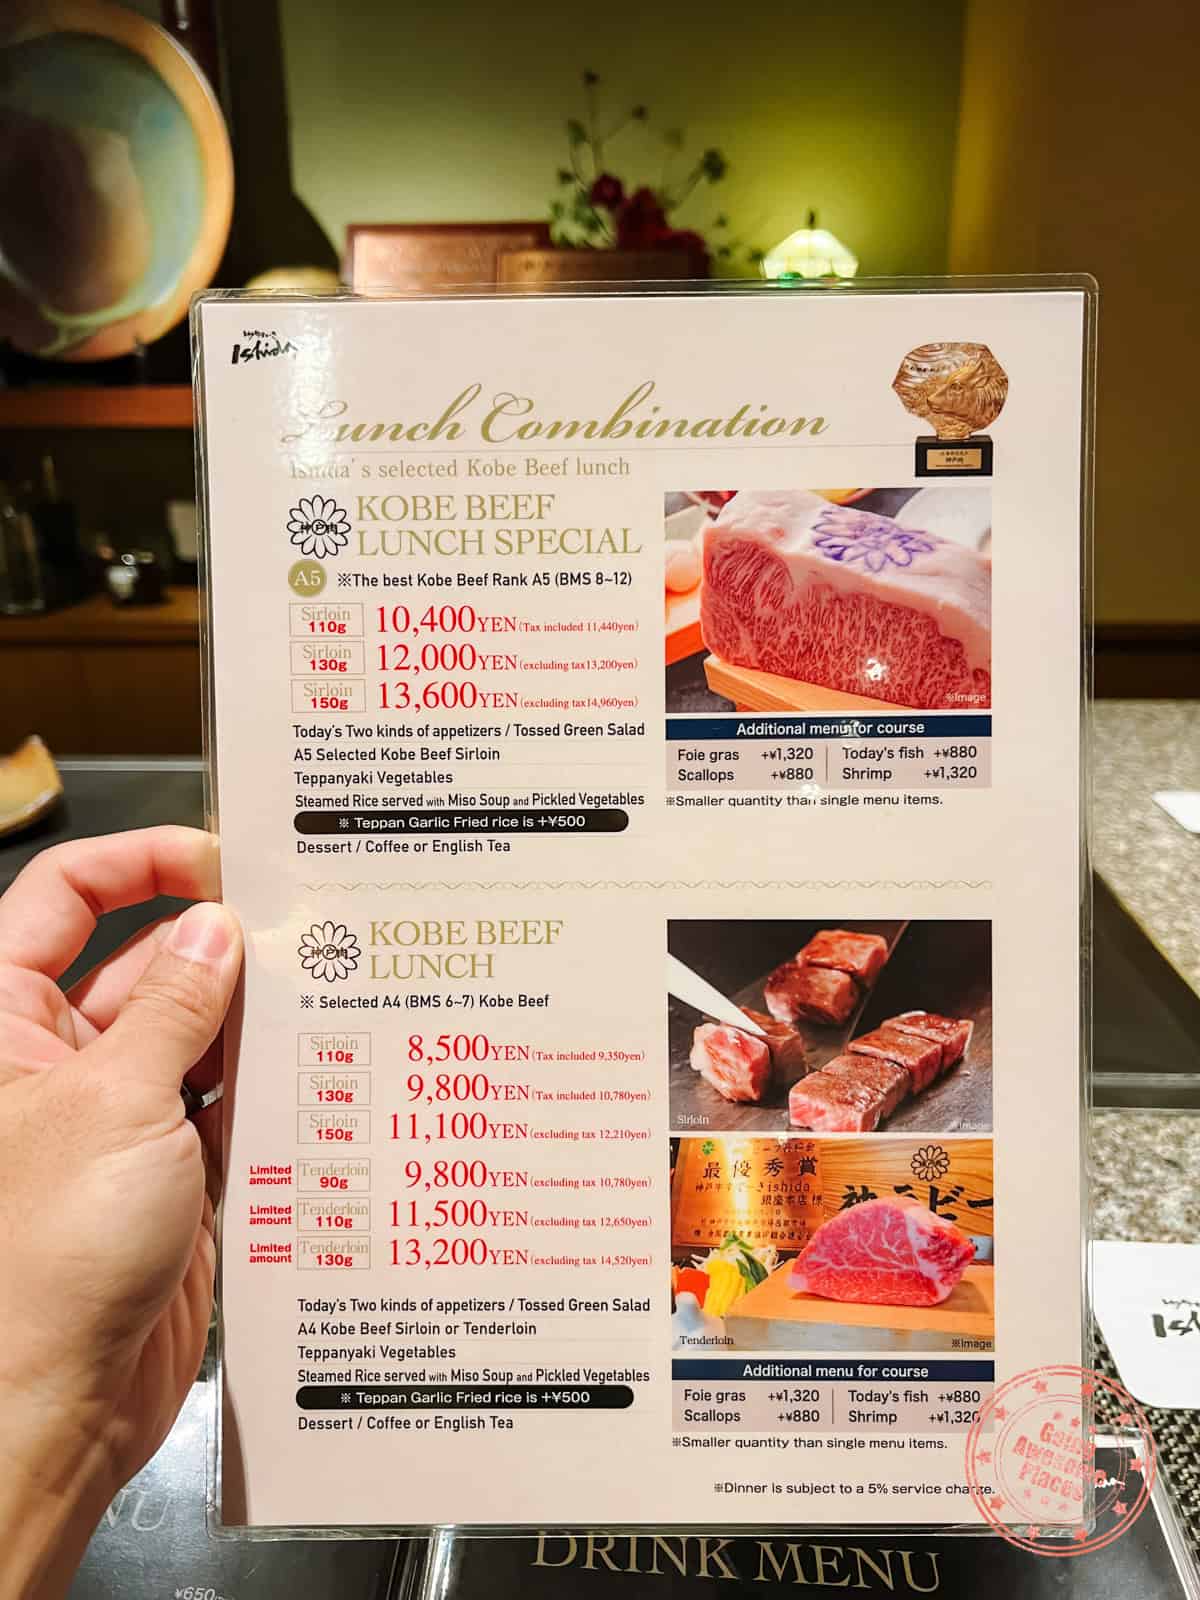
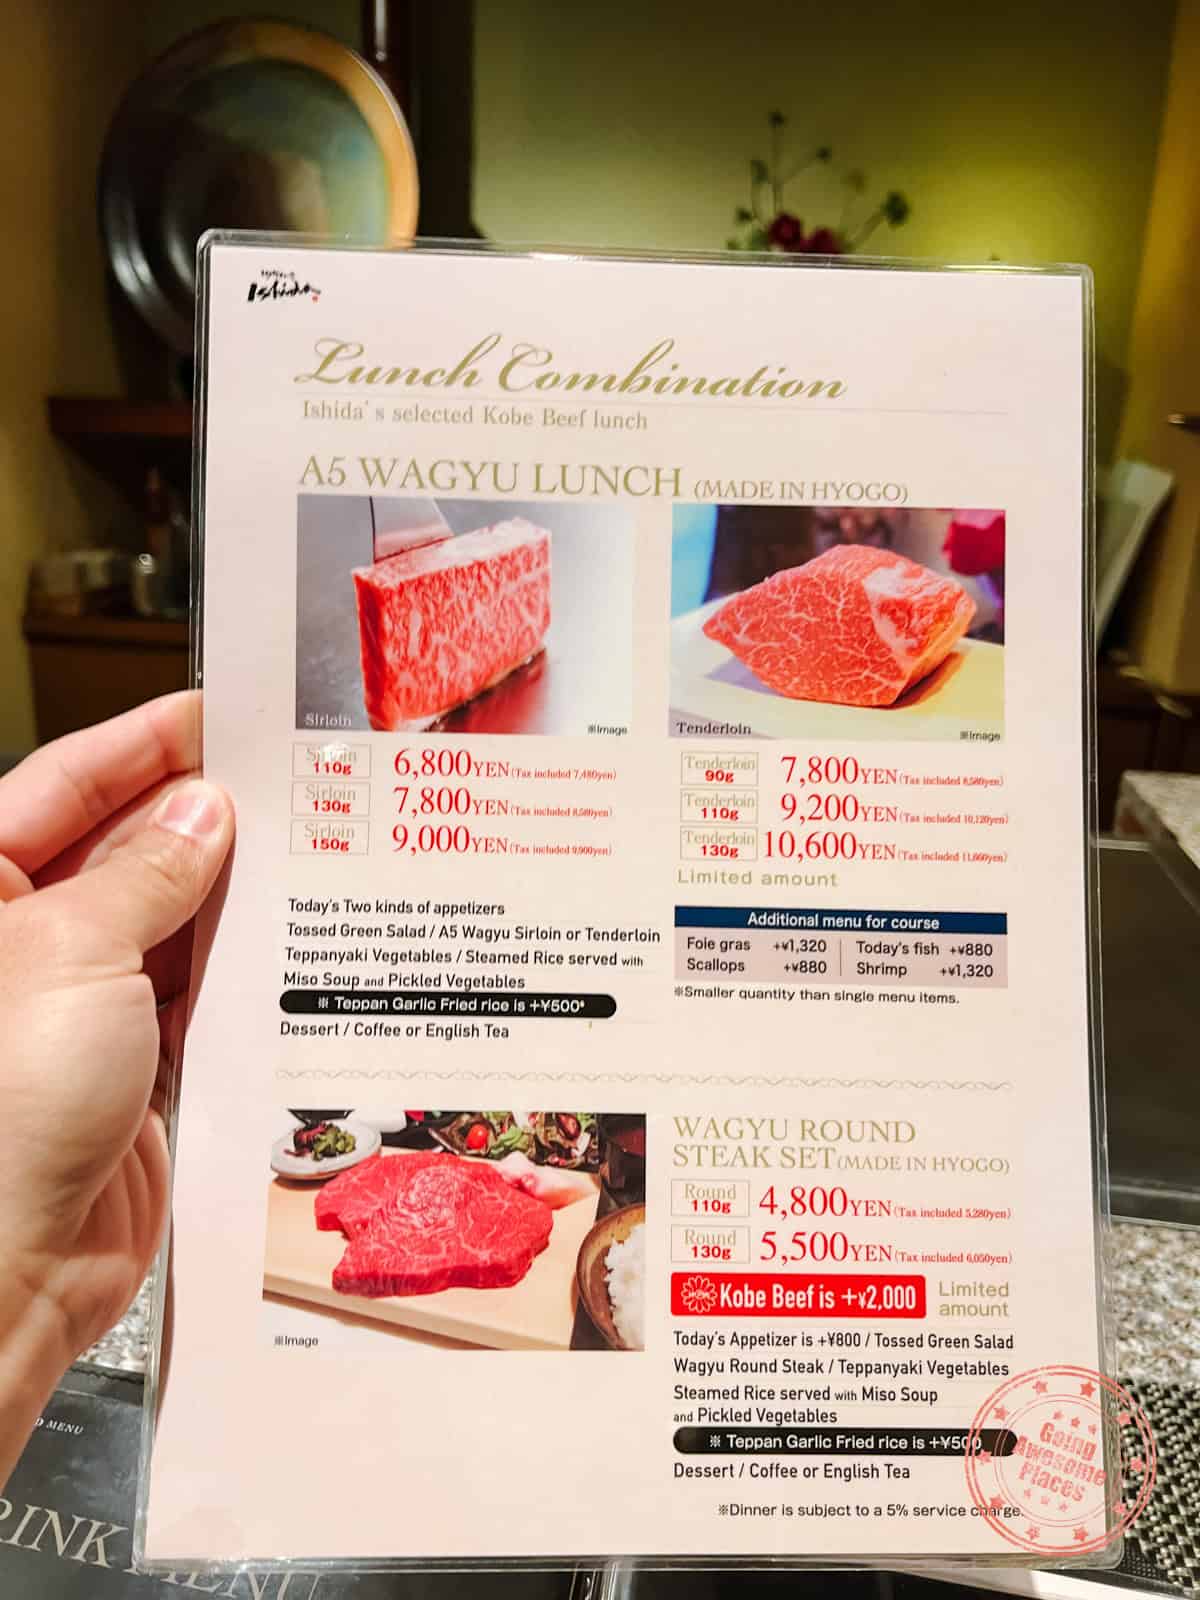
As a heads up, the prices above may have changed since our visit but it gives you an idea of what they offer for lunch. And yes, English menus!
Address: 〒650-0012 Hyogo, Kobe, Chuo Ward, Kitanagasadori, 1 Chome−21 2TAKAIビル 3F
Hours: Closed on Tuesday.
- Lunch – 11:30AM – 3PM
- Dinner – 5PM – 9:30PM
Price: Examples of courses for both lunch and dinner.
- Lunch – Select Kobe Beef Lunch (Sirloin) 110g is ¥13,860
- Dinner – A4 – A5 Kobe Beef (Sirloin) 110g is ¥16,054
Website: Kobe Beef Steak Ishida
FAQ:
- Is there a dress code? Casual clothing is allowed however avoid going in extremely casual. For Japanese, that’s typically the t-shirt, shorts, and sandals look.
- Are reservations necessary? Yes, reservations are mandatory.
- Do they take credit card? Yes, they take credit card in-store if you order anything extra in addition to your online meal reservation.
- Do they have English menus? Yes, they do.
Tips:
- When making reservations online, you’ll receive multiple emails. Once your time slot is confirmed (typically same or next day), you’ll have to pay in full via Paypal within 24 hours. Through Paypal, you’ll be able to pay via credit card. A heads up that a 10% service fee is added on top.
- The best value is at lunch as you’re getting practically the same menu items for a reduced cost.
- We highly recommend that you pay for the garlic rice add-on. This is an additional ¥550 for lunch and ¥575 for dinner.
Exploring Kobe Harbor
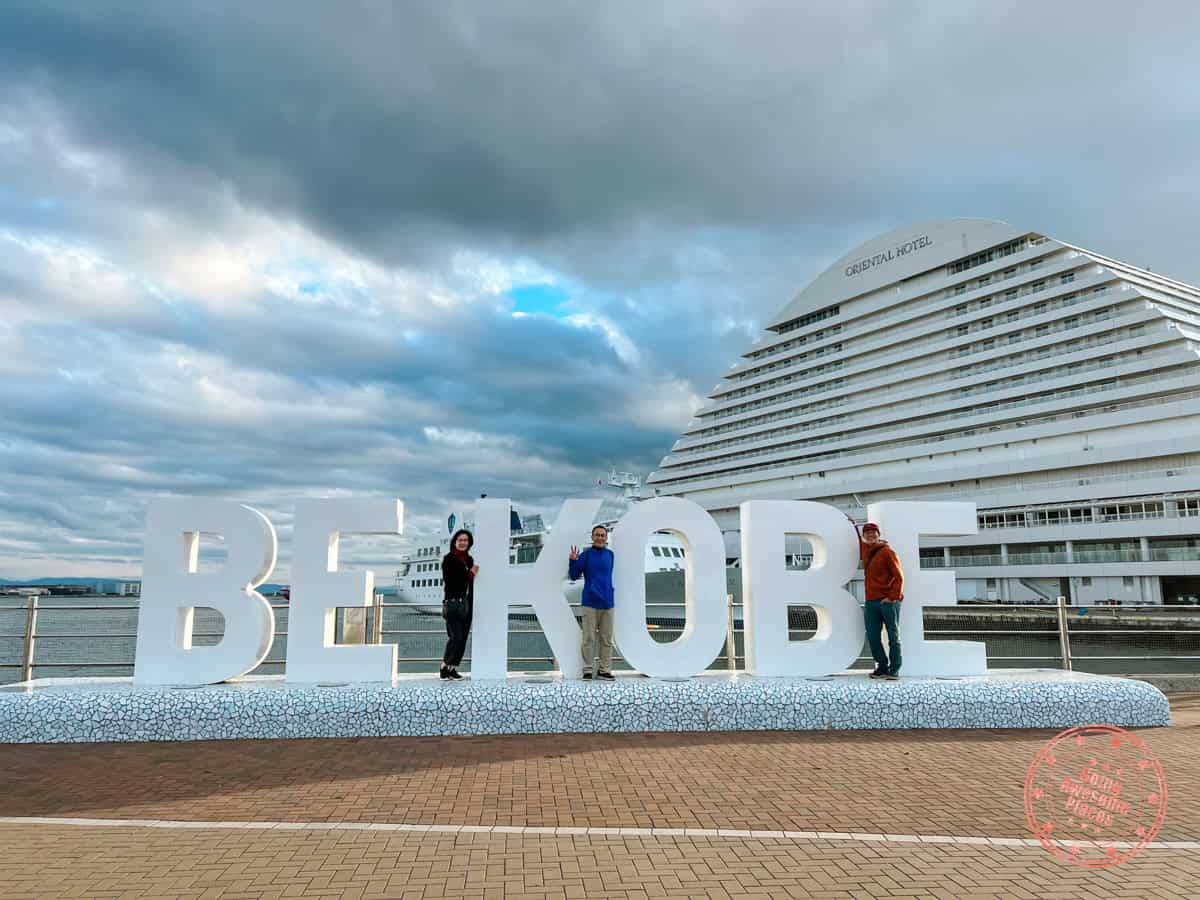
You’ll then have the rest of the afternoon to explore Kobe. This may be coming from someone that has seen the popular destinations be overrun with tourists, I really appreciated that it was mostly locals here and felt super laid back.
To make the most of your day in Kobe, head to the expansive harborfront. This is where you’ll find Kobe Harborland, an entire shopping and entertainment district. While the mall has one of our favourite drink shops, nana’s green tea, we quite enjoy walking along the water’s edge to take in this port city’s views.
Technically, where Kobe Harborland ends is Meriken Park and this is where you’ll see Kobe Port Tower and just a bit further is the Be Kobe sign that you can see us taking a photo in front of.
If you’re into bikes, there’s a Kawasaki Good Times Museum, the official museum of Kawasaki Heavy Industries.
See The Tsutenkaku Tower And Lights
When you’re ready to leave Kobe, walk back to Sannomiya Station. What gets a bit confusing here is that there are different sub-stations depending on which train you’re taking. Again, your best bet is to follow the Google Maps instructions to see which is the fastest way to get to Tsutenkaku.
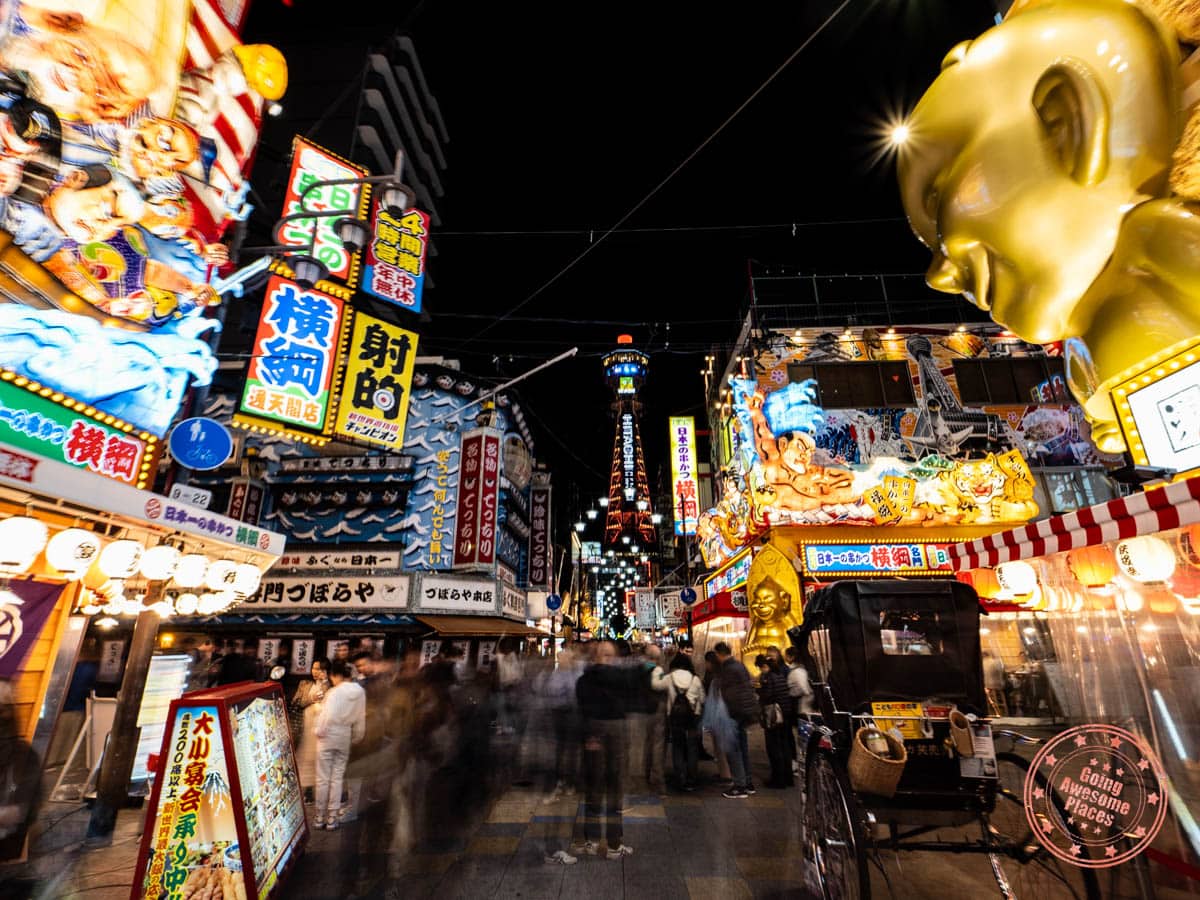
I know it’s a shame that we’re not spending as much time during the day in Osaka as we should but the city truly comes alive at night. Another area that’s worth checking out is Tsutenkaku.
With the Tsutenkaku Tower as the backdrop, your eyes will be drawn to all of the restaurants and shops thanks to their wild displays above.
Since we were still quite full from lunch, we didn’t end up eating here but this area would be the perfect spot to grab dinner. We recommend Ganso Kushikatsu Daruma Shinsekai Sohonten which specializes in kushikatsu, deep-fried skewered meat and vegetables.
The Dotonbori Redux
Since this is your last day in Osaka, you should totally head back to Dotonbori for a second night to take more photos, shop your heart out, and try more of the enticing street food.
After that, it’s time to head back to your hotel where you’ll be packing up again but don’t worry, your next stop has you staying put in one place for 3 nights. Hurray!
Day 2 Summary
What you’ll see & do:
Where you’ll eat:
- Breakfast – Convenient Store Snacks – Since breakfast isn’t included at the hotel, we opted to grab a few buns and onigiri from the nearby konbini (Japanese convenience store).
- Lunch – Kobe Beef Steak Ishida – There are so many good Kobe Beef restaurants in Kobe as you can imagine so for us, it was a matter of finding one that was reasonable in price and easy to get to. This checked off all of the boxes and it was a culinary experience to remember. When people say that Kobe Beef melts in your mouth, it really does. Remember to make reservations.
- Snack – nana’s green tea – Inside the Harborland mall, grab a match pick-me-up before you head back to Osaka. This is a popular green tea cafe in Japan.
- Dinner – Skipped – Since we felt quite full from lunch, we decided just go the route of picking up street snacks in Tsutenkaku and Dotonbori. If you’re hungry, you can’t go wrong with Ganso Kushikatsu Daruma Shinsekai Sohonten.
Where you’ll stay:
Itinerary Day 3 – Classic Kyoto
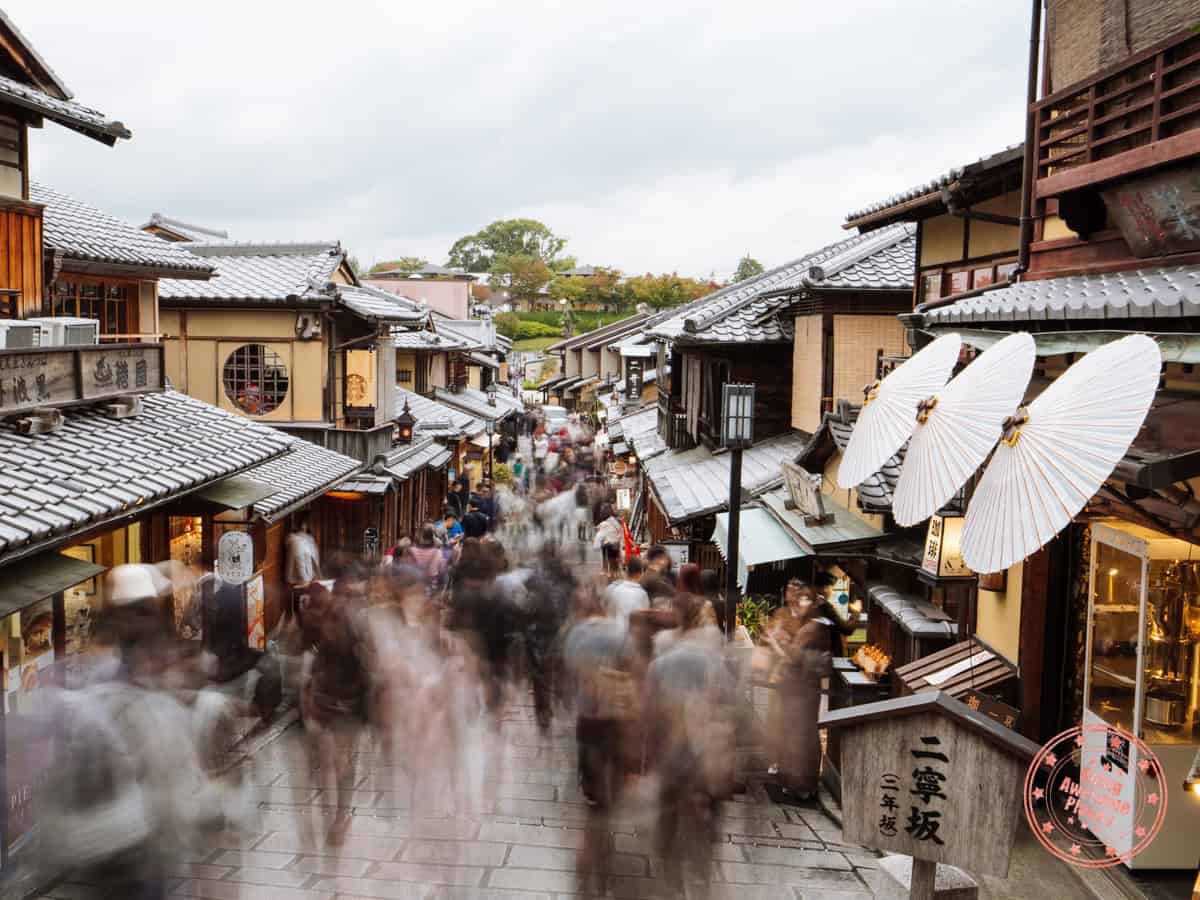
With a short number of days, it’s a shame that we didn’t get to spend more time in Osaka but having learned from previous trips, it’s better to short-change Osaka a bit and instead, dedicate more time in Kyoto.
For your next few days in the cultural capital of Japan, you’ll be treated to iconic wonder of the city that’s steeped in tradition, some dating back over a thousand years old. You’ll also see where modern culinary experiences weave into this historic city.
Short Ride to Kyoto
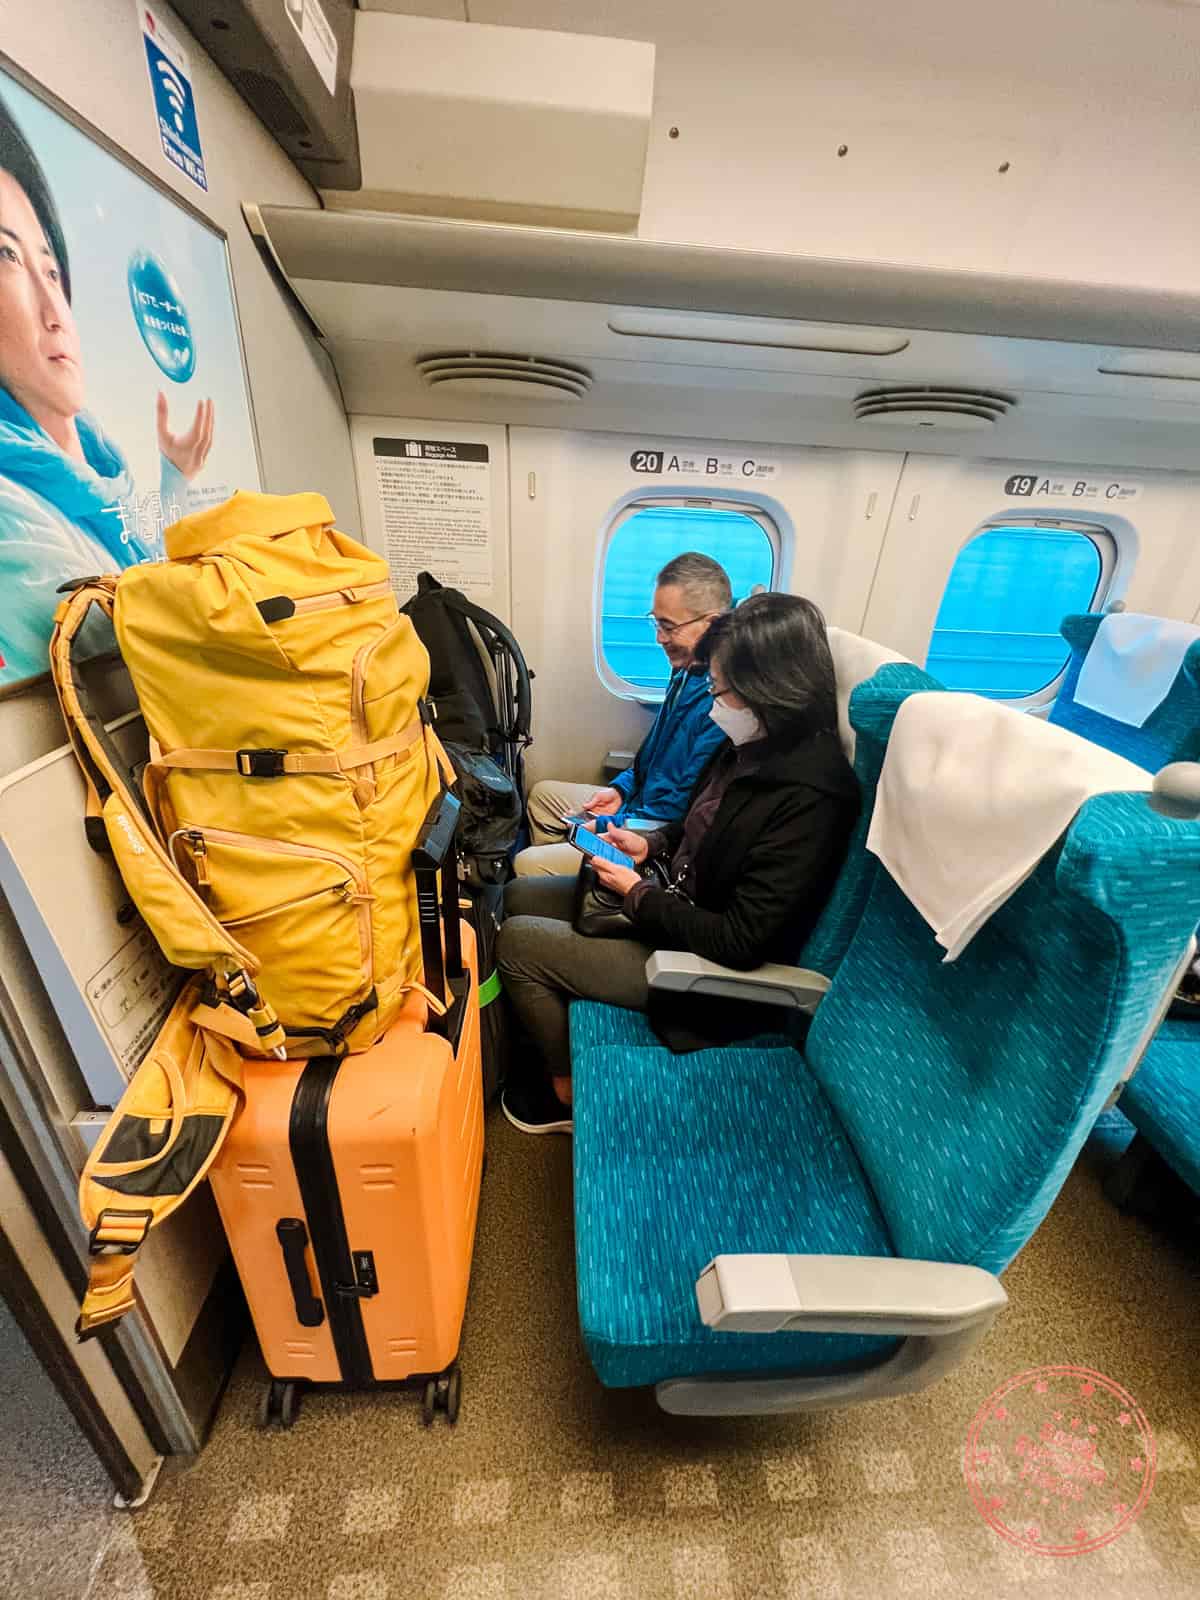
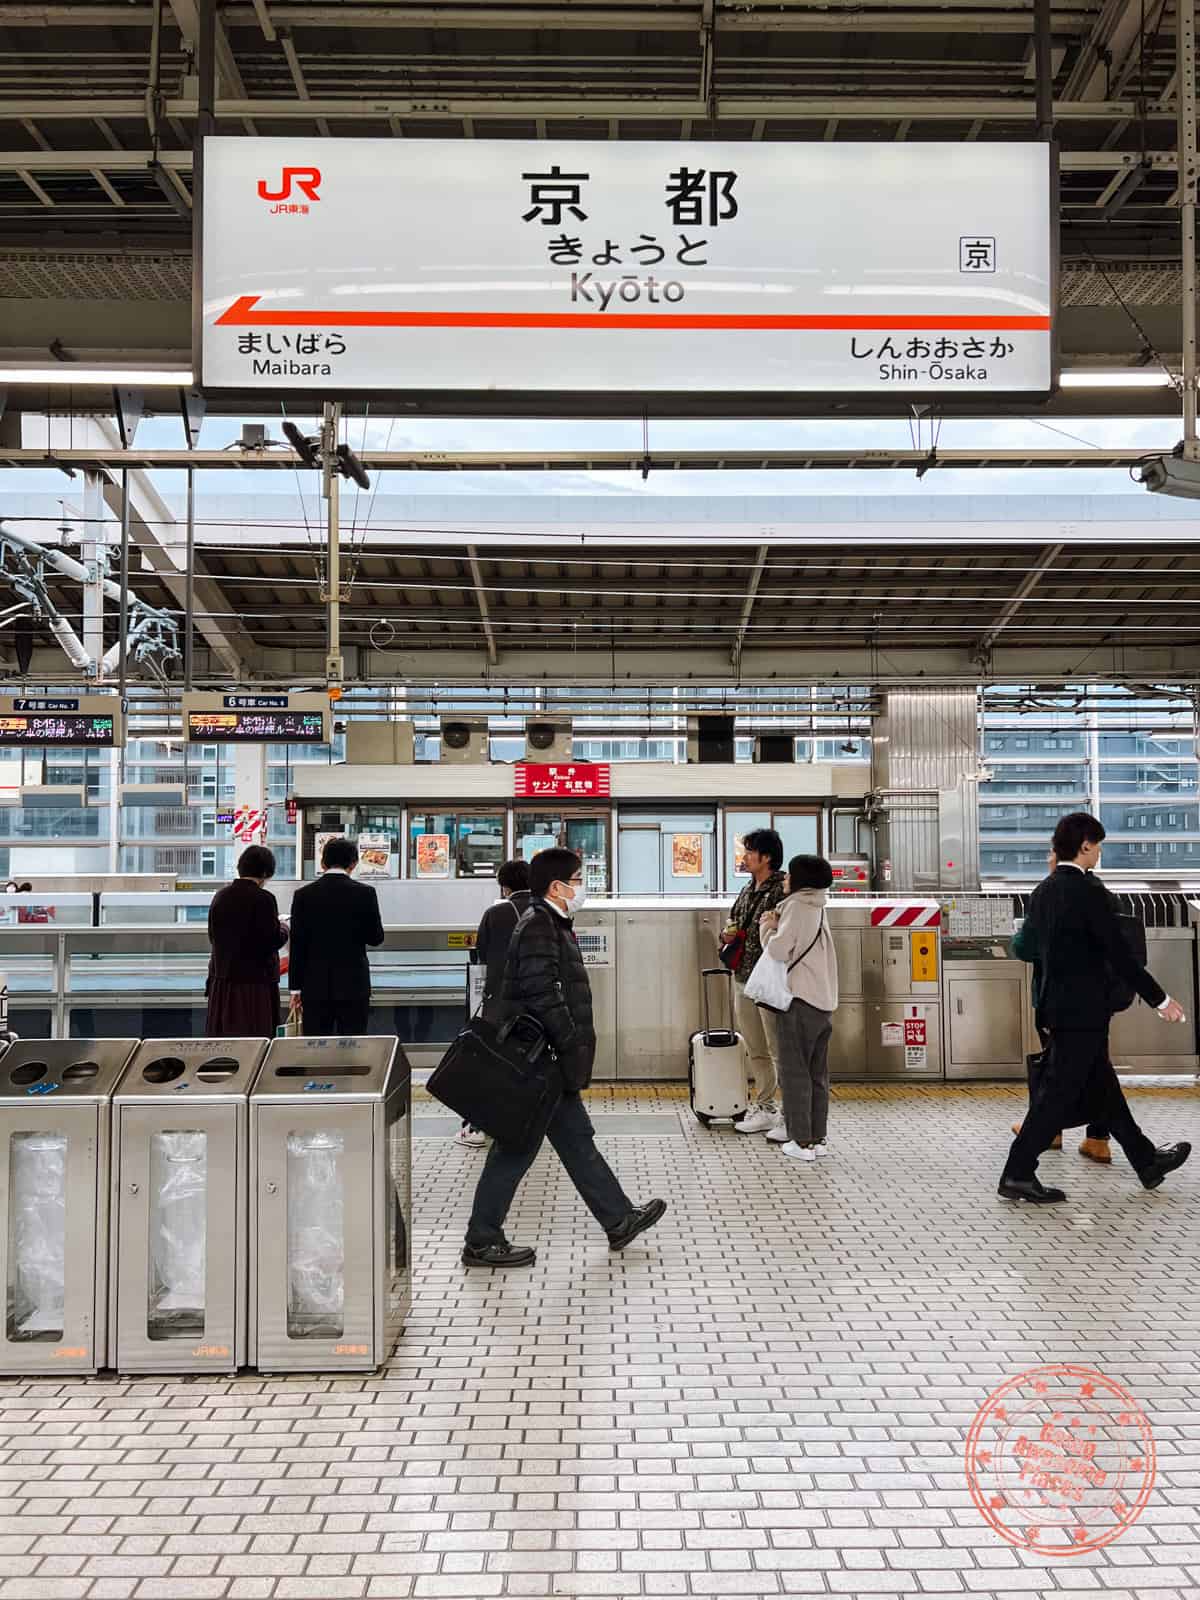
Getting from Osaka to Kyoto is incredibly easy on the shinkansen bullet train. In fact, it only takes 13 minutes. That’s how close it is.
We ended up taking the Hikari shinkansen at 8:19AM, allowing us to get an early start in Kyoto. After you arrive, remember to set time aside to attempt to make reservations at Kichi Kichi Omurice.
WHAT YOU NEED TO KNOW
- Going to the right station – The train station you want to go to is Shin-Osaka.
- You need to buy tickets – Similar to your train ride to Kobe, you’ll need to buy tickets from the office or machine as you won’t be able to use your IC card.
FAQ:
- Do you need to buy train tickets in advance? No, since trains quite frequently, it isn’t necessary.
- Do you need to be in a reserved car? For such a short ride, you don’t need to but you certainly can. If you purchase non-reserved tickets, you’ll have to walk a bit farther to train car #1-5.
- Is there a spot for luggage on the train? On the Hikari shinkansen, we didn’t find a lot of luggage space. However, if you don’t have an assigned seat, try to take the first row as there is enough legroom for a suitcase.
After arrival in Kyoto, use your IC card to take the subway up to Shijo station and walk to your ryokan, the Kyamachiya Ryokan Sakura Urushitei. Drop off your bags and make your way on foot to your first activity of the day.
Dress To Impress At Your First Tea Ceremony
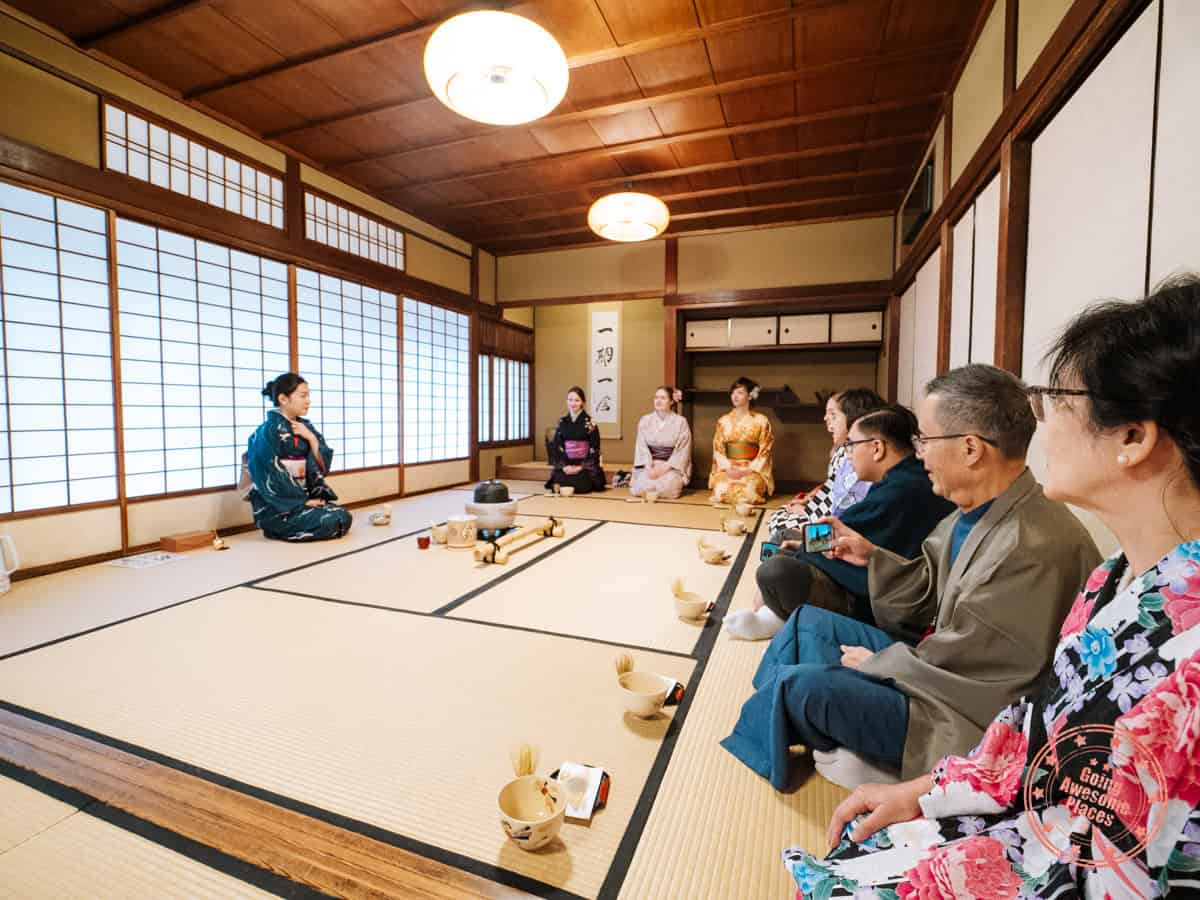
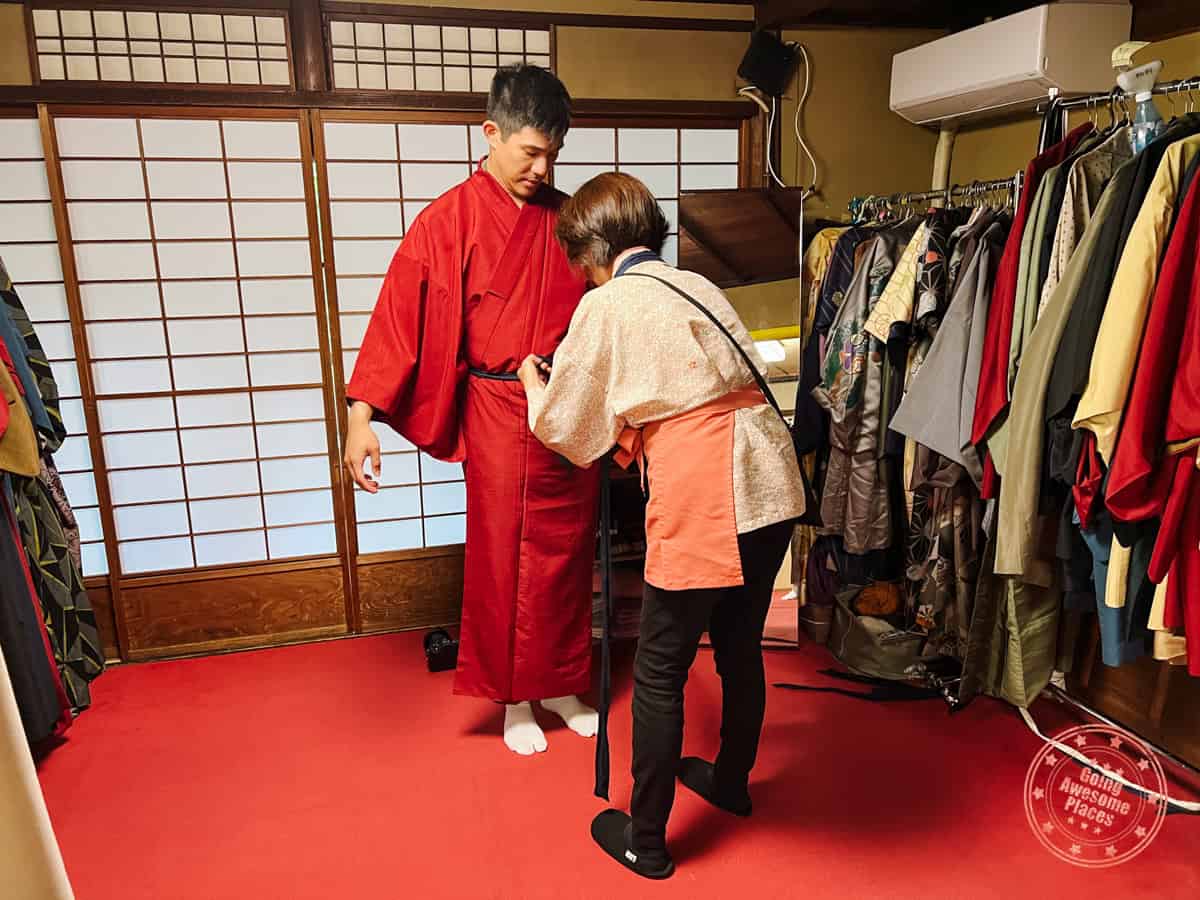
An integral part of Japanese culture is the tea ceremony. This is a ceremonial way of preparing and drinking green tea in the traditional way. While kneeling on the tatami floor of a tea room, this allows the host to welcome guests and show their full hospitality.
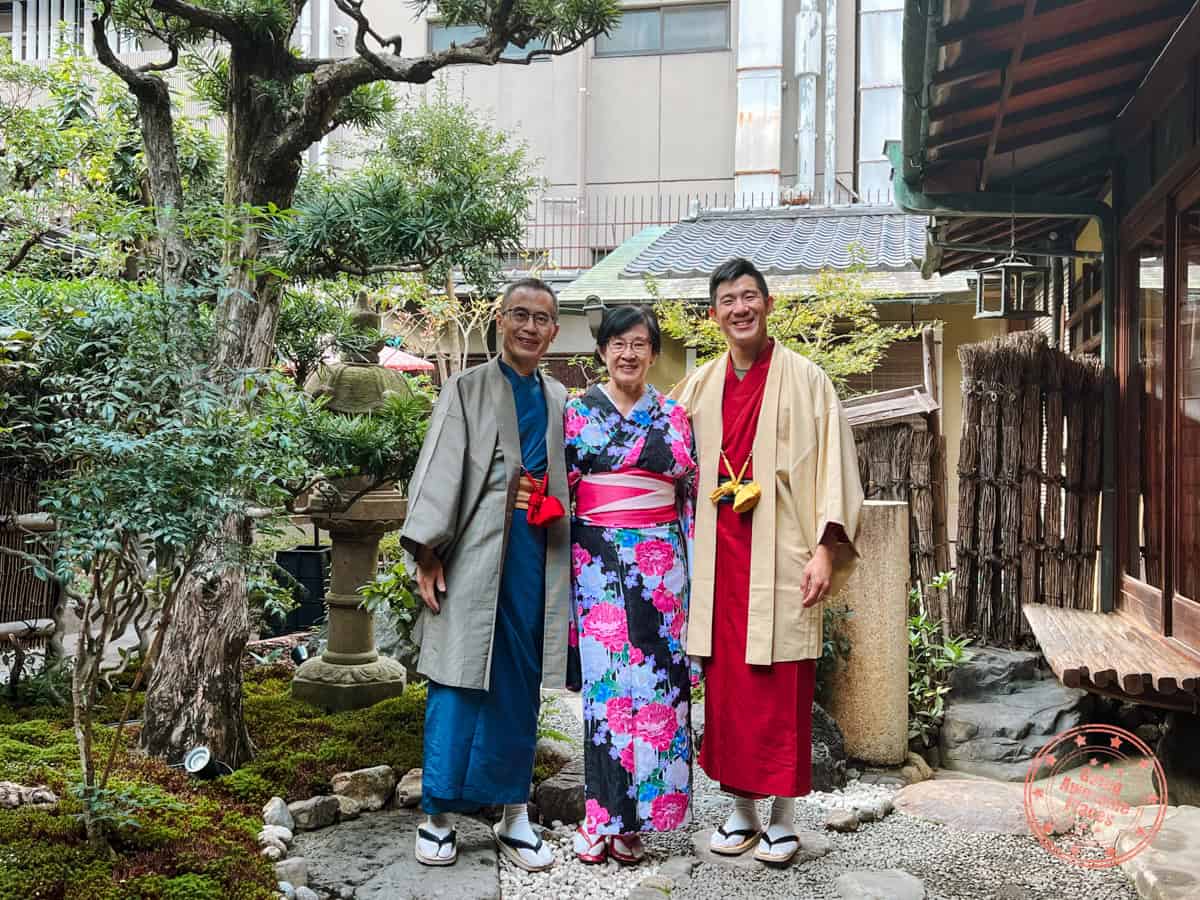
In Maikoya’s case, they offer tea ceremony experiences to give visitors a glimpse of the harmonious, simplicity, and zen-quality of having tea is like. What heightens this is that guests also get dressed in kimonos, adding to its authenticity.
What you’ll love about the tea ceremony is that while you’re still in your kimono, you’ll be able to take photos in the beautifully decorated tea garden that surrounds the house, making for great photo opportunities.
WHAT YOU NEED TO KNOW
Address: 329 Ebiyachō, Gokomachi-dori Sanjo sagaru, 329 Ebiyacho, Nakagyo Ward, Kyoto, 604-8076, Japan
Hours: They are open 7 days a week and have time slots between 9AM – 5PM, every 30 minutes. Duration is 90-120 minutes.
Reservations: You must reserve in advance online.
Website: Tea Ceremony and Kimono Experience at Maikoya at Nishiki
FAQ:
- Are reservations necessary? As a very popular experience in Kyoto, reservations are mandatory although it’s possible they take walk-ins.
- What language is the tea ceremony in? The tea ceremony is in English.
- Is there a minimum age for the tea ceremony? Children need to be 7 or older.
- Are there lockers? When you register, they’ll provide you with a numbered bag. This is where you put your street clothes in after changing into your kimono. You can also provide them backpacks and other bags for storage. These are placed in a secure location but these aren’t lockers where you’ll have easy access to.
- Are cameras allowed? Yes, you’re allowed to bring your camera with you. Officially, you aren’t supposed to take photos of the tea ceremony but many were doing so during our experience. Unlimited photos are allowed in the tea house grounds.
Tips:
- The company that runs this is Maikoya and they have different locations in Kyoto, Osaka, and Tokyo. You don’t have to do the Nishiki location. The other location in Kyoto is called Karasuma Shijo.
- There are men and women change rooms with individual curtained change areas. That said, you can get enough privacy to change and the staff there will help you with everything else. They provide all of the kimono clothing you’ll need including slippers and hand bag (for phone and wallet). You can also pick the color and design of your choice with what’s hanging on the rack. For women, they also
- You will be in kneeling or sitting posture during the ceremony. If you need a chair, make sure to let them know ahead of time.
- The starting time includes getting dressed so you don’t have to show up early. The entire duration, from our experience, is closer to 90 minutes but if you want to take more photos, you can certainly stay longer.
- You can rent the kimono’s for the rest of the day until 6PM by paying ¥1,000. This mean’s it’s advantageous to do the tea ceremony experience earlier in the day.
- Before you put your clothes and bags away with the staff, make sure you have everything you need for the tea ceremony and your own photo shoot afterwards.
- Don’t be afraid to explore the tea house as there are several great back drops that you can use for photos both inside and outside. There are also umbrellas scattered around so make sure to use those too.
Depending on your lunch reservation time, you’ll have some time to explore a bit of Nishiki Market. If not, head straight over.
Have Omurice Like You’ve Never Had Before
If you’ve never had omurice before, this is Japanese omelette rice that consists of fried rice, thinly scrambled fried rice, and topped with ketchup or demi-glace sauce.
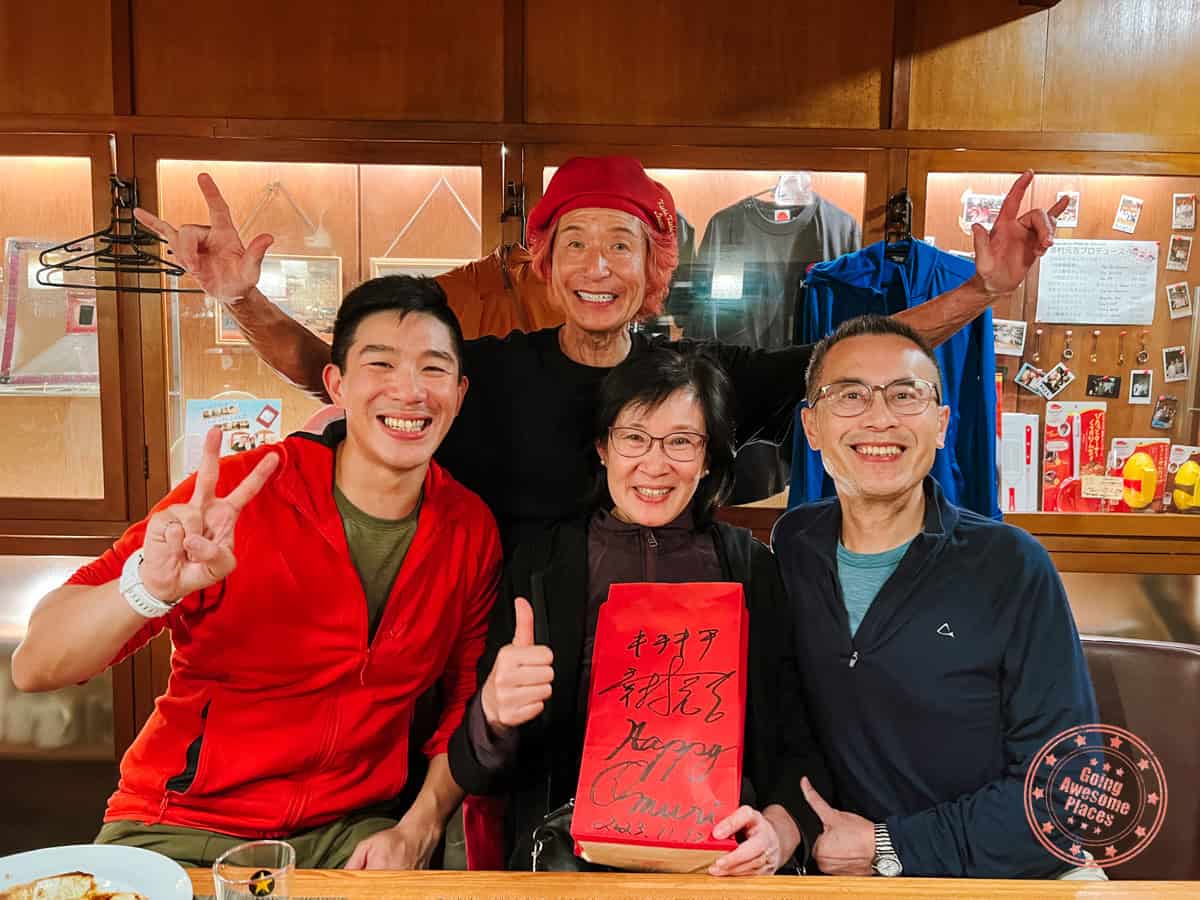
Made famous from viral videos on Instagram and TikTok, Kichi Kichi Omurice is one of the most sought after reservations in Kyoto. He’s the man in the red beret with a quirky and fun energy that incorporates a skilful demonstration of how he makes omurice.
Unfortunately with the incredible demand, they’ve had to put in a complicated reservation system in place. That means that you really need serious dedication to attempt to get a booking on the day of through your phone or computer.
Want my honest take? I thought the entire experience was extremely memorable and fun. There really isn’t anything else like this and Chef Motokichi does an incredible job at making sure every single customer gets individual attention. Of course, what is also important is the food. From an omurice perspective, it was one of the best I’ve had although at the same time, it’s also just omurice.
WHAT YOU NEED TO KNOW
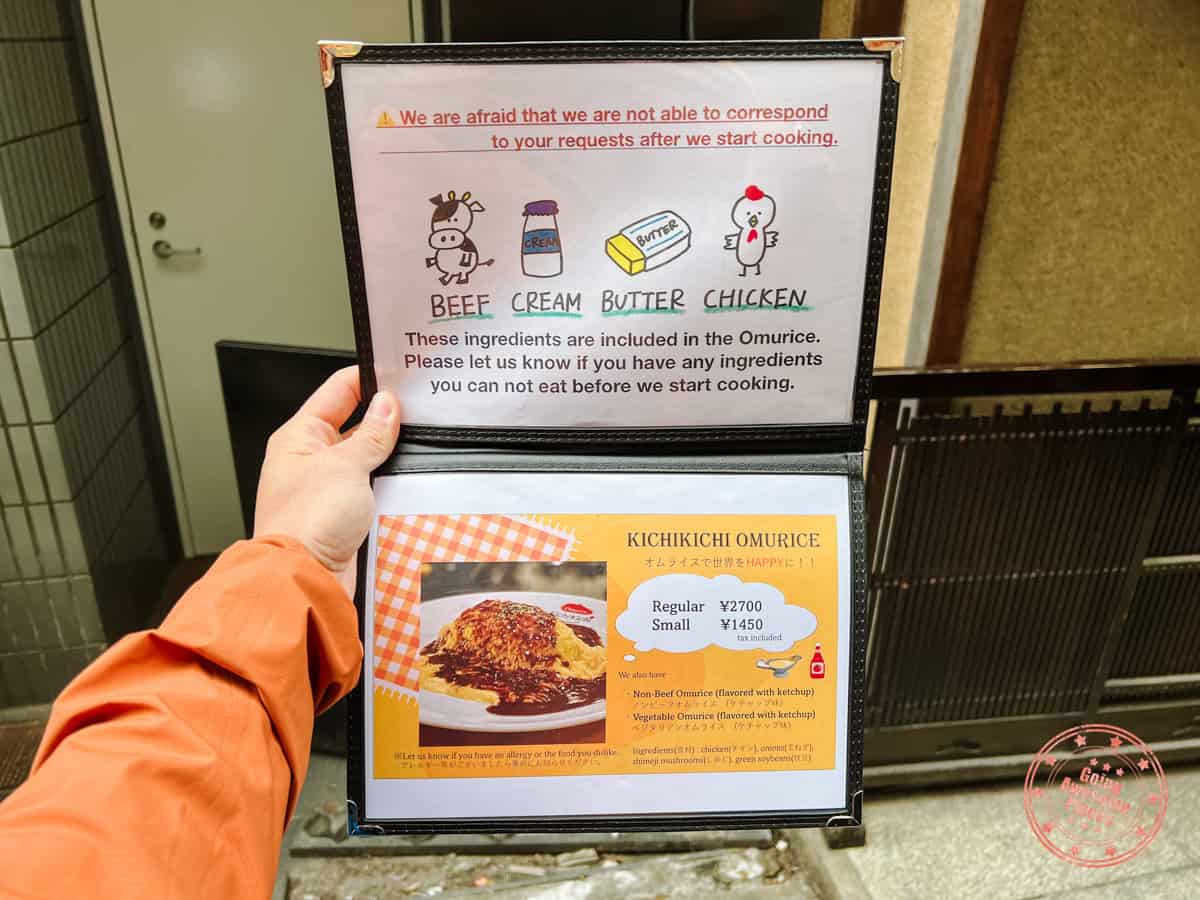
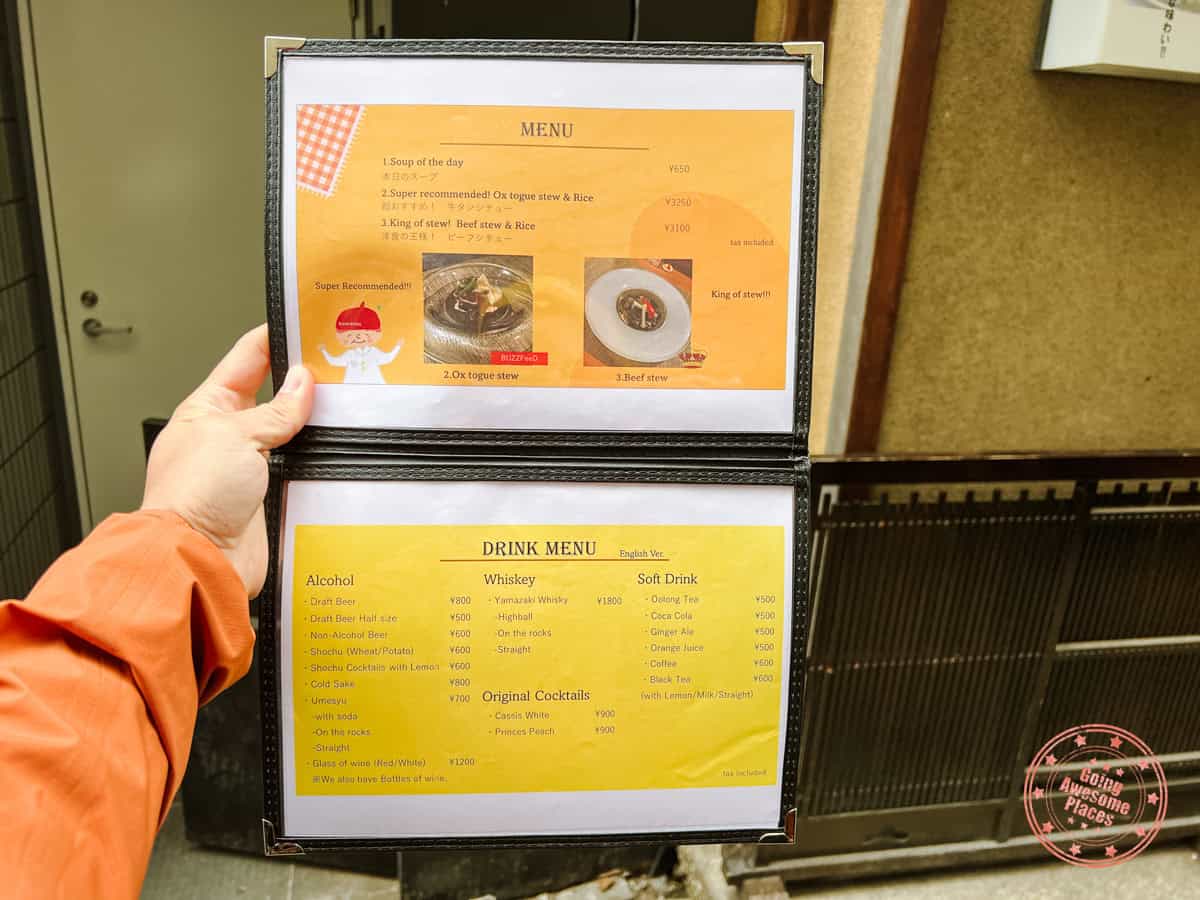
It’s hard to find their full menu online so the above will give you an idea of what else they offer beyond the standard omurice. Prices may have changed.
Address: 185-4 Zaimokucho, Nakagyo Ward, Kyoto, 604-8017, Japan
Hours: They take vacation throughout the year so make sure to check their website for closure notices.
- Weekdays – 5PM – 9PM
- Saturdays, Sundays, and Holidays – 12PM – 2PM and 5PM – 9PM
Reservations: Currently, they only accept same-day reservations that are made online. You cannot make reservations through DM or e-mail.
- Lunch – Reservation system opens from 9AM – 9:30AM
- Dinner – Reservation system opens from 1PM to 1:30PM
Website: Kichi Kichi Omurice
FAQ:
- How many seats are available for each seating? There are a total of 14 seats. 8 people can sit at the counter and there’s a table in the back that can seat 6 people.
- Is a QR code and password required to make reservation? No. Initially they made you get a password at their door but this is no longer the case.
- Are reservations necessary? Yes, reservations are mandatory.
- Do they take credit card? Yes, credit card is accepted.
- Do they have English menus? Yes, they have English menus.
- Can you wait for a spot through same-day cancellations? Yes, technically it’s possible but they tell you upfront that the chances are very slim and not worth attempting in our opinion.
Tips:
- This is a very competitive reservation and with the new system, it is arguably worse because you have to take time out of your day to try to secure a spot. We recommend that you do practice runs of making reservations online before you head to Japan. Sometimes the reservation system becomes available 30 seconds before so make sure to refresh often.
- Set an alarm on the day of at 8:50AM to make sure you’re ready to jump on reservations for the day at 9AM.
- Keep a more flexible Kyoto schedule so that you can attempt to secure a reservation on every day that you’re in the city.
- You need to arrive 20 minutes in advance of your reservation time slot or else it’ll be cancelled.
- If you purchase merchandise, the chef will autograph the bag. From my own experience, I can attest to the high quality of the t-shirt. This is worth purchasing.
- Seating is done for the entire time slot at once. Those at the front of the line will have a better chance of choosing where they want to sit. The best seats are the far left side of the bar which is where we sat as it gives you a full view of the kitchen. The worst seats is the table seat at the back since you have to come out to the bar to see the cooking demonstration. That said, he does come to the table to do the personalized omelette opening.
- There are two types of omelette opening – the traditional knife cutting method (most popular) and there’s also the one he calls the butterfly where he flips the omelette from the pan to the rice and it opens on impact.
- It was super handy to have the Peak Design Mobile Tripod which allowed me to prop up my phone on the upper bar counter .
- Our lunch meal was 45 minutes.
Wander The Traditional Streets of Southern Higashiyama
After lunch, you’ll have the opportunity to cross the Kamo River and enter into the most historic area of Kyoto which is the Higashiyama district.
There’s a lot to see as you stroll through the cobble-stoned streets, confectionary shops, temples and shrines, and repertoire of architecture that constantly tugs you back in time.
PRO TIP: There are many sweet shops that line the street leading up to Kiyomizu-dera and many offer samples so if you’re feeling peckish, make sure to head on inside.
This afternoon is a bit of a choose-your-own-adventure which is the best way to explore but we focused on the following:
- Gion Komori – A warabimochi dessert specialist
- Yasaka Shrine
- Maruyama Park
- Fujinami Kodai-ji Temple Store – Another alternative for Japanese sweetes including warabimochi
Continue south along Kiyomizusaka Street and it eventually leads you straight into the legendary Kiyomizu-dera Temple.
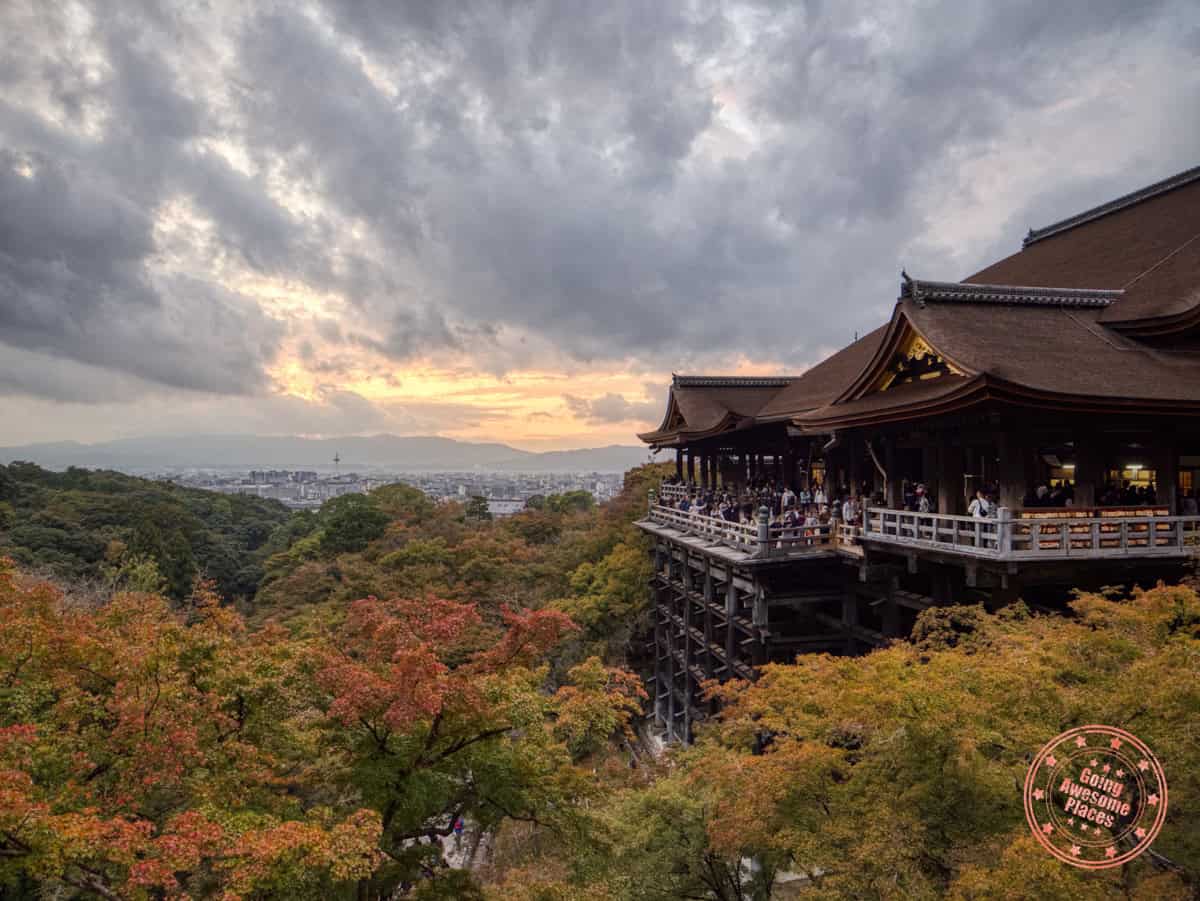
Established in 778, this is one of the most celebrated temples in Kyoto. Thanks to its many buildings that were built without any nails, being designated a UNESCO World Heritage Site, its wooden stage that provides a glorious view of the city from the hillside, the rainbow of colors in the spring and fall, and its many areas of worship.
WHAT YOU NEED TO KNOW
Address: 1 Chome-294 Kiyomizu, Higashiyama Ward, Kyoto, 605-0862, Japan
Hours: Open all-year round, 6AM – 6PM most of the time. However there are seasonal extended nights where they stay open until 9:30PM. The exact date changes year to year but there’s Mar 25 – Apr 3, Aug 14-16, and Nov 22 – Dec 7.
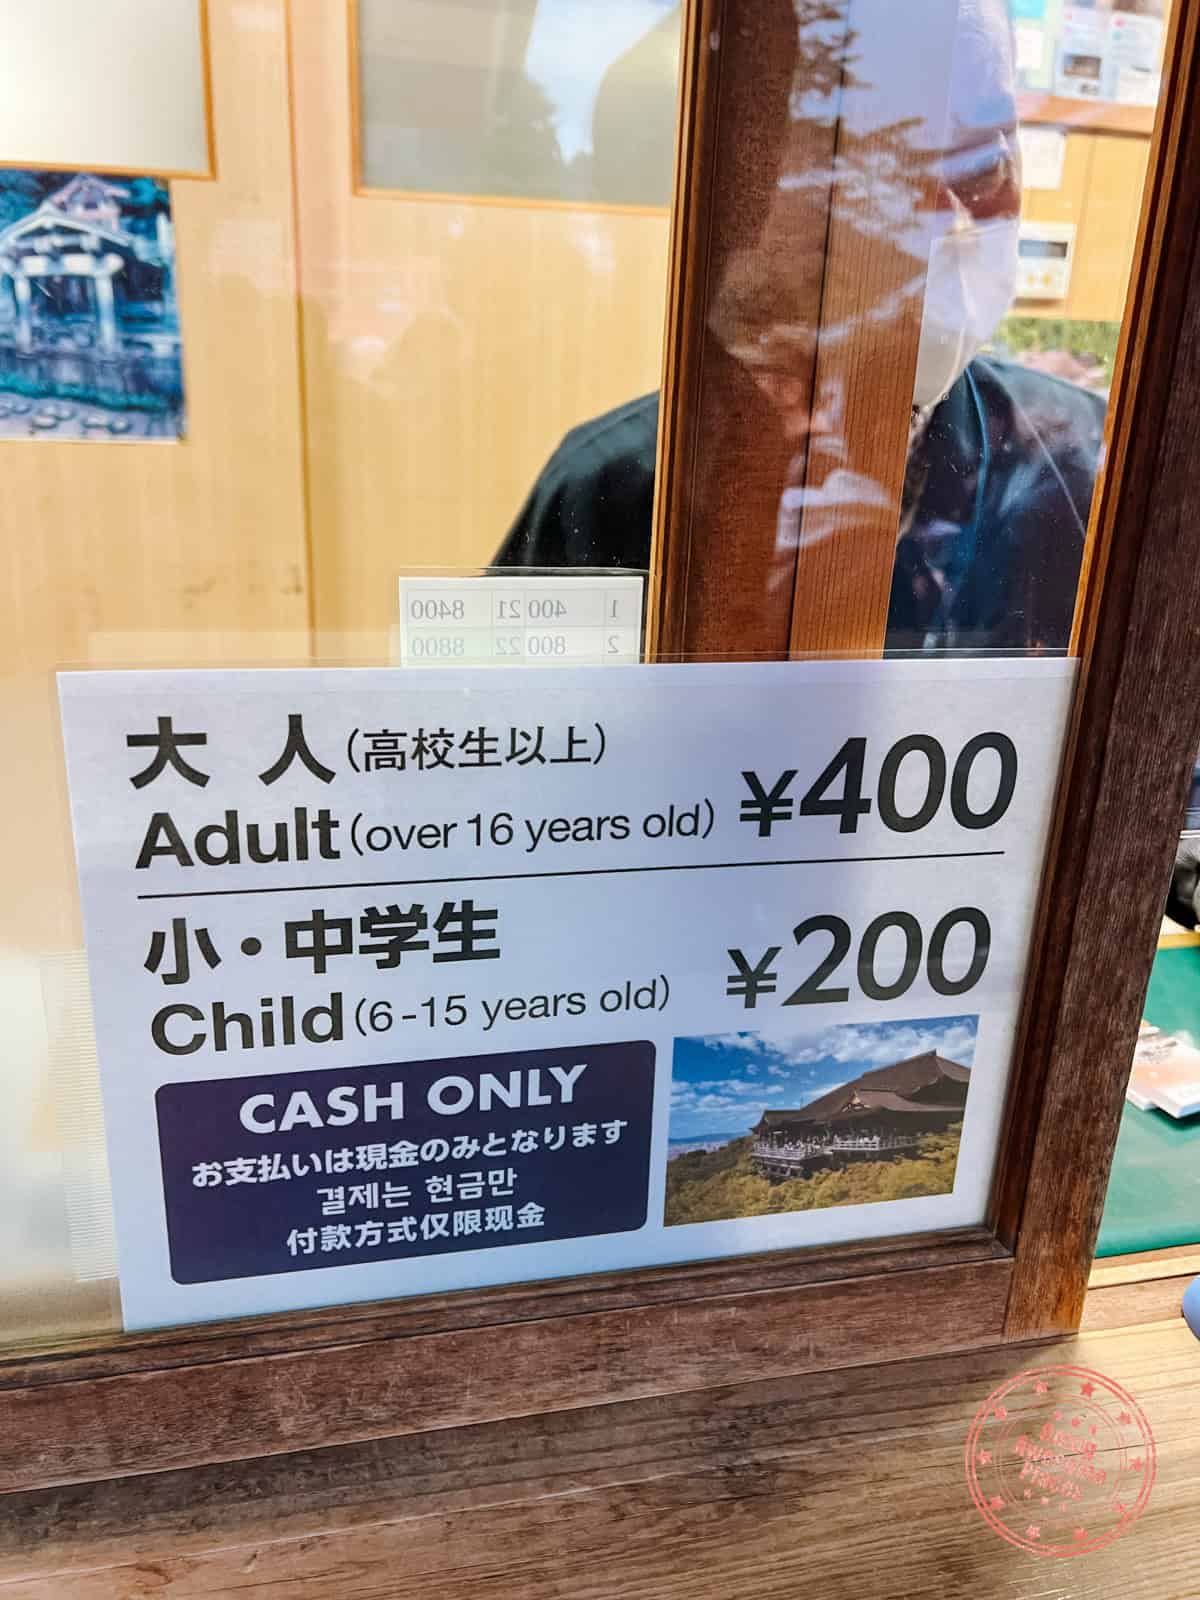
Price: Adults (16+) ¥400 and Children (6-15) ¥200. Note from the sign above that they are cash-only.
Website: Kiyomizu-dera Temple
FAQ:
- When is the best time to visit Kiyomizu-dera? It can get very busy during day. In terms of when the crowd is the smallest, early in the morning (6-9AM) and 1 hour before closing are good. The most photogenic time to visit is around sunset.
- Are there bathrooms? Yes, there are 3 bathrooms spread out throughout the grounds.
- Are drones allowed? Drones are not allowed here.
Tips:
- Remember that like most other temples and shrines that have admission, they only take cash.
- Make sure to do the full loop around the temple. Make sure not to miss the main hall (Hondo), and the Otawa Waterfall where you’ll often see a queue to do the tradition of purification.
- The best view of Kiyomizu-dera is from the Okuno-in Hall platform.
- This being a temple, when praying, you don’t need to clap twice before bowing.
Try Obanzai In Kyoto
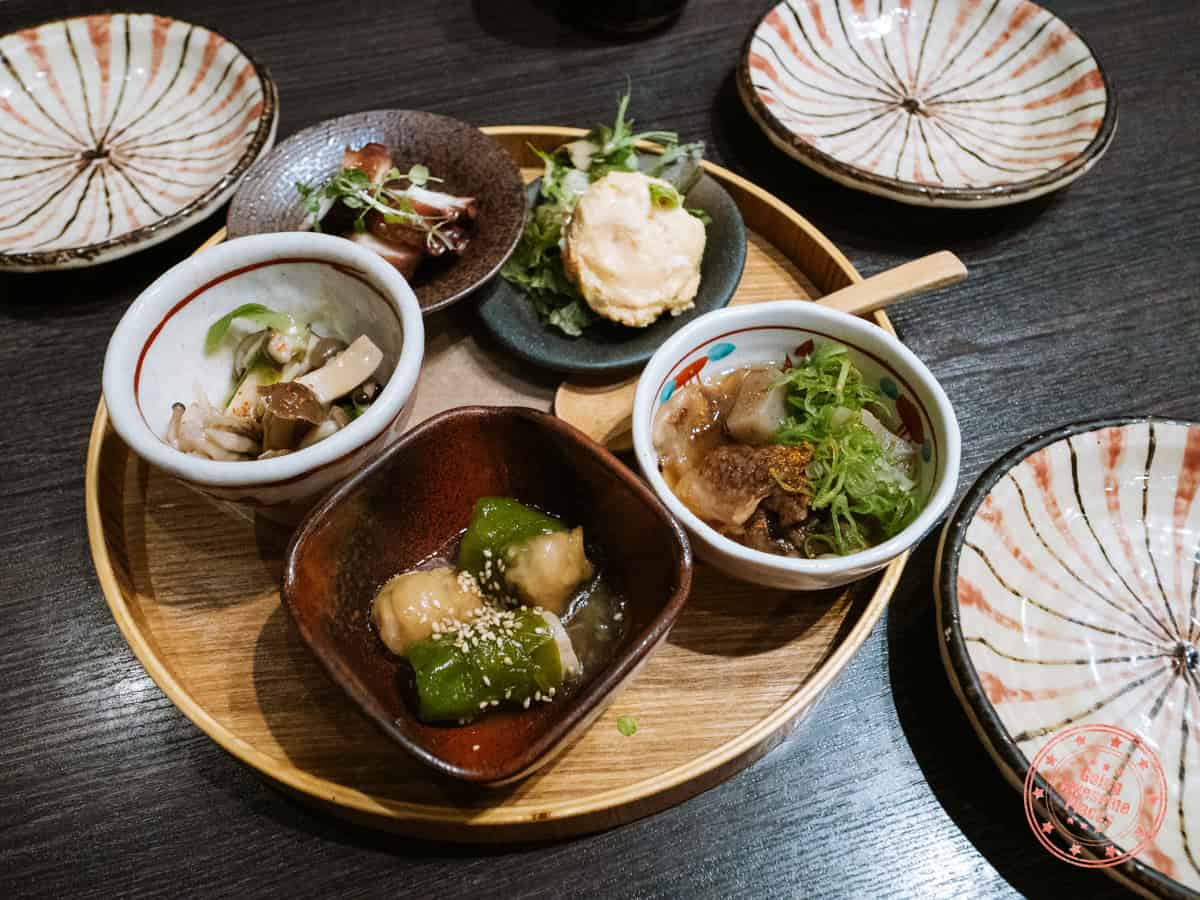
For dinner, you’ll be eating at Ushinohone Anaza. This may not be one of the top restaurants but the reason why we chose it is because wanted to try obanzai, a Kyoto specialty that focuses on local ingredients in smaller-sized sharable plates.
On your way back to the ryokan, walk through Teramachi-dori, and if you haven’t tried Japanese crepes yet, you have to visit the popular franchise, Marion Crepes.
Day 3 Summary
What you’ll see & do:
Where you’ll eat:
- Breakfast – Convenient Store Snacks – It’s an early morning so prepare a few onigiri and other eats from the konbini the night before.
- Snack – Gion Komoro – A well-regarded sweets shop that is known for their warabimochi, mochi, parfait, and tea. The traditional interior decor and overall atmosphere alone makes this worth the stop.
- Lunch – Kichi Kichi Omurice – Made famous by social media, Motokichi Yukimura has taken the Japanese omelette rice (omurice) to the next level, putting on quite the show in his tiny restaurant. While the omurice is good, you’re really there for the special attention he gives to every customer. They have a competitive online reservation system so no drop-in is allowed.
- Snack – Fujinami Kodai-ji Temple Store – If you loved the mochi from Gion Komoro or had to skip it because of timing, this shop is conveniently located across from Kodai-ji Temple and a perfect spot to take a break.
- Dinner – Ushinohone Anaza – A bit more off-the-beaten-path but this is a unique opportunity to try obanzai, a traditional style of cuisine that’s native to Kyoto. In a way, you can consider this to be like a hearty farm-to-table that is more tapas style with its small shareable dishes.
- Snack – Marion Crepes – Japanese crepes are something that most people are introduced to with visits to Harajuku’s Takeshita Street in Tokyo which you’ll see in our Tokyo desserts video. Feeling the nostalgia, it couldn’t say no. If you’ve never had it before, and you love sweets, you can’t go wrong. You just might trouble picking from what seems like hundreds of choices.
Where you’ll stay:
- Kyomachiya Ryokan Sakura Urushitei (Review/Agoda/Booking) – On our first trip to Kyoto, we stayed at Shimizu Ryokan as part of a more budget ryokan stay but with my parents, I wanted a nicer traditional stay that offered Japanese breakfast, could accommodate 3 people, was a bit more central, more modern, and also had a private bath. This checked off all of the boxes except the private bath ended up being a bit of a disappointment because it was just a bath tub for one person and not really an onsen experience we were hoping for. That said, we’d still recommend it if not for the front desk service alone.
Kyoto on a Budget
For our first trip to Kyoto in our 12 days in Japan, we stayed at the Shimizu Ryokan. No surprise, that’s one of our top 3 recommended budget-friendly ryokans.
Itinerary Day 4 – Golden and Red in Kyoto
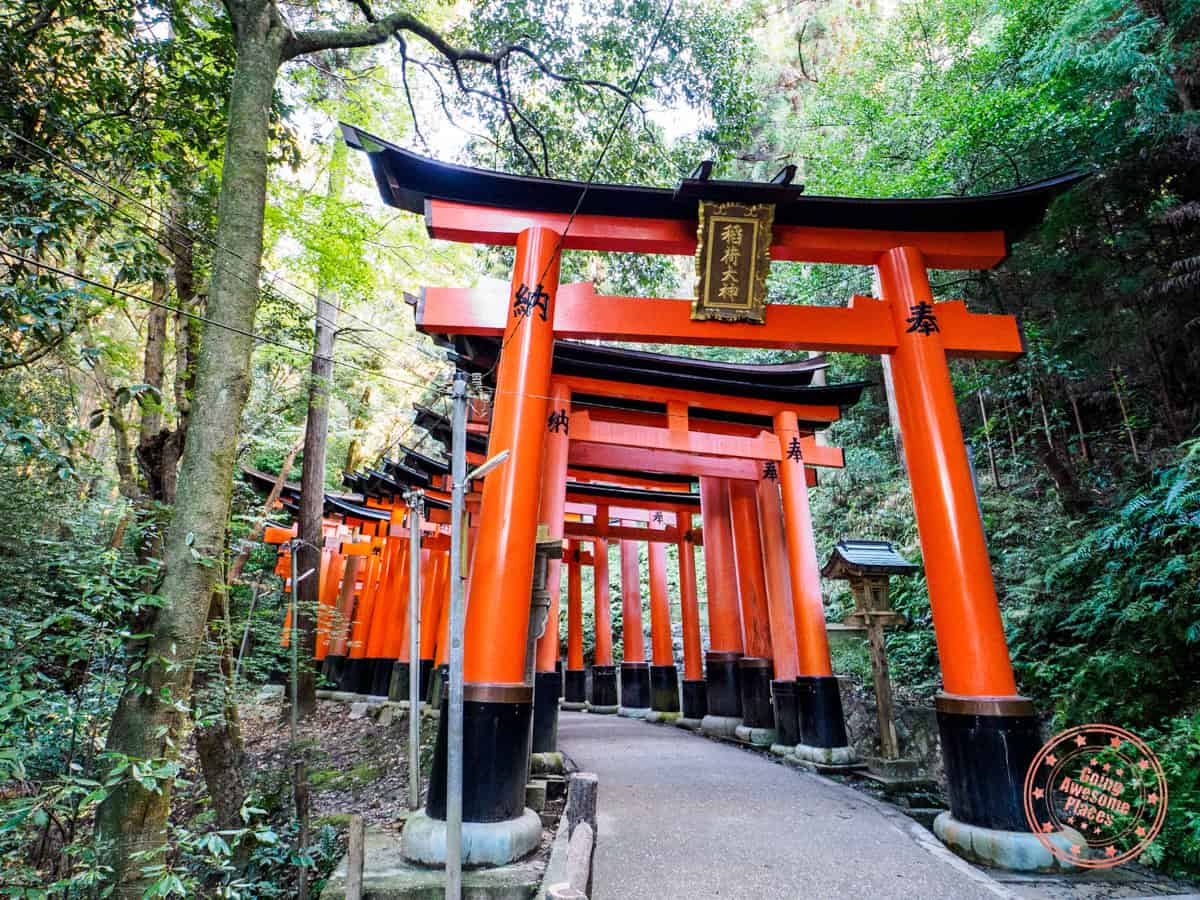
On day 4 of this Golden Route trip, you’ll be continuing to visit some of the most iconic places in Kyoto including a golden-gilded temple and an unreal place of what seems like an infinite number of torii gates.
Enjoy A Hearty Japaneese Breakfast
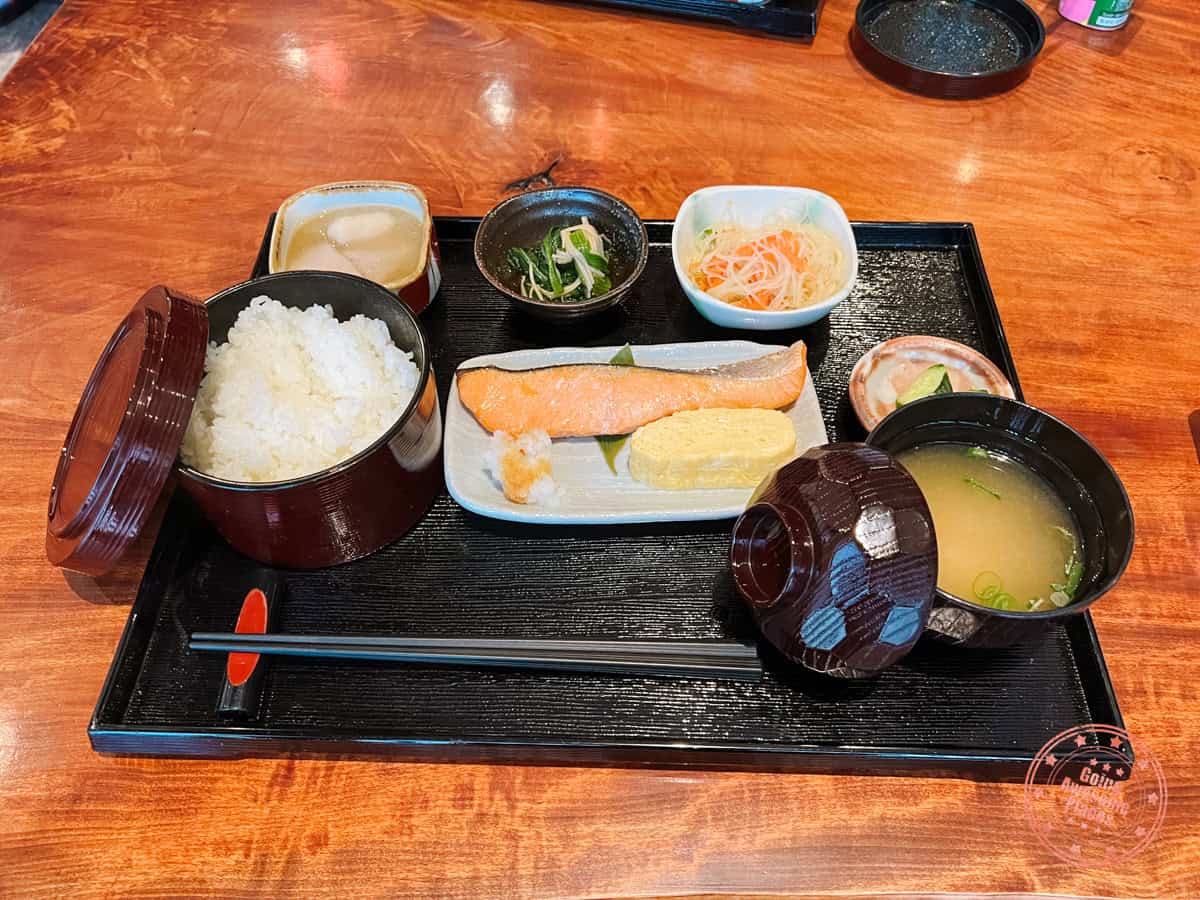
In addition to being able to stay in a traditional Japanese-style tatami room and being surrounded by the elegant decor, the other key part of the experience is the traditional breakfast.
In Kyomachiya Ryokan Sakura Urushitei‘s case, we didn’t pay for the breakfast upfront but we were simply able to add it. As is the norm for these types of breakfasts, we had a tray loaded with a large heaping of rice, miso soup, several small dishes, and freshly grilled salmon with tamagoyaki.
PRO TIP: Reservations are required for breakfast time slots. If you make a hotel booking without breakfast included, make sure to contact them ahead of time to hold a more ideal breakfast time.
See The Iconic Kinkakuji
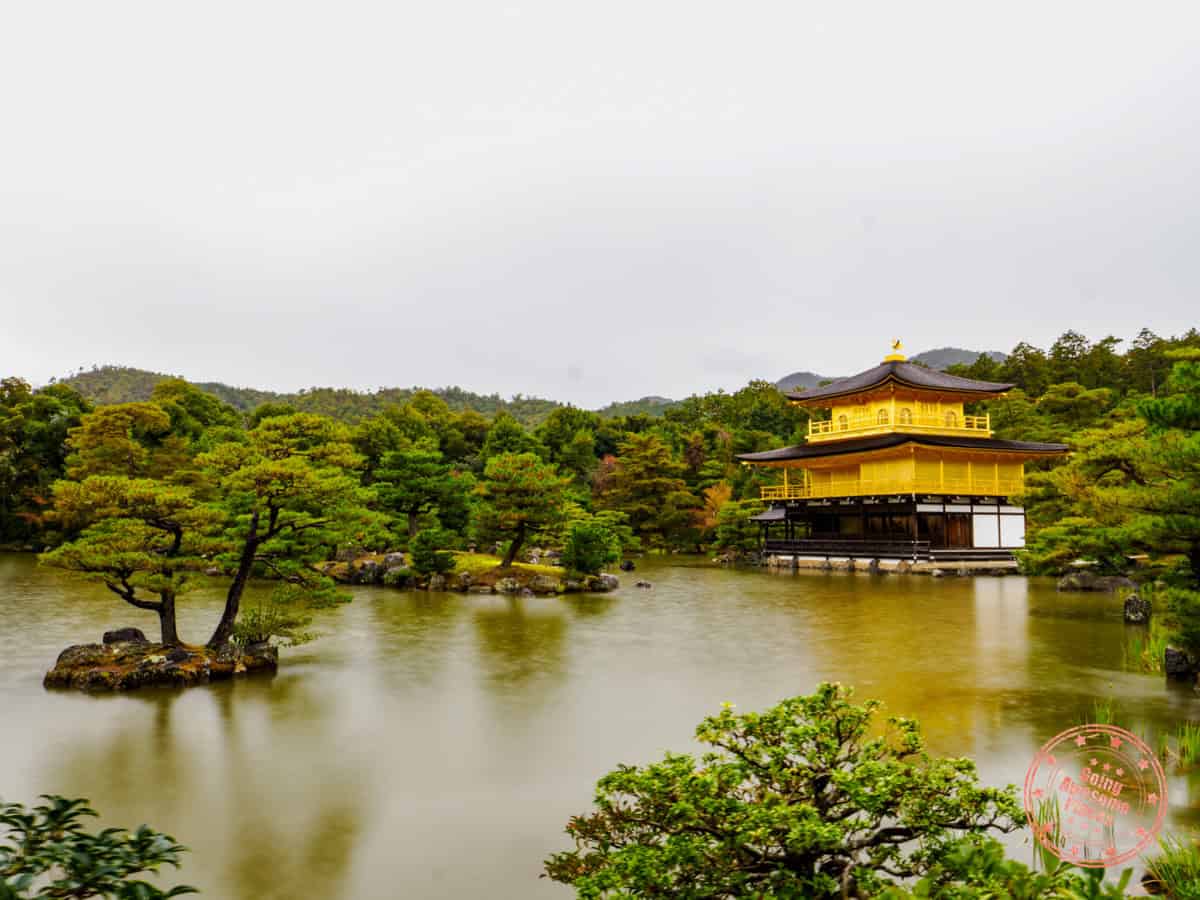
Kinkaku-ji, or the Golden Pavilion, is a breathtaking Zen Buddhist temple in Kyoto, renowned for its stunning architecture covered in gold leaf that gleams against the backdrop of serene gardens and a reflective pond.
Speaking to the natural beauty of the zen space, even the downpour that we were hit with, couldn’t douse our experience here. Despite its further location from the city, it’s always worth it.
Originally, we also had a crazy plan to try to do Hirobun, the restaurant in the middle of the forest where noodles slide down bamboo shoots and you have to catch them with your chopsticks. However, this being an open-air restaurant, they were already shut down for the season in November.
WHAT YOU NEED TO KNOW
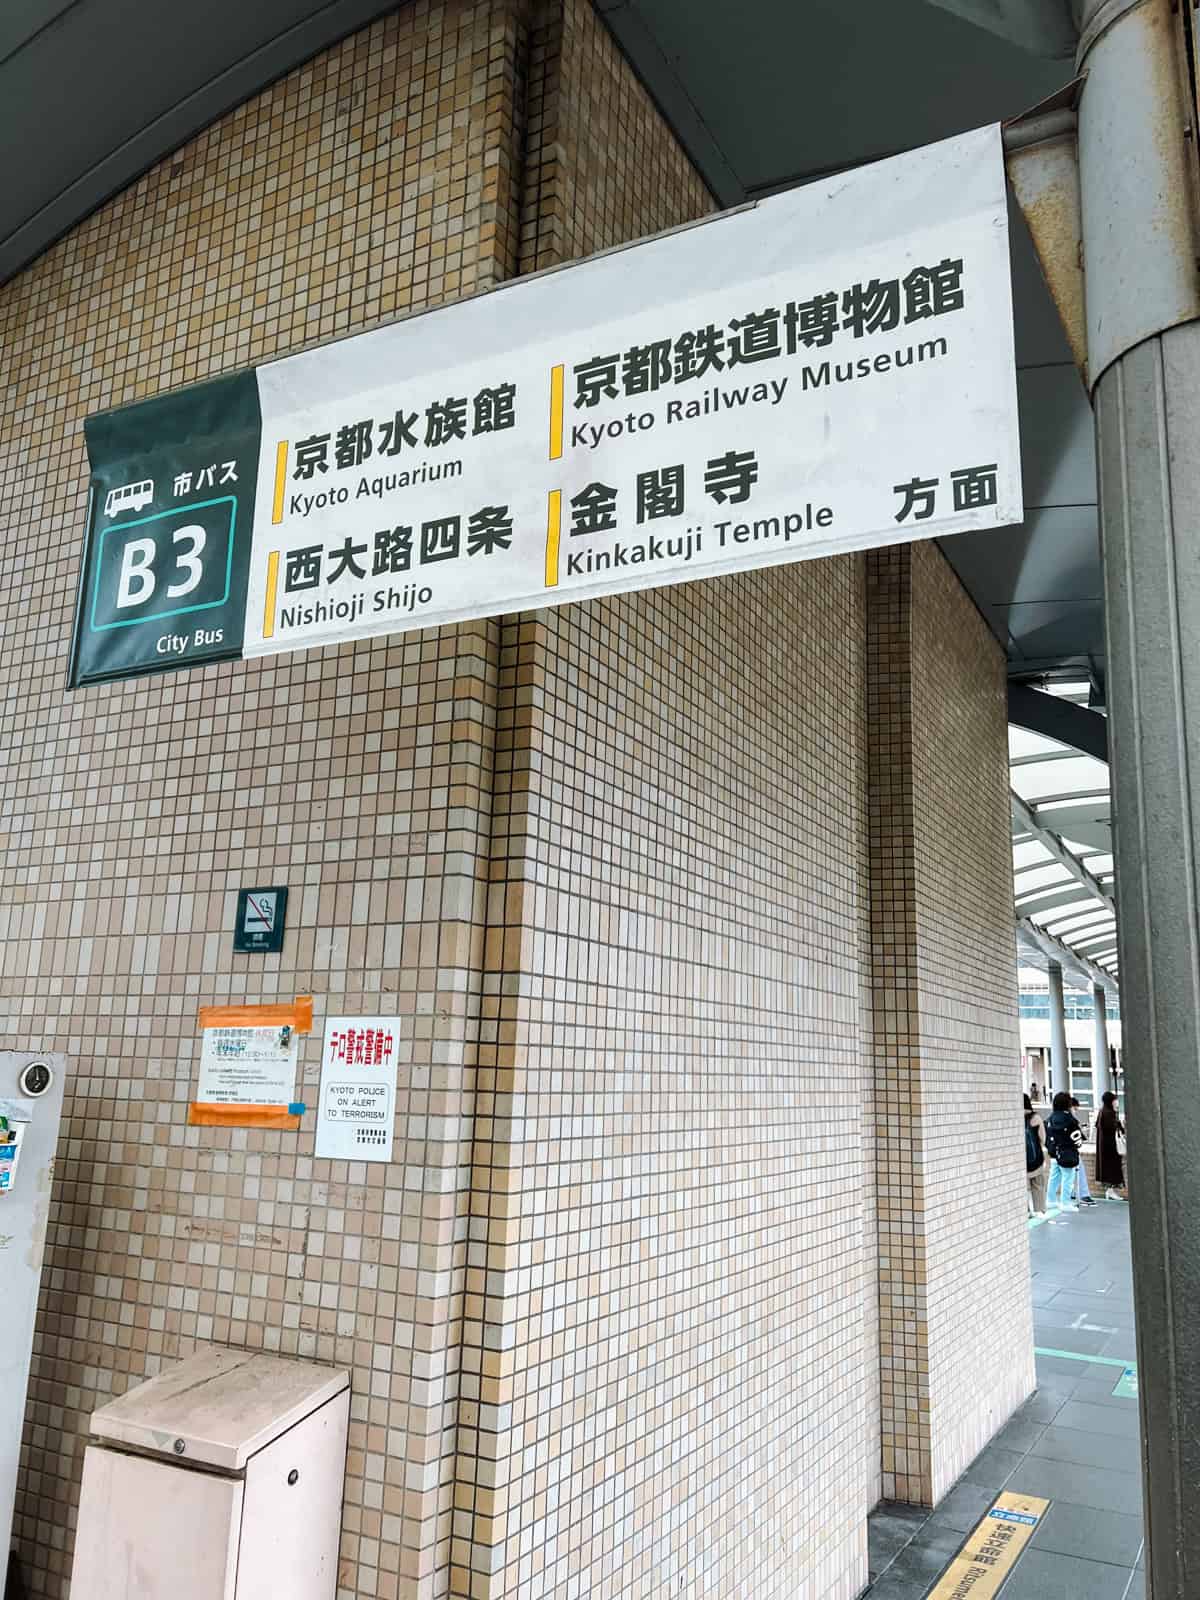
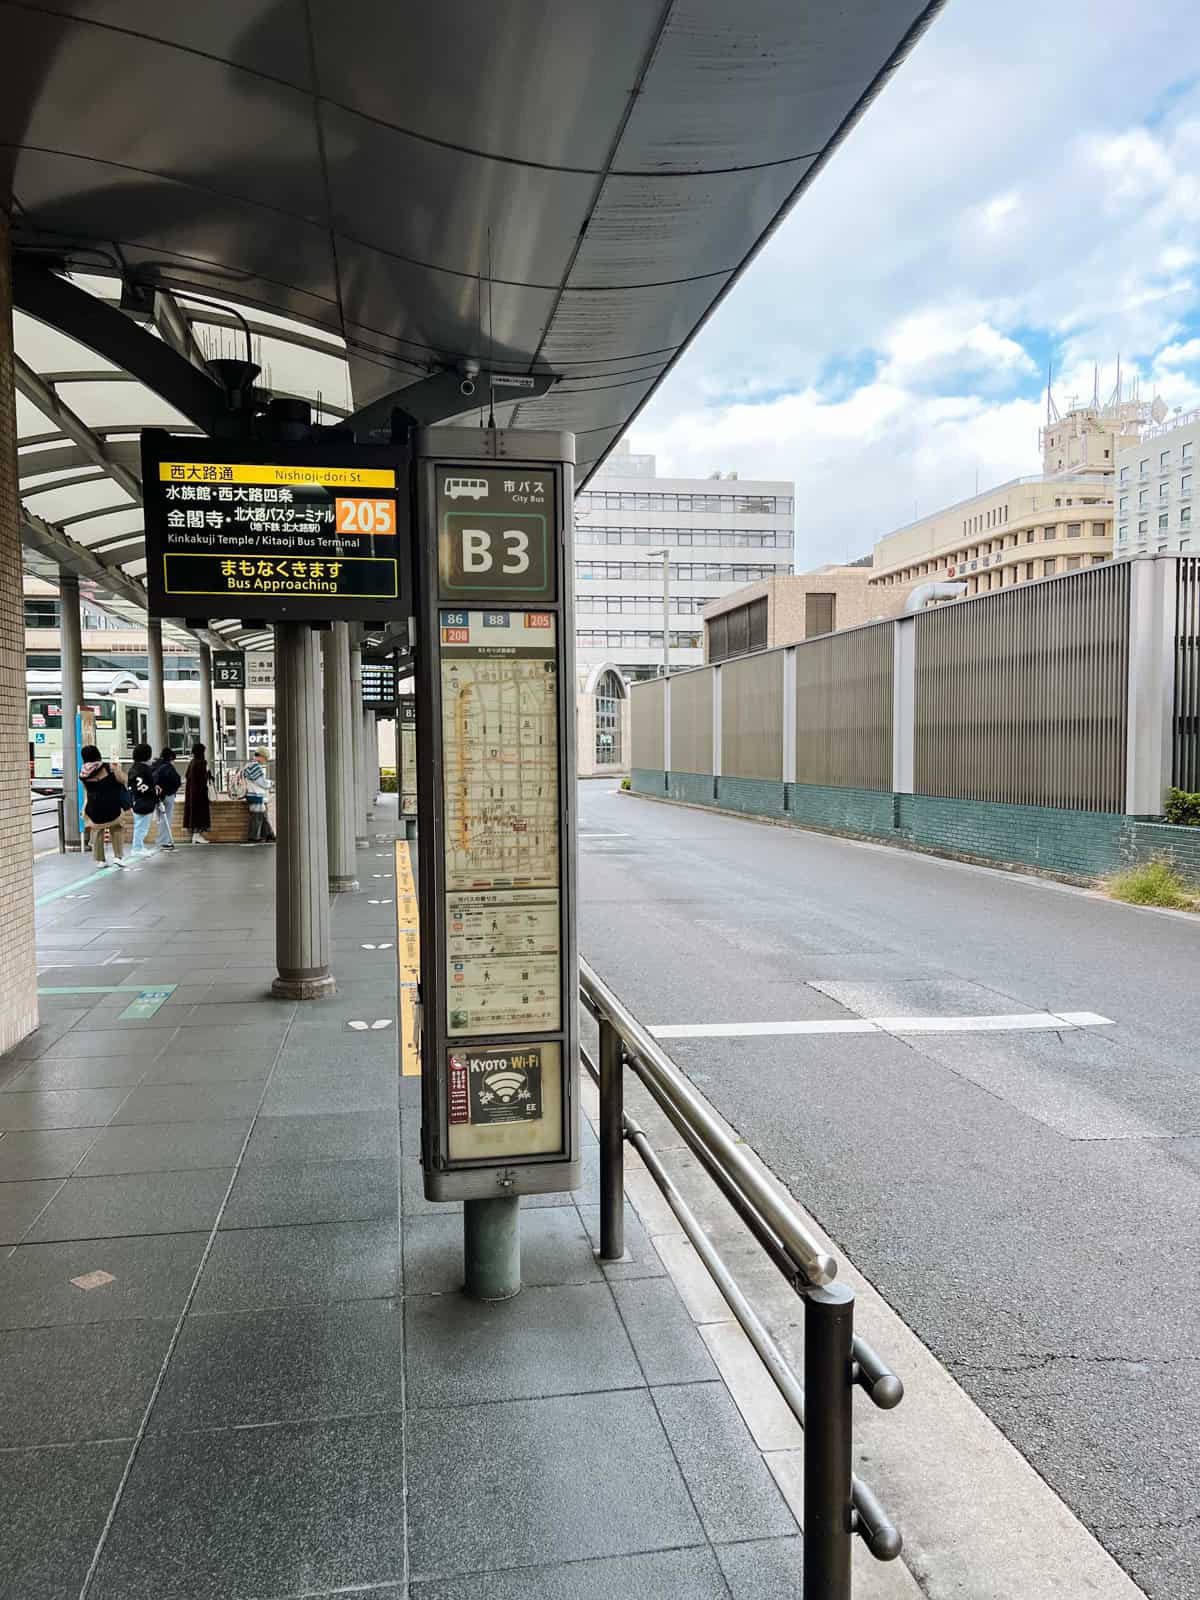
Address: 1 Kinkakujicho, Kita Ward, Kyoto, 603-8361, Japan
Bus Directions:
- There are numerous ways to the temple but your best bet is to take bus #205 (do not take the rapid #205) at the B3 stand from Kyoto Station.
- This bus is quite frequent so don’t worry too much about catching at a specific time.
- An alternative, there’s also Bus #01 at the B2 stand.
- As a heads up, you pay on your way off the bus. Get off at the Kinkakuji-michi stop.
- Bus #205 takes 40 minutes.
Hours: Open all-year round, daily 9AM – 5PM.
Price: They only accept cash.
- Adult (16+) – ¥500
- Child (7-15) – ¥300
Website: Kinkaku-ji Temple
FAQ:
- Can you buy skip-the-line tickets? No, you can’t reserve tickets ahead of time. Tickets must be purchased on the day-of and are single-entry only. Re-sale of tickets is also prohibited.
- Do they take credit card? No, this temple is cash-only.
Tips:
- When taking the bus, we still rcommend loading up an IC card (i.e. SUICA) instead of getting a 1-day pass so you’re not stressing about maximizing its value.
- We saw a few sign posts with specific rules. 1) No photos with large groups, 2) No smoking, 3) No eating, and 4) No tripods.
- While officially they say that the path is one-way, it’s not strictly enforced so if you need to go back to take a photo, that’s totally alright.
- There’s a cafe at the end which has various snacks. In the summer, their shave ice is always a hit.
- The ground isn’t very large and the main focus is the Golden Pavilion. That’s why you can see it all in 60-90 minutes.
Slurp Flaming Hot Ramen
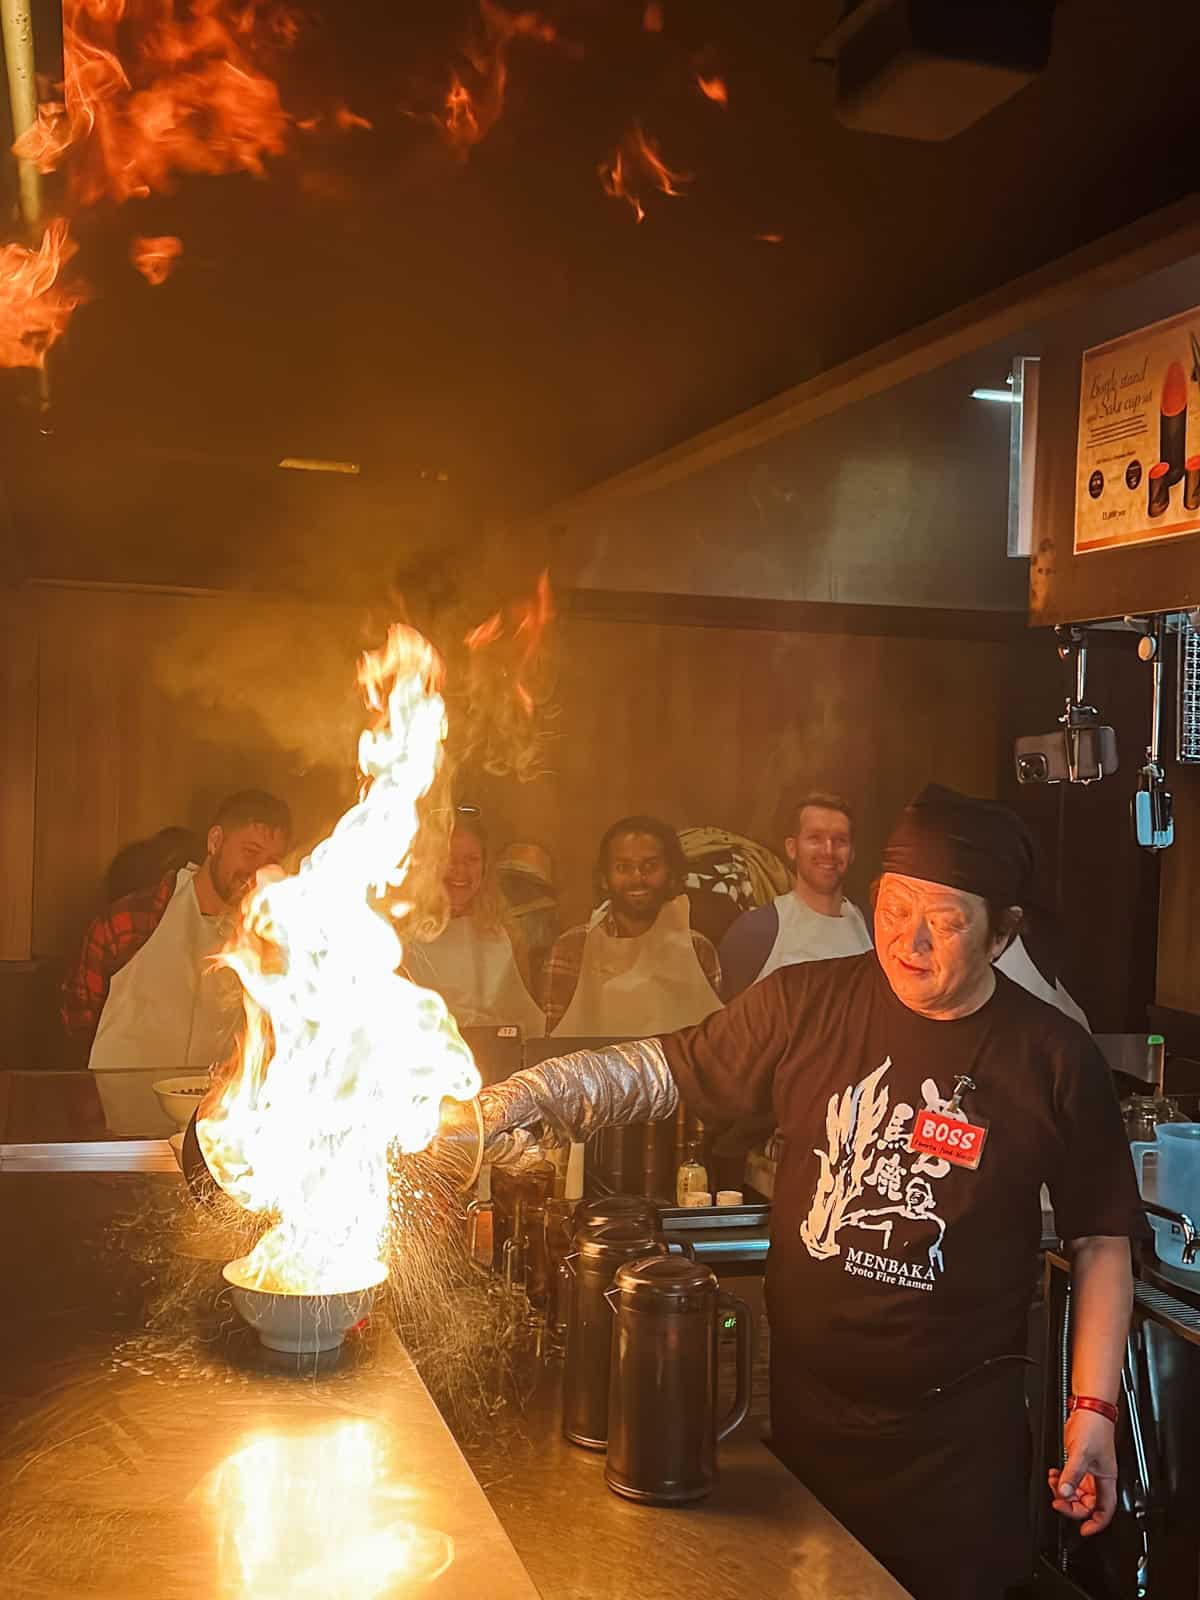
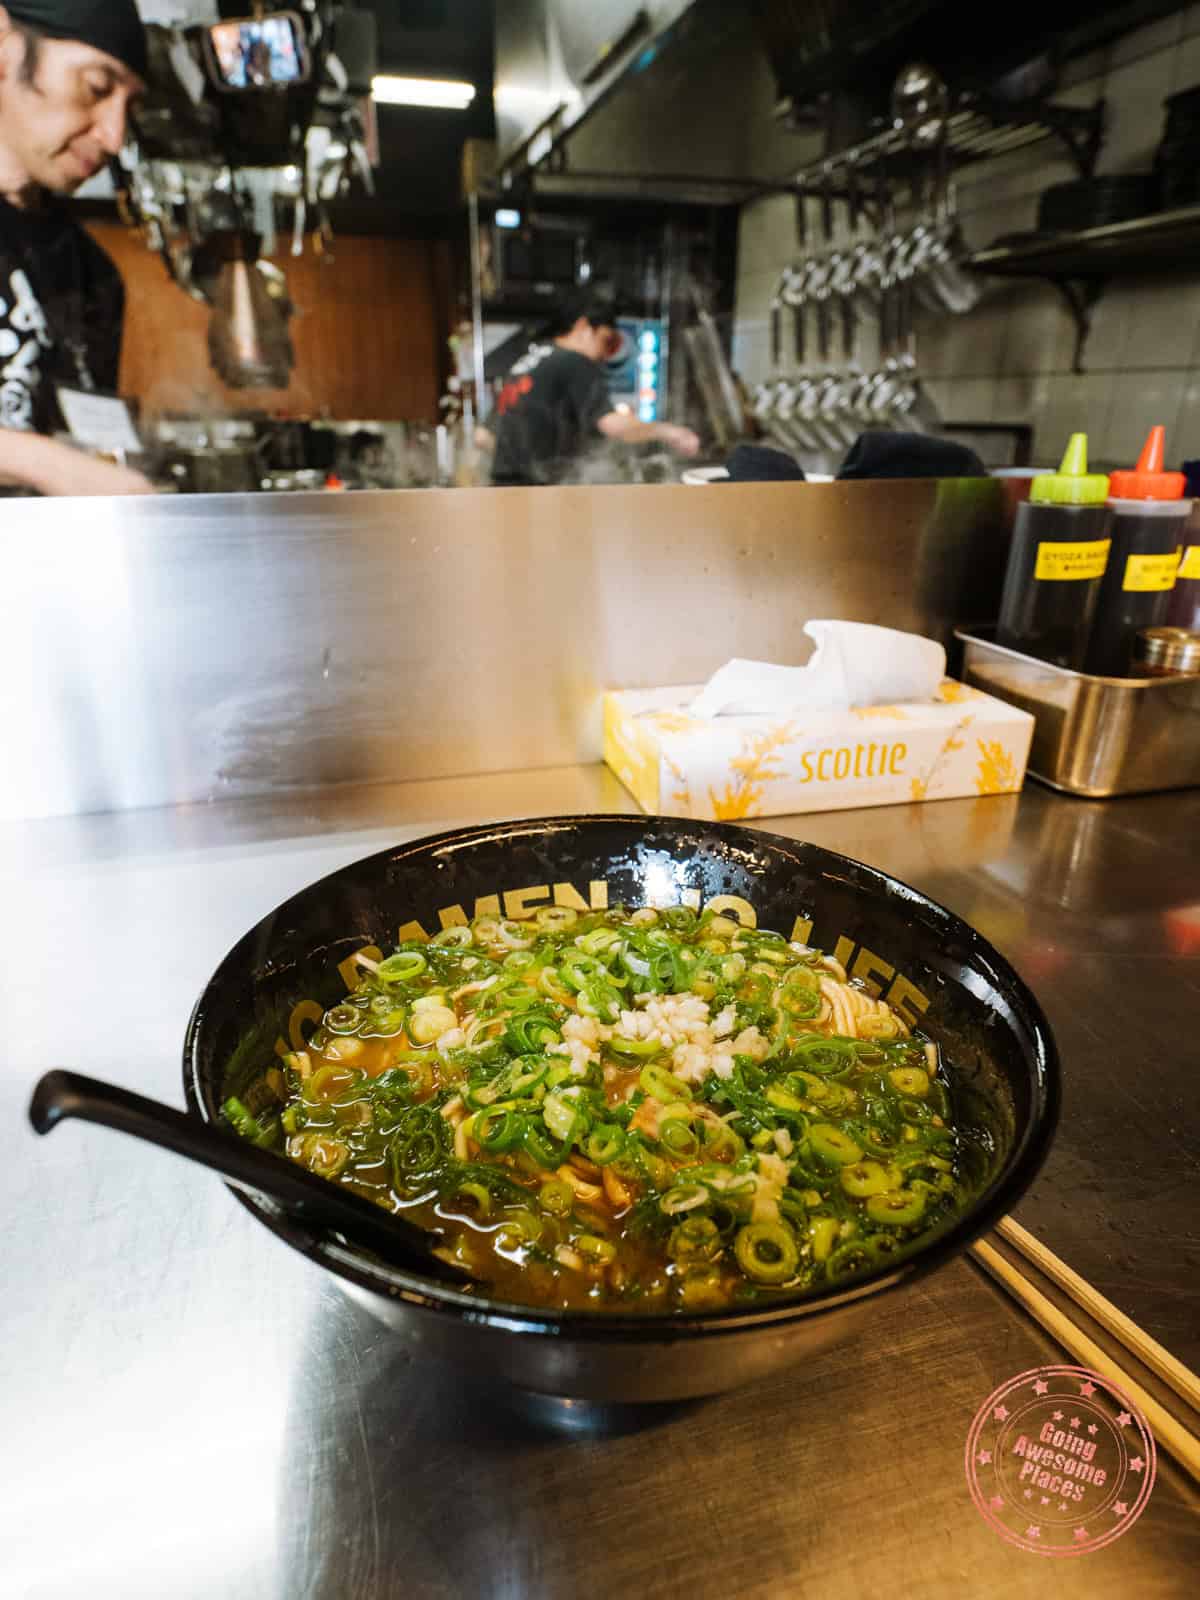
From slurping cold noodles, we quickly pivoted to the hottest noodles in town – Menbaka Fire Ramen. Add this to the wild culinary experiences we’ve put together in this Japan itinerary.
Another restaurant made popular through social media, Master Masamichi created a wild ramen that centers on kujo scallions. Scallion oil is heated up to a ridiculous 300 degrees Celsius and then poured on a water-rich base that’s topped with slices of chasu and more scallions.
With bib around your neck, arms behind and leaning backwards, they pour the oil over your bowl and a pillar of flame rises to the ceiling. The burst of heat is intense and unreal.
In addition, the restaurant also has selfie sticks strategically mounted in the kitchen which allows you to give them your phone so you can film the magnitude of the flames and how much your jaw dropped.
PRO TIP: To get here from Kinkaku-ji, take Bus 204. We also made a pitstop at Sugar Tooth Cafe which was along the Bus 204 route. We ducked in there for a break from the rain, and then walked to Menbaka Fire Ramen.
Walk Through Nijo Castle
Right around the corner is the historic Nijo Castle. The former imperial villa is another UNESCO World Heritage site in Kyoto that showcases the grandeur of feudal architecture and history.
This is uniquely a flatland castle with no tower (only the base remains). Instead, inside the two rings of fortification, you’ll walk through exquisite gardens, beautiful paintings in the Ninomaru palace, walk the squeaky anti-ninja nightingale floors, and ultimately get a sense of what life was like as a shogun.
WHAT YOU NEED TO KNOW
Address: 541 Nijojocho, Nakagyo Ward, Kyoto, 604-8301, Japan
Hours: Open year-round 8:45AM – 5PM (last entry at 4PM)
- Overall palace closed December 29-31
- Honmaru-goten and Ninmaru-goten Palaces have their own individual weekly closures so make sure to check their hours.
Price: There are several tiers of admission.
- General admission – ¥800
- General admission + Ninomaru-goten Palace – ¥1,300
- Honmaru Palace Viewing Ticket (general admission still required) – ¥1,000
Website: Nijo Castle
FAQ:
- Are photos allowed? You are allowed to take photos outdoors however photos and videos are prohibited in Ninomaru-goten Palace and Honmaru-goten Palace.
- Are drones allowed? No, drones are not allowed at Nijo Castle.
- Are there bathrooms? Yes, there are toilets scattered in various parts of the castle grounds.
- Are reservations required? No, you can buy admission tickets on the day of, however, the exception is Honmaru Palace which requires reservations. You can do this 30 days in advance.
Tips:
- If you’re short on time, focus on Ninomaru-goten Palace and make it out to the Base of the Keep tower.
- As a heads up, socks must be worn inside Honmaru-goten Palace. Shoes are also required to be taken off in both palaces.
- To save time, we recommend that you buy tickets online ahead of time. This will allow you to skip the line.
- If you’re looking for a guided tour, there’s this bundle that offers a small group guided walking tour of Nijo Castle and Kyoto Imperial Palace.
Ascend Through Thousands Of Vermillion Torii Gates
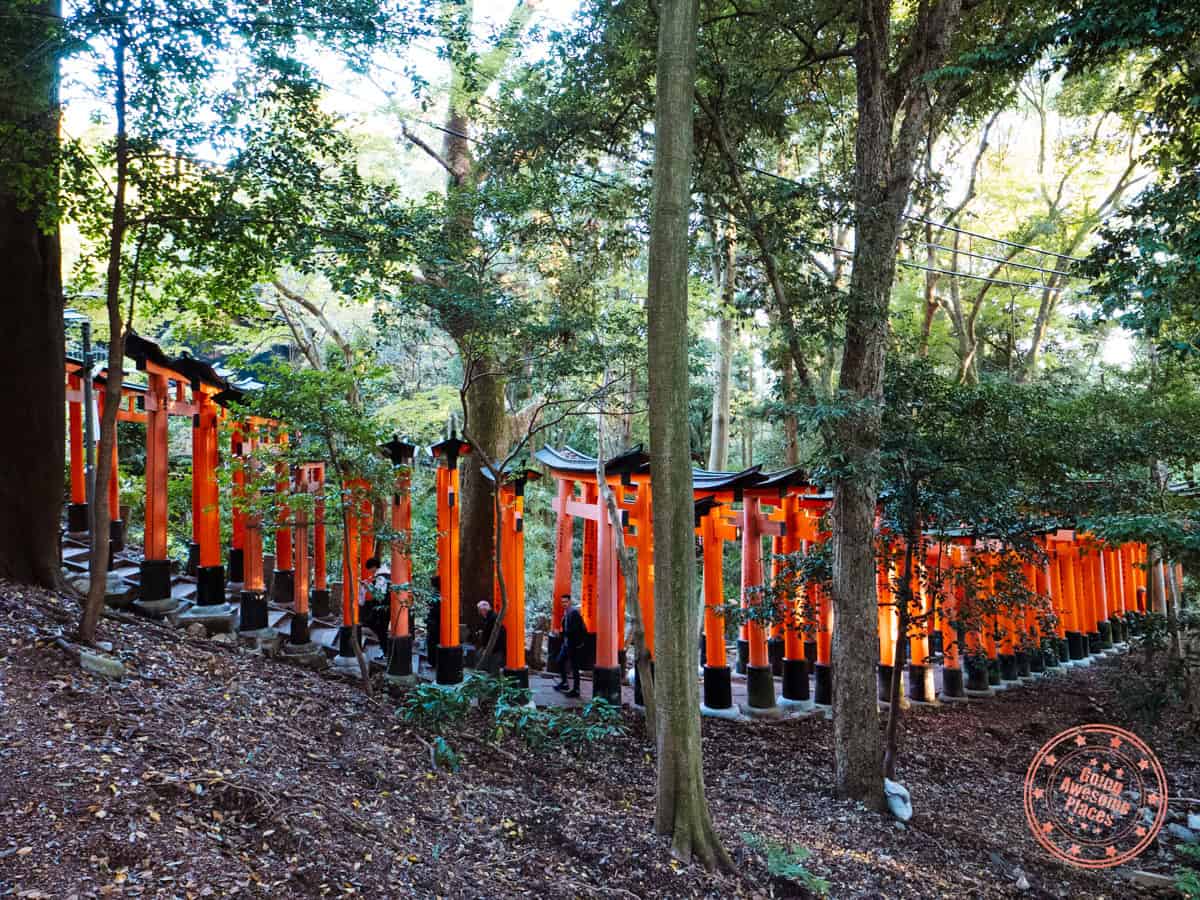
Fushimi Inari Taisha is simply a must-visit. It’s visually stunning with its thousands of bright vermilion torii gates that wind through the sacred forest of Mount Inari. This Shinto shrine offers a beautiful and spiritual journey, enveloping visitors in a peaceful atmosphere filled with the sounds of nature and temple bells, making it essential for understanding Japanese spirituality and culture.
This wonder can get incredibly busy throughout the day. However, since it’s open 24/7, if you are looking for those clean photos of the gates, go super early in the morning. If you come close to sunset, don’t expect the crowds to diminish too much, but it does get a bit better the further up you climb.
If you’re looking to get your cardio in, plan 2-3 hours to get to the summit for incredible views that most people don’t get to see.
WHAT YOU NEED TO KNOW
Address: 1 Kinkakujicho, Kita Ward, Kyoto, 603-8361, Japan
Train Directions:
- The best way to get here is by train. The shrine is also reachable by two main stations – Inari (JR) and Fushimi-Inari (Keihan). These are run by different companies so depending on where you’re catching it from Kyoto, either one will work.
Hours: Open all-year round, 24/7.
Price: Free admission.
Website: Fushimi Inari Taisha
FAQ:
- When is the best time to visit Fushimi Inari? Since this shrine is open 24/7, your best times are outside of 9AM-5PM so go really early in the morning or close to sunset. Between the two, mornings are the best.
- Are drones allowed? No, drones are prohibited at all sacred sites including Fushimi Inari.
- Are there bathrooms? Yes, there are bathroom facilities scattered throughout. There’s one at the base and 3 along the way up the torii gate trail.
Tips:
- If you’re looking for a guided tour, this guided walking tour is a good place to start. There’s also this tour that focuses on hidden hiking trails, and this unique night time walking tour.
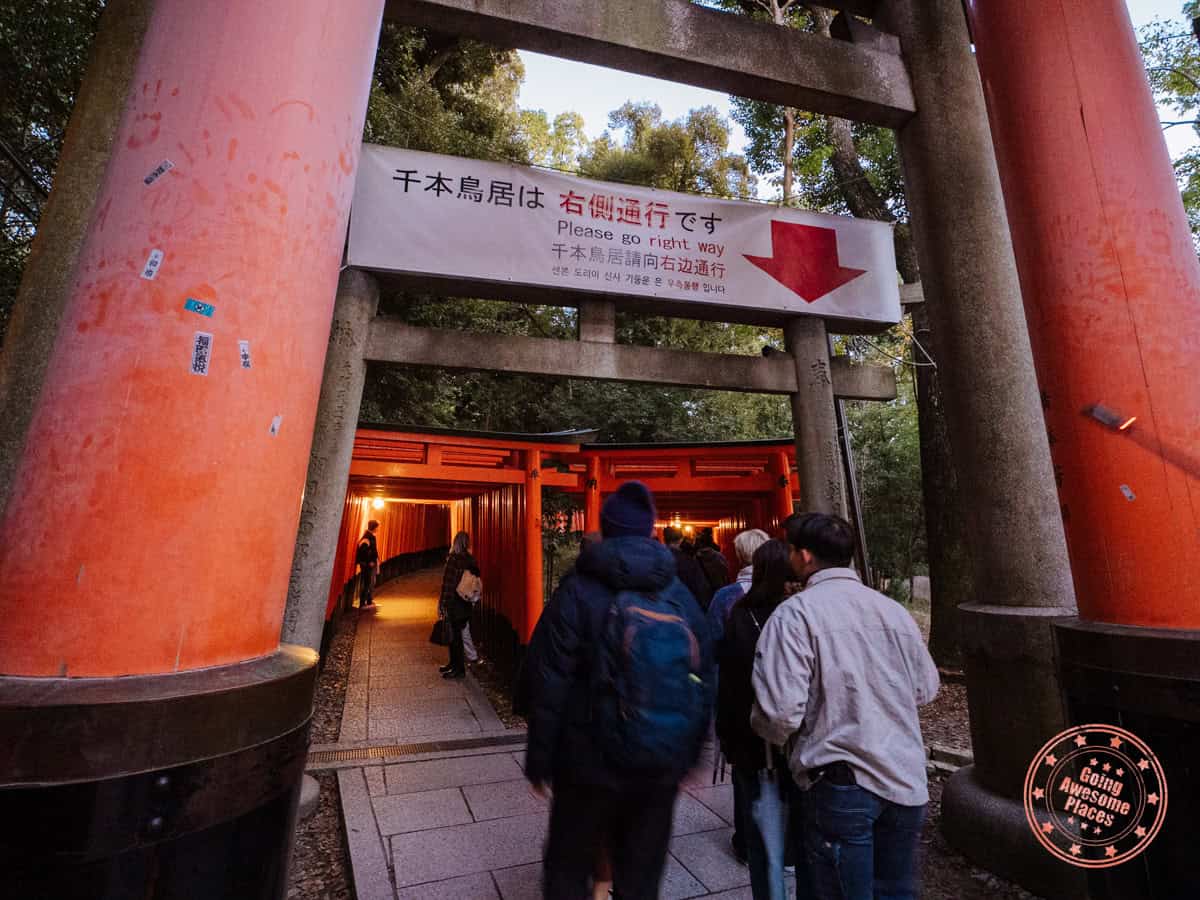
- As the sign says above, go the right away. They put these rules in place for a reason to help control the flow.
- Taking photos is extremely challenging here with the sheer amount of tourists and the Instagram effect. This means you need to be very patient if you’re looking for a clean shot. The further up you go, the fewer people there are but these days, it seemed just as busy.
- If you have the time, we do recommend hiking all the way up to the summit and Ichi no Mine which will take at least one hour one-way. If you don’t want to go all the way up, the Yotsu-Tsuji observation deck is a good goal.
- If you end up doing part of the hike up, on the way back down (if you follow the signage), you will take a short cut back to the base of the shrine. This means that you won’t be able to walk back down the initial side-by-side torii gates. The only way to do this is to go up the right side first and immediately come back down.
- If photos are your focus, you might also want to consider hiring a private photographer that covers both Fushimi Inari and a secret bamboo grove.
Have A Laid Back Soba Meal
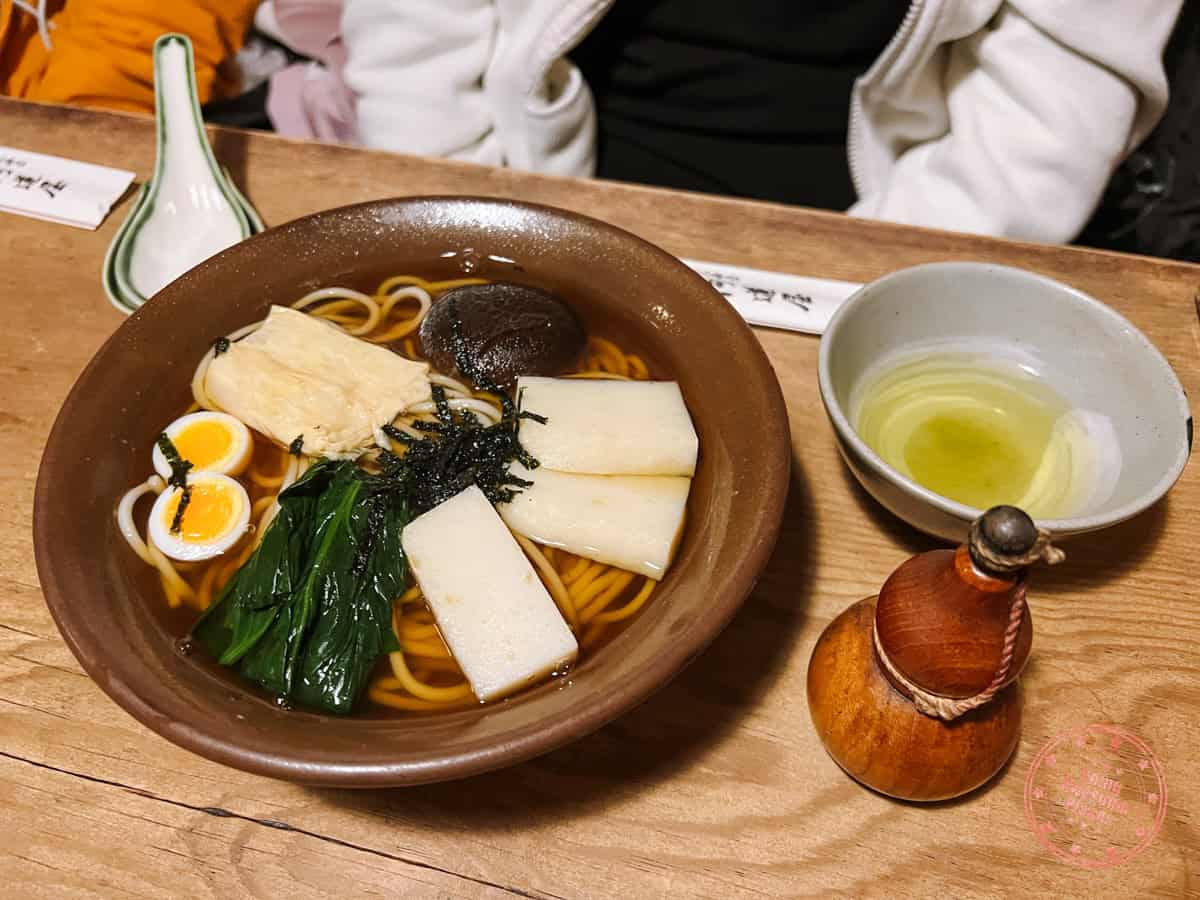
Back in the city, with the excitement for lunch, we were seeking a more laid back and local spot and since we hadn’t had soba yet, we had dinner at Misoka-an Kawamichiya which has that old Kyoto dining vibe which makes sense given that it’s over 300 years old.
To round things out, on your way back home, walk the covered shopping street and look out for the 10-Yen Coin cheese filled bread and food stall that serves matcha ice cream-filled melon pan buns.
Day 4 Summary
What you’ll see & do:
Where you’ll eat:
- Breakfast/Snack – Sugar Tooth Cafe – With the rain, we were looking for a place to duck into that was along the bus ride to Menbaka Fire Ramen. It’s a cute spot with British decor serving coffee and cakes.
- Lunch – Menbaka Fire Ramen – A steamed milk pudding specialist because you’ll want to have it more than just once!
- Dinner – Misoka-an Kawamichiya – After a day of being surrounded by crazy crowds, it was nice to be able to walk into a low-key and local soba noodle shop that has an entire that feels like it dates back a century.
- Snack – 10-Yen Coin Cheese Filled Bread – You may have seen them in Osaka while strolling Dotonbori but if you’re hungry after soba, this is a nice-add on. The bread has a waffle texture and taste and is filed with chewy and stringy cheese.
- Snack – Melon Pan Matcha Ice Cream Sandwich – I can’t remember exactly where this little stall was in Teramachi-dori but I know it was close to the 10-Yen Coin so we’ve marked it on the map as such. This was quite delicious for matcha ice cream fans although I have to say that the one we recommend in Tokyo a little further down is better because the buns are fresh out of the oven.
Where you’ll stay:
Itinerary Day 5 – Kyoto Is Sweet
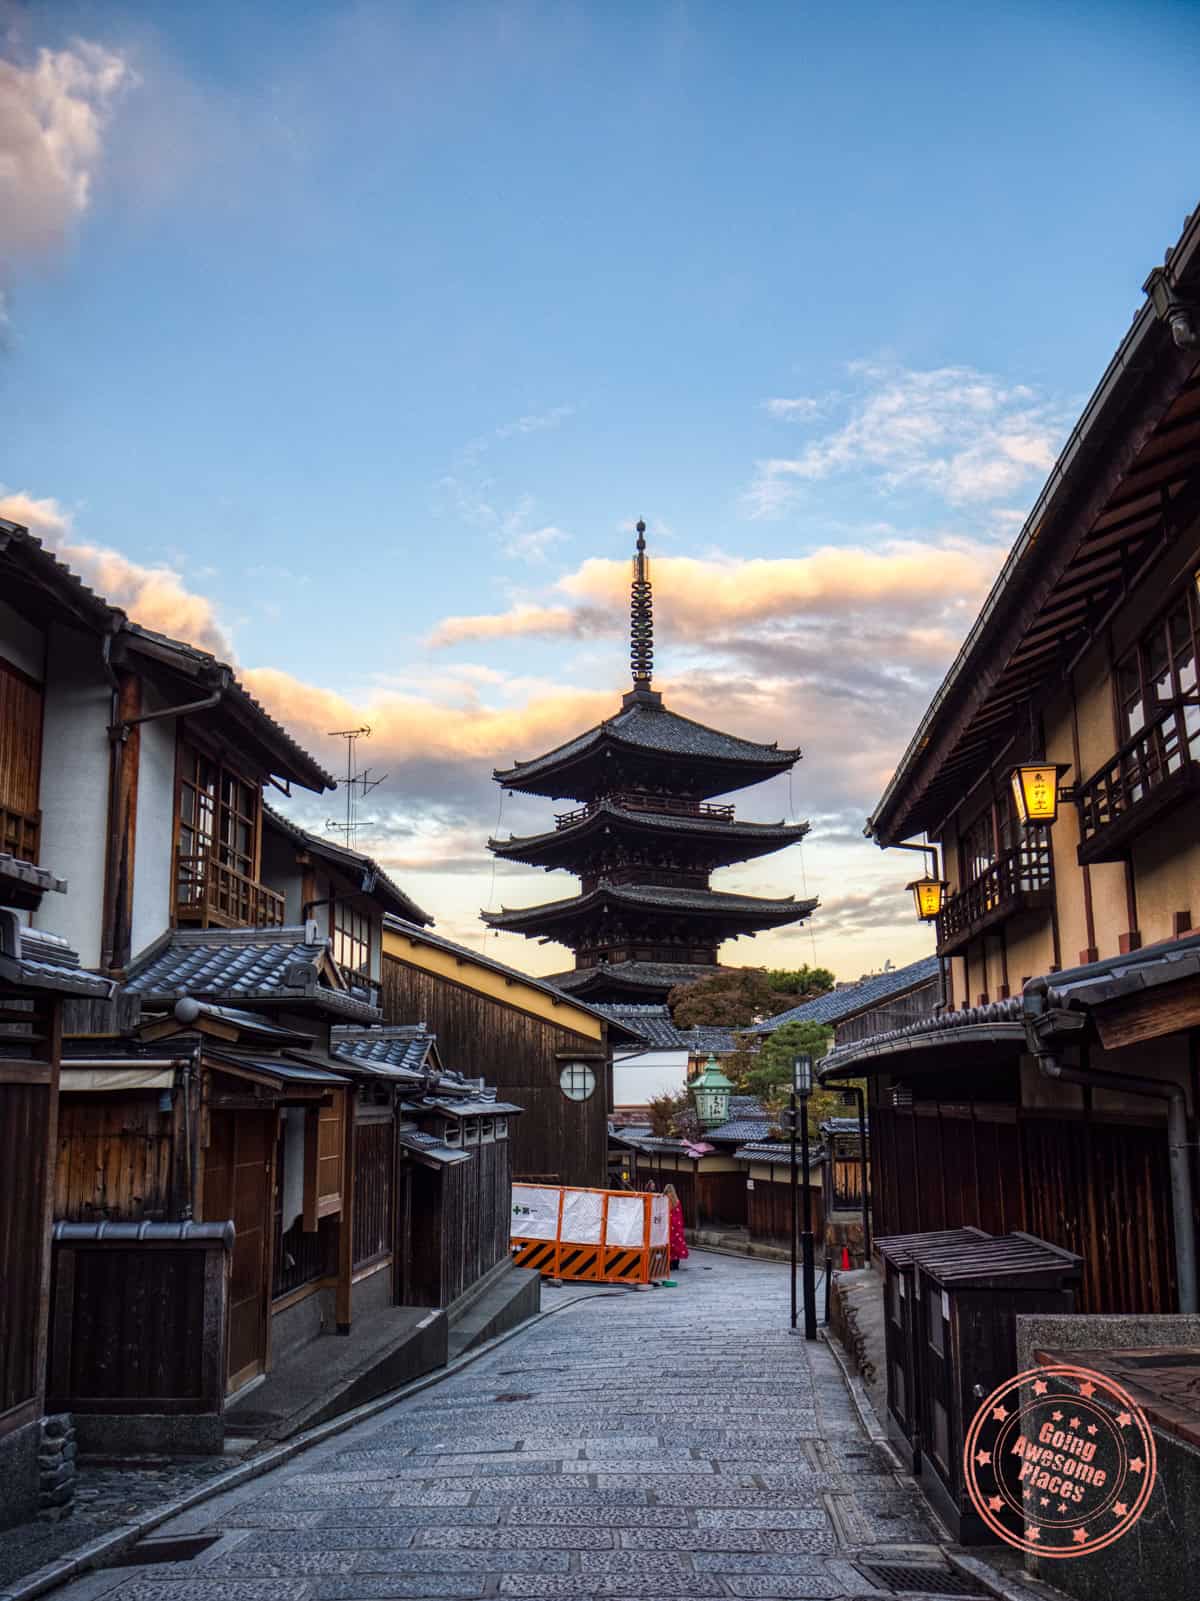
The beauty of allocating more time for Kyoto is that you’re able to go a little deeper and be able to visit a few of the sights and food spots that you normally wouldn’t be able to fit in.
Yasaka Pagoda Photography Surprise
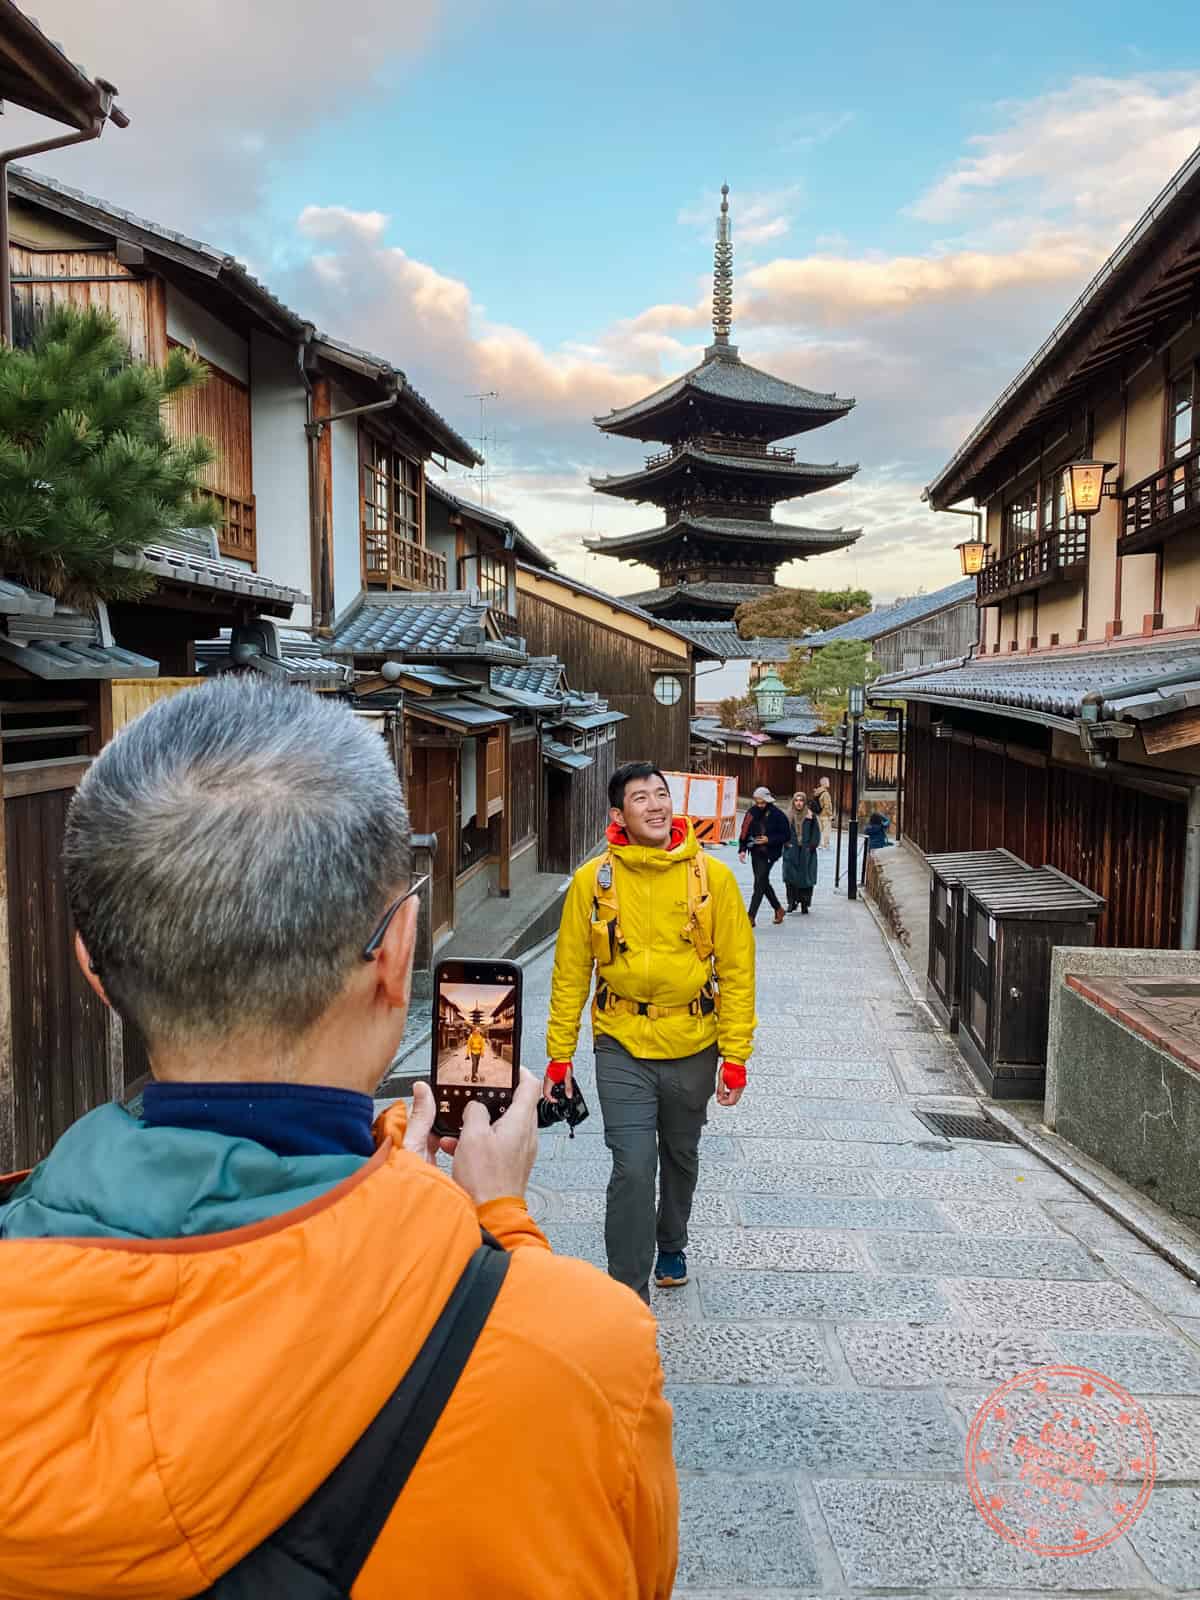
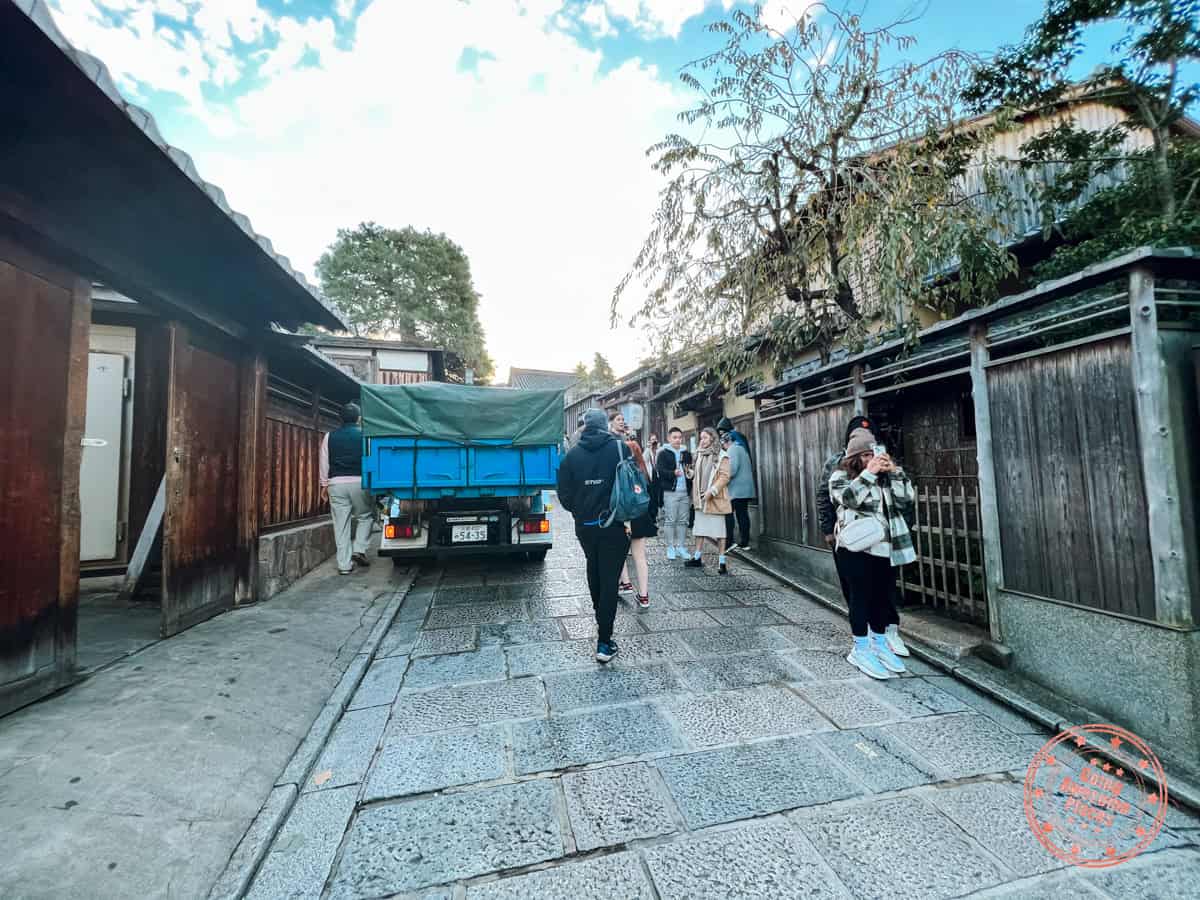
The photographer in me was really feeling the FOMO about Yasaka Pagoda at sunrise so I managed to convince my parents to go who were surprisingly up for it. So there we were, waking up at 6AM and arriving at this popular location at 6:25AM.
What surprised me was just how many people were already here at this early hour. That just goes to show how many more tourists are in Japan now and how big of an impact social media has made.
I tried my best to get clean shots from here but with the orange construction boards and constant flow of people coming uphill, it was near-impossible.
Visit One Of The Most Underrated Temples
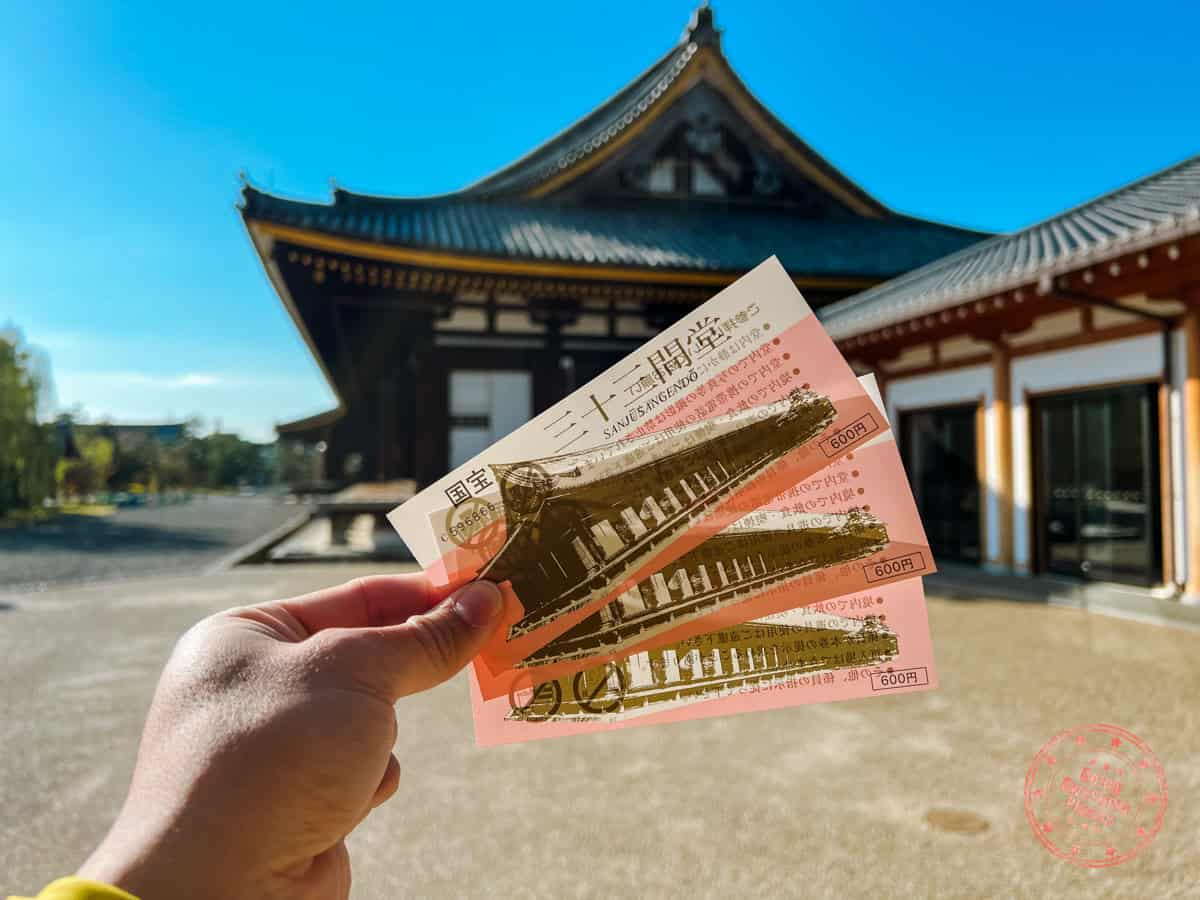
One of the places I was sad to miss out on in our first visit to Japan was Sanjusangendo Temple. Now that I’ve been, I can confidently say that this is the most surprising and impressive in Kyoto.
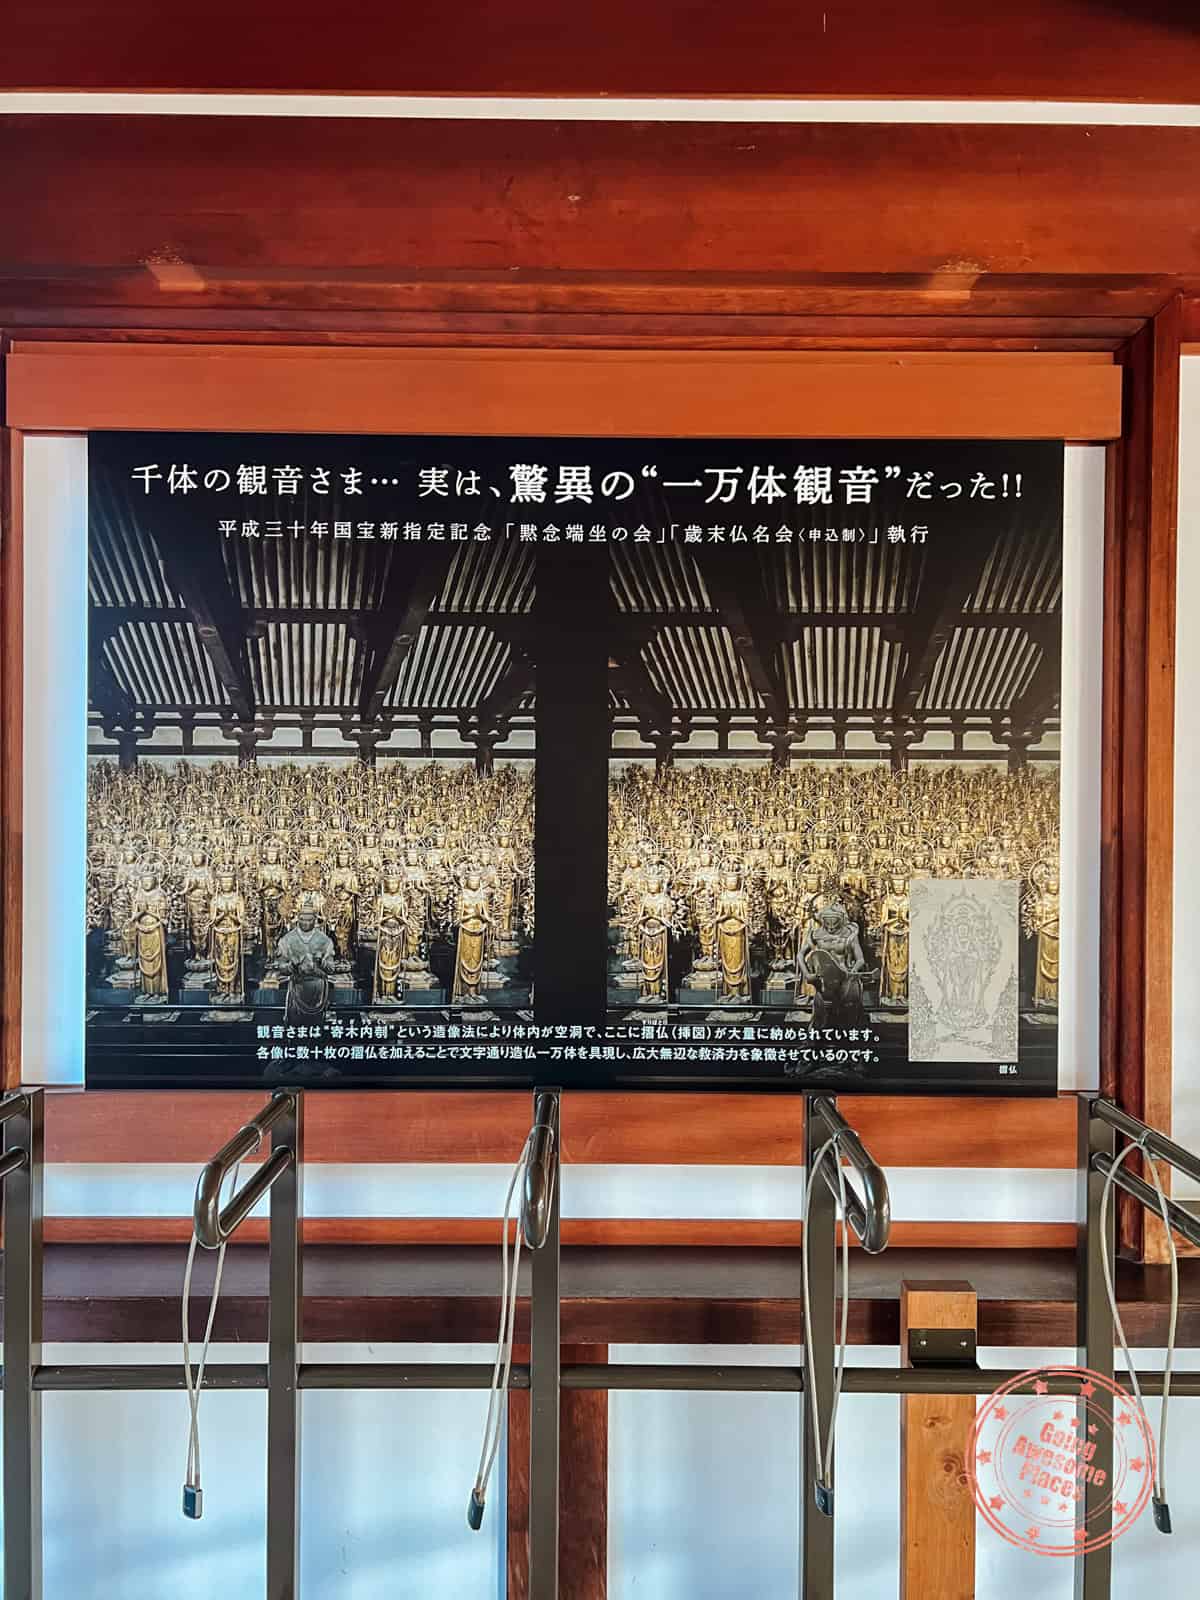
It’s unlike anything you’ve seen before. The hall is filled with the 1001 golden statues of Kannon, the goddess of compassion and her thousand-arms, layered on 10 rows and 50 columns. In addition, you have the 28 guardian deities that have Hindu origins.
The only unfortunate part is that photos and videos aren’t allowed but in a way, that made for an even more immersive visit.
WHAT YOU NEED TO KNOW
Address: 657 Sanjusangendomawari, Higashiyama Ward, Kyoto, 605-0941, Japan
Hours: Open year-round. 9AM – 4PM (Nov 16 – Mar), 8:30AM – 5PM (Apr to Nov 15). Last admission 30 minutes before closing.
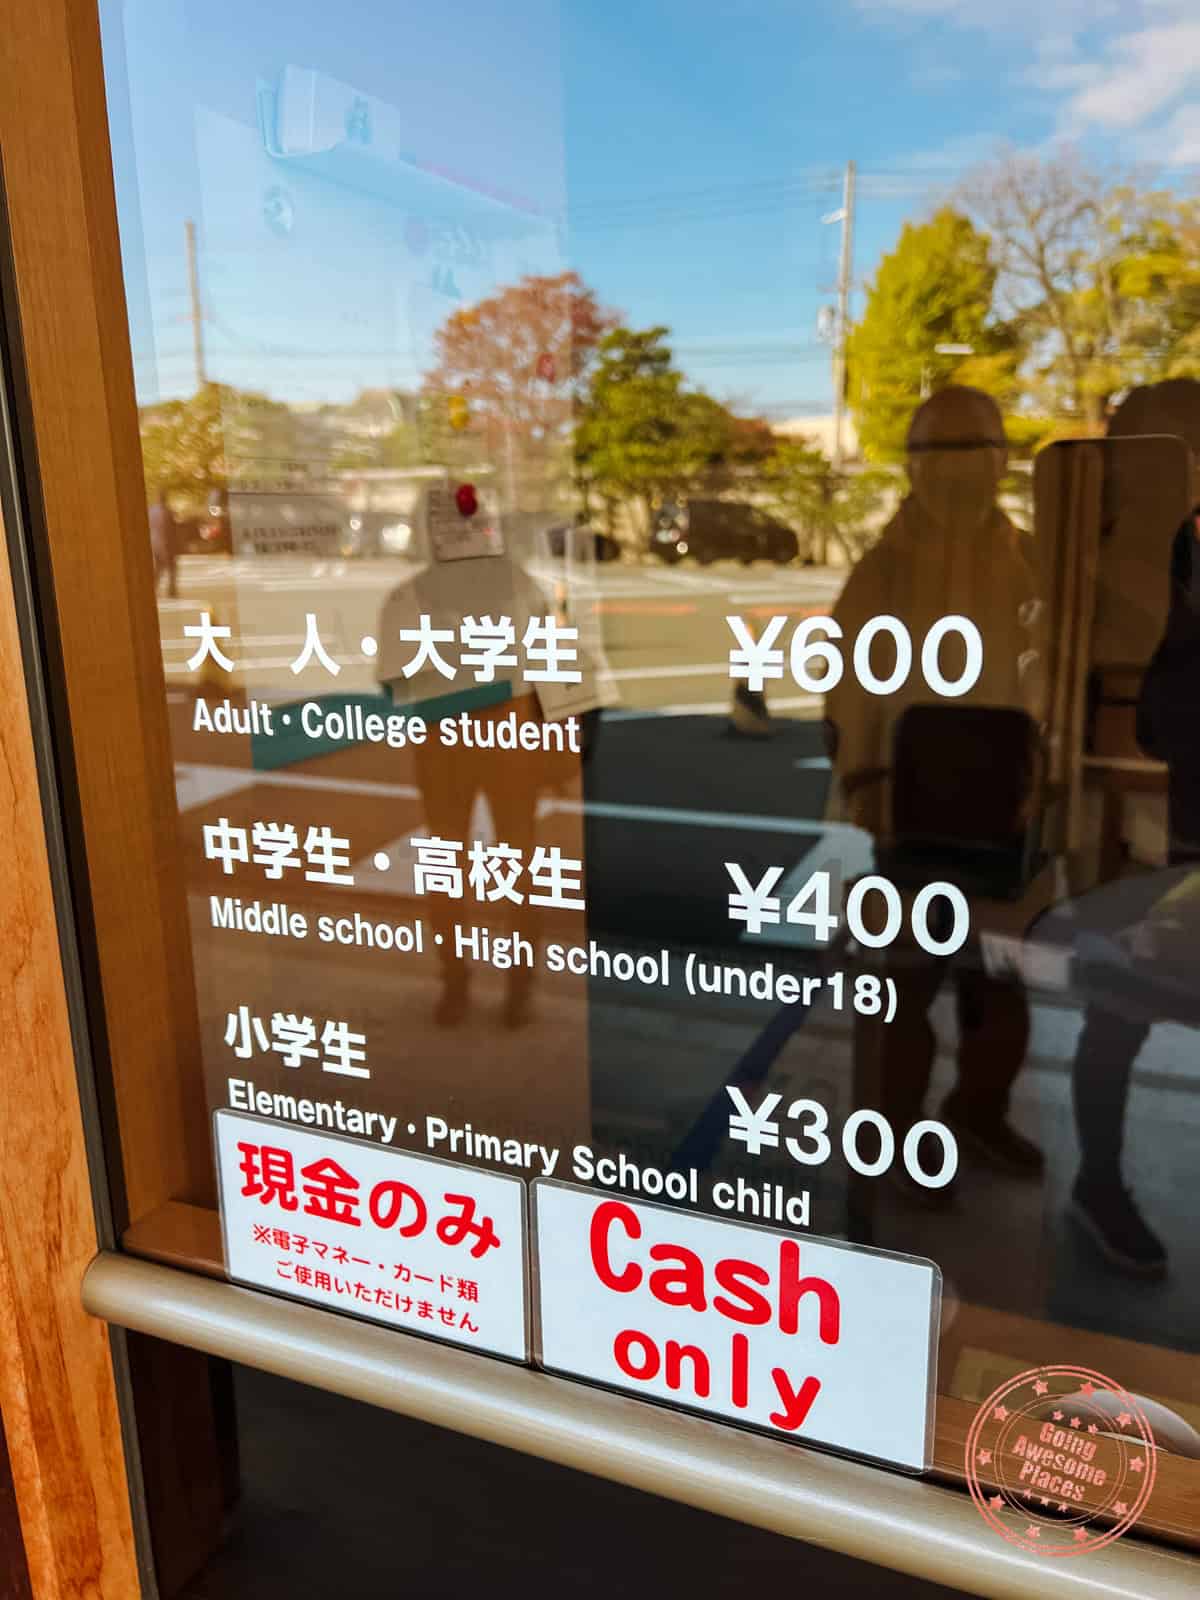
Price: Adult/college student – ¥600, middle school and high school students ¥400, elementary/primary school children ¥300.
Website: Sanjusangendo (Japanese-only)
FAQ:
- When is the best time to go to Sanjusangendo Temple? Since it’s one of the lesser visited temples, it never gets overwhelmingly busy. That said, your best bet for a quiet visit is 1 hour before and after closing.
- Are drones allowed? No, drones are not allowed.
- Are there bathrooms? Yes, you’ll find the bathroom facilities near the entrance.
Tips:
- Sanjusangendo Temple is one of the only ones that don’t allow any photos or videos inside the main temple building that houses the statues. Photos are allowed on the grounds outside however tripods can’t be used anywhere.
- In order to enter the main temple building, you will need to take your shoes off and put them in a locker. They also offer optional slippers but you can also just wear your socks. This is free.
Salivate Over The Finest Matcha Desserts
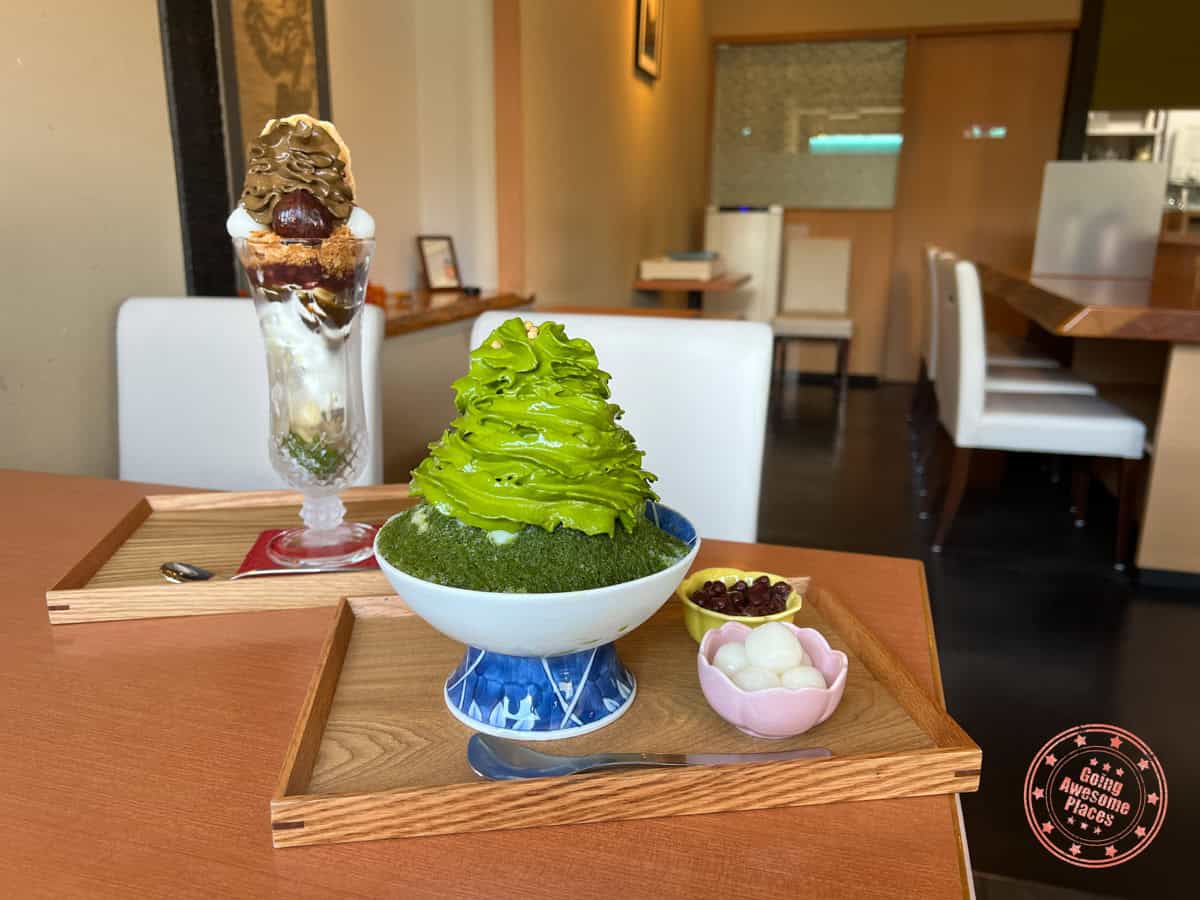
Just around the corner is Shimizu Ippoen, a tea specialty store known to be a haven for dessert and refreshing drinks.
What they’re best known is the Shimizu Parfait which is made with a Uji green tea espuma, a rich, airy, yet dense foam that is extremely difficult to make. Both desserts we ended up ordering were incredibly refreshing, and the espuma had this melt-in-your-mouth type of texture.
If you’re hungry for something savory, they also serve Japanese curry which was fantastic.
HEADS UP: They have a requirement where it’s one item per person.
Bamboo Forest Hidden In Plain Sight
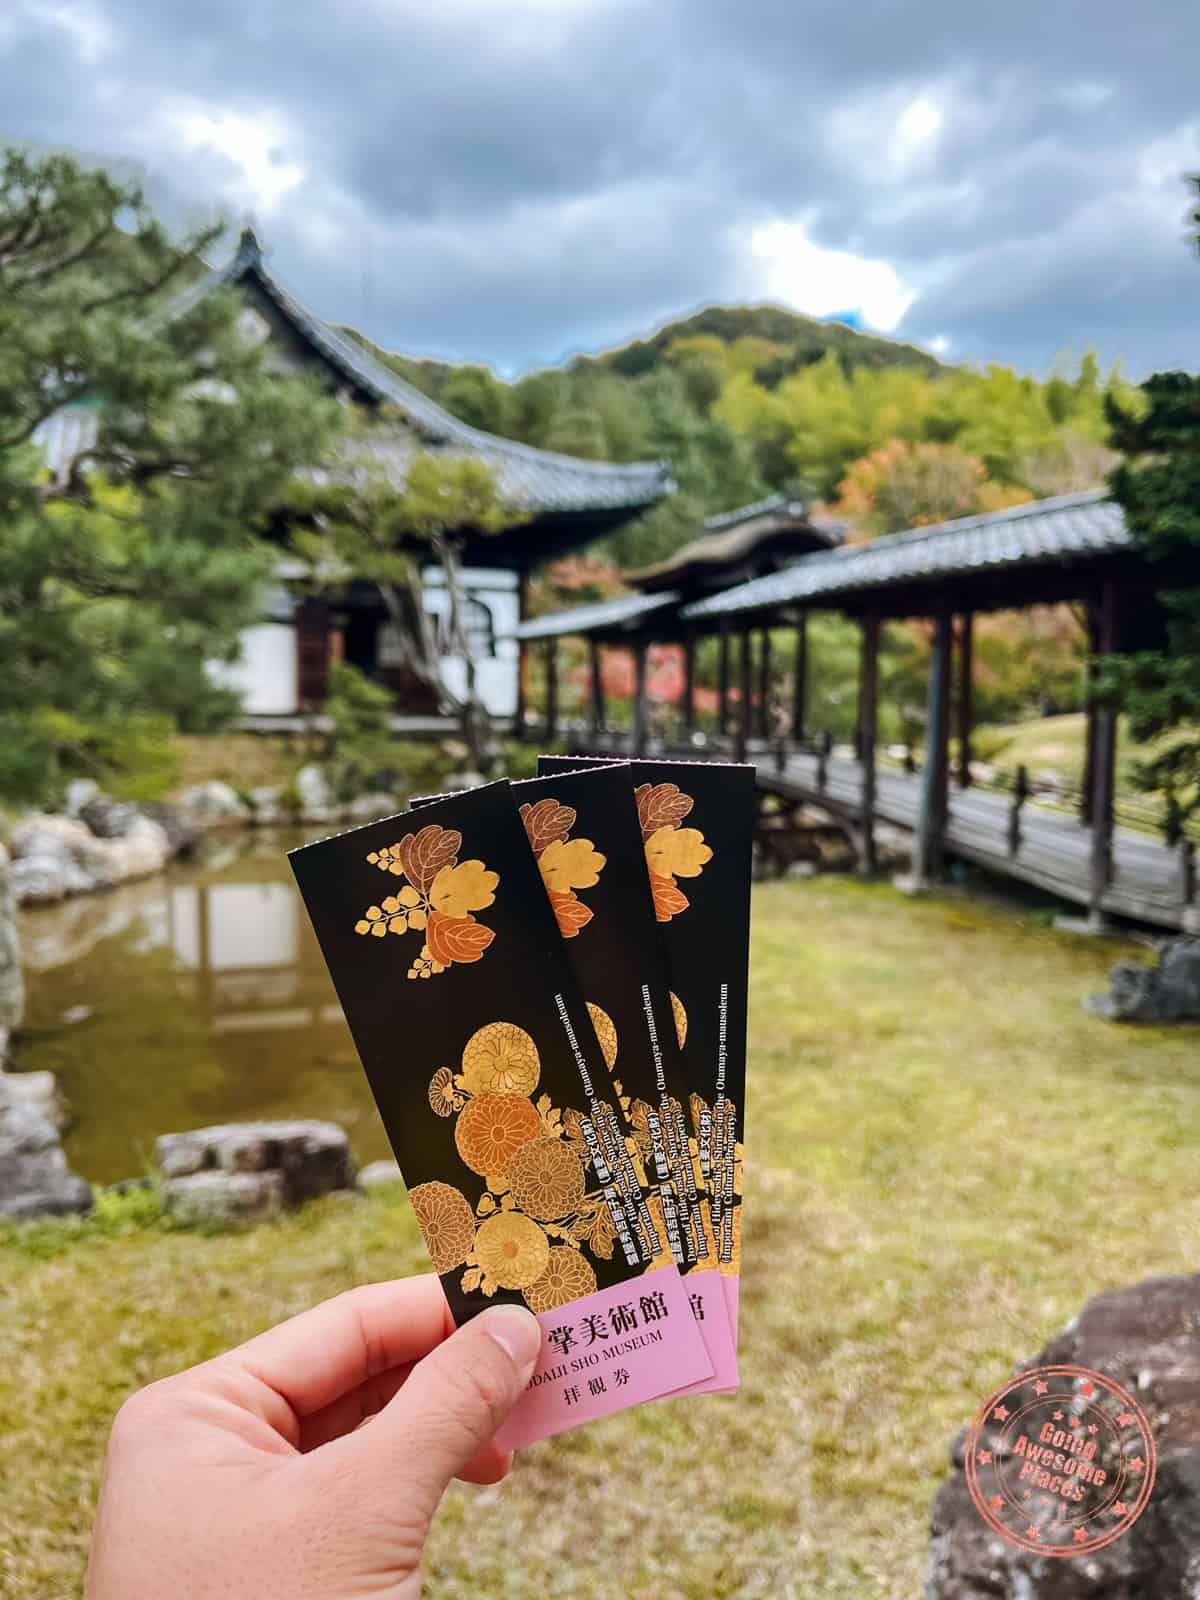
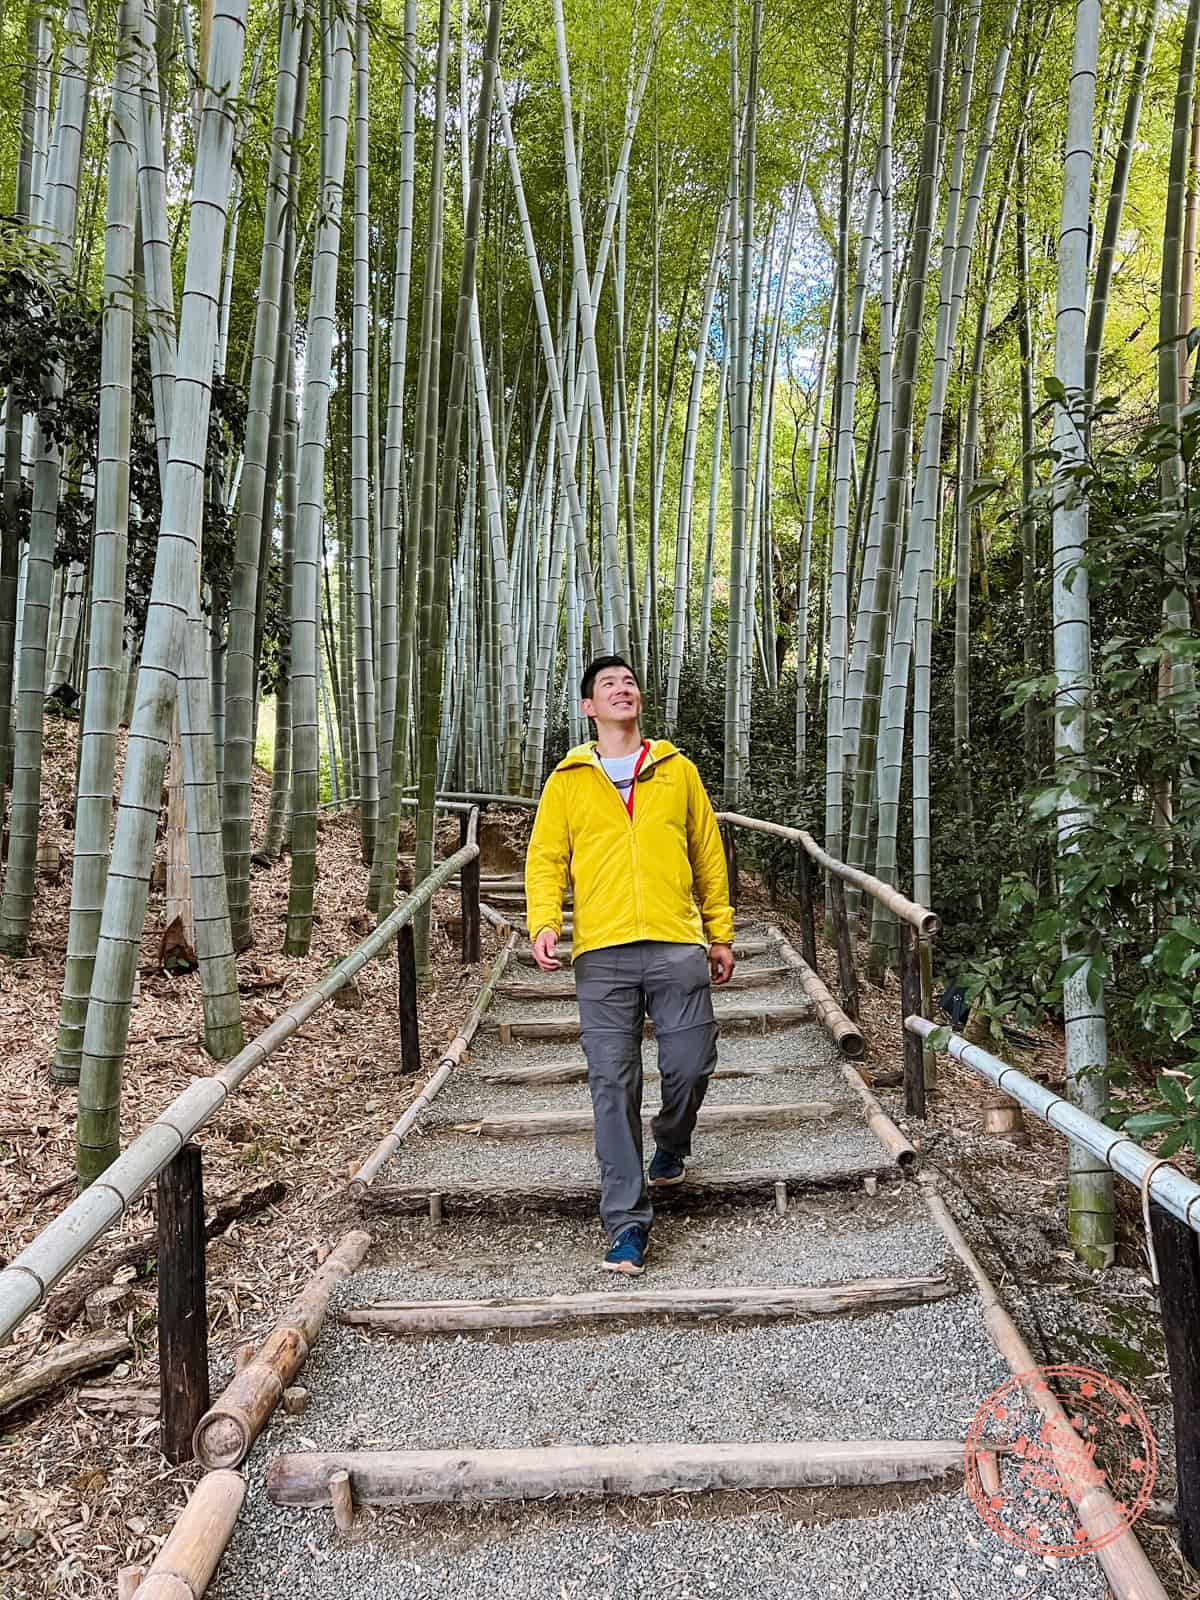
Take the bus back up into the Higashiyama district because as promised, you’ll have some time to make up anything you missed your first time-around.
For us, we wanted to visit Kodai-ji Temple. Not only do they have the stone staircase entrance, the main hall with its zen garden and temple garden, but at the very back, they also have a bamboo forest that most people tend to miss.
HEADS UP: They had signs that say that self-sticks and video aren’t allowed.
Eat and Walk Through Nishiki Market
When you’re ready, head back out west. A few places to look out for is the taiyaki shop Narutotaiyaki Honpo Gion Shijo, and the trendy donut shop, koé.
Since you may not have had a thorough look at Nishiki Market the first time, this is your chance to bustling pedestrian arcade that’s primarily lined with vendors selling crafts and food.
The truth is that the market is pretty touristy and is usually packed shoulder to shoulder. That said, it’s honestly still fun to try fresh seafood.
PRO TIP: You’re not allowed to eat while walking so you almost need to sneakily try to eat in a corner somewhere. Some food vendors do have seating inside.
Try Fluffy Ricotta Cheese Pancakes
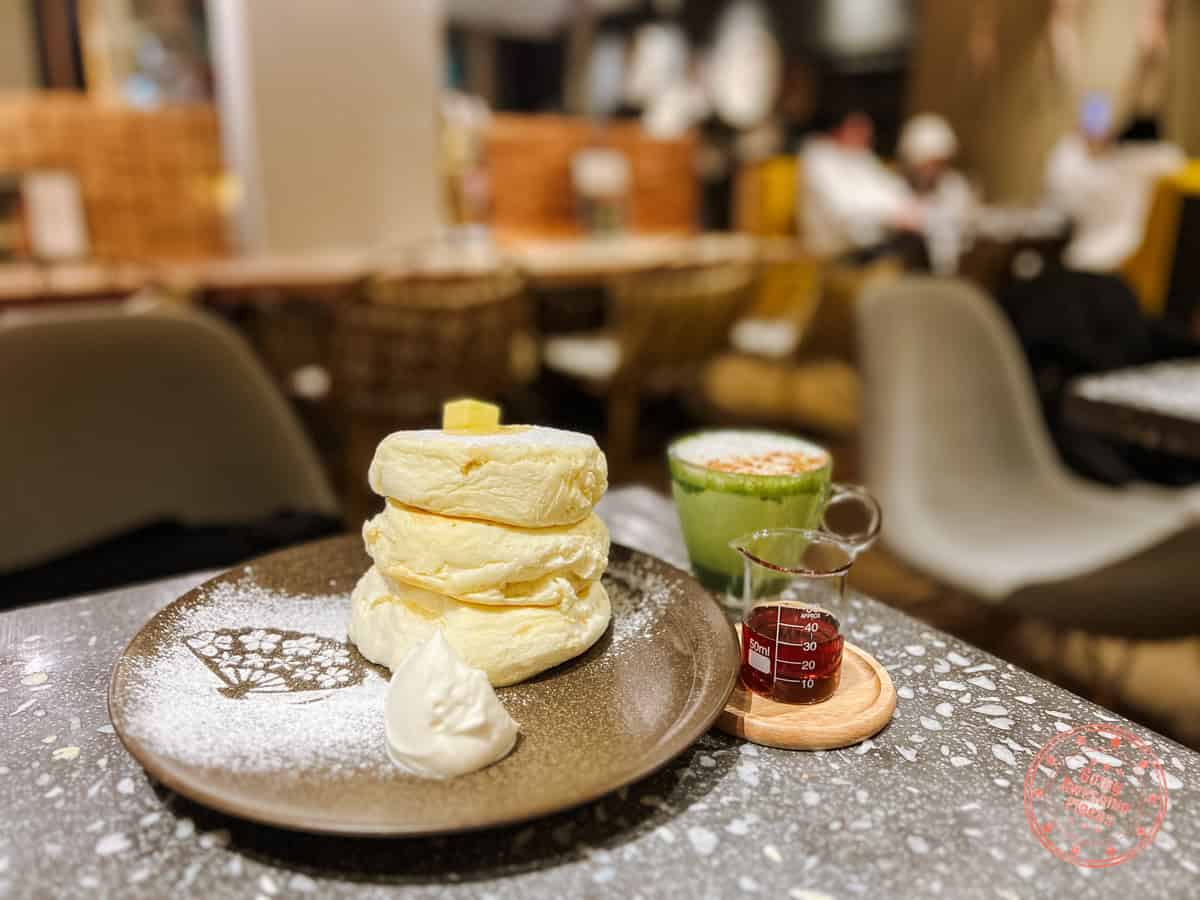
If you didn’t know about Japanese souffle pancakes, you’re missing out! We had our first one in Tokyo and when we were researching top places to eat in Kyoto, I stumbled upon Micasadeco & Cafe.
While there are any pancake shops these days, they are one that uniquely uses ricotta cheese in their batter, giving it a unique and fuller taste on top of being extra tall, and super fluffy.
PRO TIP: Reservations aren’t necessary but they do get busy. That’s why we came in the mid-afternoon to avoid the busier lunch hour.
Unagi Delight To End The Night
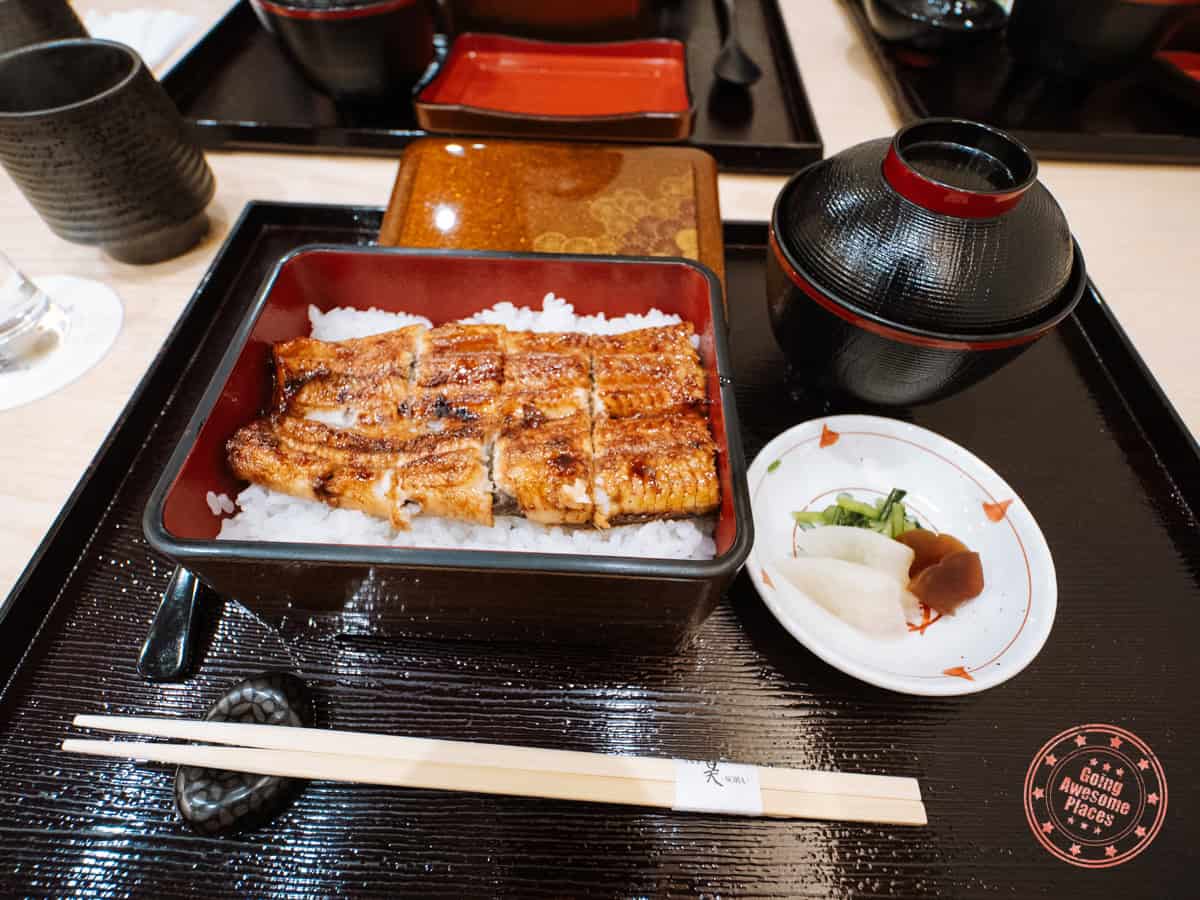
In building this itinerary, I wanted to pick from a variety of Japanese cuisine and for this night, I found a number of great unagi restaurants. The one we picked was Unagi Sora and it was delicious.
Their English menus made it really easy to order and we ended up choosing from one of their more affordable eel sets from Kagoshima. While simply eel on a bed of rice, the quality of the eel and how it’s grilled brings about a dynamic and complex flavors that make it simply delicious.
PRO TIP: The staff at our ryokan were open and willing to help make reservations but all the ones I asked about, including this unagi restaurant, were booked solid so we recommend that you e-mail them a week or two in advance to help you make reservations.
Day 5 Summary
What you’ll see & do:
Where you’ll eat:
- Breakfast – Convenient Store – Since you’ll be starting extremely early, you’ll have breakfast after the photography session. For time, it makes sense to grab some food at a nearby konbini along the way.
- Lunch – Shimizu Ippoen – This is a dessert shop that specializes in various types of sweets, most of which include matcha in one form or another. As a lunch, the good news is that they also serve a few savory dishes including Japanese curry. They have several locations but the main branch is right by Sanjusangendo Temple.
- Snack – Narutotaiyaki Honpo Gion Shijo – You don’t have to go to this specific one but if you happen to be walking around this part of Kyoto, you’ll likely smell the aromas of the freshly baked taiyaki before you see it. We always get these anytime we see them and they never disappoint, whether custard or red bean.
- Snack – Seafood in Nishiki Market – Since the first day in Kyoto would’ve been a quick walk-through, it’s nice to come back with your bearings and hone in on different seafood you want to try.
- Snack – koé donuts – Donuts probably weren’t on your bingo card for a Japan trip but we took a peek inside and were impressed by all of the different types they made so we couldn’t help but go in for a coffee break and pick-me-up.
- Snack – Micasadeco & Cafe – A trip to Japan wouldn’t be complete without having their famed fluffy pancakes that have started to become popular around the world. This is an elegant little cafe that specializes in a style that includes ricotta cheese. It will blow your mind!
- Dinner – Unagi Sora – As with everything Japanese, there’s a specialist in everything. Come here to try extremely high quality unagi. You’ll quickly learn why these command a premium (and long wait at the door). Reservations highly recommended.
Where you’ll stay:
Itinerary Day 6 – Early Bird In Arashiyama
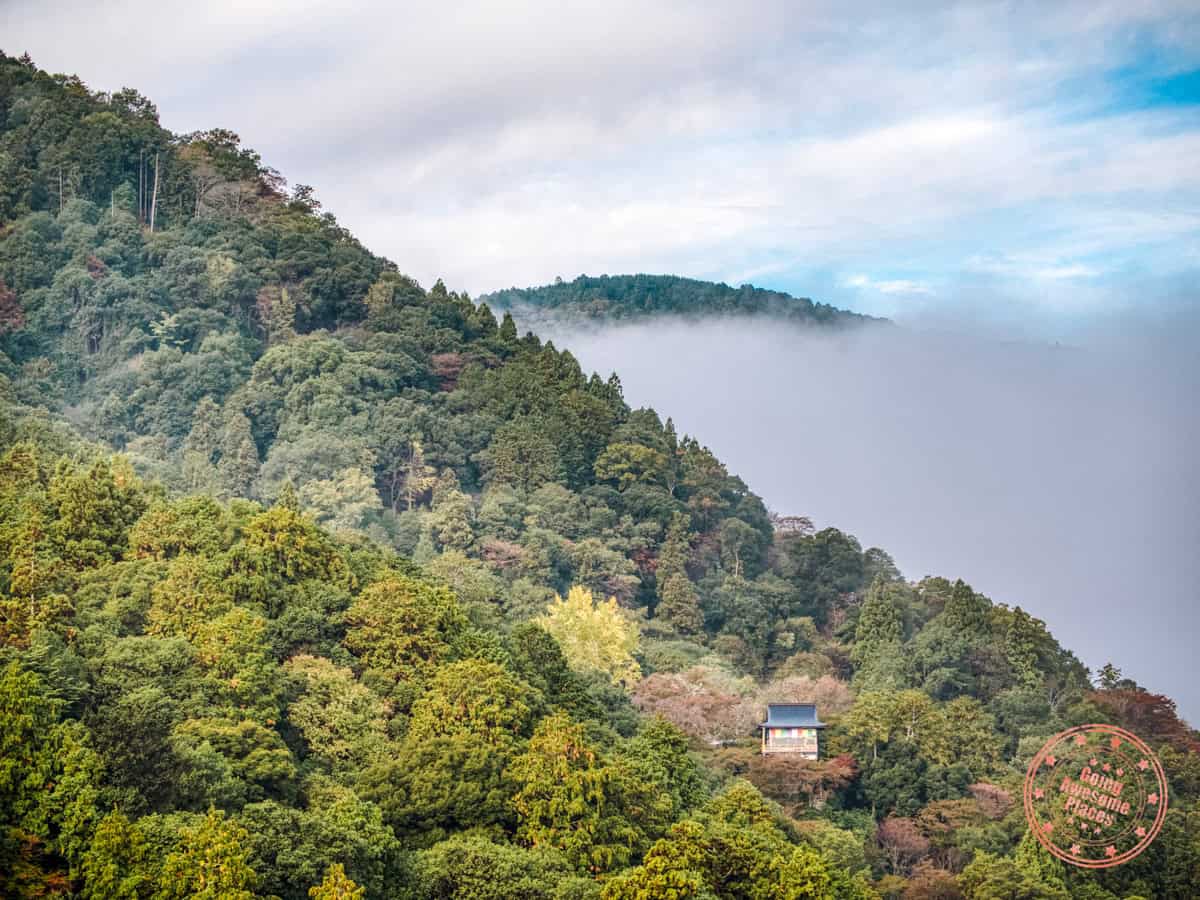
For your sixth day, you’ll make the early morning trip out to Arashiyama Bamboo Forest in hopes to beat the crowd and see a truly special part of Kyoto.
The Race To Be First at Arashiyama Bamboo Forest
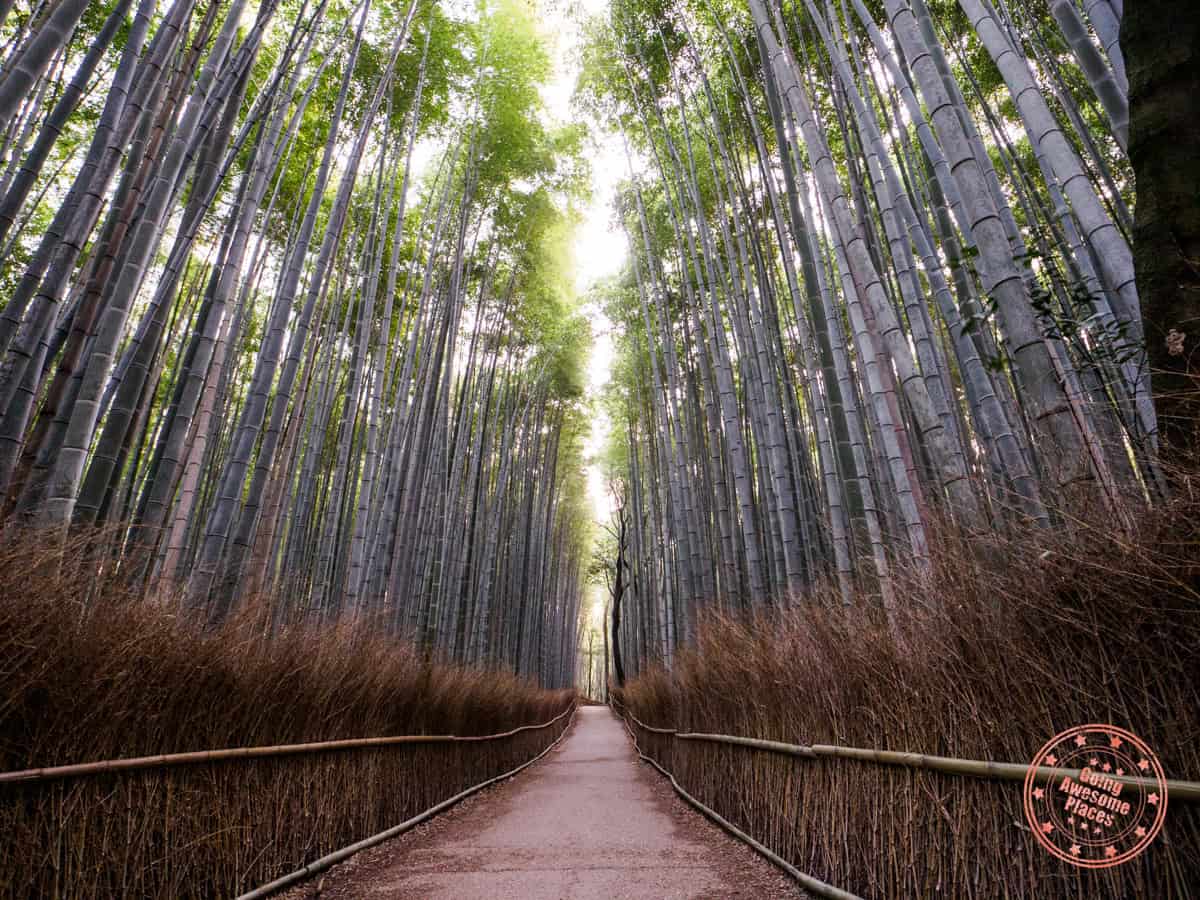
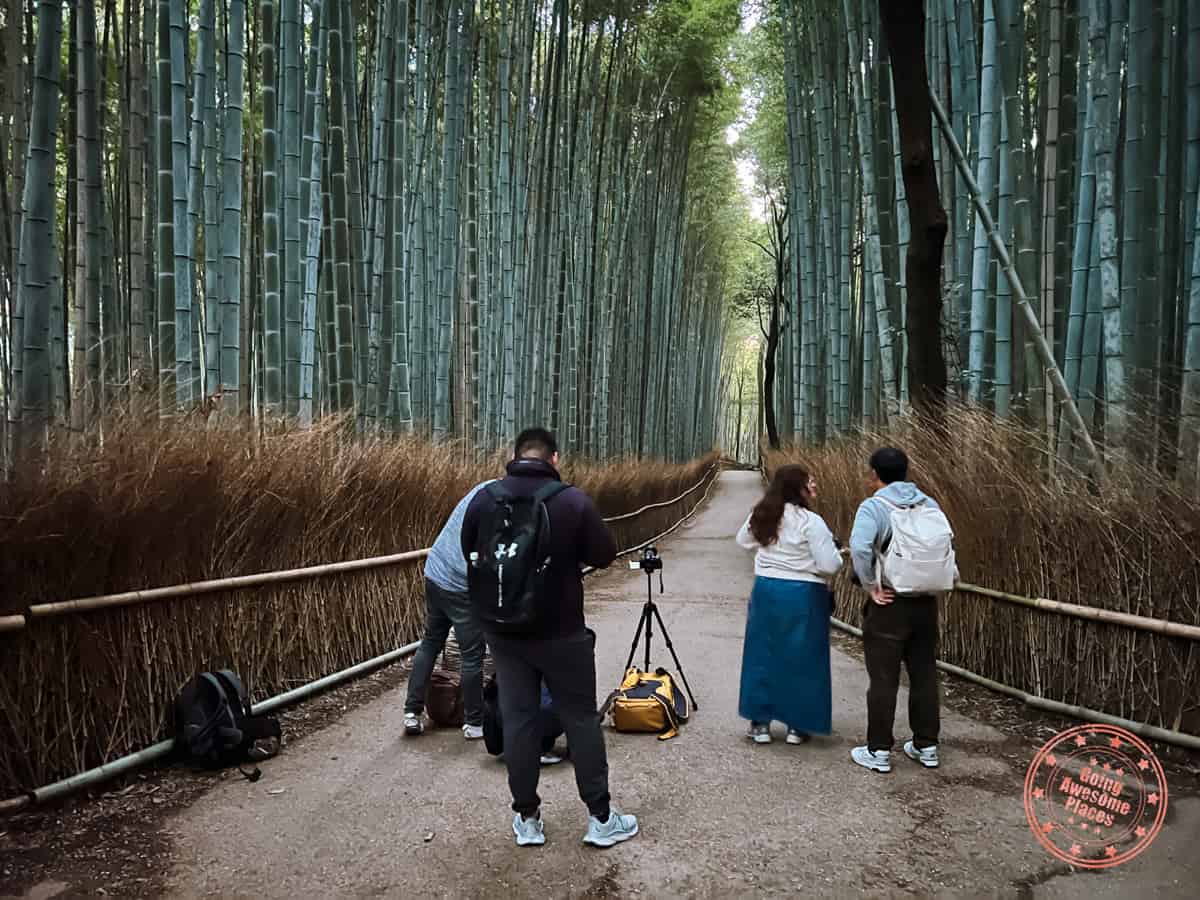
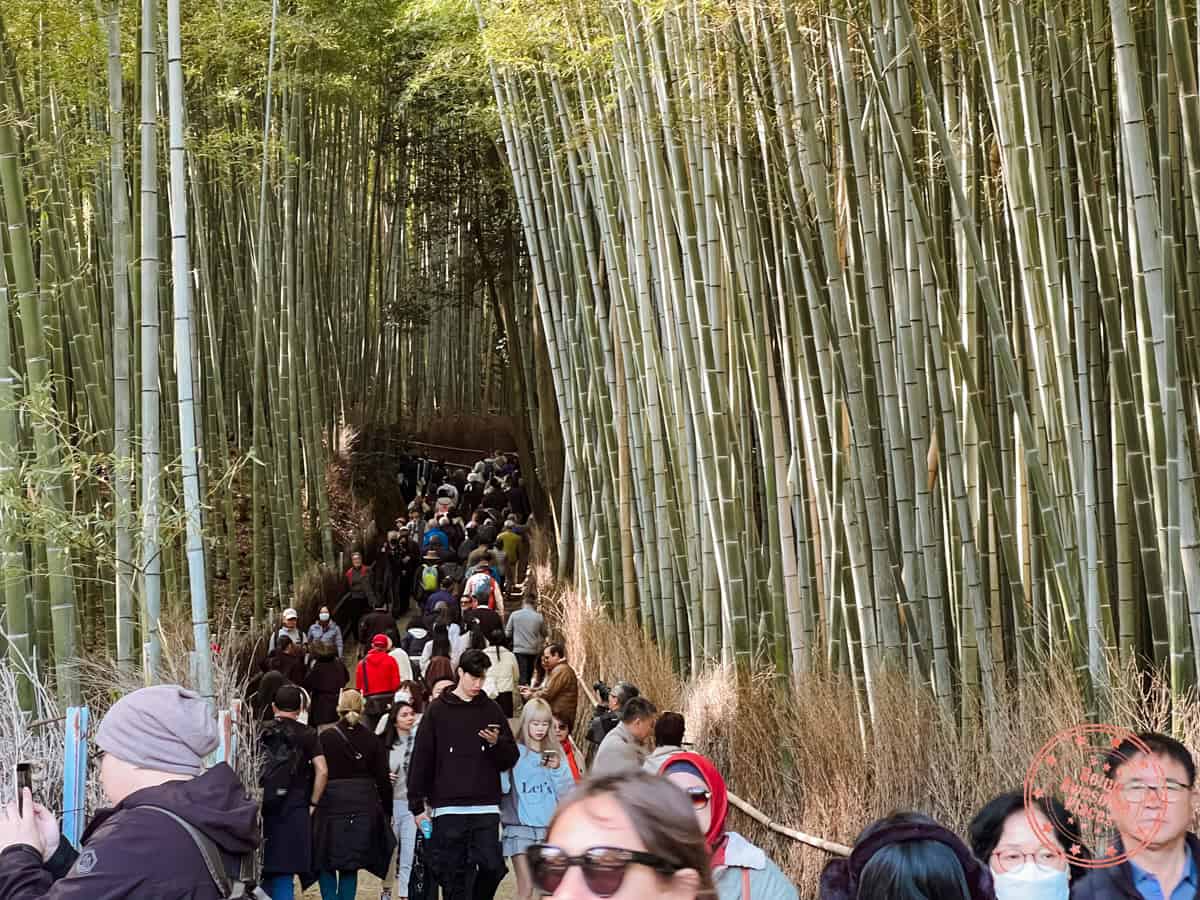
Having learned from Yasaka Pagoda the previous morning, I knew that it’d be equally competitive to get out to Arashiyama Bamboo Forest for clear photos.
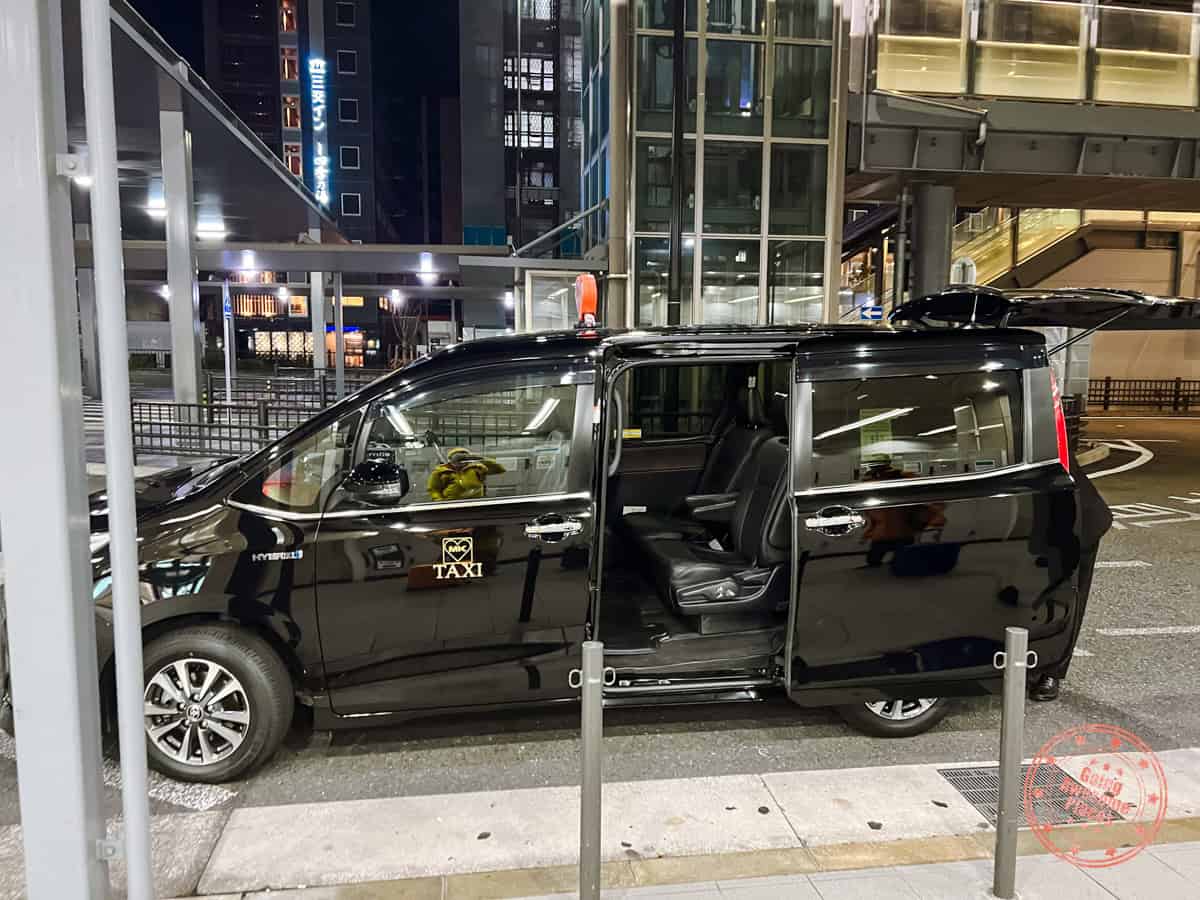
With that, we ordered a taxi to pick us up from our ryokan at 4:45AM, store our luggage at the train station, and catch the 5:30AM train to Saga Arashiyama Station. The walk from the station to the bamboo forest was roughly 20 minutes so that means we got there at 6AM. At the time of the year we were there, this allowed me to get set up 20 minutes before sunrise.
What surprised me was that there was only one other photographer with a tripod. Lining up with him, I captured long exposure shots of the straight path down the bamboo forest with the light starting to brighten. A few joined in, but it was still manageable.
It was good until 6:20 and then at that point it was unavoidable to get someone walking upstream towards us. At that point, we knew it was time to move on.
WHAT YOU NEED TO KNOW
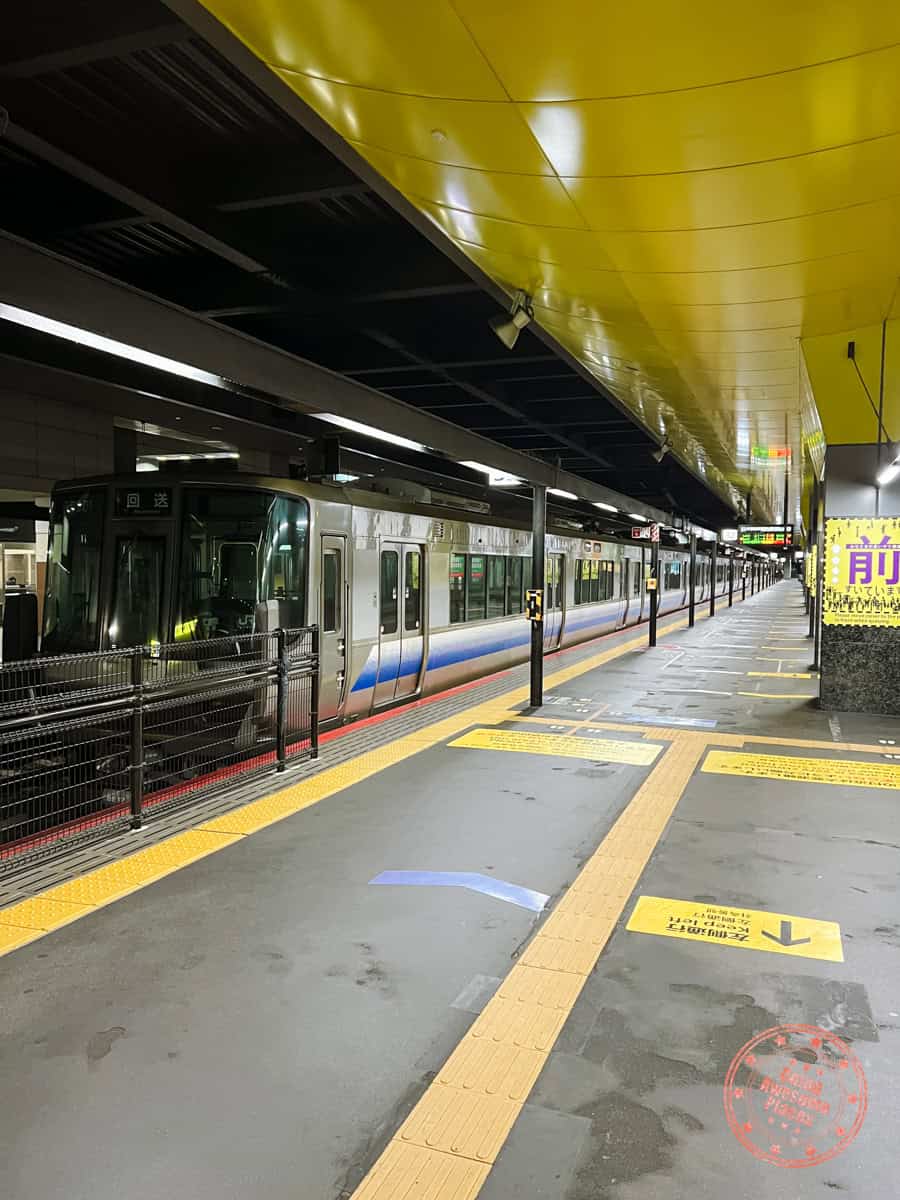
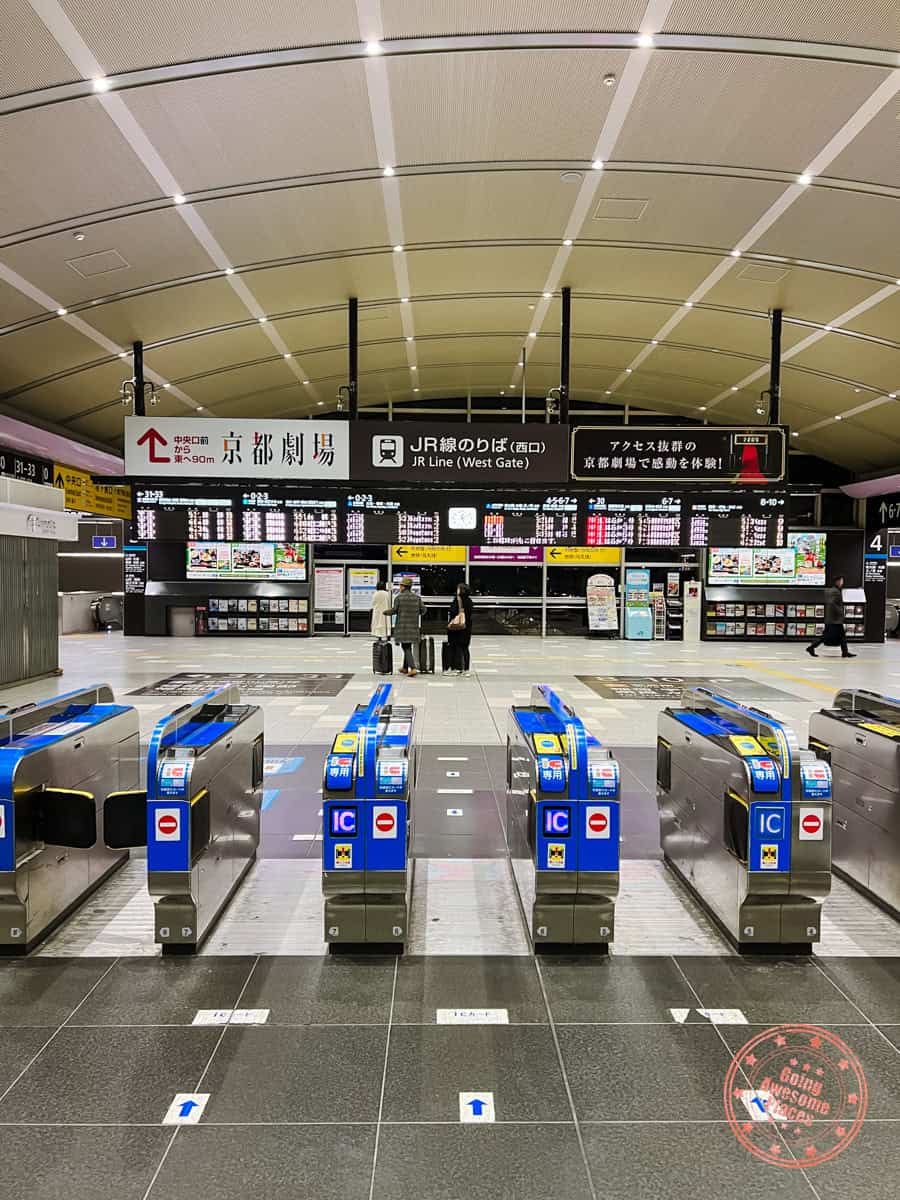
Address: Sagaogurayama Tabuchiyamacho, Ukyo Ward, Kyoto, 616-8394, Japan
Directions: Let’s focus in on how to get to Arashiyama Bamboo Forest early in the morning from Kyoto.
- Easiest – Take JR Sagano San-in Main Line to Saga Arashiyama Station. This takes 23 minutes.
- Alternative – You can also take Hankyu from Sai Station to Arashiyama Station (not the same as Saga Arashiyama Station) but it requires connecting from the Hanyku Kyoto Line. This takes 31-43 minutes.
- Bus option – You can also take Kyoto City Bus #28 from Kyoto Station to Arashiyama-Tenryuji-mae. The challenge with this option is that the earliest bus is at 6:30AM. This takes 38 minutes and runs every 20 minutes.
- Most expensive – There is always the taxi option as well. This would be door-to-door service and slightly faster. Expect it to cost from ¥4,500 to ¥5,500.
- If you’re wondering, Torokko Arashiyama Station is part of the Sagano Romantic Train, a tourist train that starts from Saga Torokko Station.
- From Saga Arashiyama Station, it’s a 18-20 minute walk to the bamboo forest. This’ll take you through local streets . To make sure you don’t get lost, use Google Maps with Airalo eSIM data of course.
Hours: Open year-round 24/7. The bamboo forest is just a local neighbourhood path so it’s not a gated attraction.
Price: Free
FAQ:
- When is the best time to go to Arashiyama Bamboo Forest? Due to its popularity, the bamboo forest gets busy early and fast. Best times are right at sunset or close to sunset like many of the other attractions in Kyoto.
- Are drones allowed? Technically, I didn’t see any no-drone signs but since the bamboo forest is a thick canopy, you wouldn’t want to fly a drone here.
- Are there bathrooms? There aren’t any bathrooms on the main bam boo forest path but you’ll find facilities at the nearby Torokko Arashiyama Station or in the Arashiyama Park.
Tips:
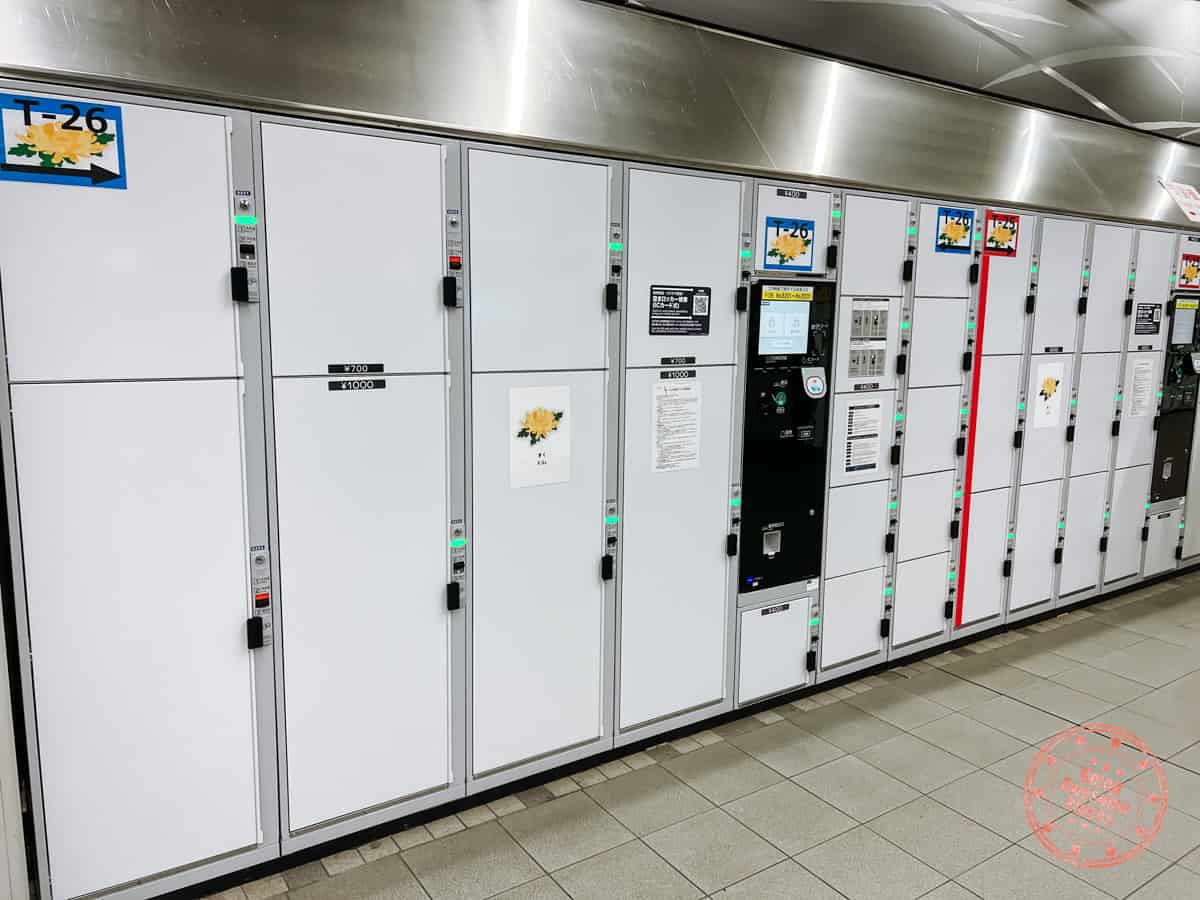
- If you’re taking the train from Kyoto Station and checking out early in the morning like we did, make use of the lockers on the ground floor. There aren’t many extra large ones (near Hachijo entrance) but since it’s super early in the morning, there should be lots of availability. The machines take cash or IC card. Make sure to keep the receipt as you’ll need the QR code to unlock your locker. The locker prices are ¥400, ¥500, ¥700, and ¥1,000.
- When we were there in November, I was pleasantly surprised that it wasn’t as busy here as it was at Yasaka Pagoda. Arriving at 6AM, there was only one other serious photographer with a tripod.
- For photography, you’ll want to make sure that you get there 30 minutes before sunrise. The location you want to be at is marked on our map.
- In the morning, you’ll have at most 1 hour before you start noticing the crowds and even less time for those clean photographs down the line. The challenge is that there are always people walking the path and once someone turns that final bend where you are positioned, you have to wait for them to pass you. Then you have the people that want to do staged shots that jump in. The magic is when you have a gap in groups but that window narrows down very quickly.
- Photographers will want to have your settings dialed in the night before and rely in low ISO, long exposure shots taken fro ma tripod like our trusty Peak Design Travel Tripod.
- If you are checking out the same day as your visit to Arashiyama, book a taxi through your hotel and use the lockers at Kyoto Station. The lockers fill up quickly so this works well for early morning visits to the bamboo forest. The taxi our hotel booked was called MK Taxi and we’d highly recommend them.
Take In The Views At Arashiyama Park
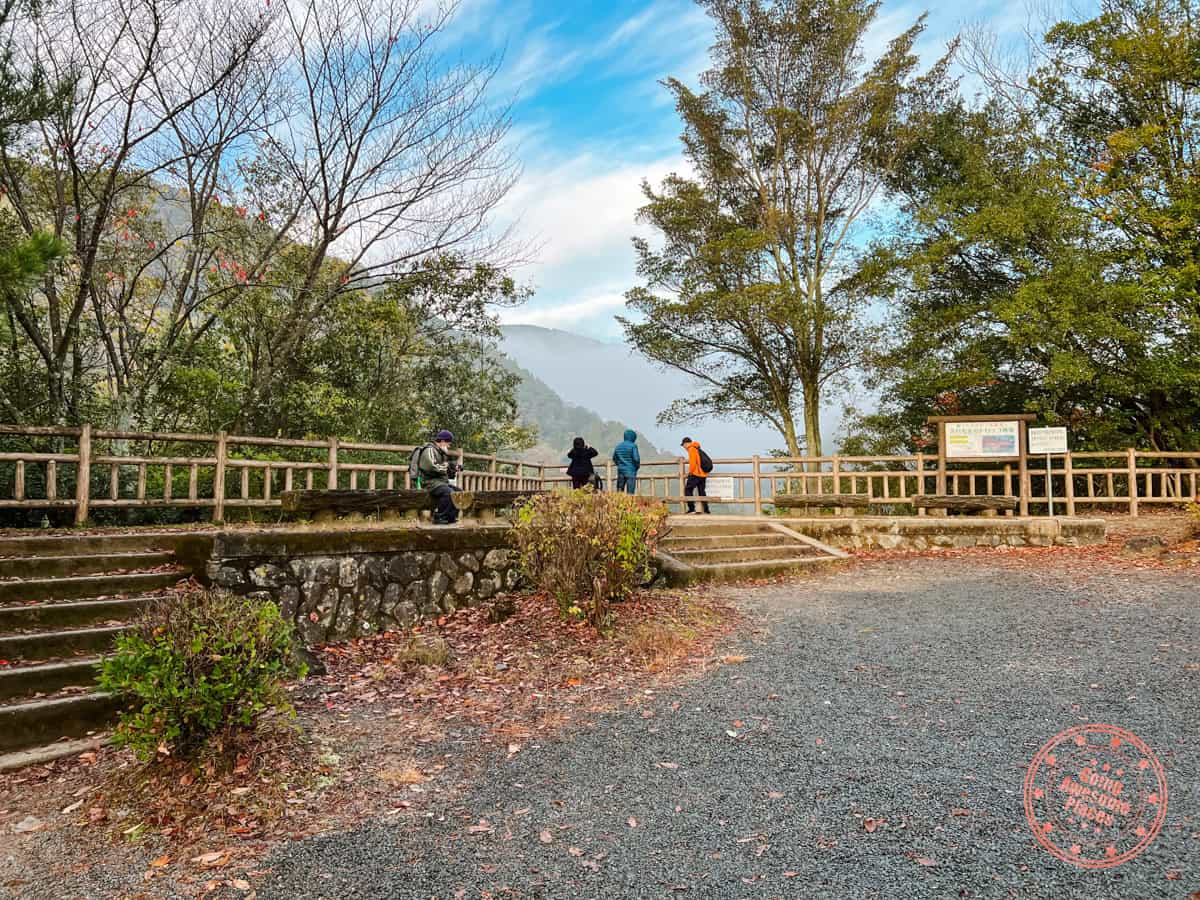
Hidden behind bamboo forest is the expansive Arashiyama Park. It has numerous walking trails but the best part are its observation points that look towards Katsura River.
After you take in the views, start making your walk to the two true gems of Arashiyama. The road leads through the preserved streets of Saga Toriimoto.
The Lesser Known Path To Otagi Nenbutsuji Temple
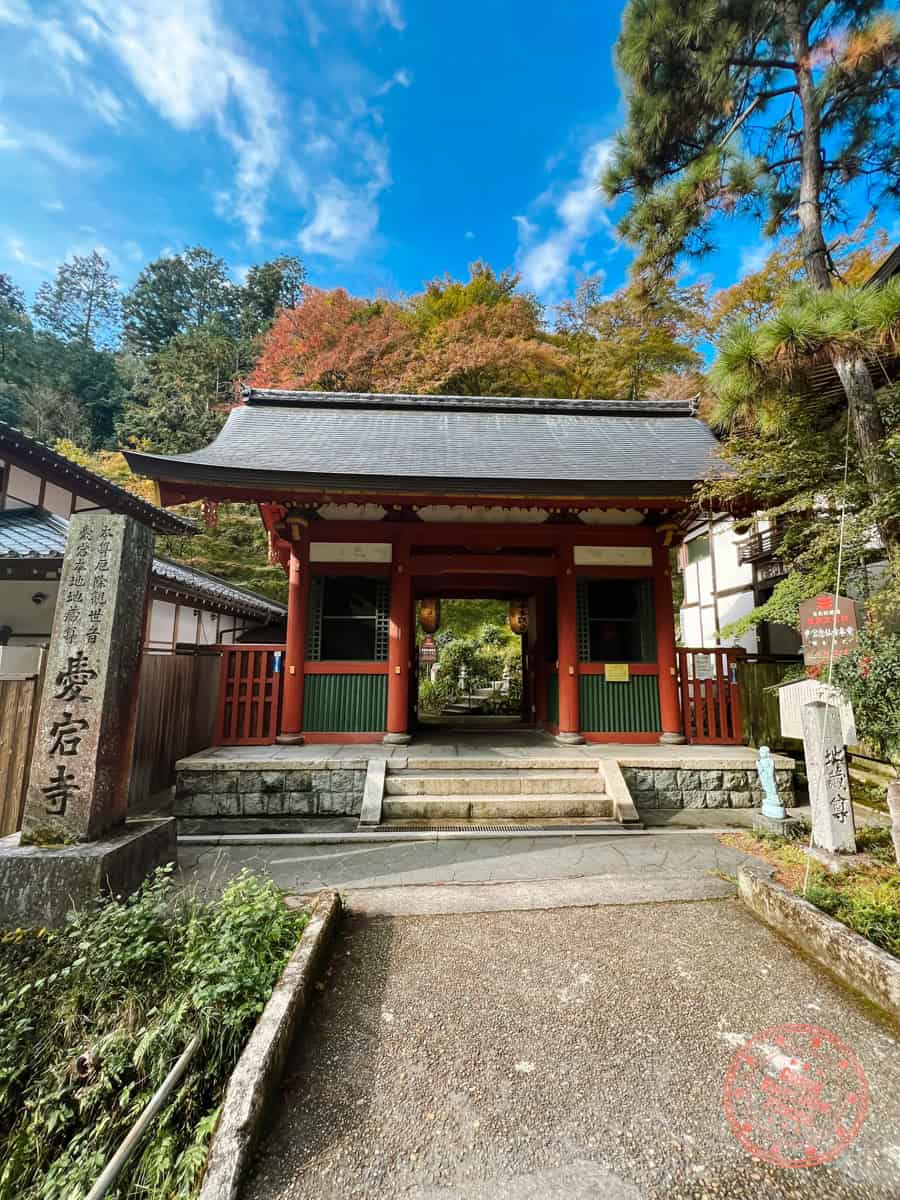
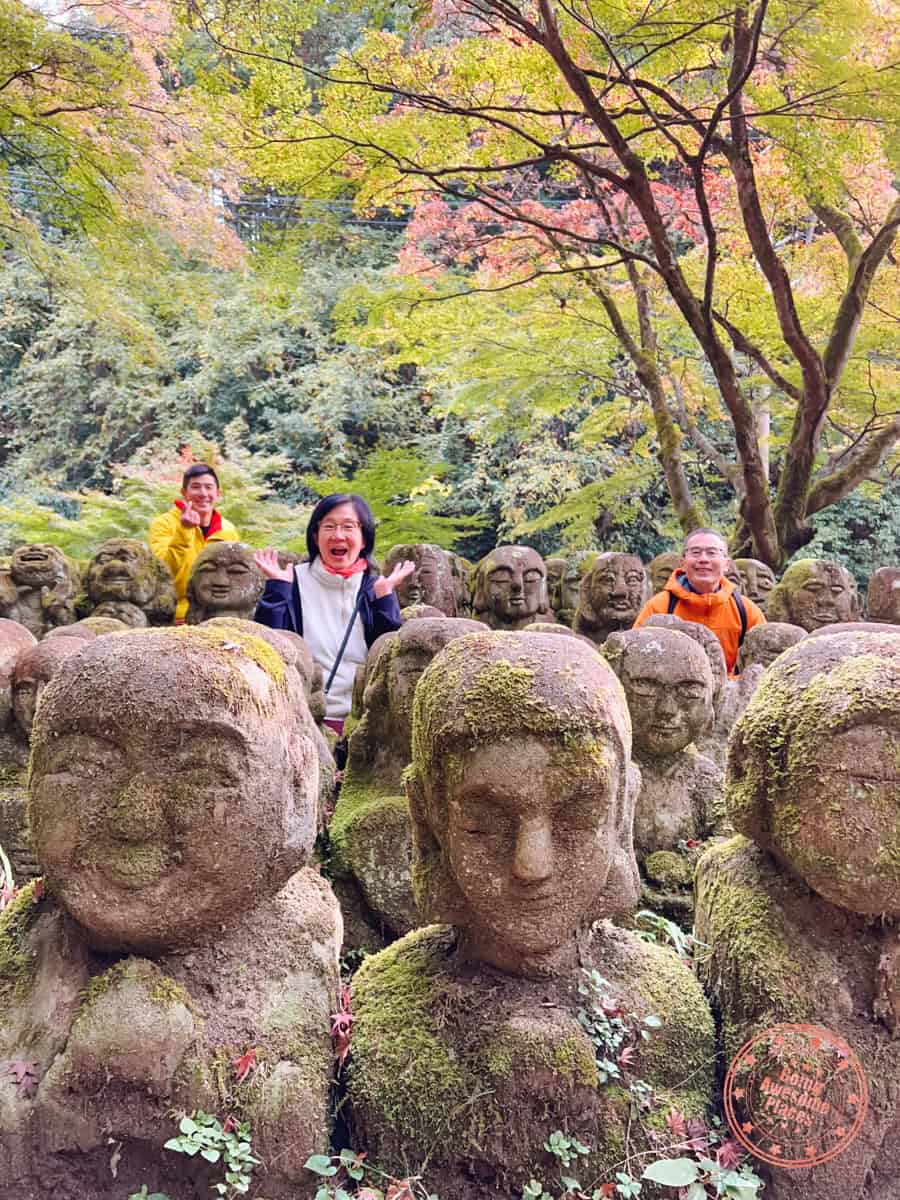
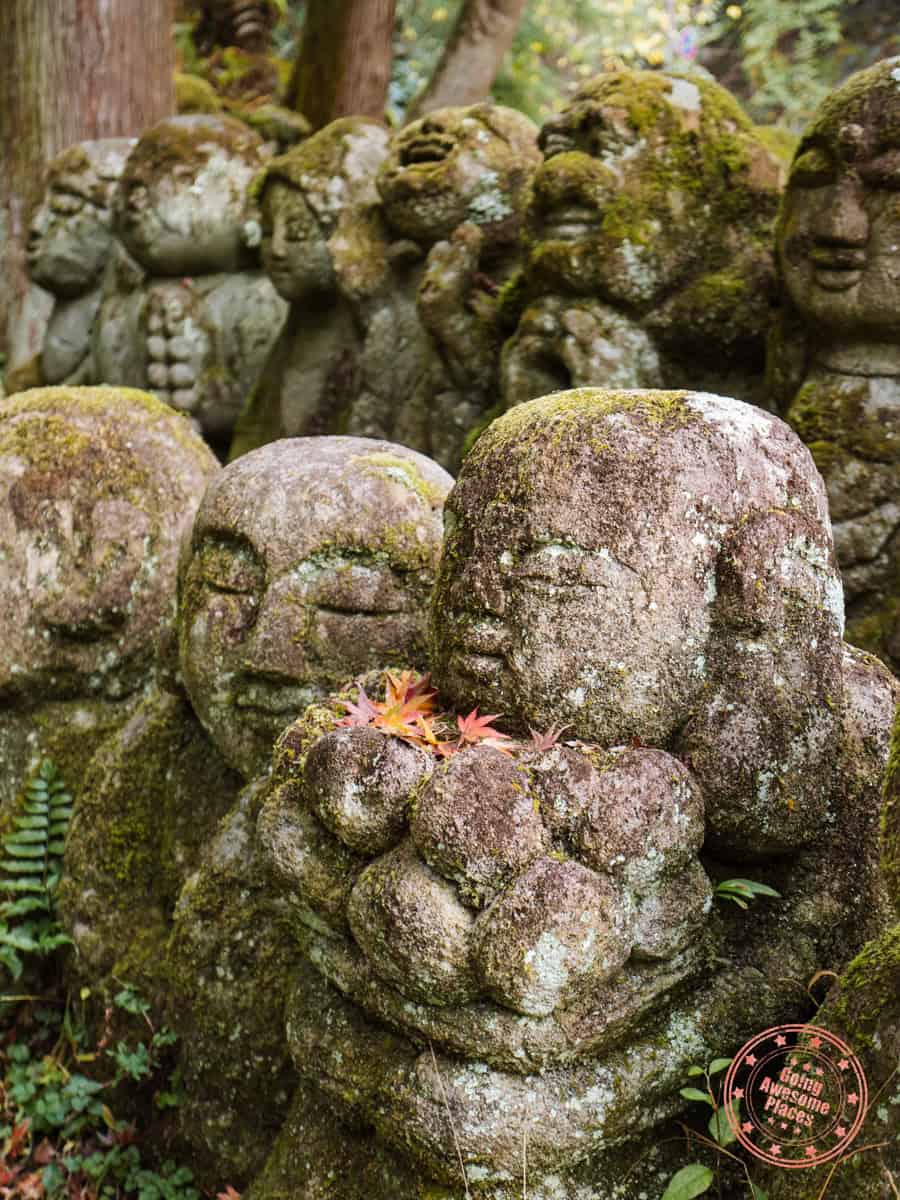
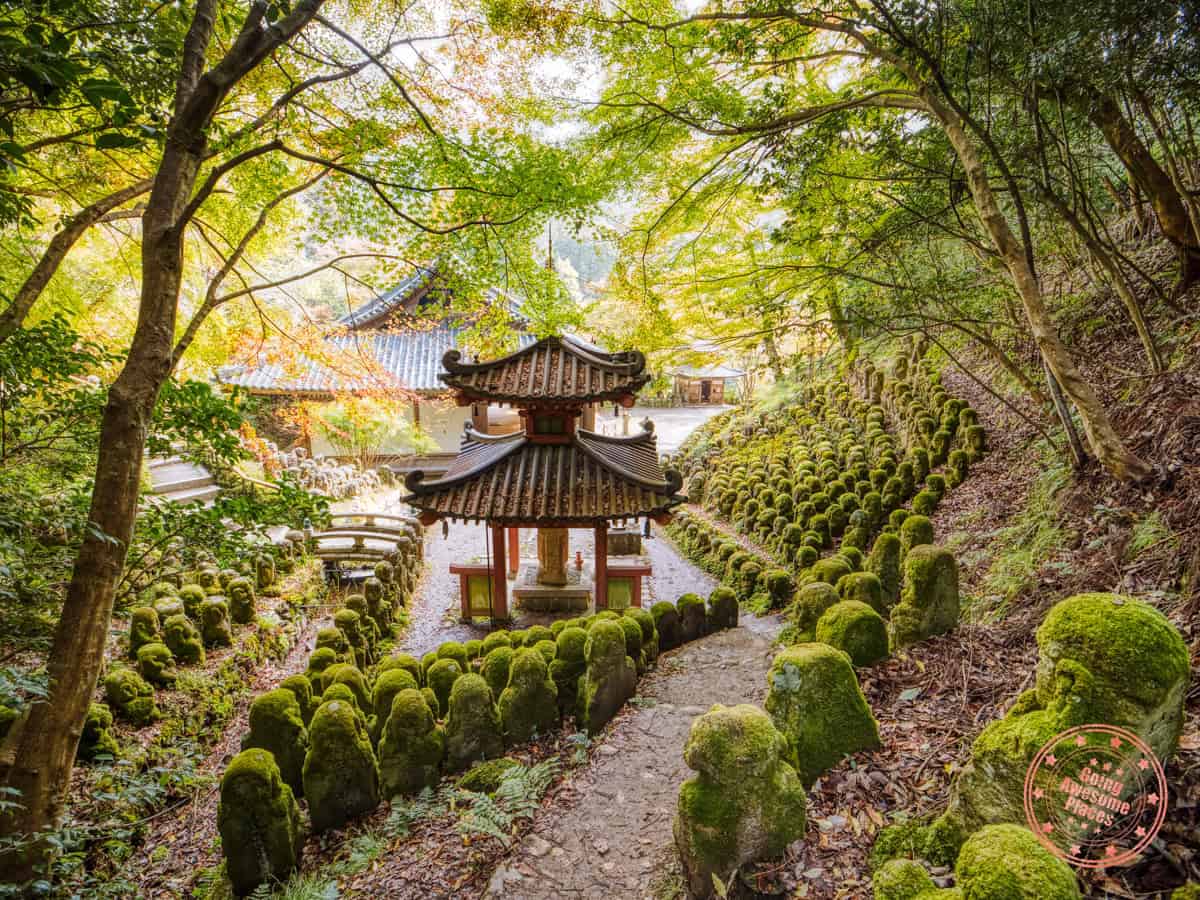
When it comes to temples and shrines, I’ll be the first to admit that many of them start looking really similar. That’s not the case with Otagi Nenbutsuji Temple.
This is renowned for its 1,200 stone rakan (disciples of Buddha) statues, each uniquely carved and exuding a whimsical charm. Set amidst lush greenery, this tranquil temple offers a peaceful retreat from what’s become a hotbed of tourists even in Arashiyama.
Spend the time to pay close attention to the statues as they are extremely cute and photogenic.
WHAT YOU NEED TO KNOW
Address: 2-5 Sagatoriimoto Fukatanicho, Ukyo Ward, Kyoto, 616-8439, Japan
Directions: There are 3 main ways to get to Otagi Nenbutsuji Temple.
- Walk – From Arashiyama Park, it’s a 25 minute walk. From JR Saga-Arashiyama Station, it’s close to a 1 hour walk.
- Cab – To save your legs and time, you can also hail a cab from JR Saga-Arashiyama Station. This takes 5 minutes and is approximately ¥1,500.
- Bus – Catch a bus from the main street in Arashiyama and the Nonomiya bus stop (next to Saga Tofu Sanchu). Take Bus #94 north towards Kiyotaki and get off at Otagi Dera Mae. This takes 25 minutes and costs ¥230 but it only comes around every 30 minutes..
Hours: Open all-year round from 9AM to 4:15PM. Closed on Wednesdays (except if it’s a national holiday).
Price: ¥500 and free for kids under 15.
Website: Otagi Nenbutsu-ji Temple
FAQ:
- When is the best time to go to Otagi Nenbutsu-i Temple? It’ll be the quietest in the morning but since this is more off-the-beaten-path, it never gets too busy.
- Are there bathrooms? Yes, there are bathrooms here.
Tips:
- We didn’t notice any cash-only signs but it’d be safe to assume it is.
- Take your time to pay attention to the statues there as every single one is different.
- Expect to spend up to an hour here.
Adashino Nenbutsuji
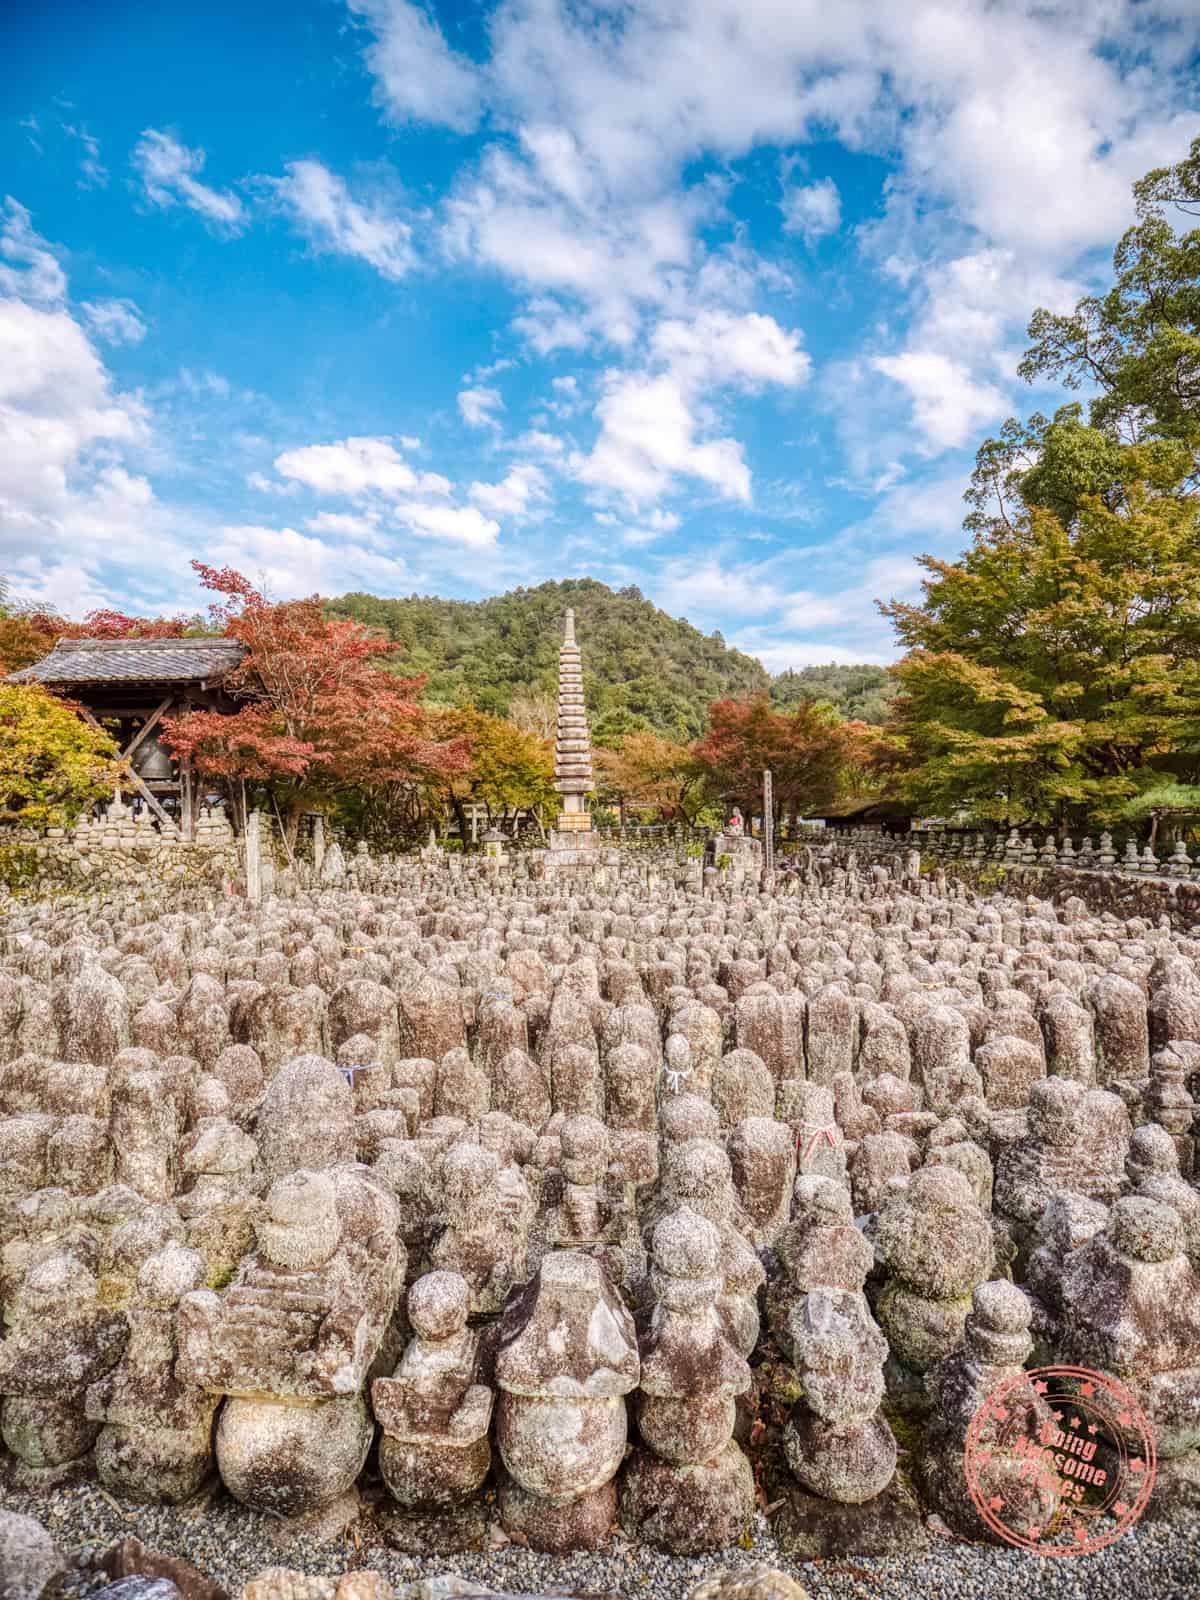
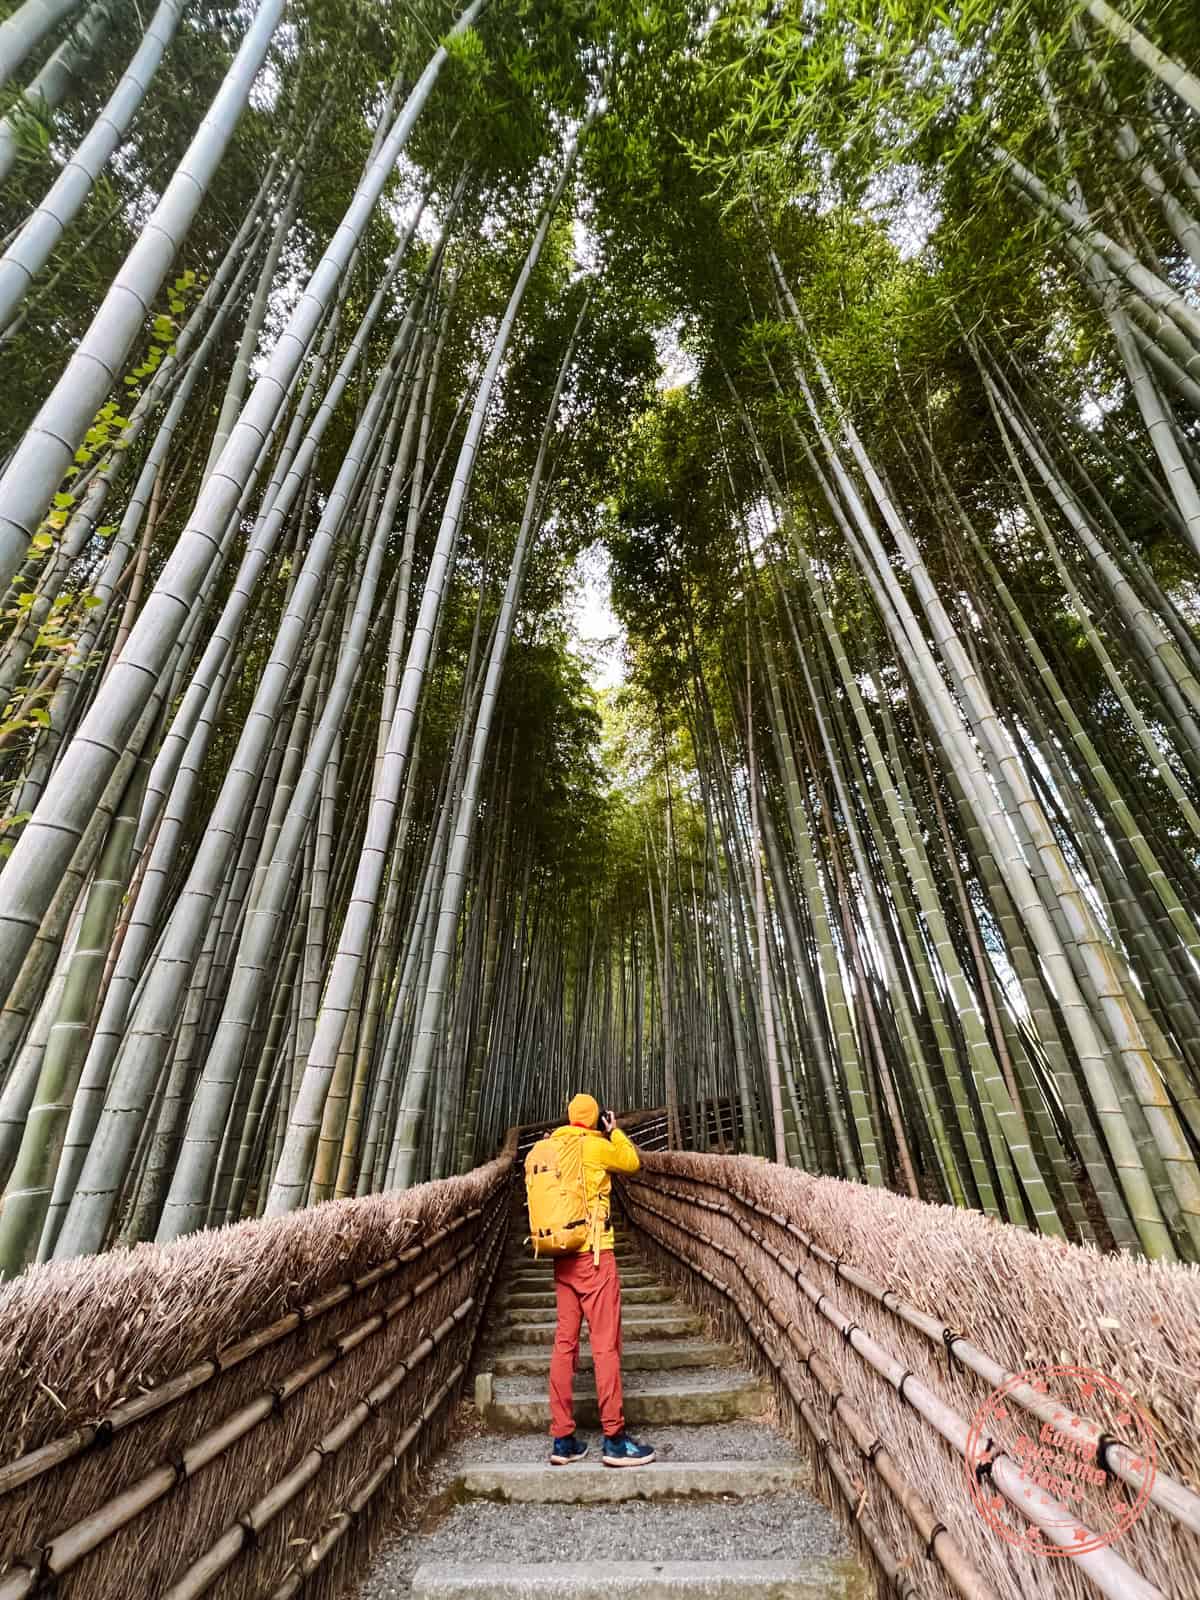
On the walk back, another temple to visit is Adashino Nenbutsuji. It features a quiet garden filled with thousands of stone statues that pay respect to the souls of the deceased.
The other secret it holds is the hidden bamboo forest tucked away behind the temple. This is truly the path less followed and you’ll have a much better chance of having the wandering path of towering bamboo all to yourself.
WHAT YOU NEED TO KNOW
Address: 17番地 Sagatoriimoto Adashinocho, Ukyo Ward, Kyoto, 616-8436, Japandomawari, Higashiyama Ward, Kyoto, 605-0941, Japan
Directions: If you’re visiting Otagi Nenbutsuji Temple, this is an 8 minute walk away so this is on the way if you’re walking from Arashiyama. You can also take the same Kyoto Bus #94 and get off at the Toriimoto bus stop.
Hours: Open year-round. The hours of their manned admission office is 9AM – 4:30PM (3:30PM in January, February, and December). Last admission is 30 minutes after closing.
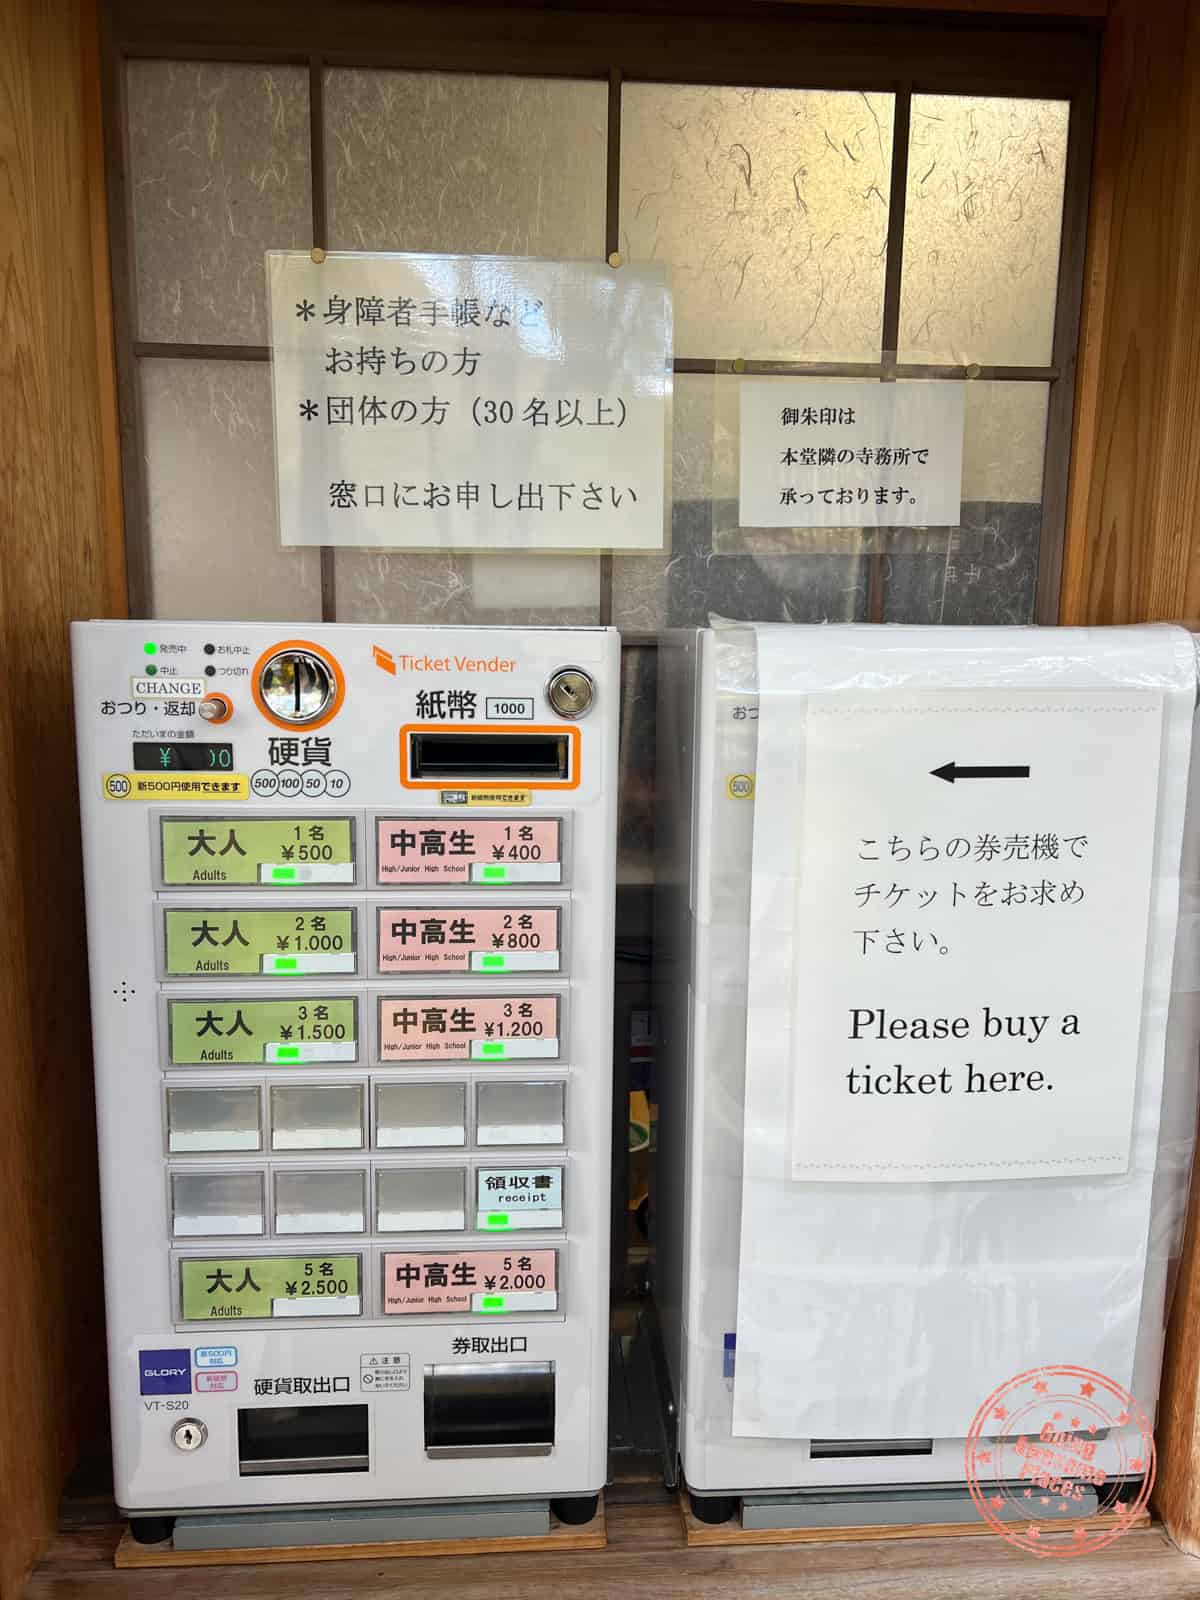
Price: Adult – ¥500, junior high and high school student ¥400, elementary school students and under are free. The temple is closed if there’s snow/ice on the ground or if there’s a storm warning.
Payment is made through a vending machine. This means that this is a cash-only location. The largest bill it take is a ¥1,000.
Website: Adashino Nenbutsuji
FAQ:
- When is the best time to go to Adashino Nenbutsuji? This isn’t a busy temple so it’s great throughout the day.
- Are there bathrooms? Yes, there are bathroom facilities here.
Tips:
- In addition to the 8,000 statues dedicated to lonely souls, make sure not to miss the bamboo grove as there’s no direct signage for it.
Wrapping Things Up In Central Arashiyama
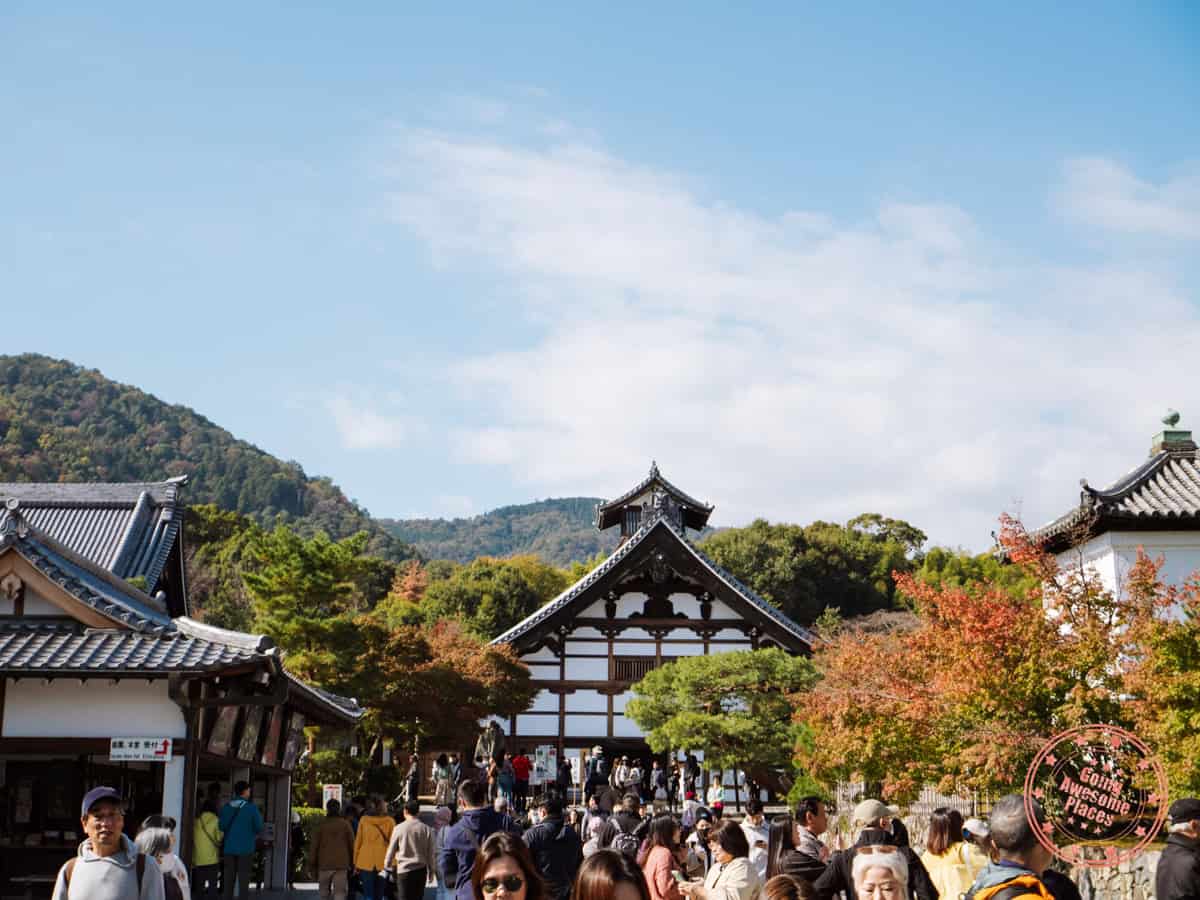
On your way back into central Arashiyama, drop by Sagano Bamboo Grove, another look at a bamboo forest although at this point in the day, it’ll become quite the zoo.
Gauge how much time you have left in the morning before you head back to Kyoto. Here’s what we managed to squeeze in:
- Tenryu-ji – There are different price points for how much you want to see. We opted to just stick to the outside grounds.
- Sa Wa Wa – Come here for matcha soft-serve and warabimochi
- Togetsukyo Bridge
- Burari Arashiyama – Drop by to buy Uji tea. This is probably the best area to do this.
- Saga Tofu Sanchu – The fried tofu came highly recommended and it didn’t disappoint!
We would have loved to have included the Monkey Park Iwatayama but ran out of time.
Zip To Tokyo
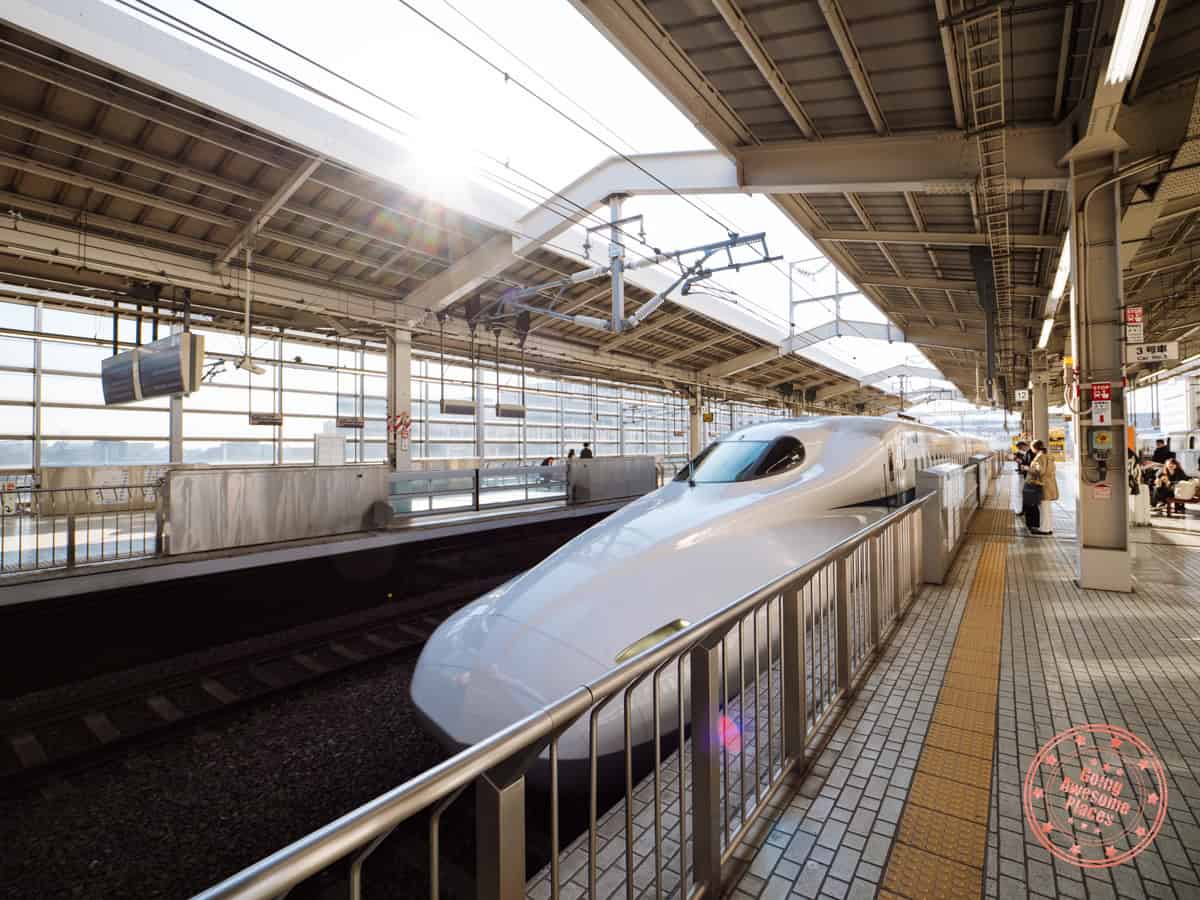
Return back to Kyoto and after you pick up your bags from the locker, catch the next shinkansen to Tokyo, where you’ll be making a short pitstop for the night.
WHAT YOU NEED TO KNOW
Here’s how you can get to Tokyo from Kyoto.
- Book the right tickets – Whether you’re booking them through Smart-Ex, JRailPass, or Klook, make sure you choose the right station to arrive in Tokyo. “Tokyo” is the main Tokyo Station but if you’re staying closer to Shinagawa Station, choose that station instead.
- Get the QR code on your phone – In all cases, you’ll get a QR code as your ticket. You no longer need to redeem tickets at the machine. Instead, you can scan your QR code at the gate directly, saving you time.
- Find your car – The signage on the exterior of the train is pretty easy. If you have reserved seats, go to the car on your ticket. If you have non-reserved seats, look for the layout sign. For Nozomi, this is car 1-3, and Hikari, it’s car 1-5 at the rear of the train.
- Get off on the right station – There are scrolling ticker screens on each end of the train and they make announcements. Since their schedules are extremely accurate, you can also use time as an indicator of when you will be at your final destination.
Website: Shinkansen Reservation Service (Smart-Ex), JRailPass, and Klook
FAQ:
- Do you need to buy train tickets in advance? No, but we highly recommend it if you want reserved seats, or if you’re travelling on a holiday.
- Can you use your IC card to pay for a Shinkansen? No, you can’t simply just tap and hop on a train as it doesn’t deduct the correct fare since it doesn’t know which train you get on. That’s why you have to buy tickets.
- What is the difference between the Ordinary Car and Green Car? Think of the Ordinary Car as economy and Green Car as first class. In Green, it’s primarily for larger and more comfy seats with extra leg room. The rows are at most 2 seats next to each other. In ordinary, it’s either a row of 3 or 2.
- Which side can you see Mt. Fuji? In Ordinary class, if you’re going from Kyoto (or Osaka) to Tokyo, Mt. Fuji will be on the left side which means seat E is going to give you a window view of Mt. Fuji.
- Which are the best seats? In Ordinary class, the best seat is E because it’s at the window and is a 2-seat row. Window seats also an outlet for charging. That means seat A is the next best. The worst seat is the middle seat, seat B.
- Why can’t we go straight from Kyoto to Kawaguchiko? We didn’t choose to go directly because going through Tokyo is the most straightforward. The direct way has more limited options as it requires you to take a shinkansen to Mishima and then catch a highway bus to Kawaguchiko Station. and both are much more limited and requires the perfect timing.
- Is the JR Pass worth it? For this itinerary specifically, you’ll notice that we don’t take a lot of trains, and shinkansens more specifically. If you do the math on individual fare vs. a JR Pass, you’ll see that it’s not worth it.
Tips:
- If you’re looking to save money, you don’t have to pay for a reserved seat. That said, the price difference is typically only $2 so we normally just pay for the reserved seats.
- If your suitcase has the sum of length + width + depth between 161 and 250cm, you need to pay for a seat where where there’s either a spot dedicated to you behind your seat, or there’s a special oversized baggage compartment next to the bathroom.
- If you don’t have a bag that’s classified as oversized, you’re expected to place it in the overhead baggage rack. You are not allowed to use the oversized. luggage area unless you reserved it.
- If you’re travelling with luggage that is larger than 160cm, you have to reserve special seats.
- You can only buy shinkansen tickets one month in advance. For instance, if it’s January 6, you can only buy tickets up to February 5.
- It’s better to buy tickets earlier rather than later because you’ll then get access to discounted “Hayatoku” fares. The largest discount is when you make a reservation at least 28 days in advance.
- It’s easy to oversleep on a longer train journey so make sure you set an alarm on your phone 15 minutes before arrival.
- If you are booking tickets through Smart-Ex (the official platform), you can only book 3 tickets after hours (11:30PM – 5:30AM JST), you may only make a reservation for up to 3 people at once within 1 month of departure date. Seat maps also aren’t available at this time. During working hours, you can book 1 year in advance. We recommend you book during the working hours as you’ll want to be able to select your seats.
- The advantage of booking through Smart-Ex is that it’s the official site but we find Klook is better because you can book tickets off-hours and still make seat selections. They also have a specific “Mt. Fuji side” seat preference. You’ll also collect KlookCash and they often have discount codes for train tickets too. If anything, use GOINGAWESOMEPLACES to get up to 10% on your first booking.
From Shinagawa Station, take the cab to Sheraton Miyako Hotel Tokyo to get settled in.
This neighborhood is a bit more low-key so we simply walked over to Menya Fujishiro for a bowl of ramen and called it a night.
Day 6 Summary
What you’ll see & do:
Where you’ll eat:
- Breakfast – Convenient Store – With the incredibly early start, stock up on a few quick and easy breakfast items like yogurt and onigiri.
- Snack – Sawawa – Kyoto is known for their matcha so make sure to drop by this popular dessert shop that has some of the best in Japan.
- Snack – Saga Tofu Sanchu – A highly recommended stall that’s a quick stop to try their popular “thick fried tofu” but if you’re feeling peckish, they have everything from udon, soba, and soy milk.
- Lunch – Japanese Train Lunch – You can’t say no to the opportunity of trying Japan’s famed bento boxes since this will be the longest stretch of time on a Shinkansen bullet train. Pop into any of the stores in the train station and try anything that draws your attention.
- Dinner – Menya Fujishiro – Being based in the Meguro area of Tokyo and naturally pretty tired from the consecutive days of early mornings, and another early start ahead, this ramen joint hit the spot for something quick and tasty.
Where you’ll stay:
- Sheraton Miyako Hotel Tokyo (Review/Agoda/Booking/Marriott) – The truth is, we booked this hotel because we had a free night certificate with Marriott thanks to the Marriott Bonvoy American Express Card. While not particularly central, it served the purpose of a short one-night in a Western-sized hotel room with plenty of space to lay out everything and re-organize. While showing a bit of age, this property is still great value thanks to it being a lower category.
Itinerary Day 7 – The Legendary Mt. Fuji Revealed
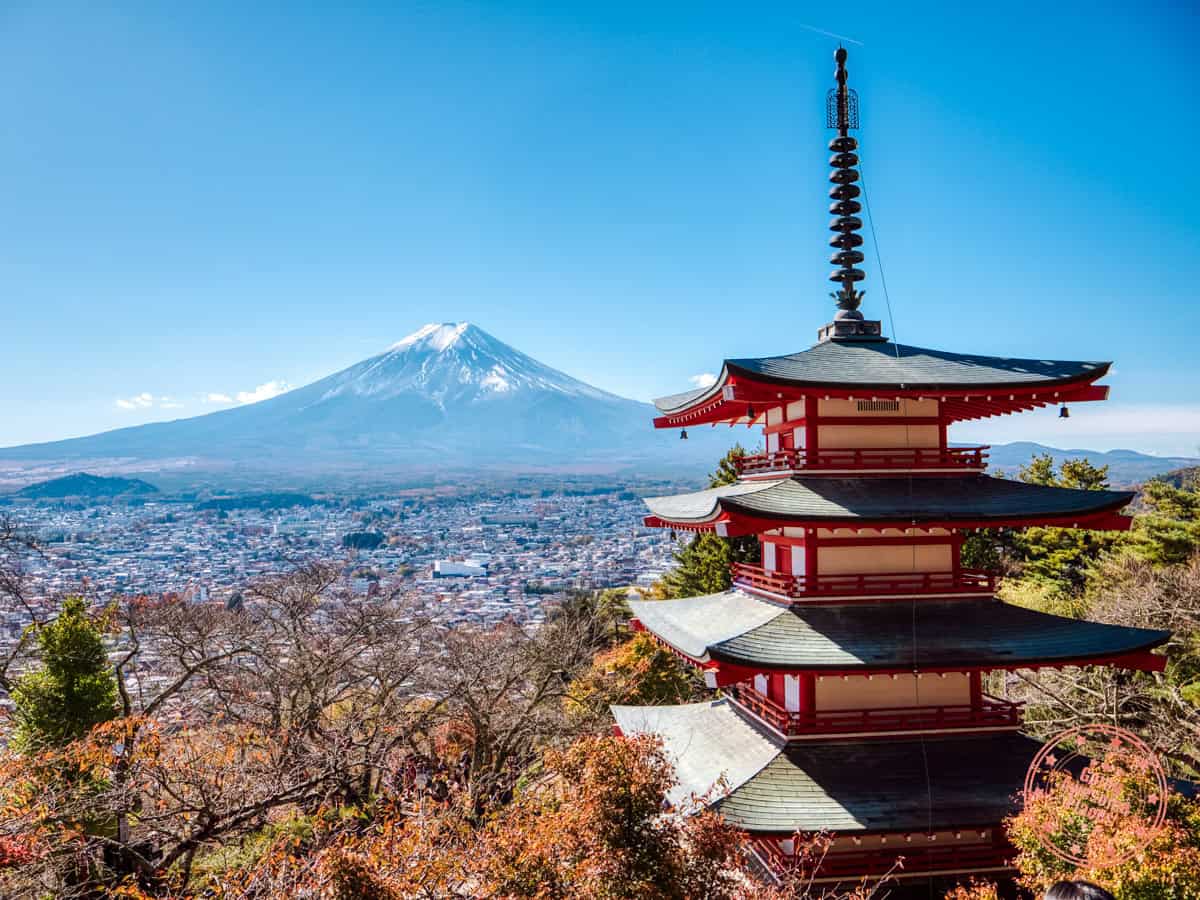
Mt. Fuji is something to behold and one of the best ways to see it upclose in all its glory is to go to the town of Fuji Five Lakes or Kawaguchiko. With limited number of days, you’re going to make the most of it so get ready for a super packed day here. Don’t worry though, it’s all quite do-able thanks to a rental car.
Express To Kawaguchiko
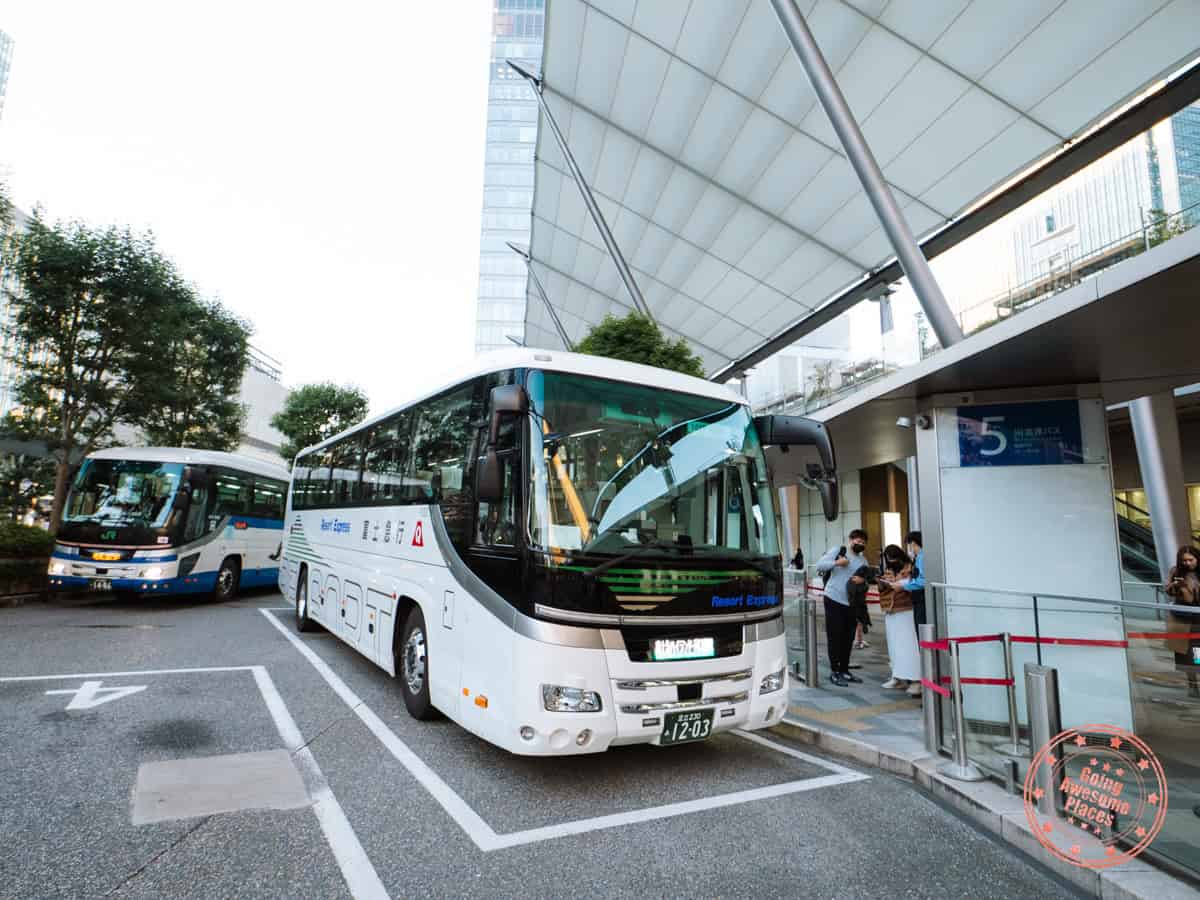
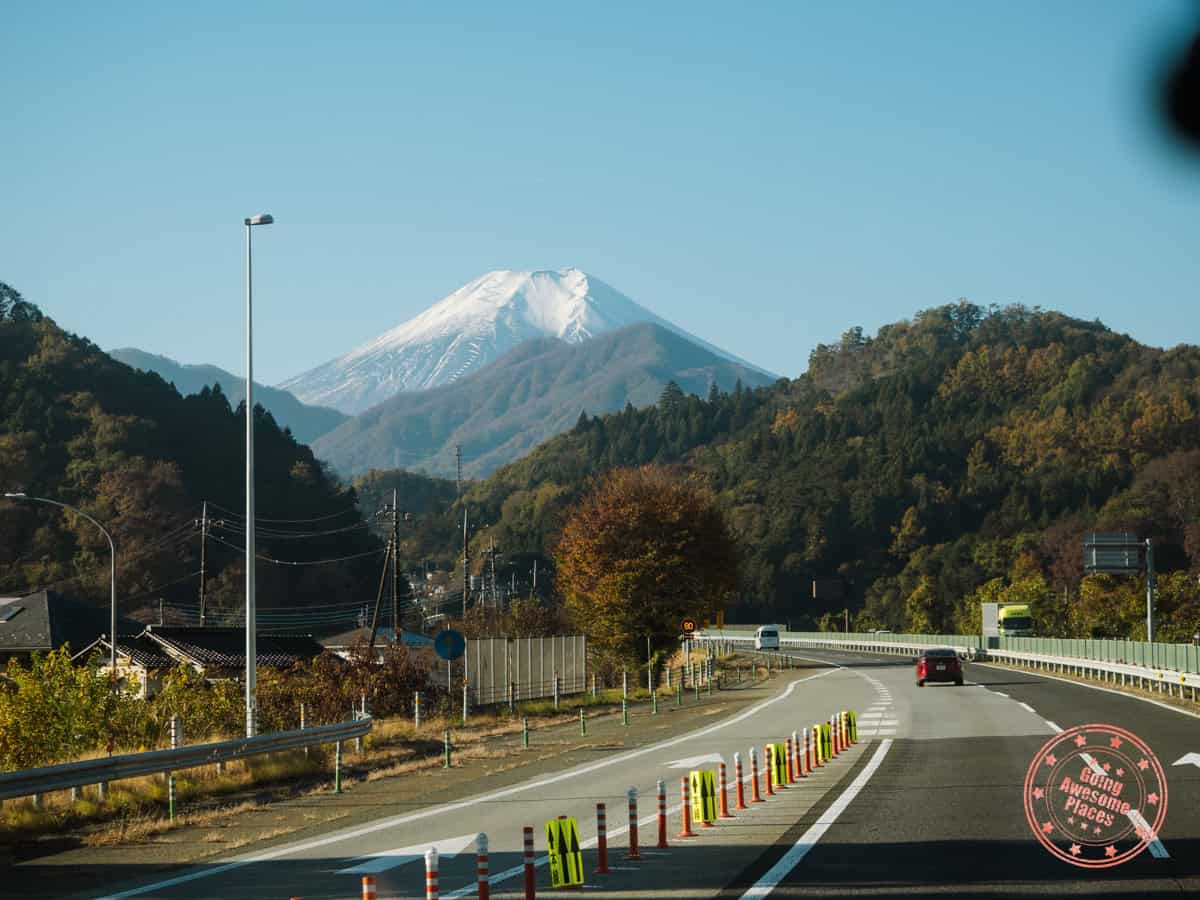
It may seem a bit counter-intuitive but the reason why we didn’t go directly from Kyoto to Kawaguchiko was that the connection is infrequent and inconvenient. Instead, it’s much simpler to take the express bus that runs from Tokyo to Kawaguchiko.
In the morning, catch a cab to bring you to Tokyo Station and make sure to specify that you’re looking to go to the Yaesu South Exit which is where the bus terminal is.
Taking the 6:50AM departure, this 2-hour ride to Kawaguchiko is extremely smooth and easy, with views of Mt. Fuji ducking in and out along the way. Arriving at 8:50AM means that you’ll have the full day to see the city.
WHAT YOU NEED TO KNOW
Address: Tokyo Station Yaesu South Exit (9, Chiyoda City, Tokyo 100-0005, Japan)
Hours: This bus ride takes 2 hours.
Price: Adult – ¥2,200, and children (6-12) – ¥1,100.
Booking Process: For international travelers, it’s easiest to book buy tickets from Japan Bus Online and with that, there are a few key things you need to know:
- You can book tickets a month out from today. For instance, if it’s January 6, you can book as far out as February 6.
- Book as early as your date opens up if you want a seat on the first row. When booking, you don’t get to pick your seats but they start automatically filling from the first row.
- Pre-payment is required when booking online and they only accept credit card (Visa, Master Card, and American Express accepted).
- Reservation is highly recommended as this is a popular route and fills up quickly. Technically you can buy tickets when you arrive but that’s a huge risk.
- When boarding the bus, they will ask for your seat number and you’ll be allowed to board. I had the reservation number ready from the confirmation e-mail sent but they didn’t do much of a verification.
Website: Japan Bus Online
FAQ:
- Is eating allowed on the bus? You are allowed to bring food on the bus so that means you’re allowed to eat.
- Which are the best seats on the bus? n the bus ride towards Kawaguchiko, Mt. Fuji will make an appearance mostly on the left side so 1B, 1C, and 1D are the best seats.
- Are there bathrooms? Yes, these buses have on-board toilets.
- Is there free wifi? No, there is no wifi service on this bus.
- Can you take the train to Kawaguchiko? Technically you can take it from Shinjuku by taking the JR Chou Line to Otsuki Station, take the Fuji-Excursion 7 Limited Express to Kawaguchiko. That said, it doesn’t save that much time and is significantly more expensive (over ¥4,000).
Tips:
- They help you put luggage in the under-carriage of the coach-bus and there is plenty of space. There is also the standard above-seat storage.
- To maximize your day, we recommend taking the earliest buses out of Tokyo. At the same time, also consider when local transit starts running and if you can make those ear departures.
- Pay close attention to where the Yaesu South Exit is at Tokyo Station. This is marked on our map.
- You can also take the bus from Shibuya and Shinjuku. These are operated by Highway Buses by Keio Dentetsu Bus, a different operator from Japan Bus Online but work very similarly.
Pick Up A Rental Car
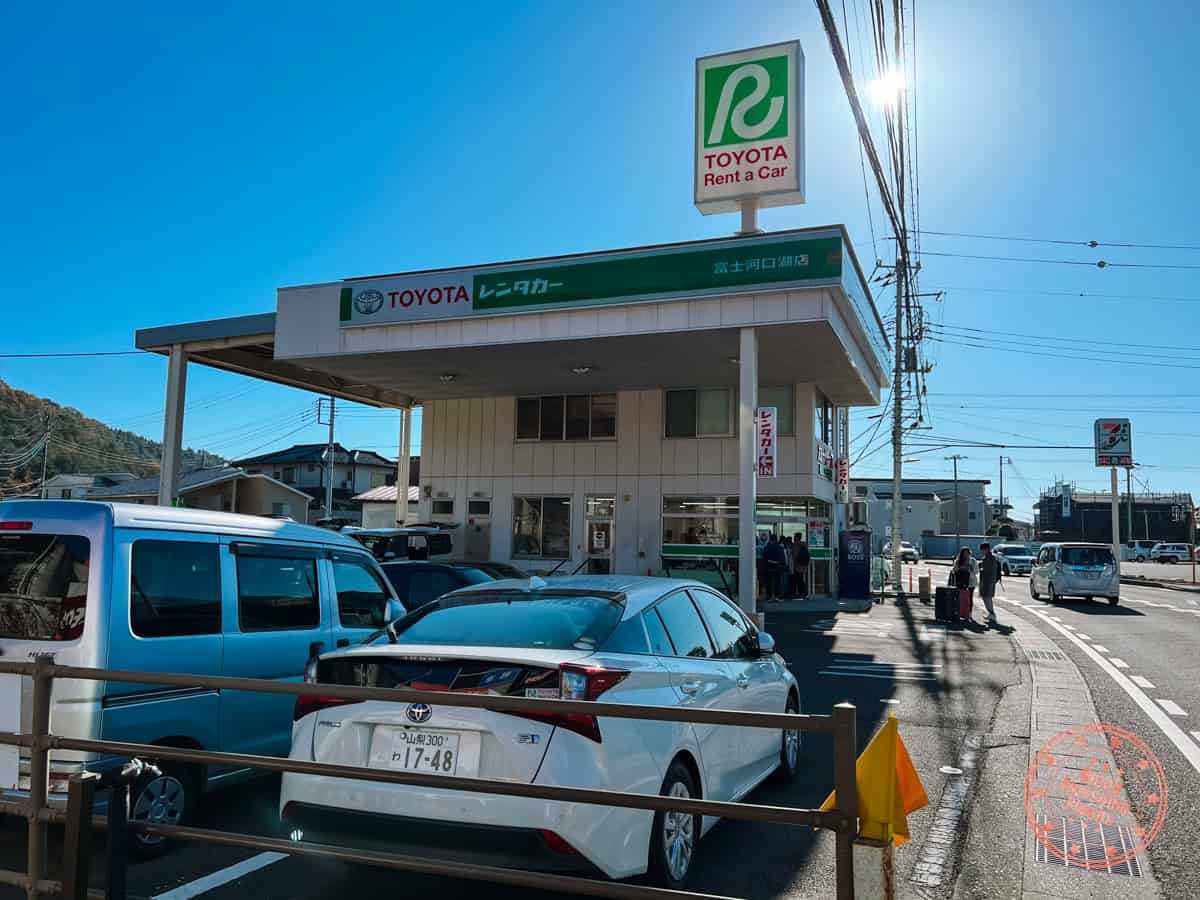
While we toyed with the idea of taking the local red, green, and blue sightseeing bus to get around, knowing that it would be busy with the autumn leaves chasers, it made more sense to have the freedom of our own vehicle.
We did a bit of price comparison and Toyota Rent a Car seemed to lowest and most reputable so we went with them.
PRO TIP: The decision to rent a car was the right one and would highly recommend those visiting to do this. At most bus stops at this time of the year, the queue was incredibly long. It seemed for most people waiting in line, they had to wait for 2 buses before being able to get on.
WHAT YOU NEED TO KNOW
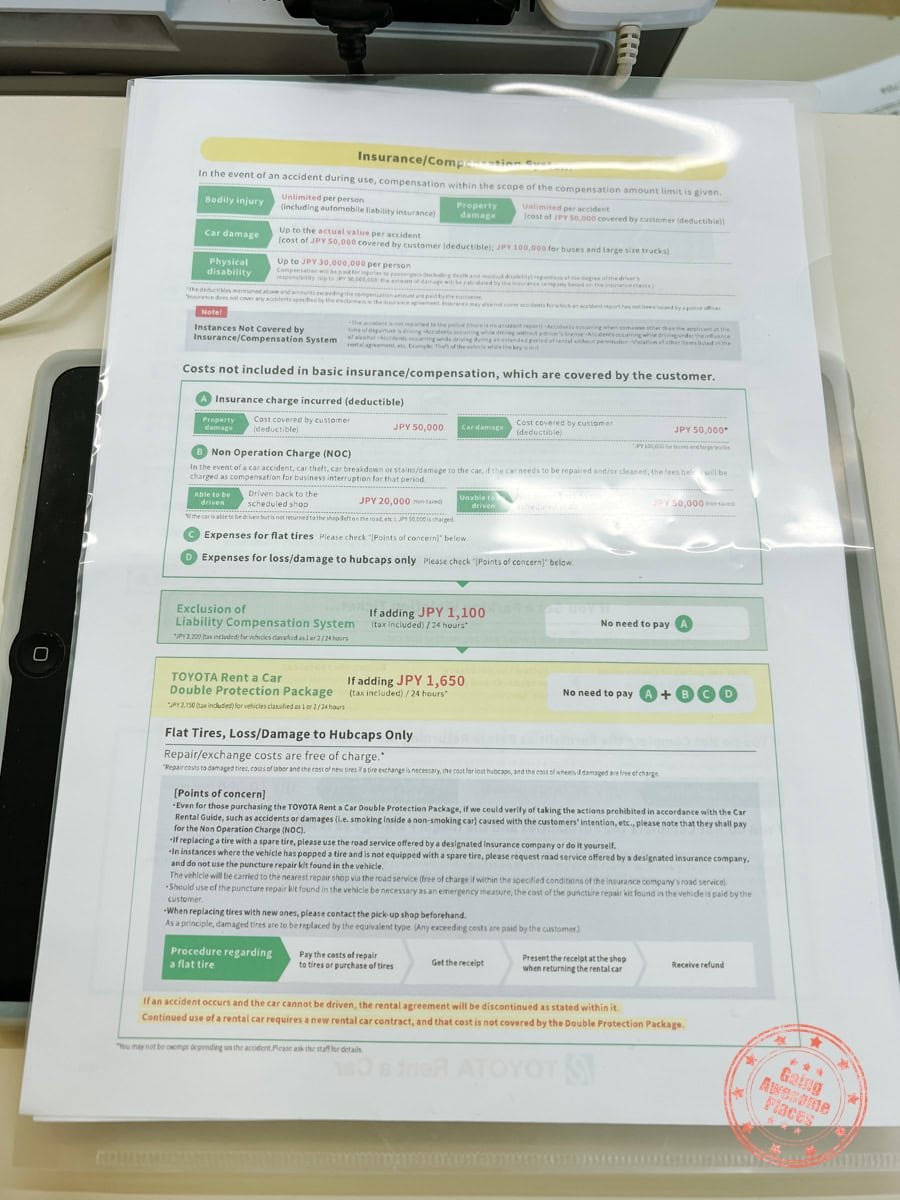
Address: michi-4657 Funatsu, Fujikawaguchiko, Minamitsuru District, Yamanashi 401-0301, Japan
Hours: Open 8AM – 8PM daily.
Price: As an example, our one-day car rental cost ¥11,913.
Website: Toyota Rent a Car
FAQ:
- Are reservations required? Technically no, but with how pouplar this destination is, we highly recommend it.
- Do you need an international driving permit to rent a car? Yes, an IDP is required alongside your passport. If you are from Switzerland, Germany, France, Taiwan, Belgium, or Monaco (where IDP’s aren’t issued), you’ll need your domestic driver’s license and an official Japanese translation.
Tips:
- We recommend that you use Klook to figure out who has the best prices. It’s also wise to check companies that don’t show up on Klook including Toyota Rent a Car. We ended up choosing them because they had the best price.
- If you’re comfortable with driving and you’re in a group of 2 or more, renting a car is the best way to go. During high season, the queue for the 3 lines (Red, Blue, Green) of Omni bus, the are massive which means that you’ll end up wasting a lot of time and you won’t ge the flexibility to get to a few spots that aren’t on the bus route.
- I didn’t quite understand this but since I was paying for my rental with a credit card, I was eligible for a discount.
- If you’d like to take the bus instead, there’s a coupon for 1 and 2 day bus passes if you buy it online.
See The Famous Temple View of Mt. Fuji
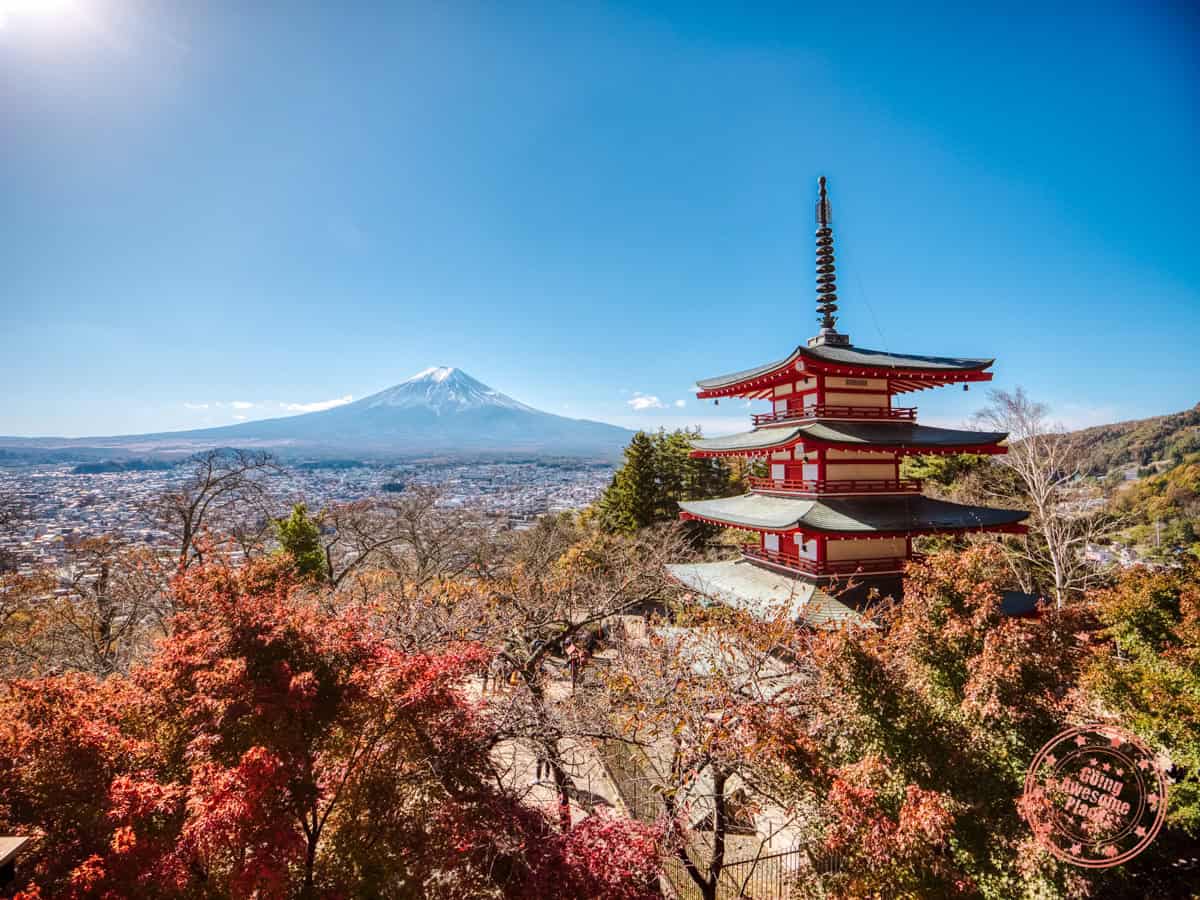
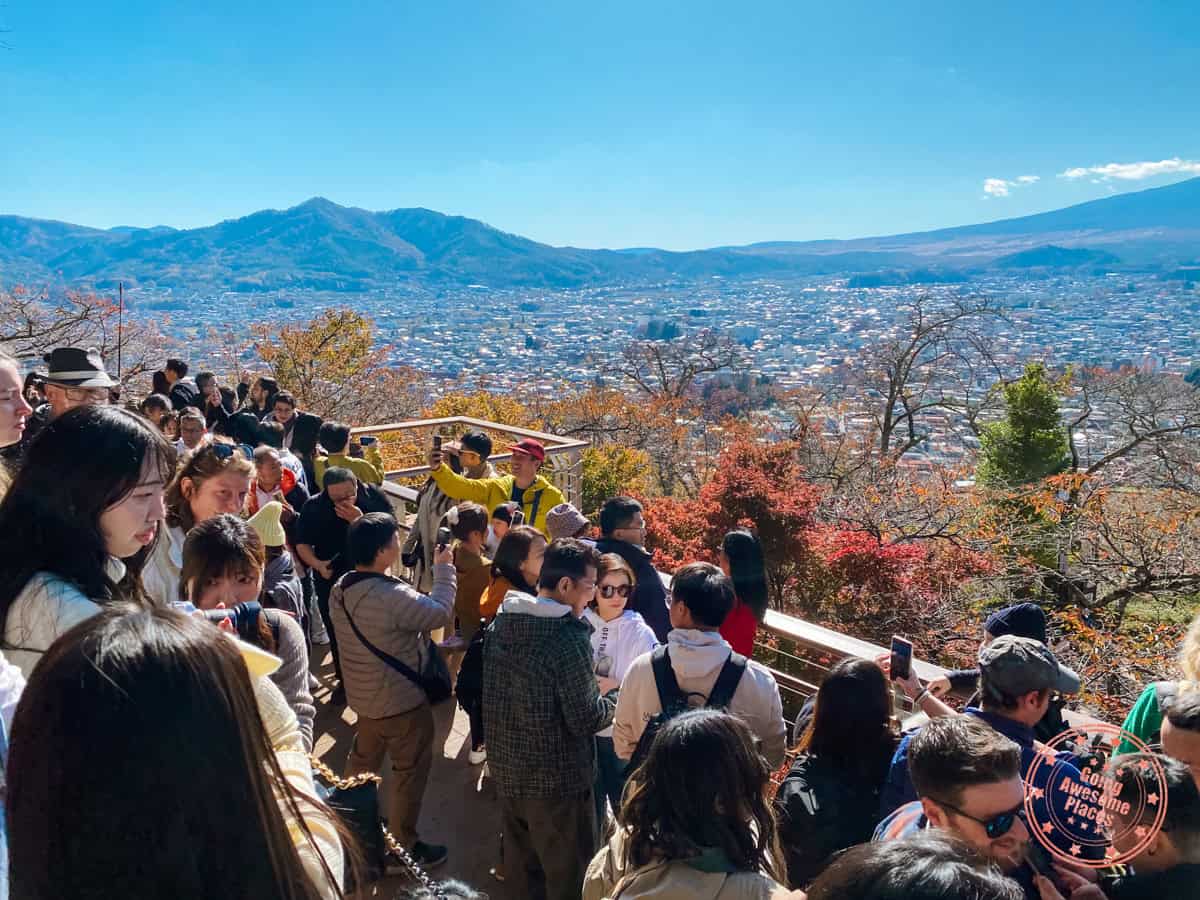
Your first stop is where you’ll get that legendary view of Mt. Fuji. The name is this location is Arakurayama Sengen Park. The vivid hues of the autumn leaves with the red pagoda fits 3 of Japan’s icons all in one.
It is as visually stunning as it looks in the photos but of course as with all things, the reality of the crowds often doesn’t come through in the photography. The good news is that the newly renovated platform does a good job at dispersing the crowd and giving everyone stadium-style viewing of the viewpoint. That said, if you’re looking to get a clean photo without people in it, you have to be patient and wait for an opening by the railing.
WHAT YOU NEED TO KNOW
Address: 2-chome-4-1 Asama, Fujiyoshida, Yamanashi 403-0011, Japan
Hours: Open 24 hours a day, all-year-round.
Price: Free
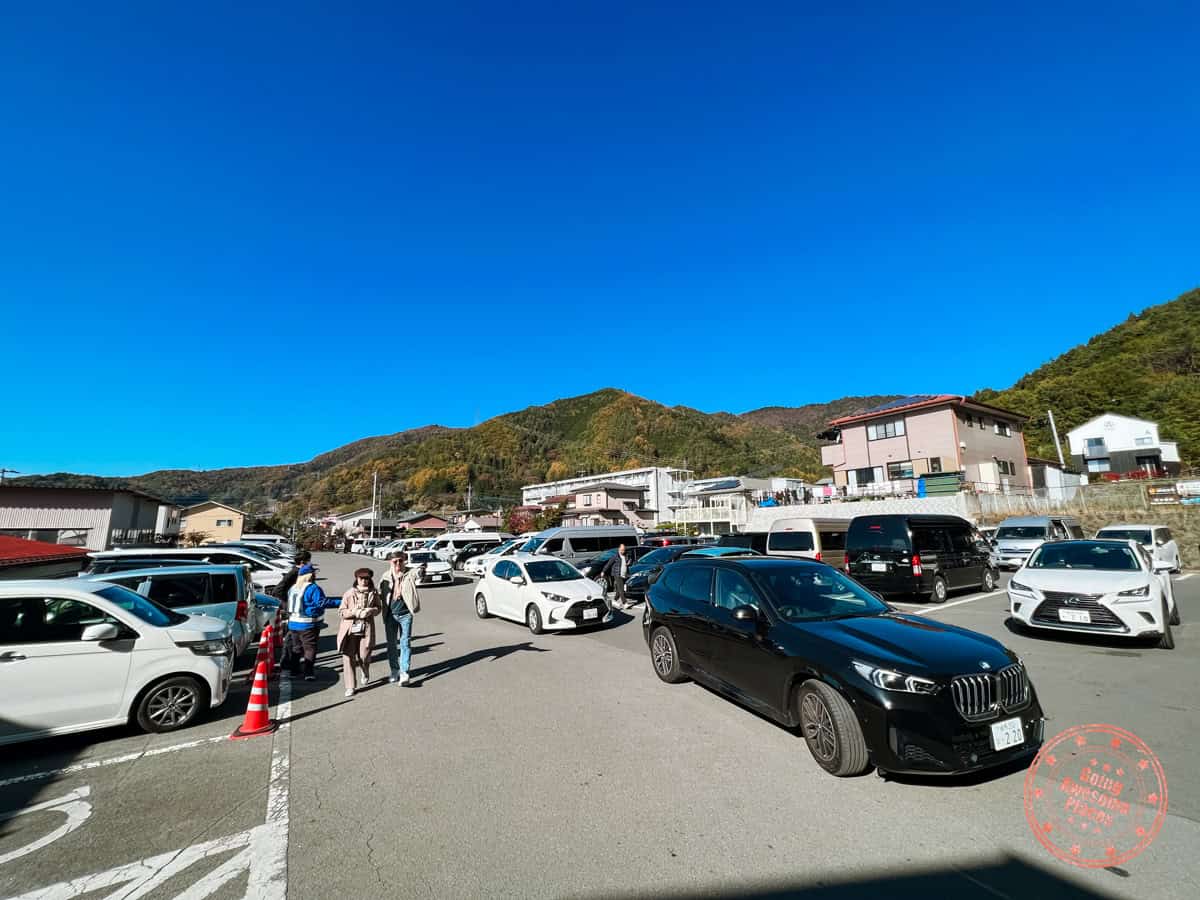
Parking: There’s a relatively large lot at the base of the park and it is free.
FAQ:
- When is the best time to go to Arakurayama Sengen Park? For the smallest crowds, go early in the morning. For photography, mornings and sunset are the best.
- Are there bathrooms in the park? Yes, there are bathrooms in the park near the temple but there is only 1 toilet per male and female so the lines may be long.
Tips:
- Keep in mind that there is a 398-step stairway to get to Chureito Pagoda at the top which means that it is not accessible. This takes roughly 10 minutes. There is also a more gradual sloped path for those that can’t climb the steps.
- The newly renovated observation deck above of the pagoda accommodates people, providing views of Mt. Fuji from both sides of the pagoda and since it has steps, you can have an unobstructed view. That said, it is still quite challenging to take photos since there will be a lot of heads in your view.
- For photographers, the best spots are right along the edge of the deck. Since it is so crowded, you won’t be able to set up a tripod and you’ll want to be courteous and allow other people to come in for photos. You’ll also notice that the deck has a balcony that juts out. During high-season, they close this off because I am sure it causes too much chaos.
Foliage Hunting Around Lake Kawaguchiko
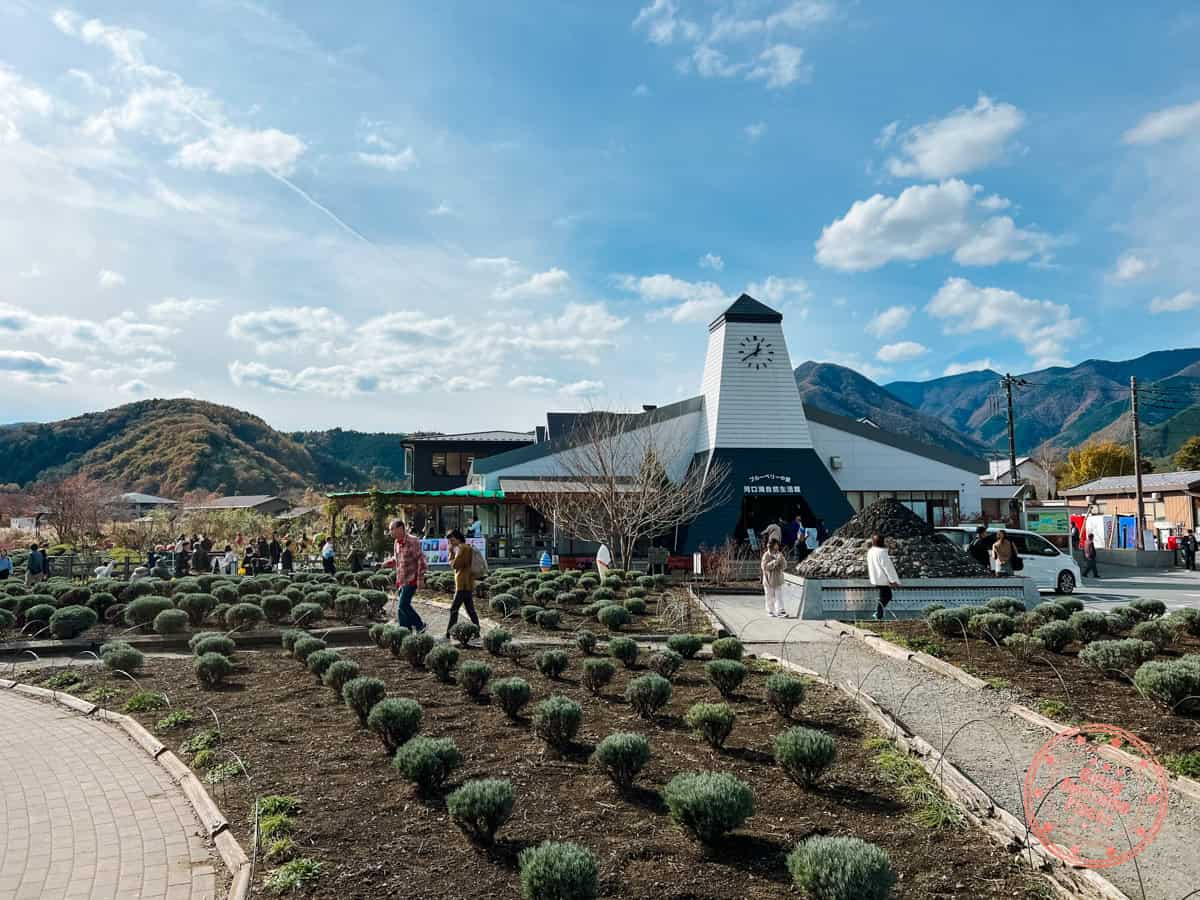
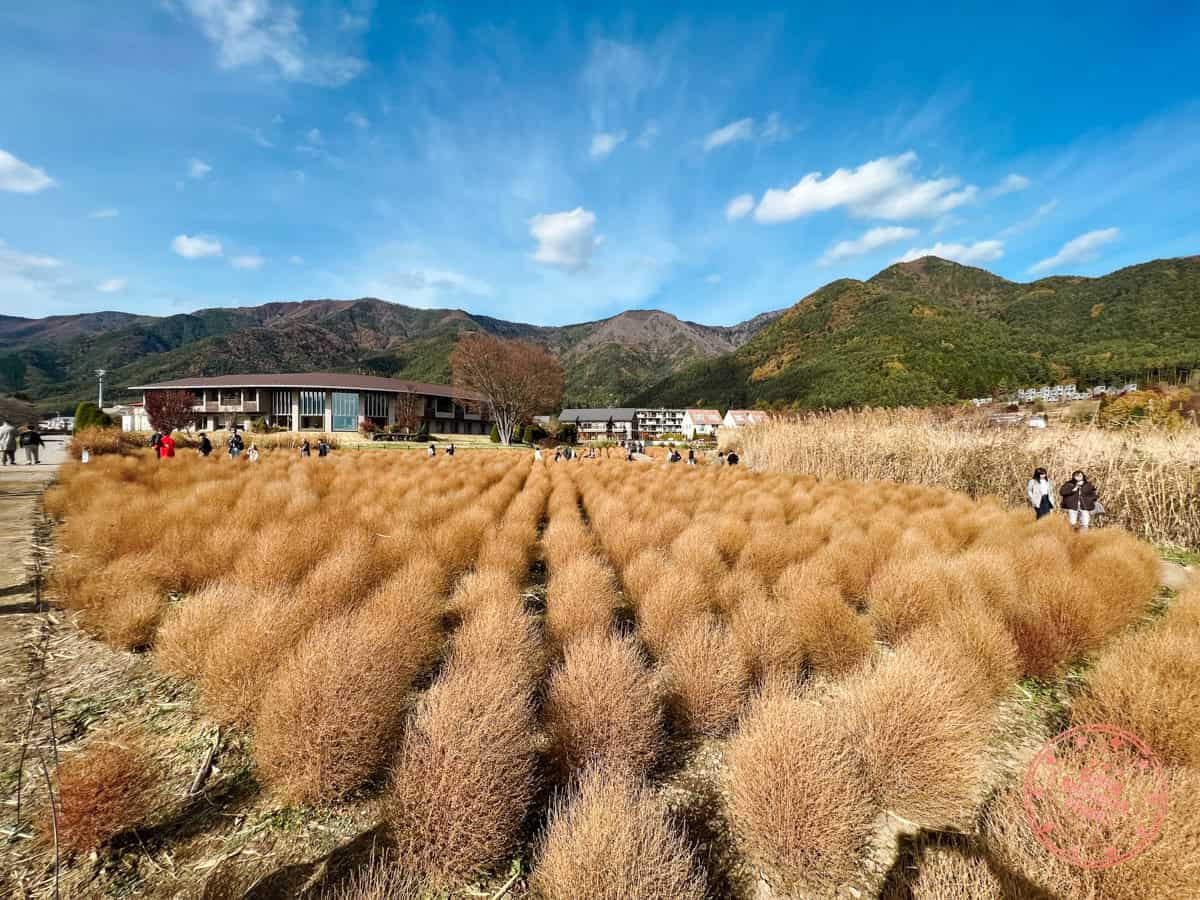
Your next stop is Oishi Park which is on the opposite side of Lake Kawaguchi. This park features a stunning view of Mt. Fuji in combination with impeccably manicured boardwalk flanked by beautiful seasonal flowers.
Spend time to walk both sides of the visitor center as both provide different angles and promenade designs.
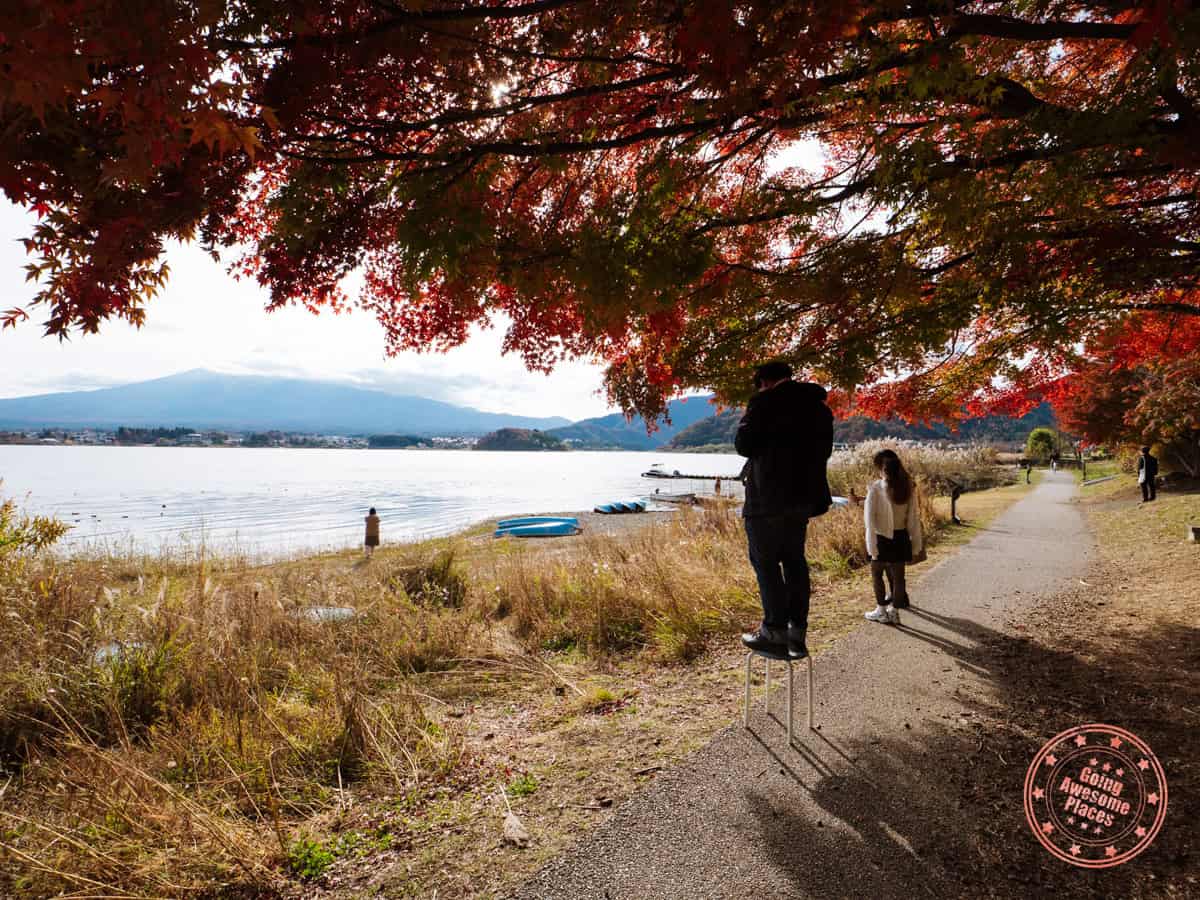
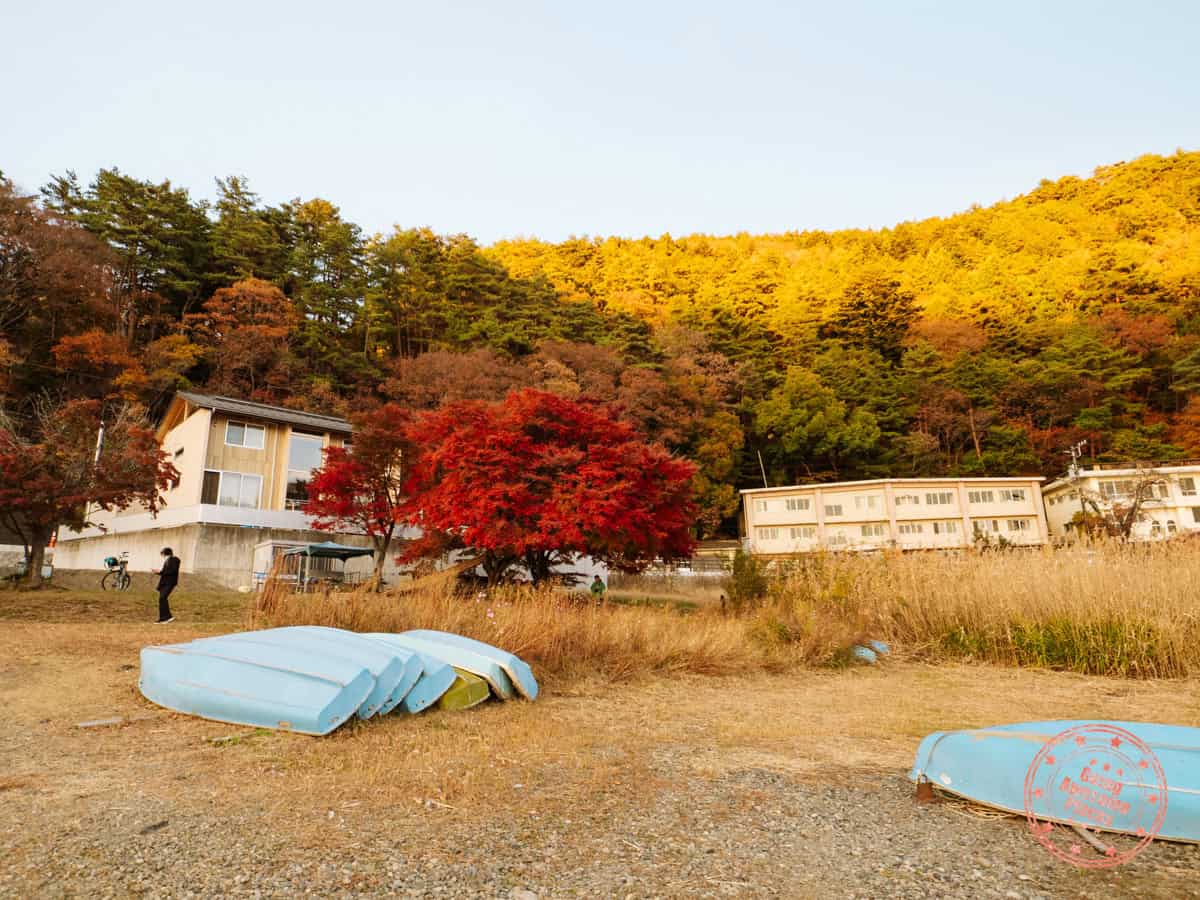
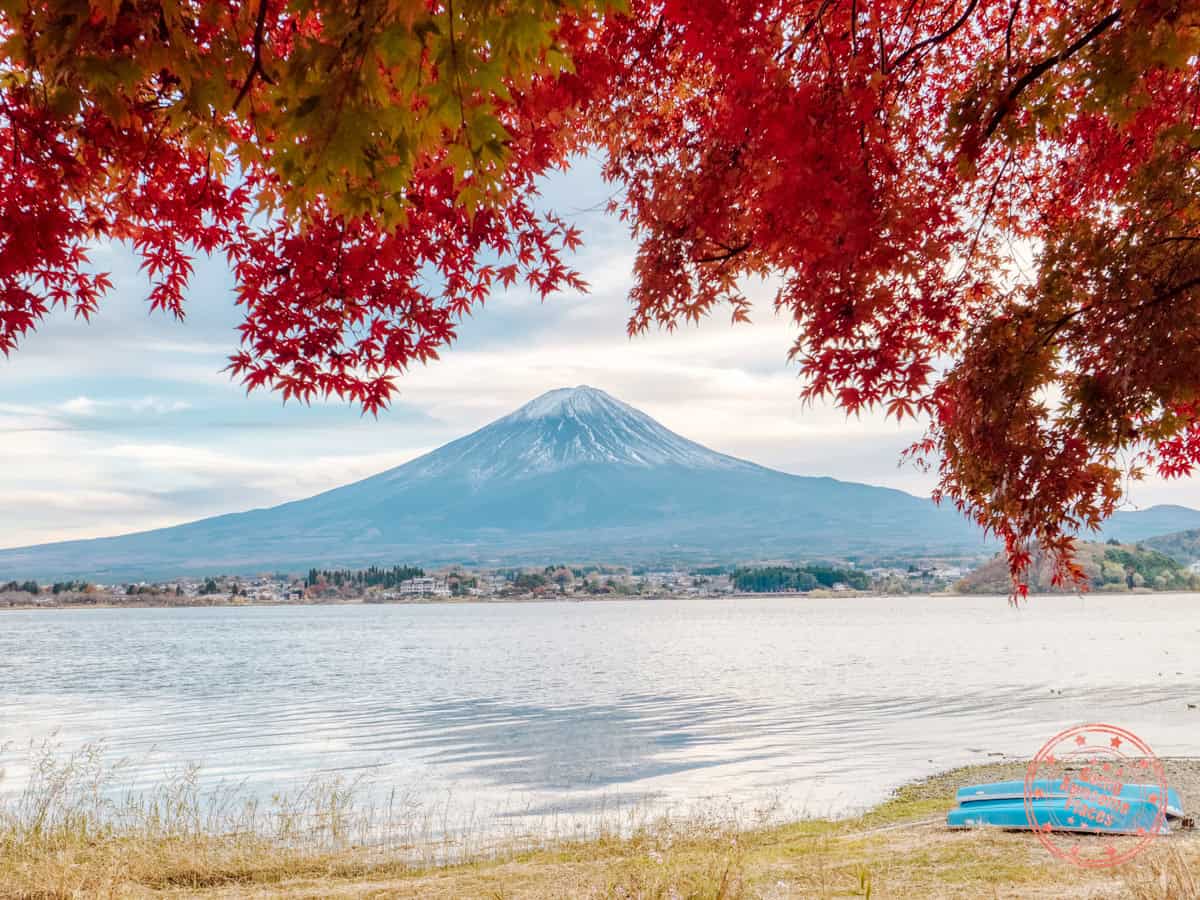
Psst…the secret spot for fall foliage photos is actually on the far left side of the visitor center. It’s here where you’ll see a lone maple sticking out like a sore thumb. Likewise, there are random stools set aside here and we learned that to get the leaves framed right above the mountain, you need to get higher up.
PRO TIP: If you’re looking for the best photos, schedule time to come back here so you can snap shots of the leaves and Mt. Fuji at sunset.
If you want to know where this spot is, we marked it on our map.
Tunnel Vision For Mt. Fuji
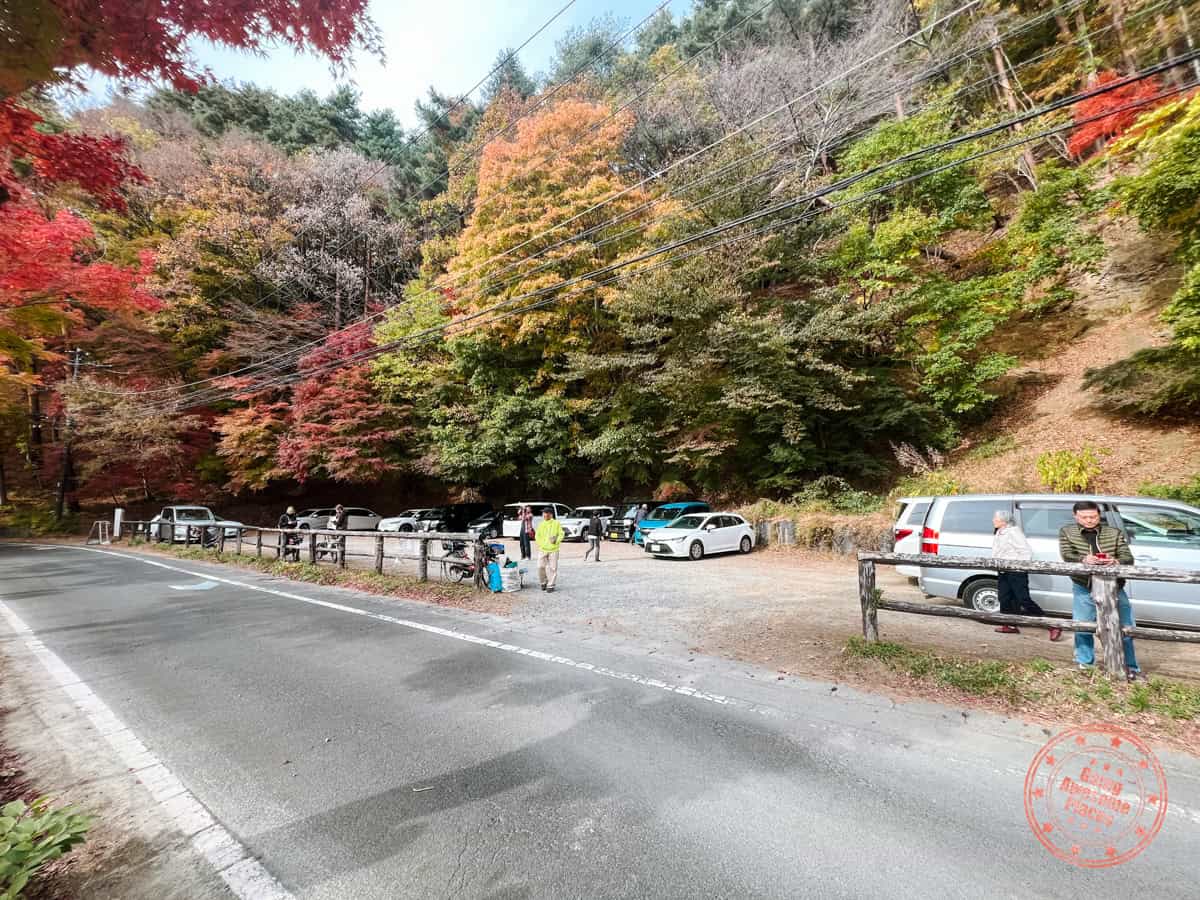
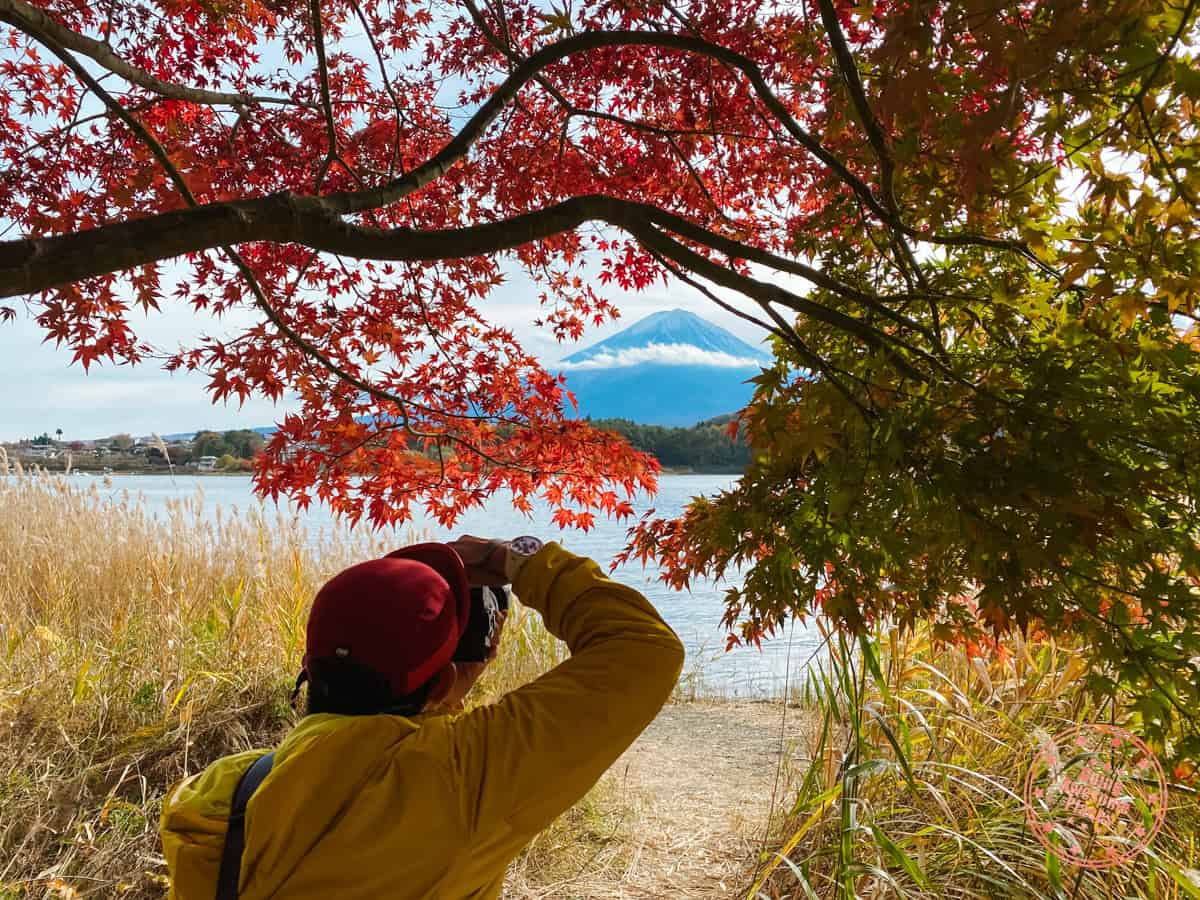
The nice thing about having a car is that you can also drive to areas that the local bus doesn’t stop at – Momiji Tunnel.
The name is slightly misleading as before coming here, I thought there was an actual tunnel through the mountains. Instead, what it must refer to are the flanking maple trees along this stretch of the road. Still, that’s not why people stop here.
When you get here, park at the lot and make your way down the hill towards the water. This provides an alternative viewpoint of Mt. Fuji that is just as stunning thanks to the many brilliant colored trees here.
Queue For Tenku No Torii
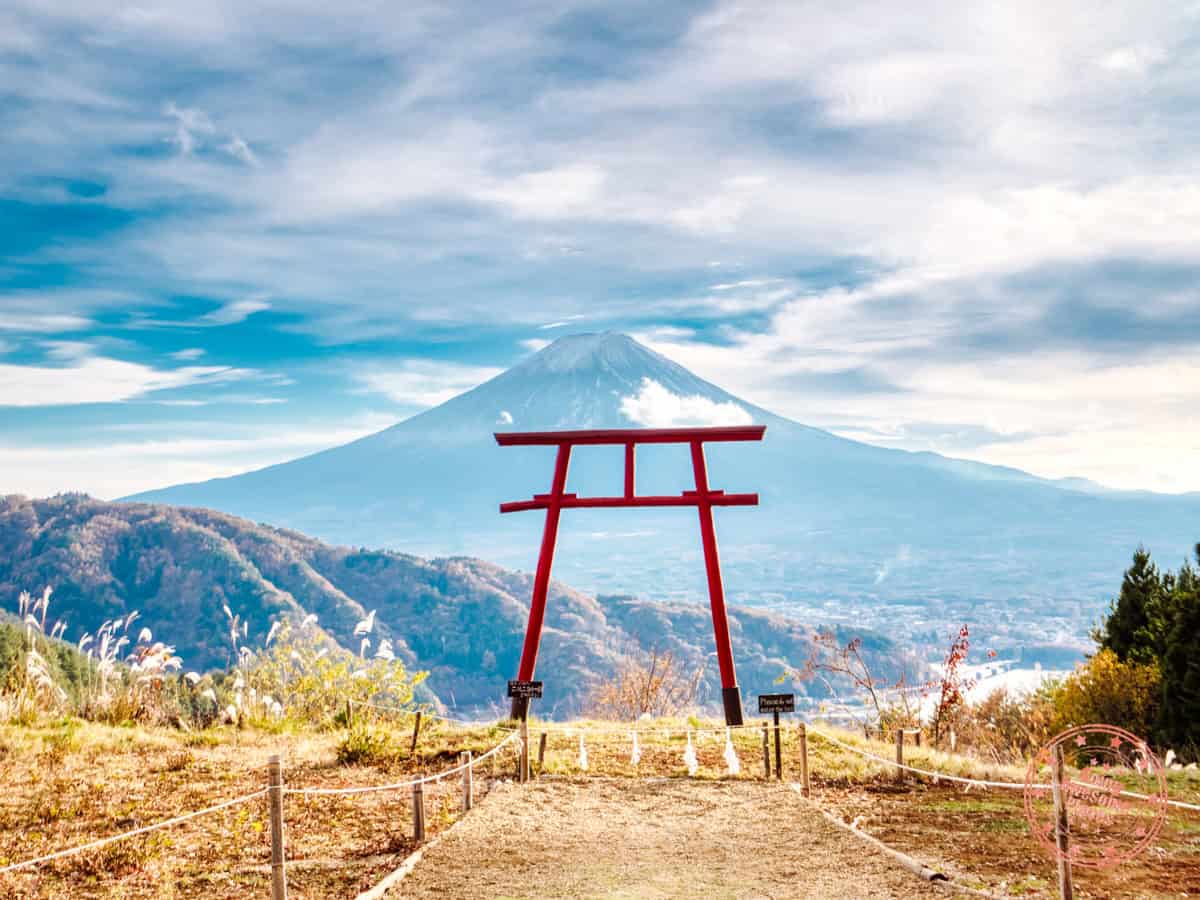
Your next stop is Tenku No Torii, the red torii gate that is perched on the mountainside and is magically framed to the backdrop of the almighty Mt. Fuji. The gate belongs to Kawaguchi Asama Shrine located at the base of the mountain as a way to worship the mountain from afar.
This is one of those places that rapidly rose in popularity thanks to social media. As a result, they have quite strict rules about photography and expect queues when you come. When busy, they only allow each group to have 3 minutes in front of the torii gate so be prepared how you want to photograph the scene.
WHAT YOU NEED TO KNOW
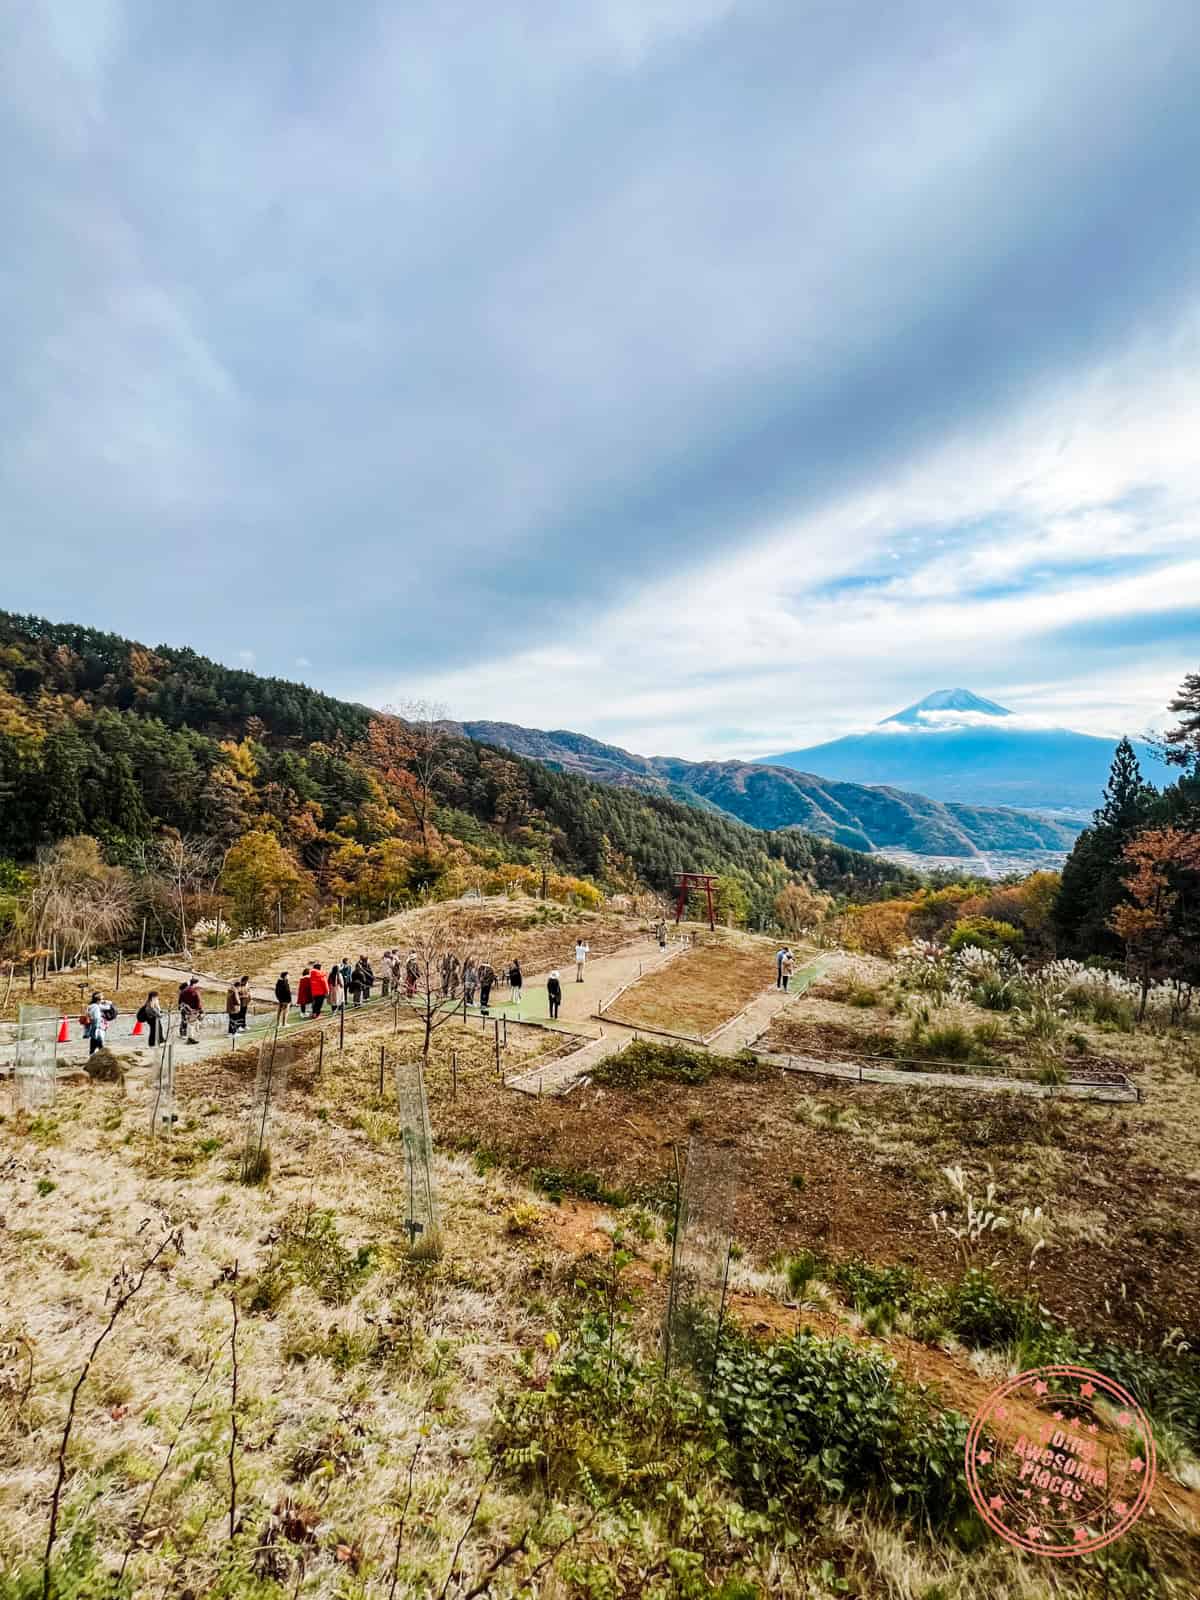
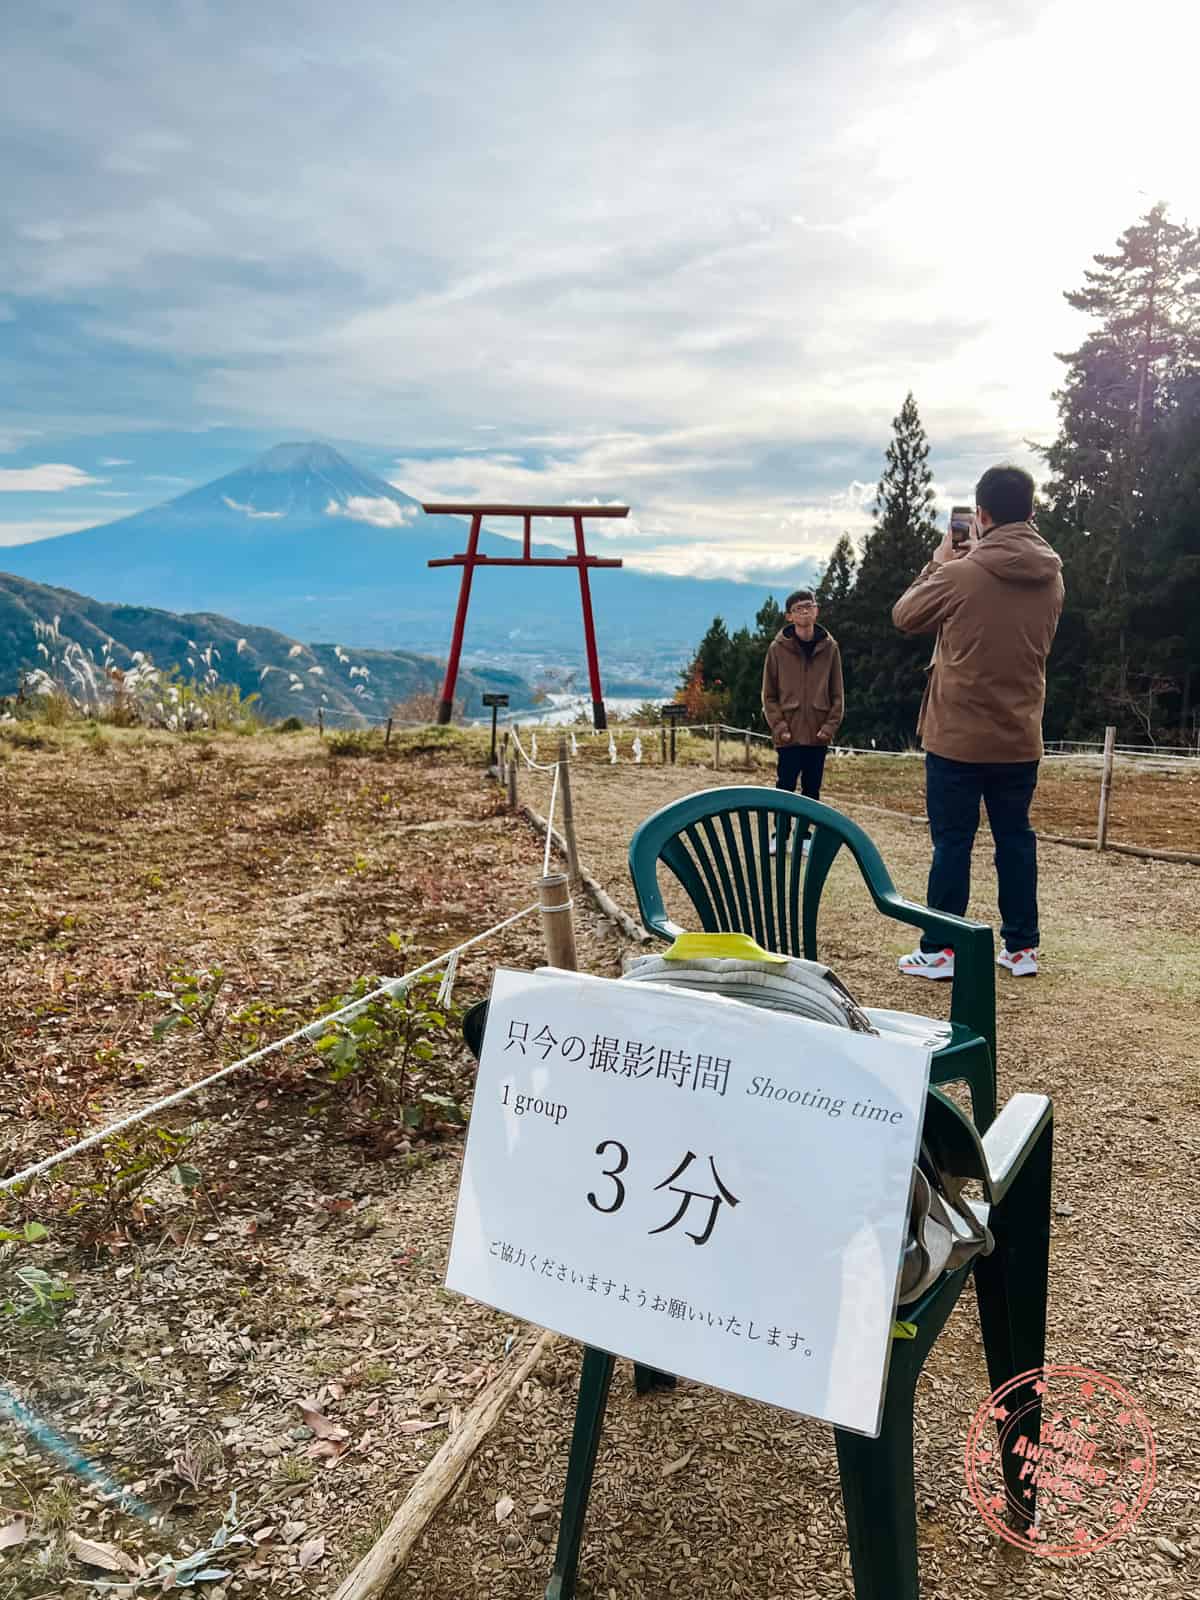
Address: 1119-2 Kawaguchi, Fujikawaguchiko, Minamitsuru District, Yamanashi 401-0304, Japan
Hours: Open daily; from 9AM – 4PM
Price: ¥100 per person. You pay by cash in the collection bin that’s before the entrance gate.
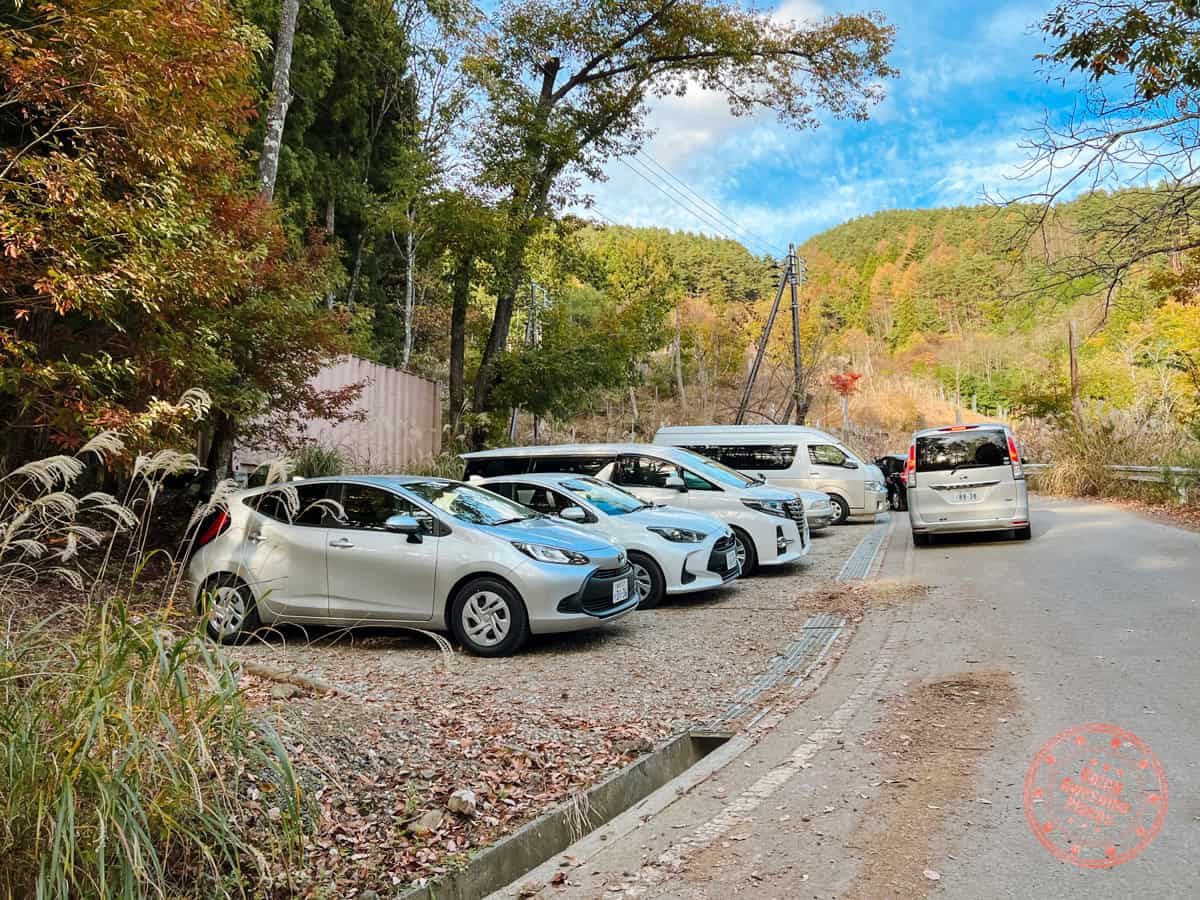
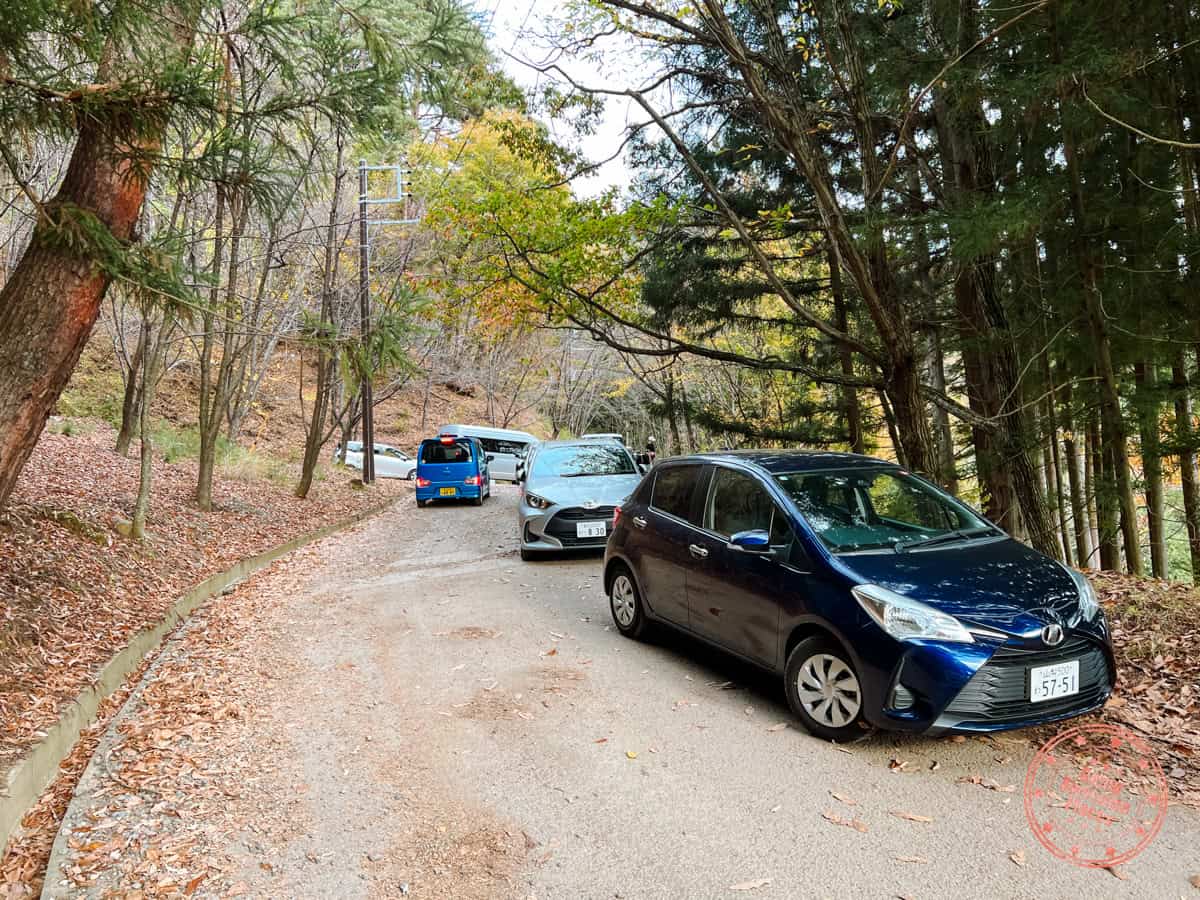
Parking: Officially there is no parking here but there are distinctly two areas that has spots for cars. One is a lot on the way up with 6 spots and the other are the makeshift roadside spots that’s just uphill from Torii Gate in the Sky. Both of these are marked on our map.
Website: Kawaguchi Asama Torii
FAQ:
- When is the best time to go to Tenku no Torii? Mornings are the best especially with softer lighting. More people start making their way here in the afternoons so expect longer lines. When there are no crowds, it’s possible that they are less strict with the 3 minutes.
- Are there bathrooms in the park? No, there are no toilets here.
Tips:
- During the high-season of autumn, we got in line at 2:30PM and it was our turn at 3PM.
- When it’s busy, they are very strict with the 3 minutes as they have staff there with a stopwatch. To make the most of it, go in with a plan of the type of photos and videos you want to take. 3 minutes is incredibly short. The staff is willing to take photos so you can ask them to help as they are quite well-versed with the best framing.
- They’ve built a make-shift visitor center out of shipping containers. There are stairs up to the top of the main one if you want a place to sit down and enjoy the views.
- The visitor center also has a small gift shop and they sell painted clay Mt. Fuji’s called Omiru. Pull the string and your fortune will come out.
- If you don’t drive up, the only other way is to walk. It takes 30 minutes on foot from Kawaguchi Asama Shrine.
- Before you go, check the weather conditions. It may not be worth trekking up there if Mt. Fuji is shrouded with clouds.
Celebrate The Autumn Festival
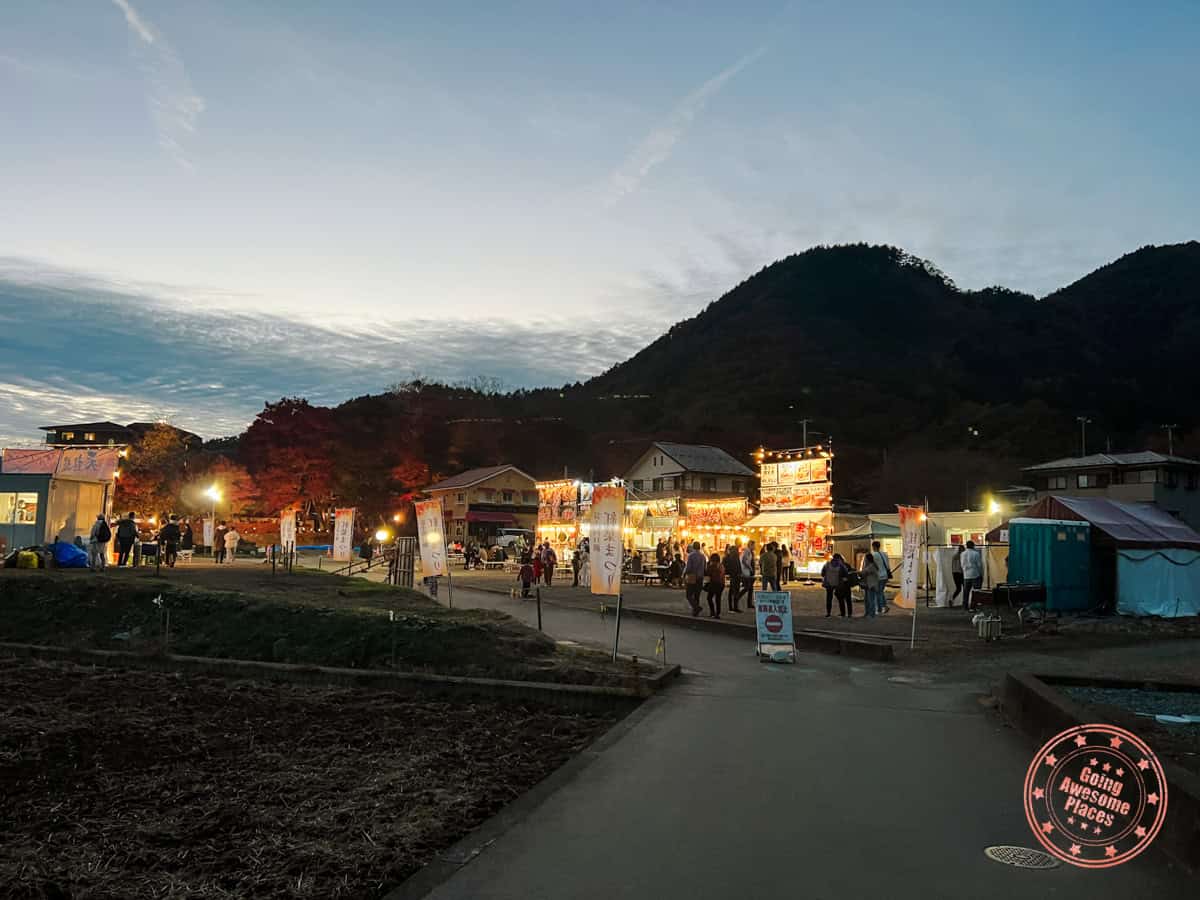
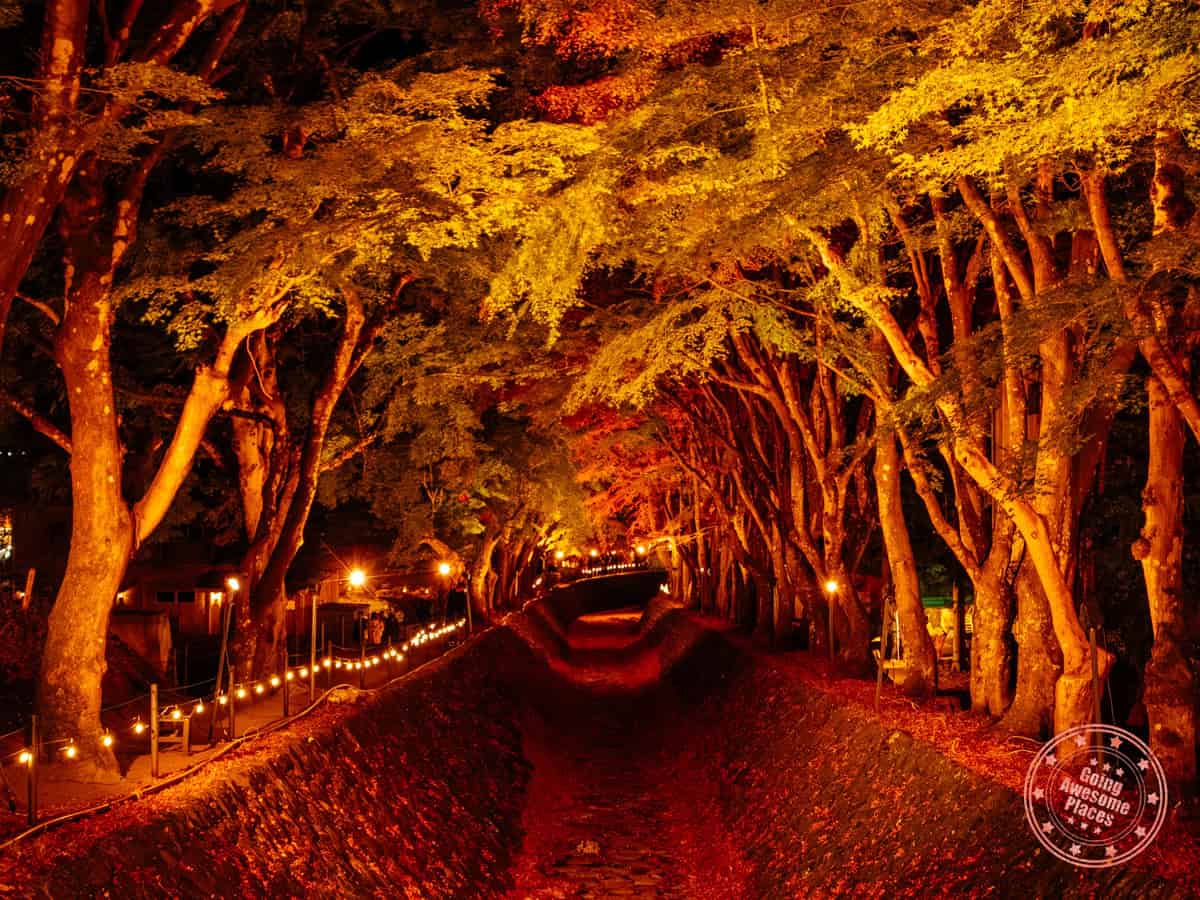
One of the advantages of coming during the autumn season is being able to experience the Autumn Leaves Festival in Kawaguchiko.
Adjacent to the Lake Kawaguchi Maple Corridor is a large field dedicated to food trucks and nearby are an assortment of markets selling local crafts and souvenirs.
You’ll most likely be here after sunset so bundle up and enjoy dinner from the many stalls, stroll through both sides of the beautifully lit corridor, and do a little shopping.
WHAT YOU NEED TO KNOW
These details are specific to the Autumn Leaves Festival.
Address: Kawaguchi, Fujikawaguchiko, Minamitsuru District, Yamanashi 401-0304, Japan
Hours: Festival hours are 9AM – 7PM. The Momiji Corridor is lit up from sunset to 10PM. In the past, this festival has run from October 26 – November 20 but changes year-to-year.
Price: Entrance is free.
Parking: There are a mix of free and paid parking lots in the area. The closest free parking is indicated on the map. Ina addition, we found another lot across from Villa Ensoleille that had quite a spacious lot that wasn’t monitored.
FAQ:
- When is the best time to go to Autumn Leaves Festival? We recommend that you come around or after sunset so that you can see Momiji Corridor lit up.
- Are there bathrooms in the park? Yes, there is a pop-up bathroom facility set up with the food trucks.
Tips:
- It gets quite chilly at night so it’s a good idea to have a mid-layer like the Arc’teryx Atom Hoody and the Beta shell jacket to keep you warm.
- We could not find garbage bins and so we had to resort to returning our trash to the vendors that we purchased the food from.
- Food vendors were almost all cash-only.
- There are plenty of large picnic-style-tables in the center of the food area.
- This applies to all of Kawaguchiko during the fall colours but if you can, avoid the weekends because not only do you have the heavy tourist crowd but you also have locals trying to come out on Saturday and Sunday.
Enjoy An Onsen Session At Fuji Lake Hotel
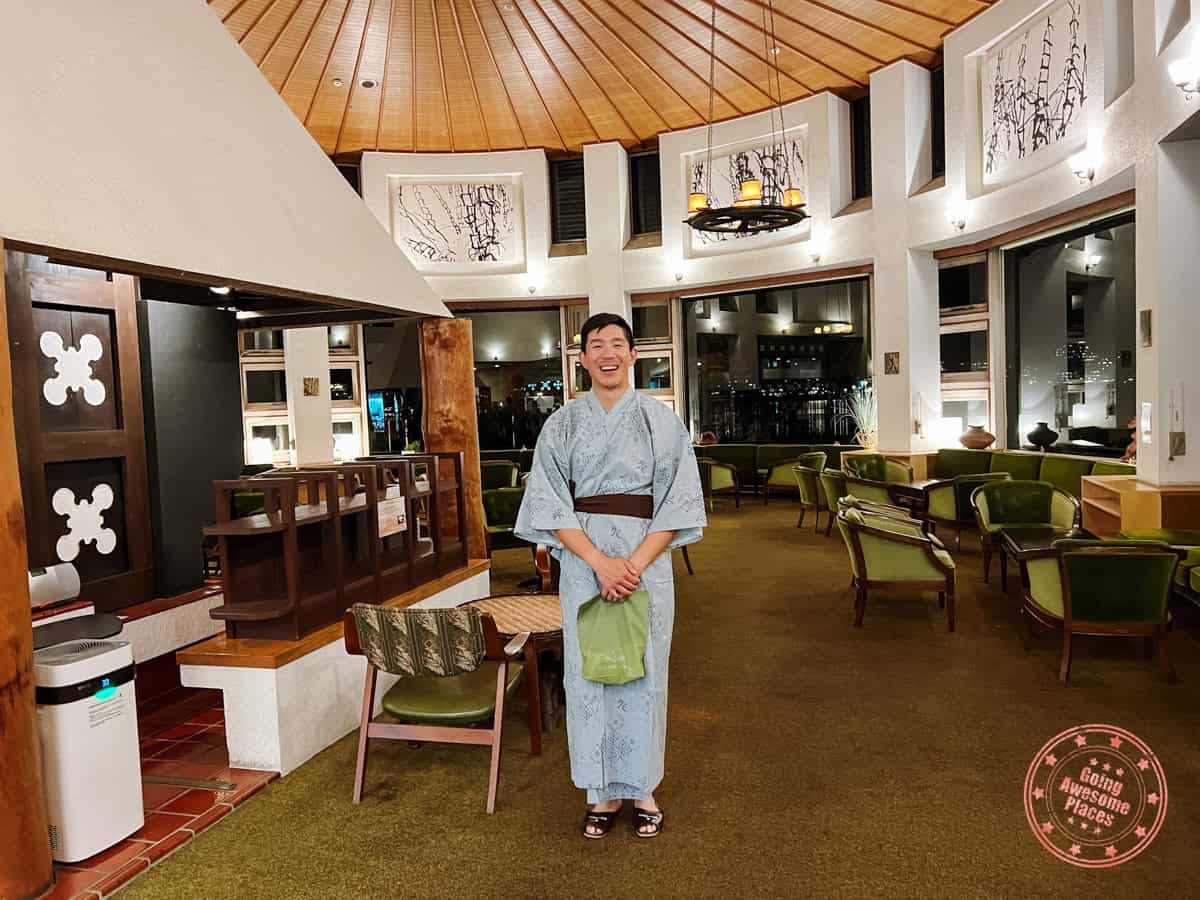
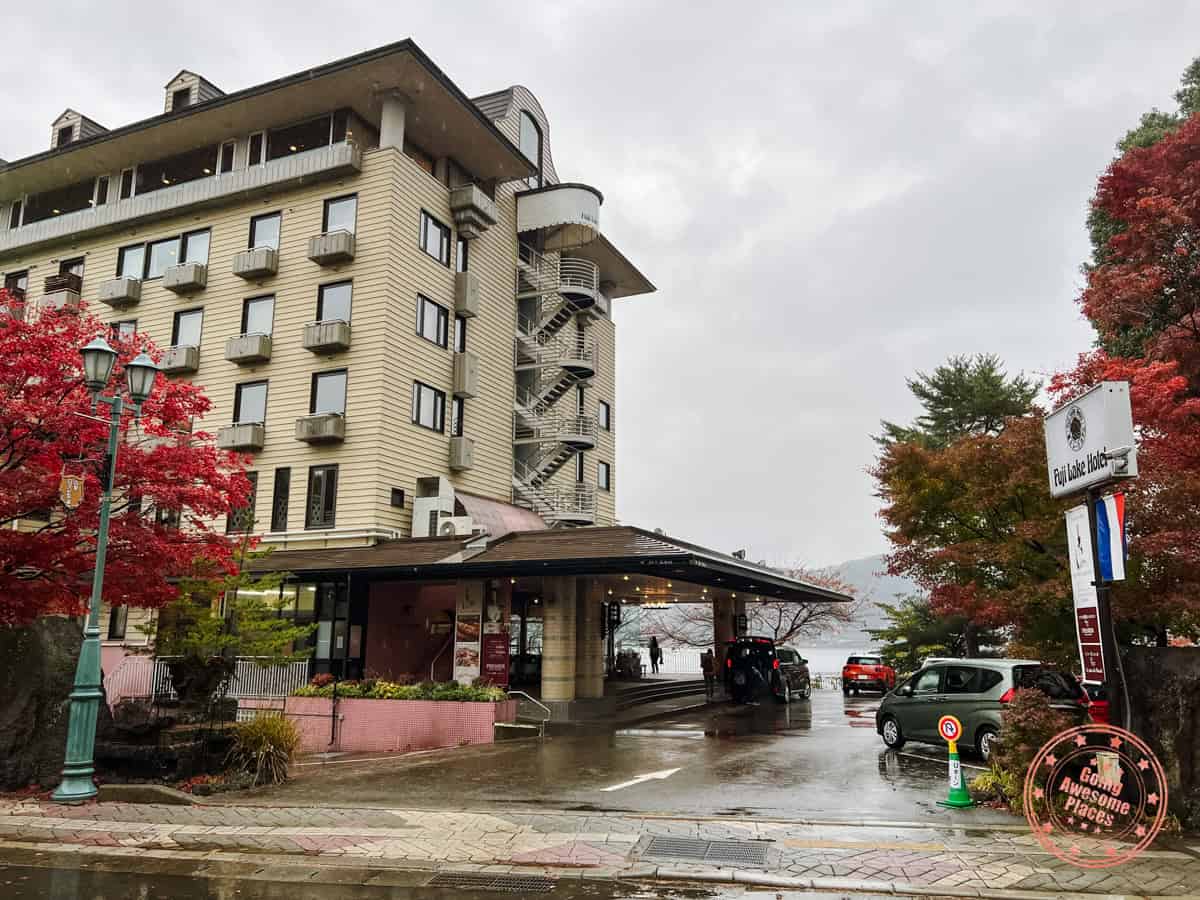
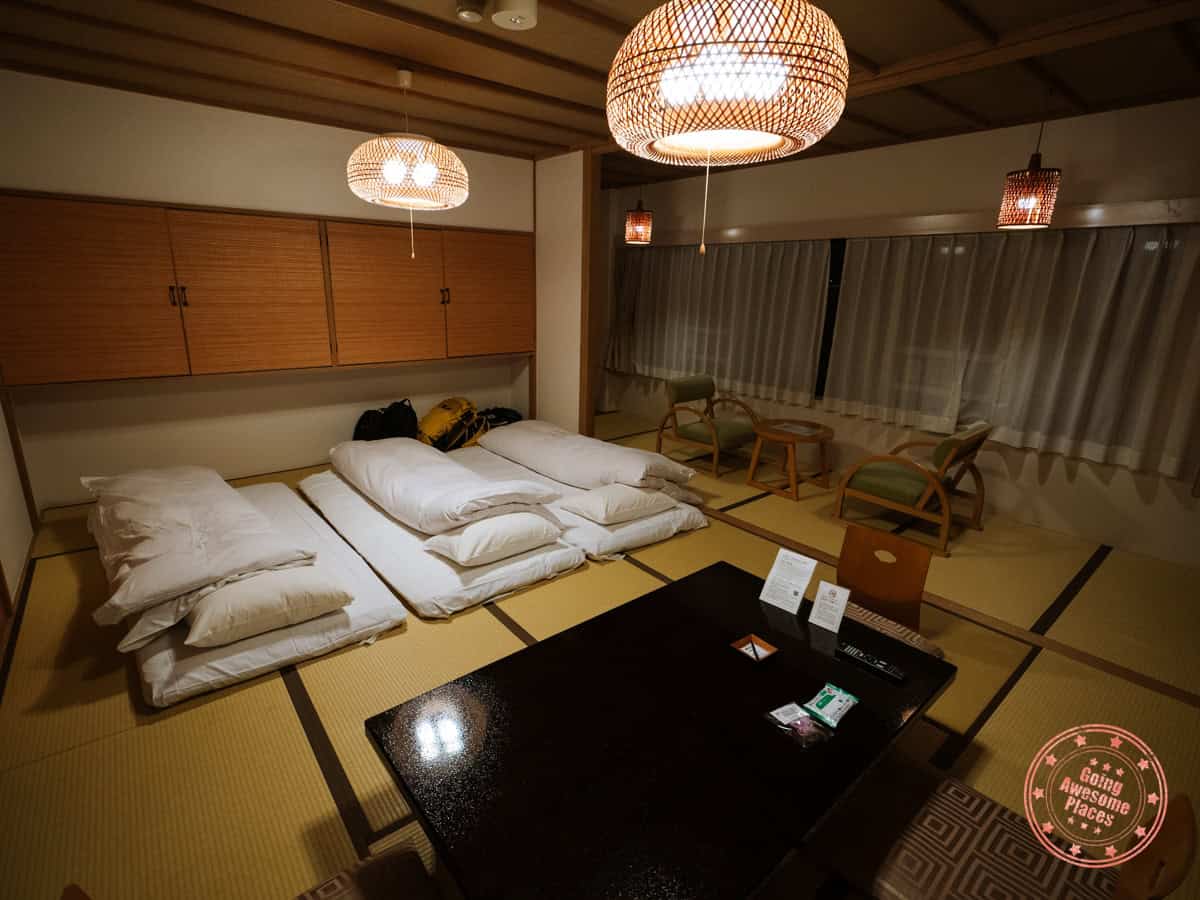
After a mountain-filled day of activities, you’ll be more than ready to cozy up in your hotel. Check into the Fuji Lake Hotel, chosen to be for its partial view of Mt. Fuji but more so for its breakfast buffet and large onsen.
What impressed us the most was how spacious our Japanese-style room was, especially since it’s hard to find hotels that can comfortably fit 3 people.
The onsen was also a dream. I wish we had more nights here to enjoy it but this wasn’t your one hot pool type of onsen. This is a fully-featured hot springs with a multiple soaking pools (indoors and outdoors) – perfect after a day of exploring.
Day 7 Summary
What you’ll see & do:
Where you’ll eat:
- Breakfast – Convenient Store – It’s another early morning so hit up the konbini the night before so you can have something quick before you head out.
- Lunch – Snacks at Arakuryama Sengen Park – At the base of the park, there are a few food trucks so we had some takoyaki and ice cream.
- Dinner – Momiji Autumn Leaves Festival – We were initially stressed with timing and trying to make it back to Fuji Lake Hotel for their kaiseki dinner since it’s quite the packed day. In the end, we didn’t book it and instead, it worked out beautifully that the autumn leaves festival had a massive food truck area with benches and bathrooms. We tried fresh calamari, taro balls, okonomiyaki, and karaage from various stalls. Just be aware that it gets a bit chilly at night.
Where you’ll stay:
- Fuji Lake Hotel (Review/Agoda/Booking) – When it comes to hotels in Kawaguchiko, you have a lot of choice but we you have to pick one that specifically has a larger onsen, has a great buffet, and has partial views of Mt. Fuji. Despite being only one night, we loved our incredibly spacious Japanese-style room.
- If you’re looking for even better views of Mt. Fuji from your hotel, you’ll want to be a bit further around the lake. If you’re willing to spend a bit more, we’d recommend The Kukuna, Ubuya, and Mizno Hotel. These are extremely competitive hotels and you need to book them at least one year in advance.
Best Restaurants in Tokyo
Having been to Tokyo several times, we’ve compiled our list of restaurants we really love. The ones here are different than the ones we visited because we’re always wanting to try new spots but if you’re looking for more inspiration, don’t miss out on our Tokyo food guide.
Itinerary Day 8 – Back To Tokyo
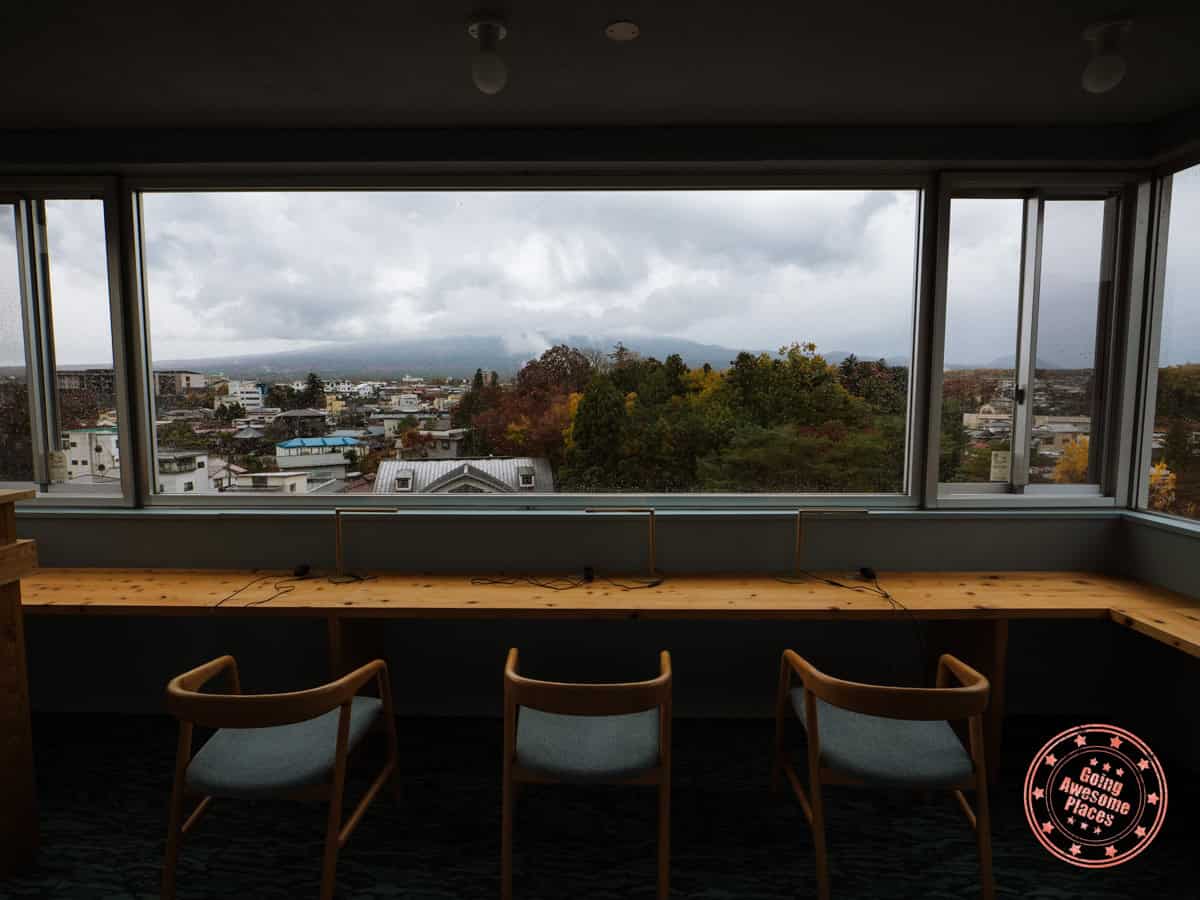
Enjoy your last glimpses of Mt. Fuji (hopefully not rainy like our day) and then begins your final leg of your 10 day Japan trip – the dazzling wonder that is Tokyo.
Enjoy A Morning With Mt. Fuji
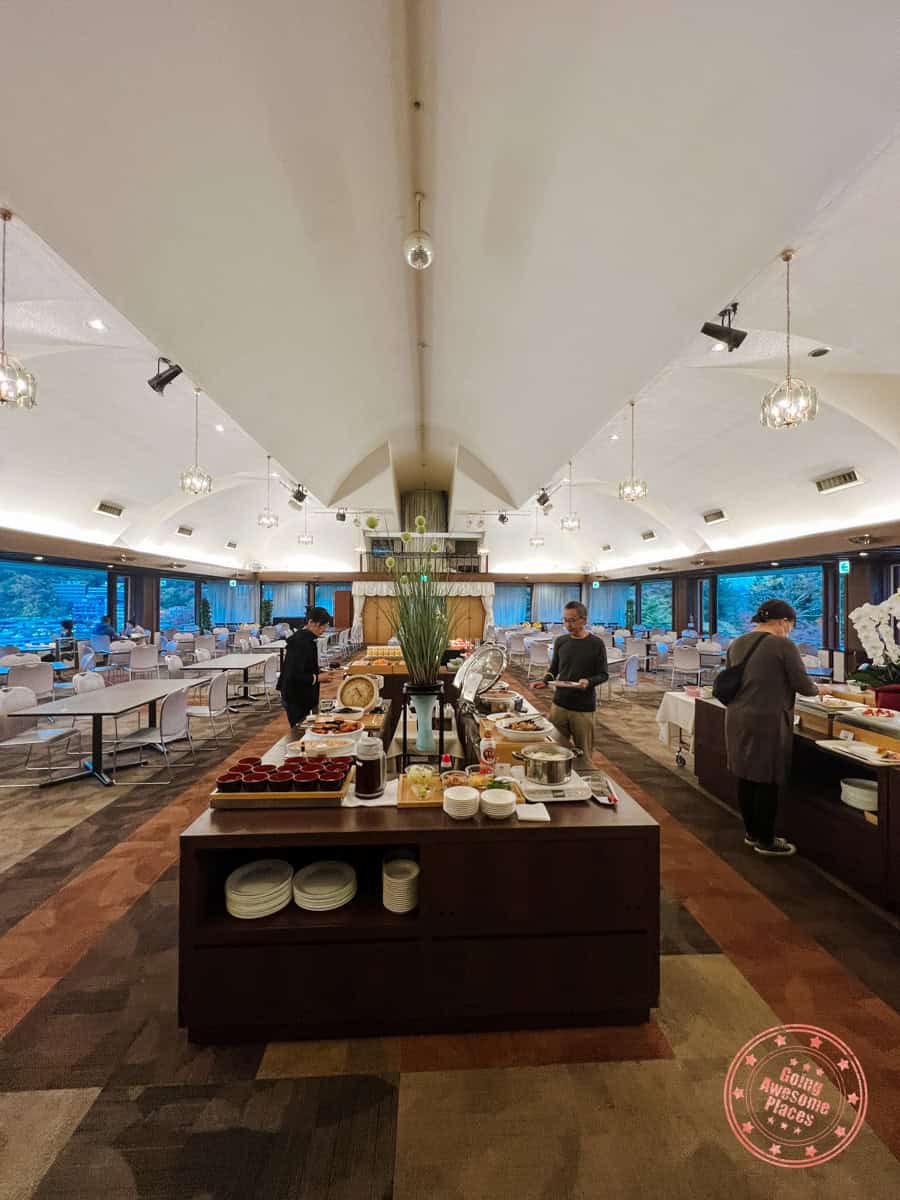
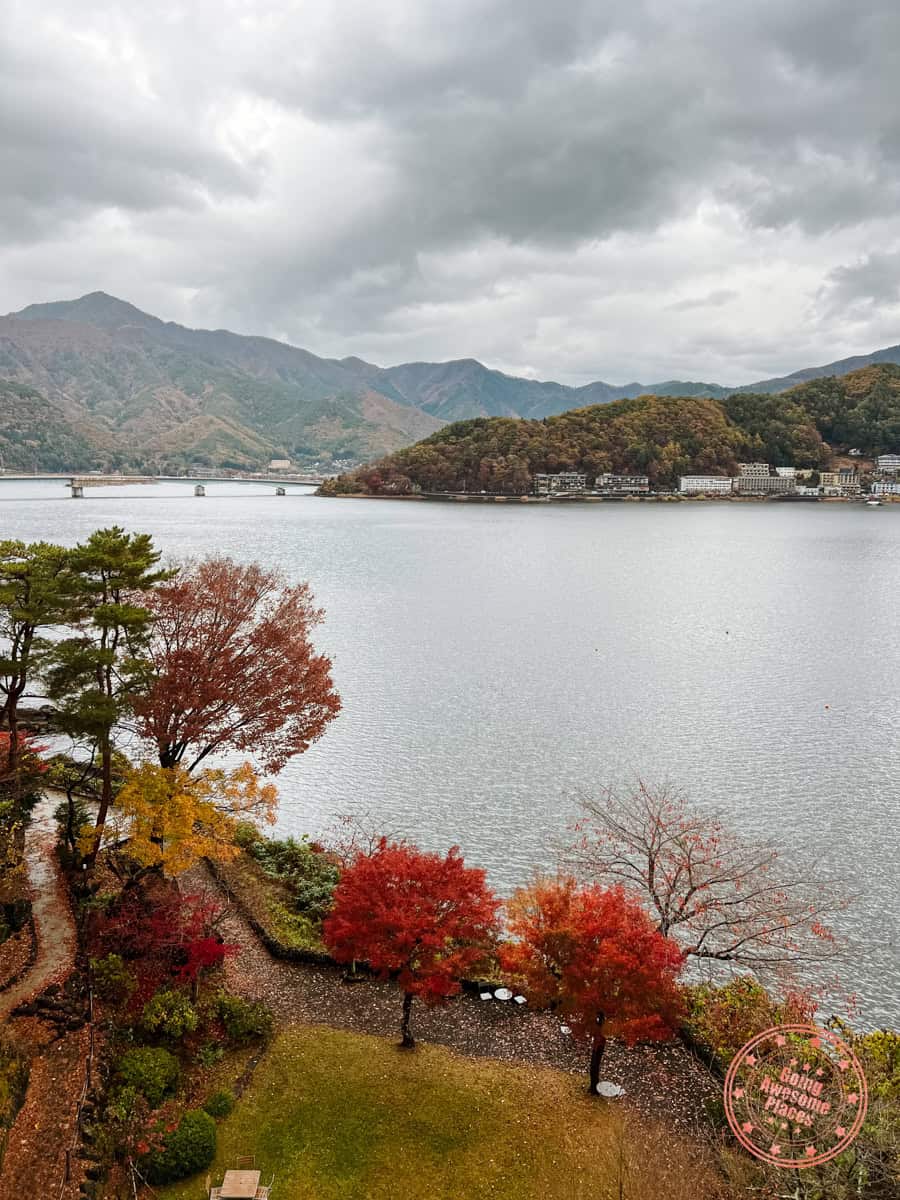
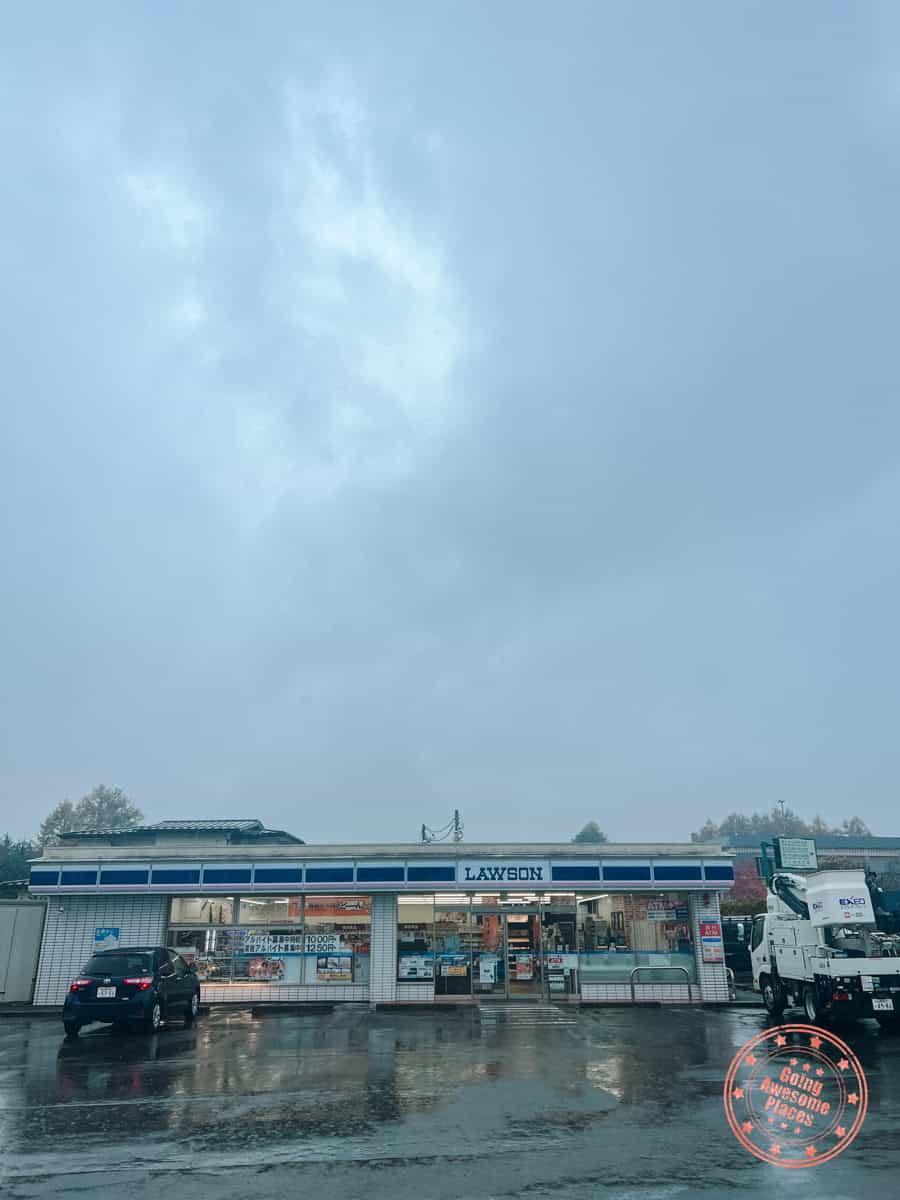
Before you head out, make the most of the amenities that Fuji Lake Hotel has to offer. We suggest you partake in a soothing soak in the morning before you have their superb buffet breakfast that ranged from Japanese and Western dishes.
At the top of the hotel is also an indoor observation tower that gives you panoramic views of your surroundings. If you’re lucky, Mt. Fuji will be right in front of you.
Once you check out, fill up the car, and drop by the famed Lawson on your way to Toyota Rent a Car (pinned on our map). Please be respectful when you come as for a short period they did put up a blackout screen to prevent poor behaviour from tourists.
Bus From Kawaguchiko To Tokyo
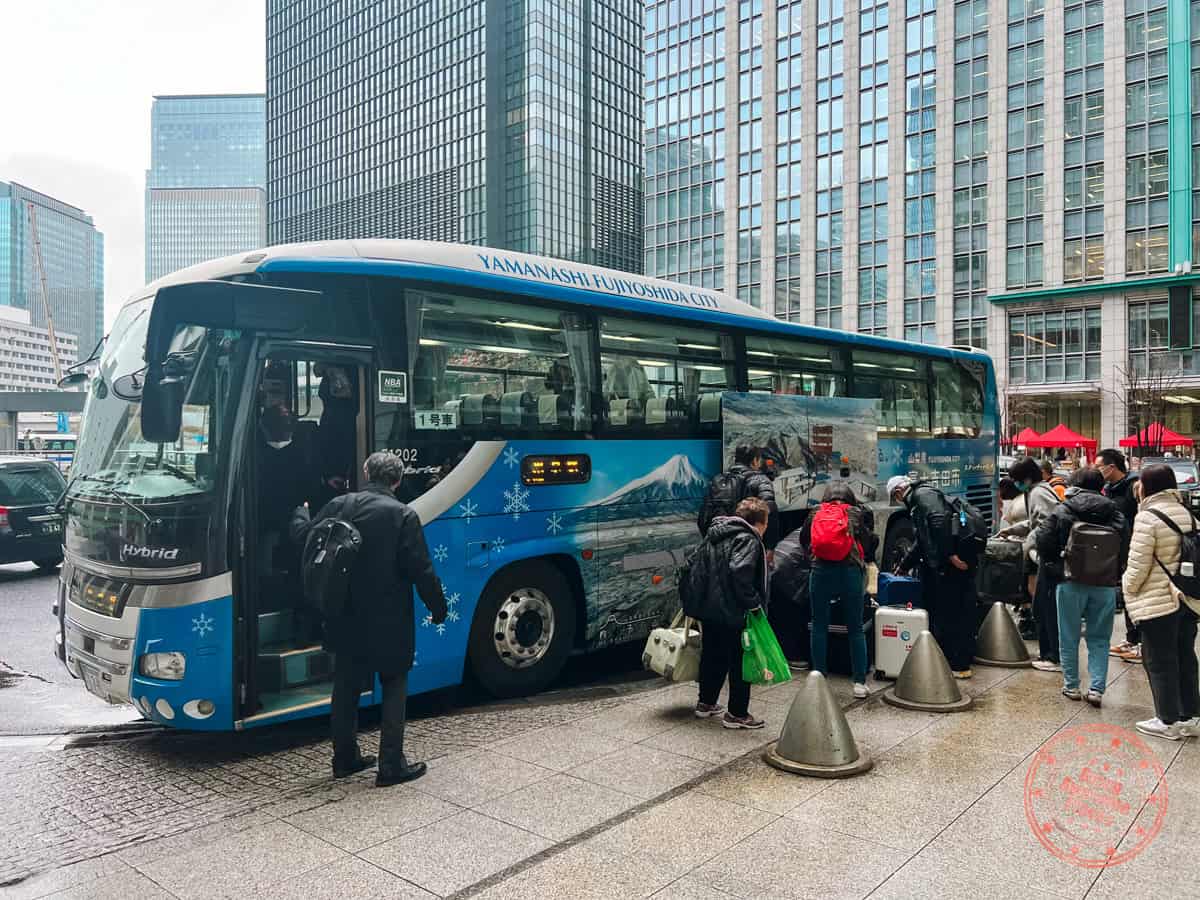
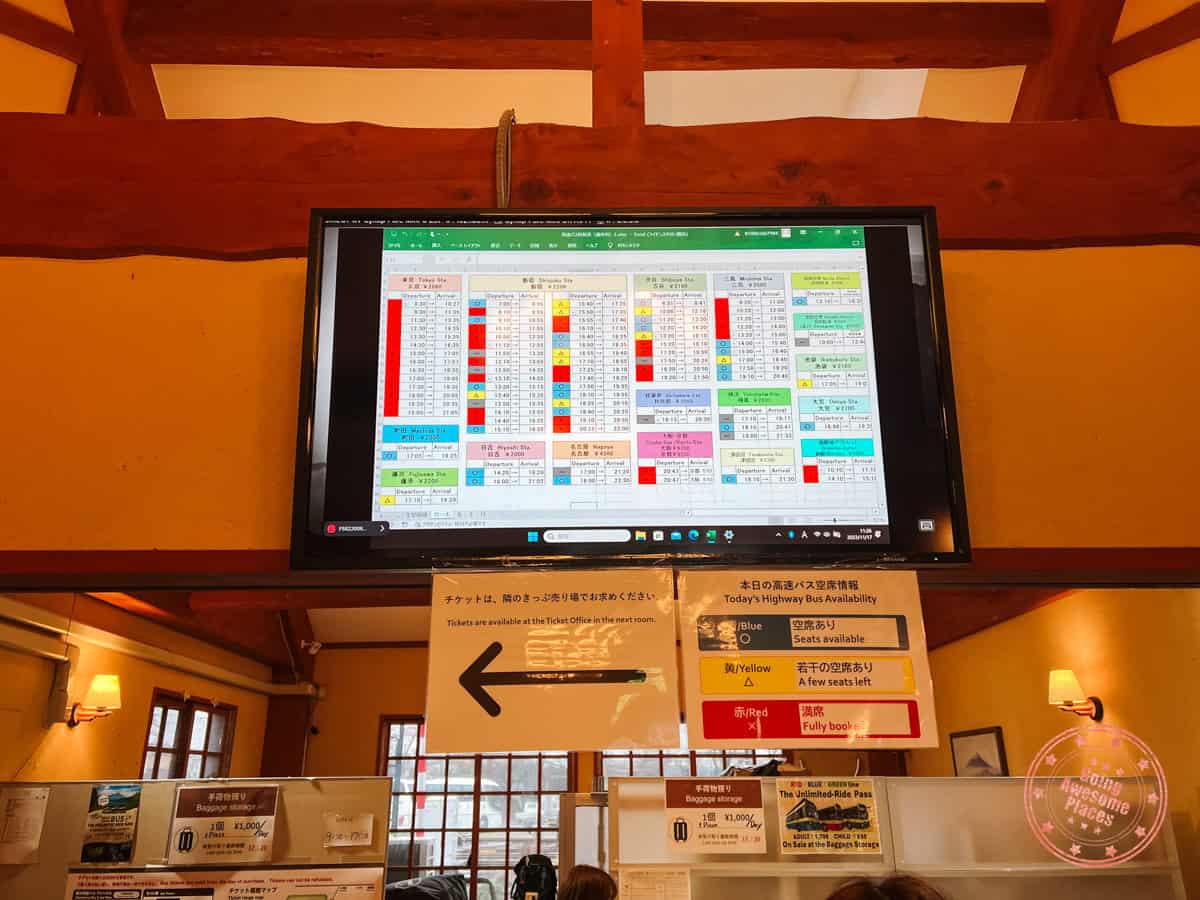
After you return your car, head back to the Kawaguchiko bus station where you’ll wait for your departure. If you take the 1:35PM bus, you’ll arrive in Tokyo at roughly 2:15PM.
PRO TIP: In the second photo above, you’ll see a schedule of the buses going to Tokyo Station, Shinjuku, Shibuya, and other farther destinations. You can certainly try to buy tickets on the day of but if you’re coming during a high season like during the fall colours, expect most of them to be red (sold out).
Get Settled In Ginza
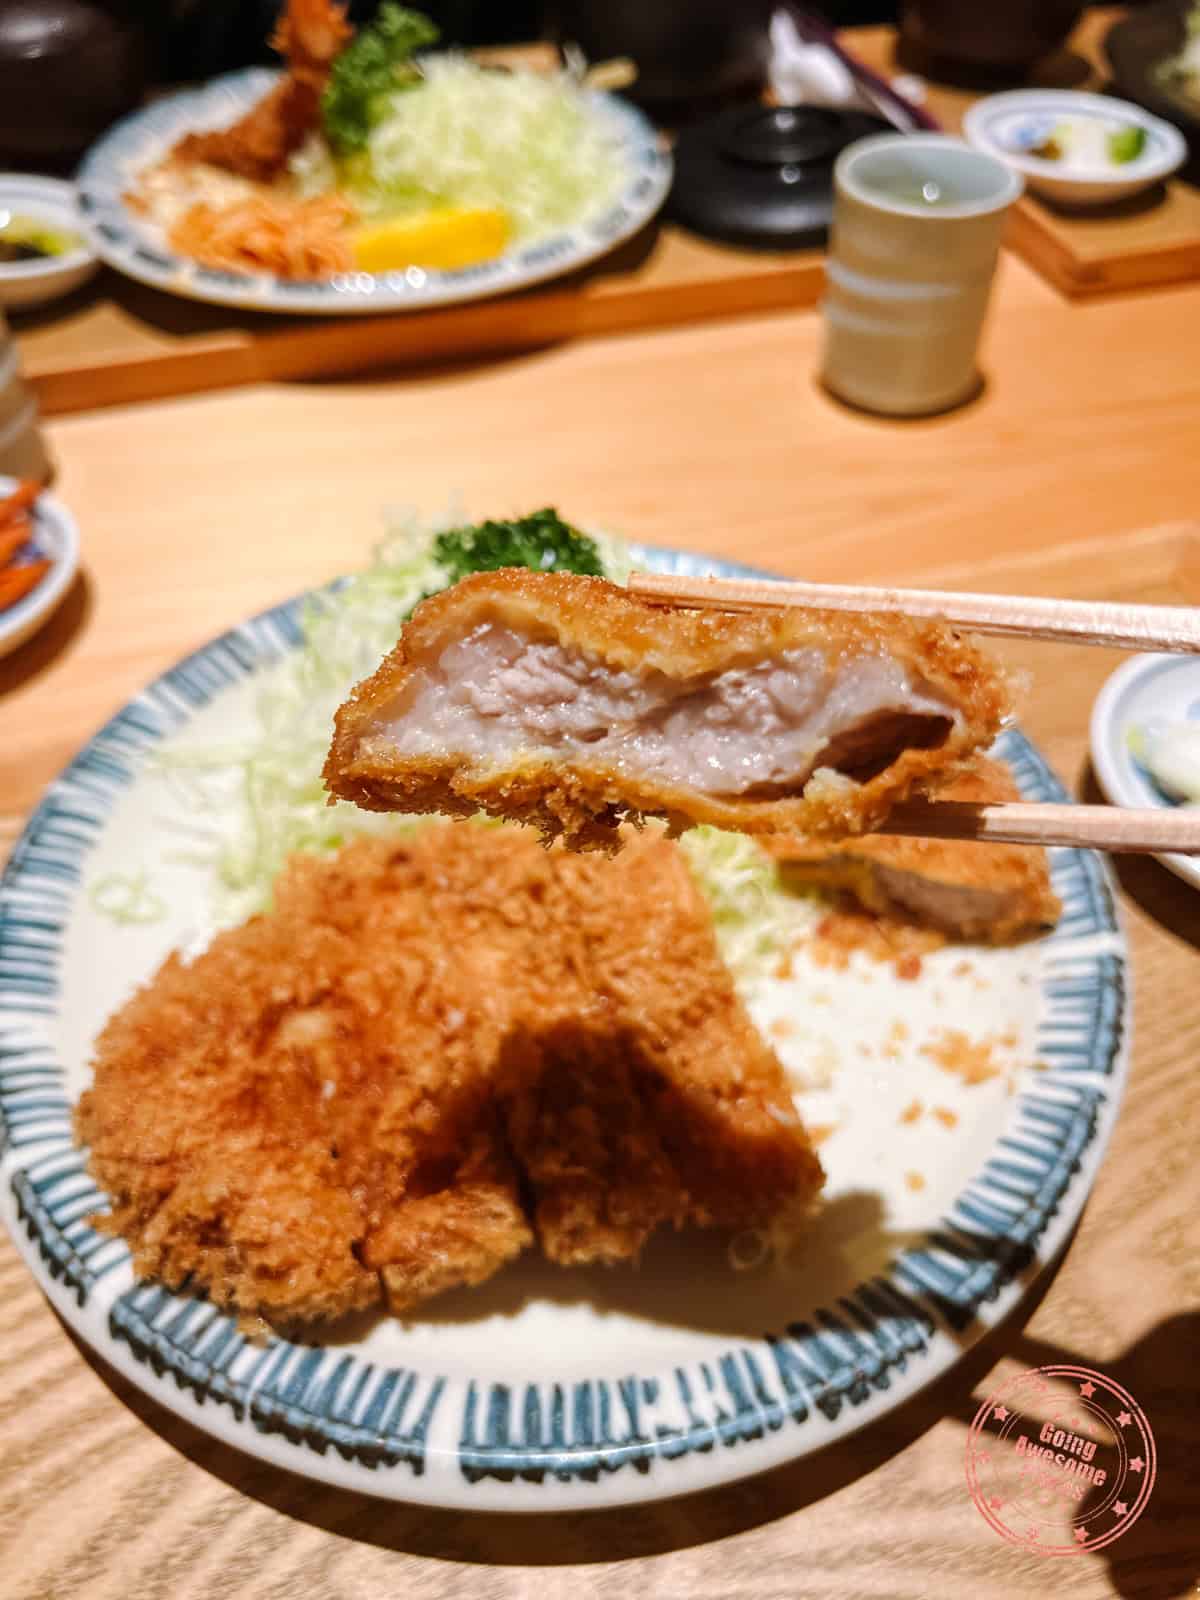
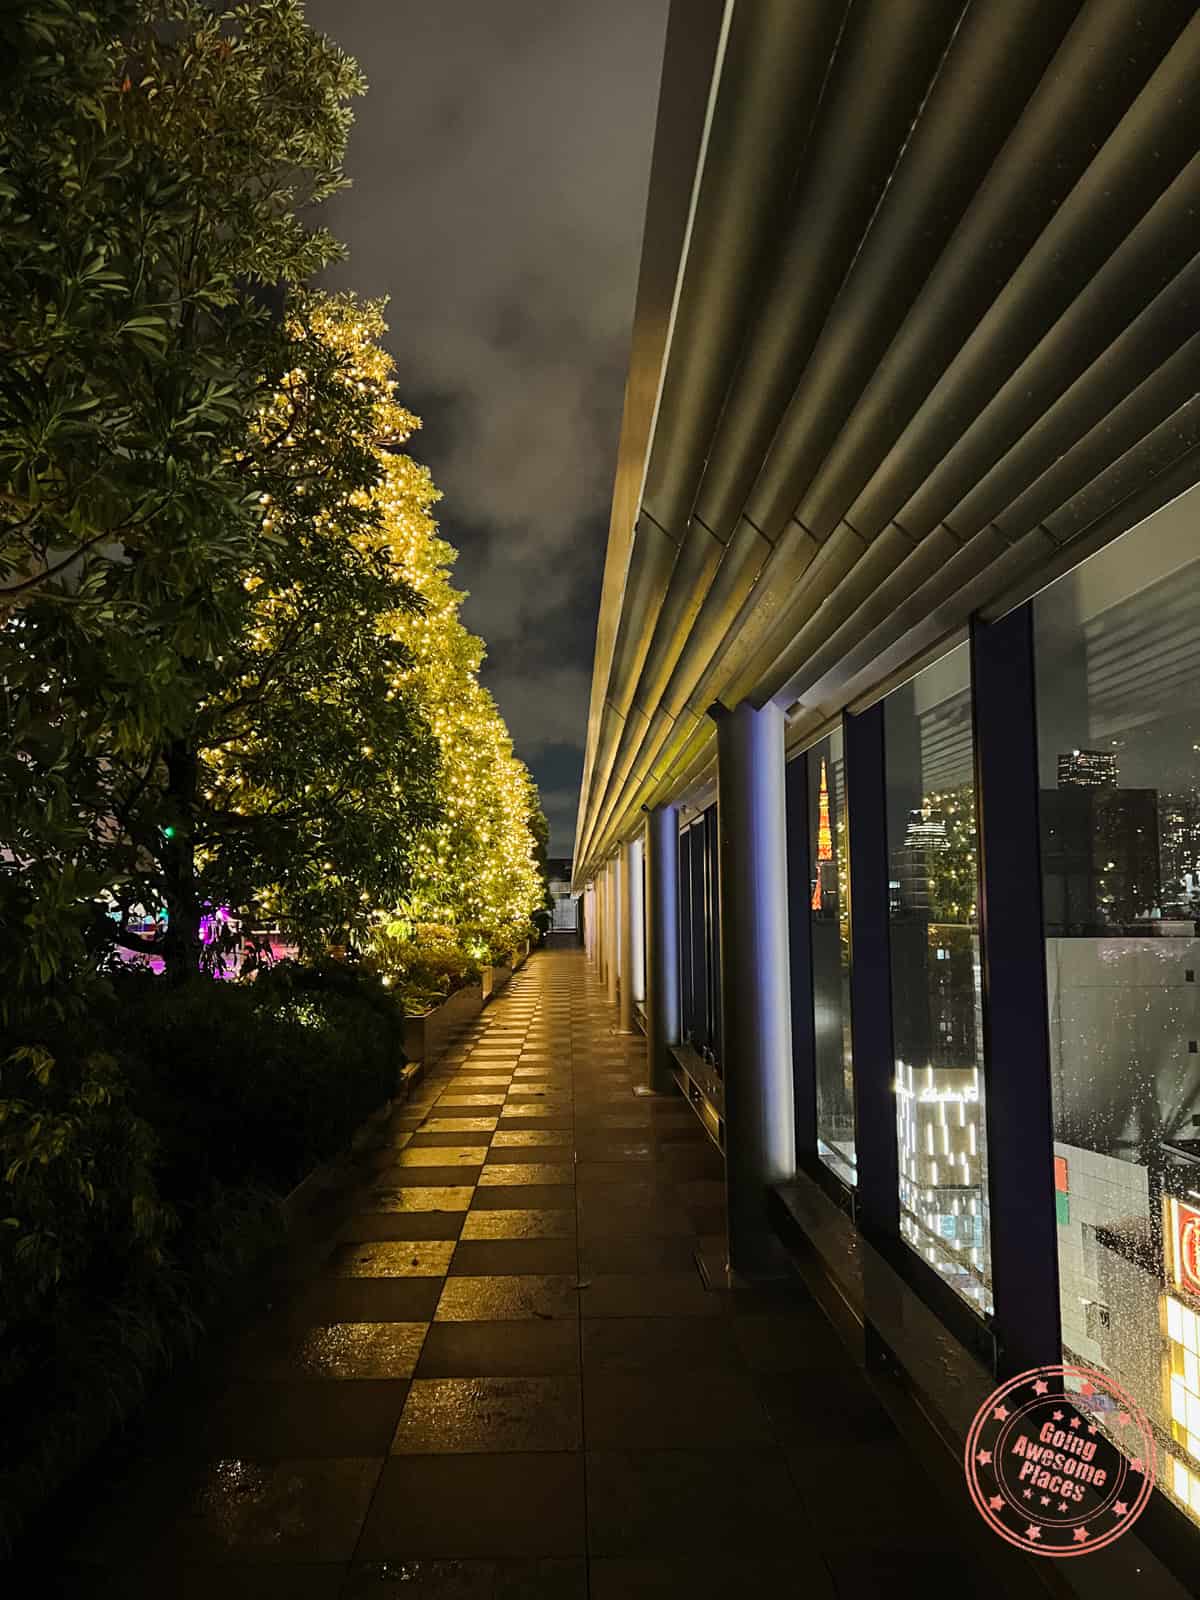
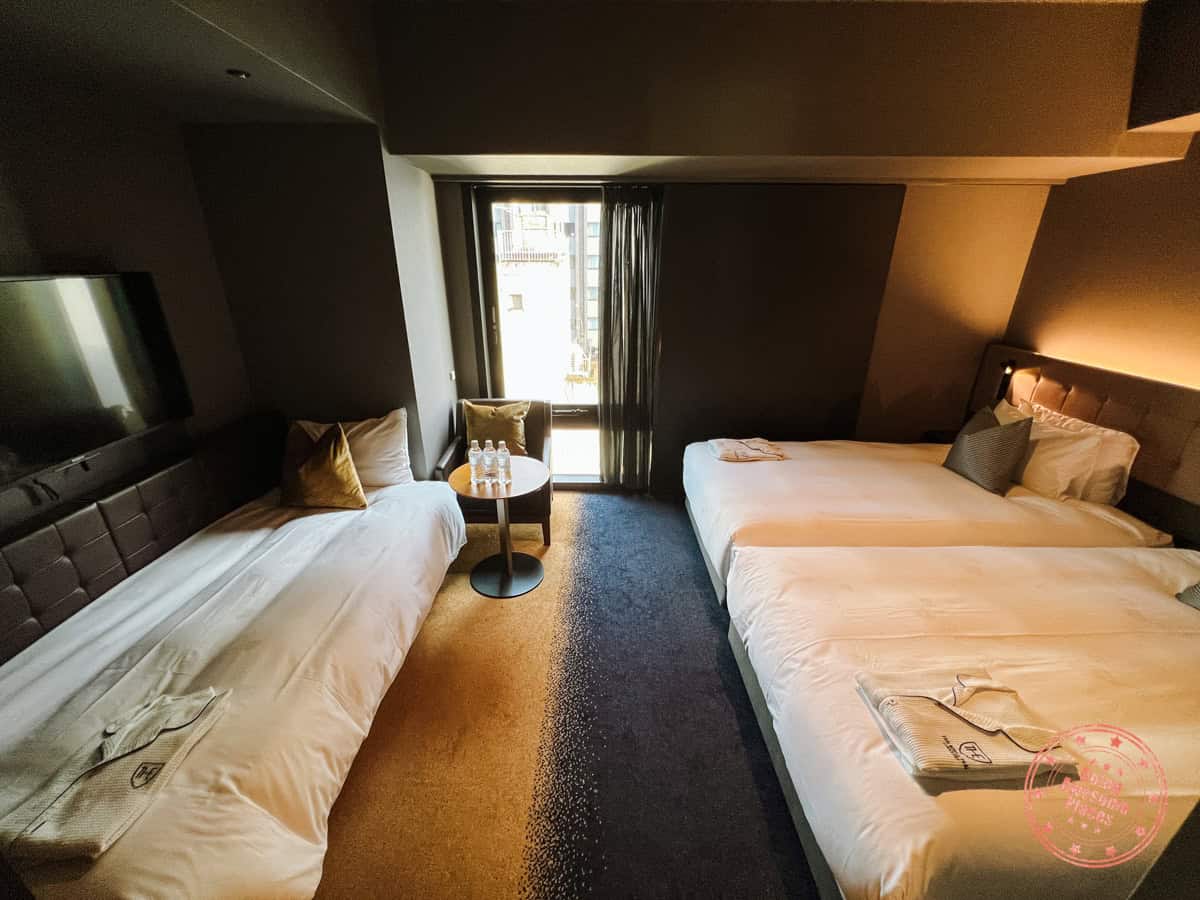
Once you arrive in Tokyo Station, take a short subway hop to Shimbashi Station and check into The Royal Park Canvas Ginza 8. This is what they call a vintage modern hotel that’s elegantly designed, mindful of local resources, and filled with art.
After a jam-packed few days, it’ll be nice to have a chilled out day in Ginza and that’s exactly what we did.
The late afternoon ended up being perfect timing for an early dinner. Ginza is mostly known for it’s high-end shopping but they also have a plethora of amazing restaurants. We recommend that you eat at Bairin Ginza Honten, a tonkatsu specialist that serves the most delectable kurobuta (Berkshire pig) cutlet.
PRO TIP: It’s actually an advantage to eat at unusual hours. Even after arriving at 4:15PM, there was a small queue but we got in 15 minutes later. This is quite good considering the line gets insanely long during prime eating hours.
Our go-to in Ginza usually revolves around heading up to the Ginza Six rooftop, a free attraction that provides top-down views of the neighborhood.
And if you’re looking to do a bit of shopping, make sure to visit the UNIQLO flagship. Also, if you haven’t heard of GU, they’re the discount brand of UNIQLO that only exists in Japan (save for a pop up in NYC) so make sure you check them out.
Day 8 Summary
What you’ll see & do:
- Ginza Six and Rooftop
- UNIQLO Ginza Flagship
- GU – Ginza
Where you’ll eat:
- Breakfast – Fuji Lake Hotel – Over the years, we’ve been really impressed with onsen hotel breakfasts and this was no exception. There was bountiful amounts of food and everything was superb.
- Lunch – Skipped – At this point, you’ll honestly be pretty tired and you’ll likely opt to skip lunch since the buffet breakfast was so filling. Instead, we just had a super early dinner in Ginza instead and called it a night.
- Dinner – Bairin Ginza Honten – There is typically a long line down the stairs to this restaurant but if you come in between main meal hours (i.e. 4PM for us), you’ll only have to wait 15 minutes. They specialize in tonkatsu but they also have donburi as well. Their Kurobuta Katsu is a must-have.
Where you’ll stay:
Itinerary Day 9 – Trio Of Tokyo Neighbourhoods
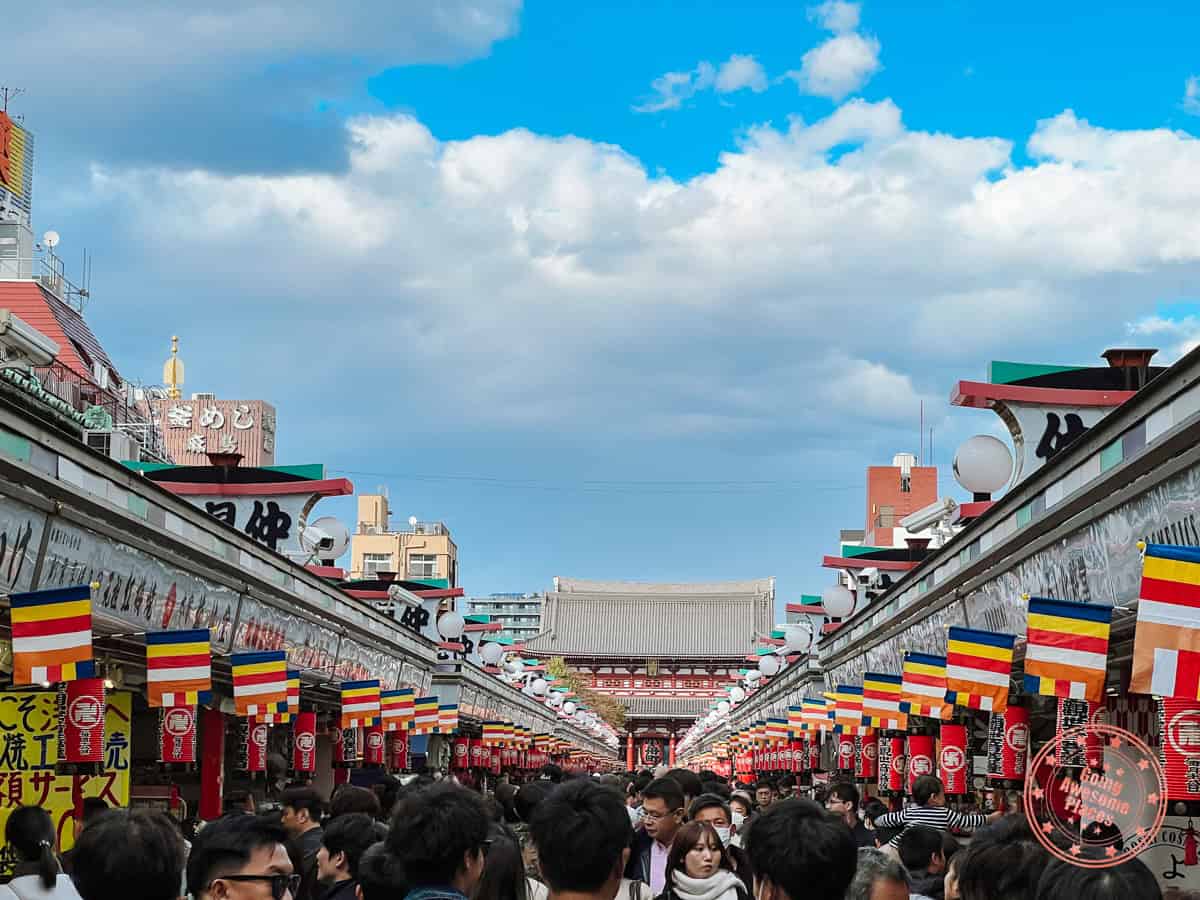
Tokyo is a massively sprawling city and when planning a trip, you really need to organize your days between the various distinct neighborhoods. For your second last day of the trip, you’ll be exploring Tsukiji, Asakusa, and Harajuku.
Join The Crowds In Tsukiji
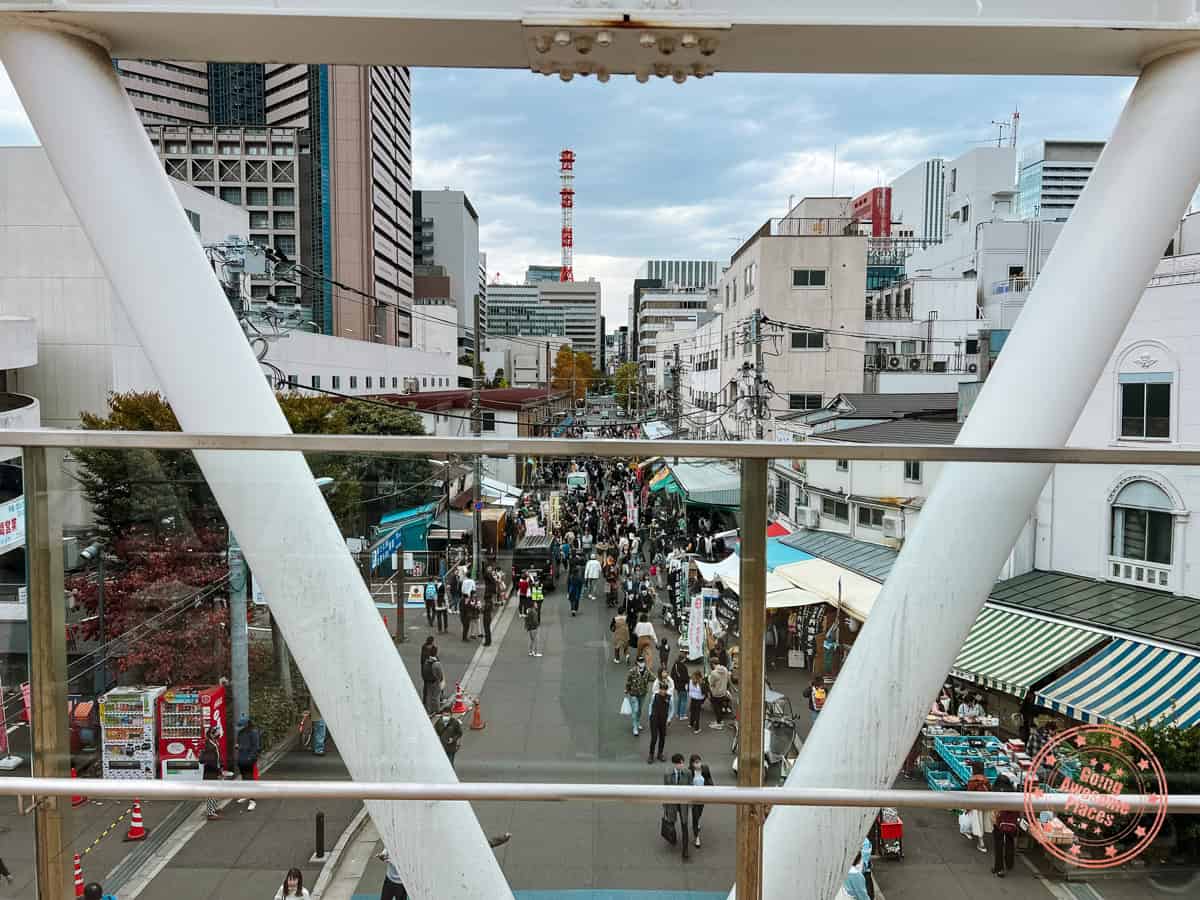
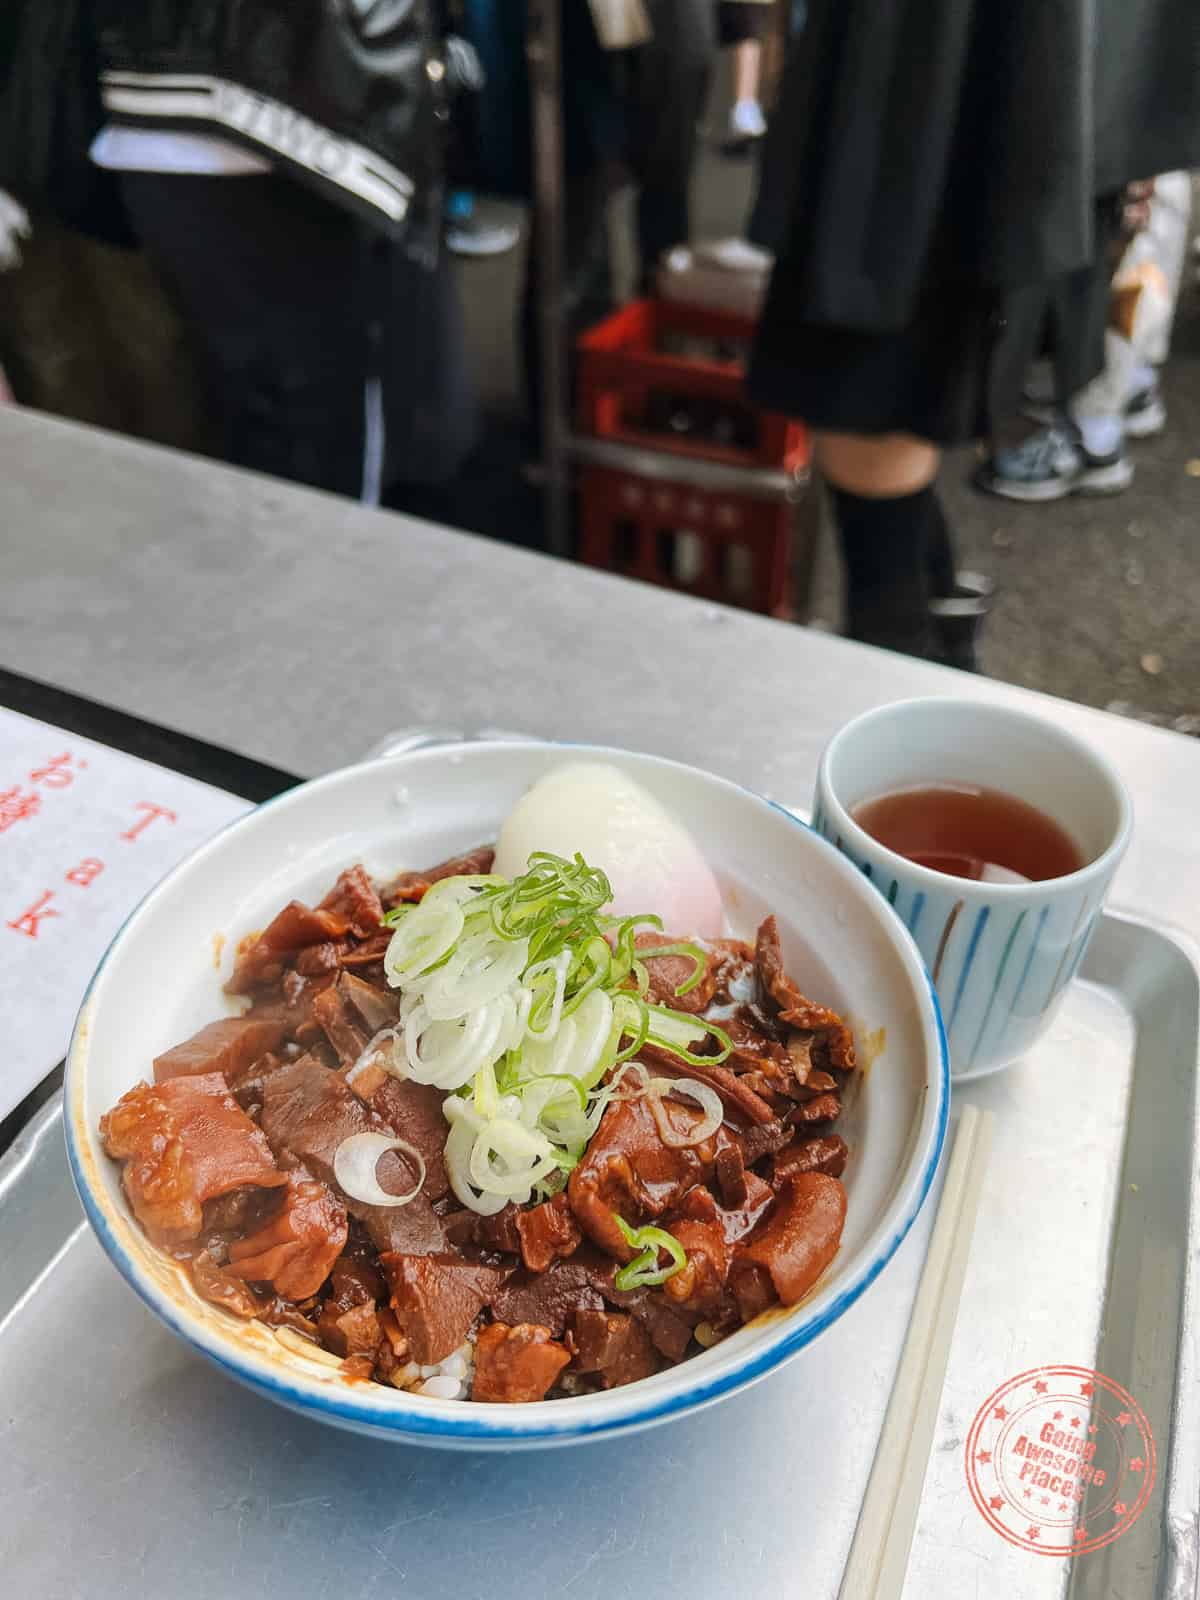
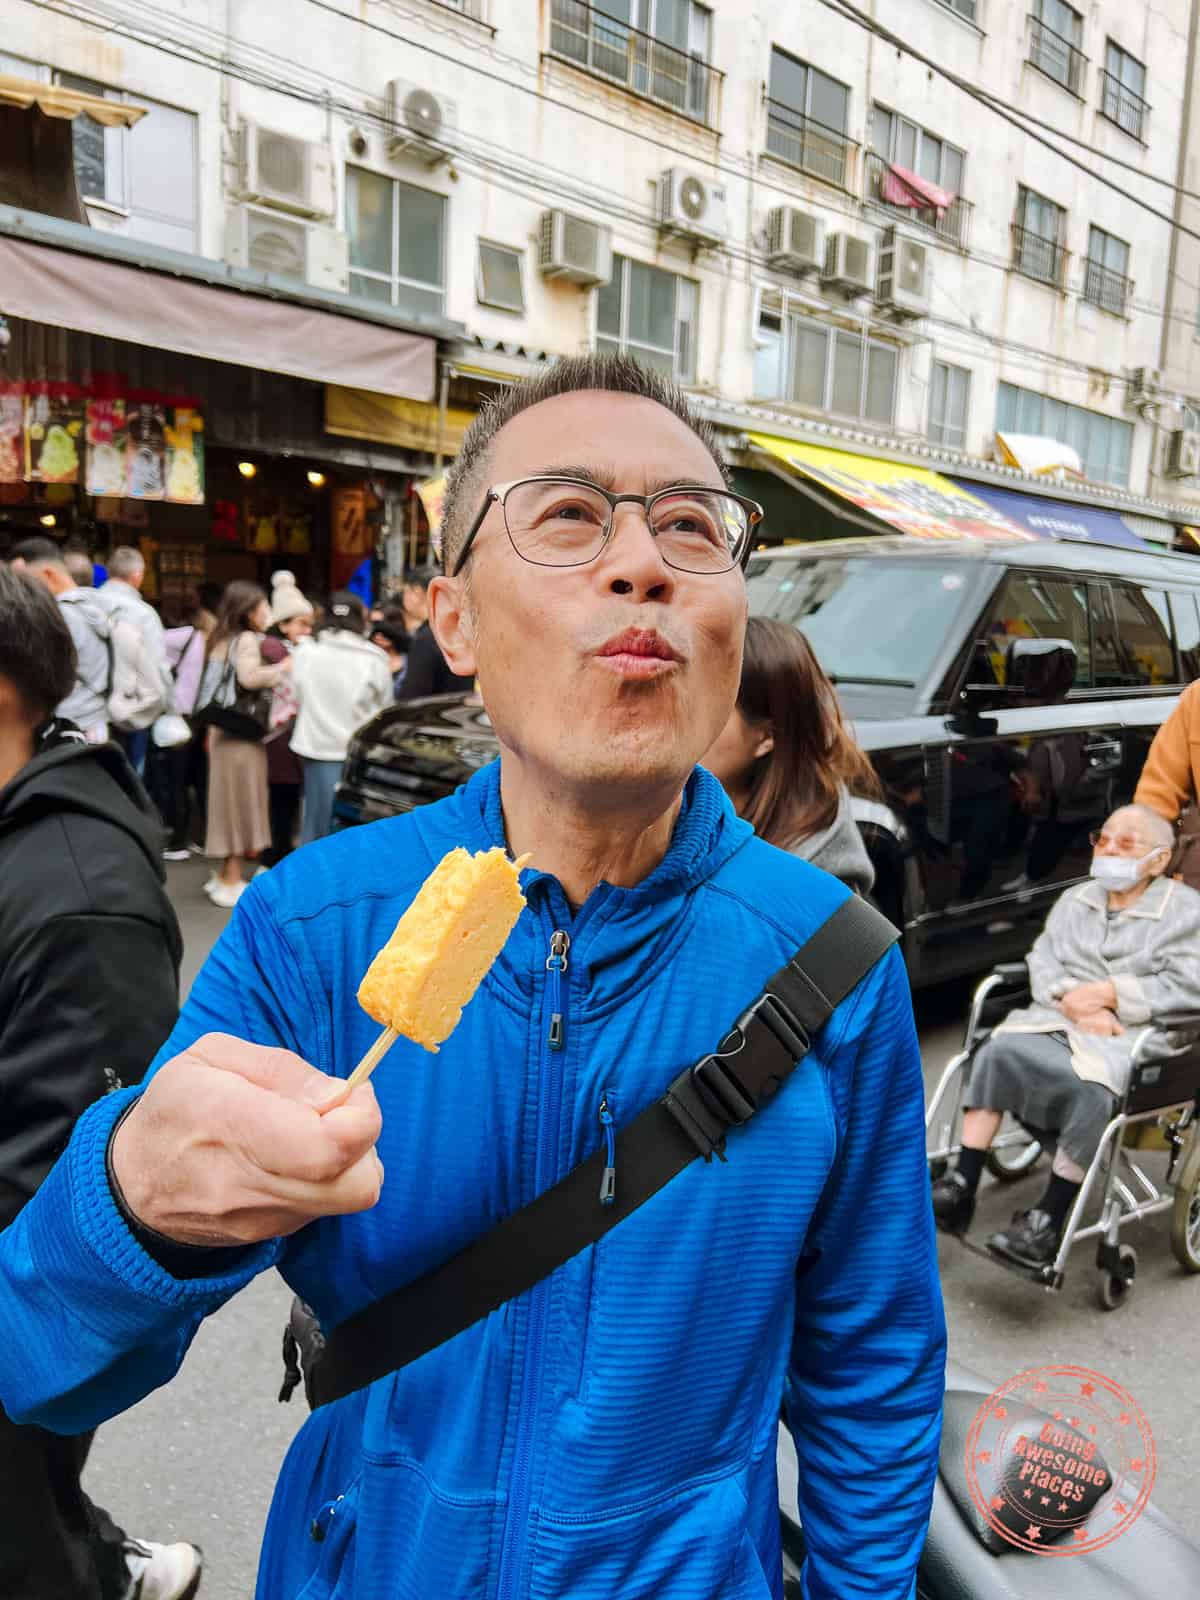
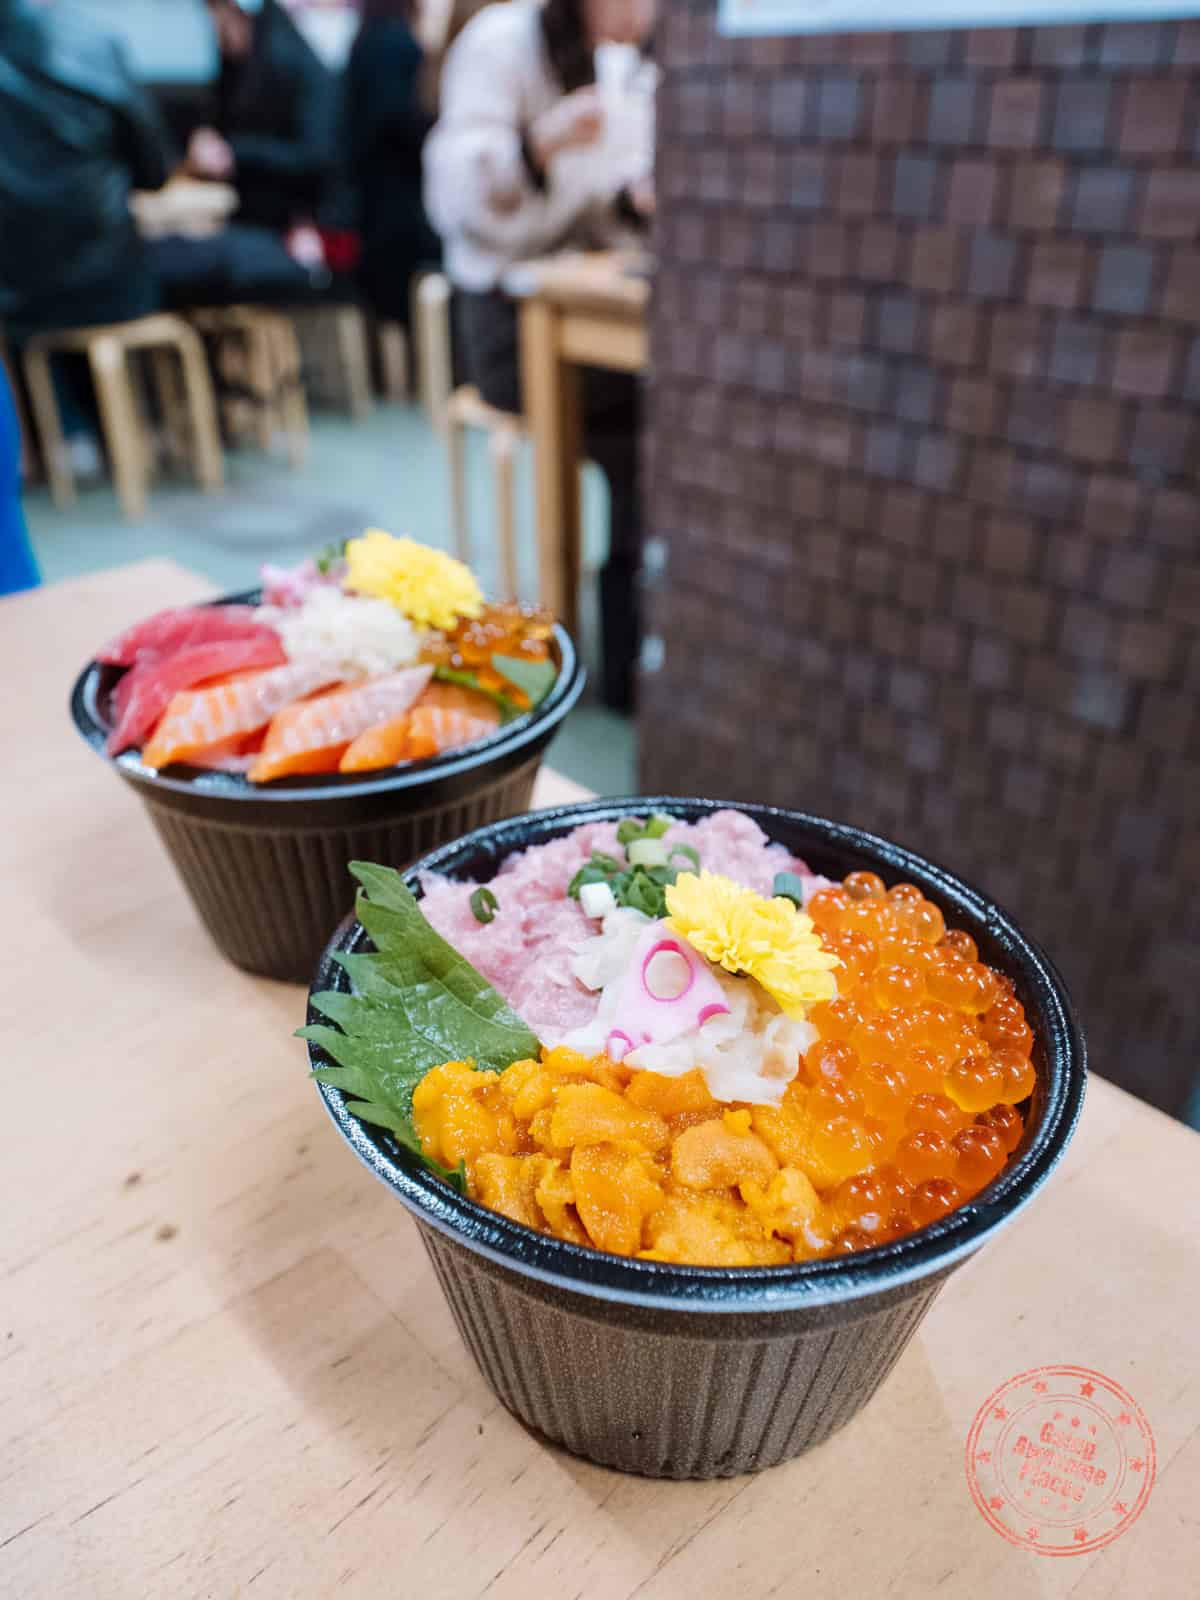
Tsukiji Fish Market is somewhere I love going back to. Sure it’s pretty touristy these days but it still retains much of its original charm, frenetic energy, and delicious eats.
This time I mixed up old favourites such as Yamcho (tamagoyaki) and Tsukiji Iroha (strawberry mochi), and sprinkled in new selections with Kitsuneya (to try horumon-don) and Kouragumi Tsukiji 2-goten (for fresh seafood chirashi bowls).
The food was delicious and as you can tell, my Dad enjoyed every moment of it!
If we had more time, I would suggest going to Toyosu Fish Market for a more authentic experience but the truth is, we didn’t get our desired dates after applying to the tuna auction lottery.
Eat Your Way Through Asakusa
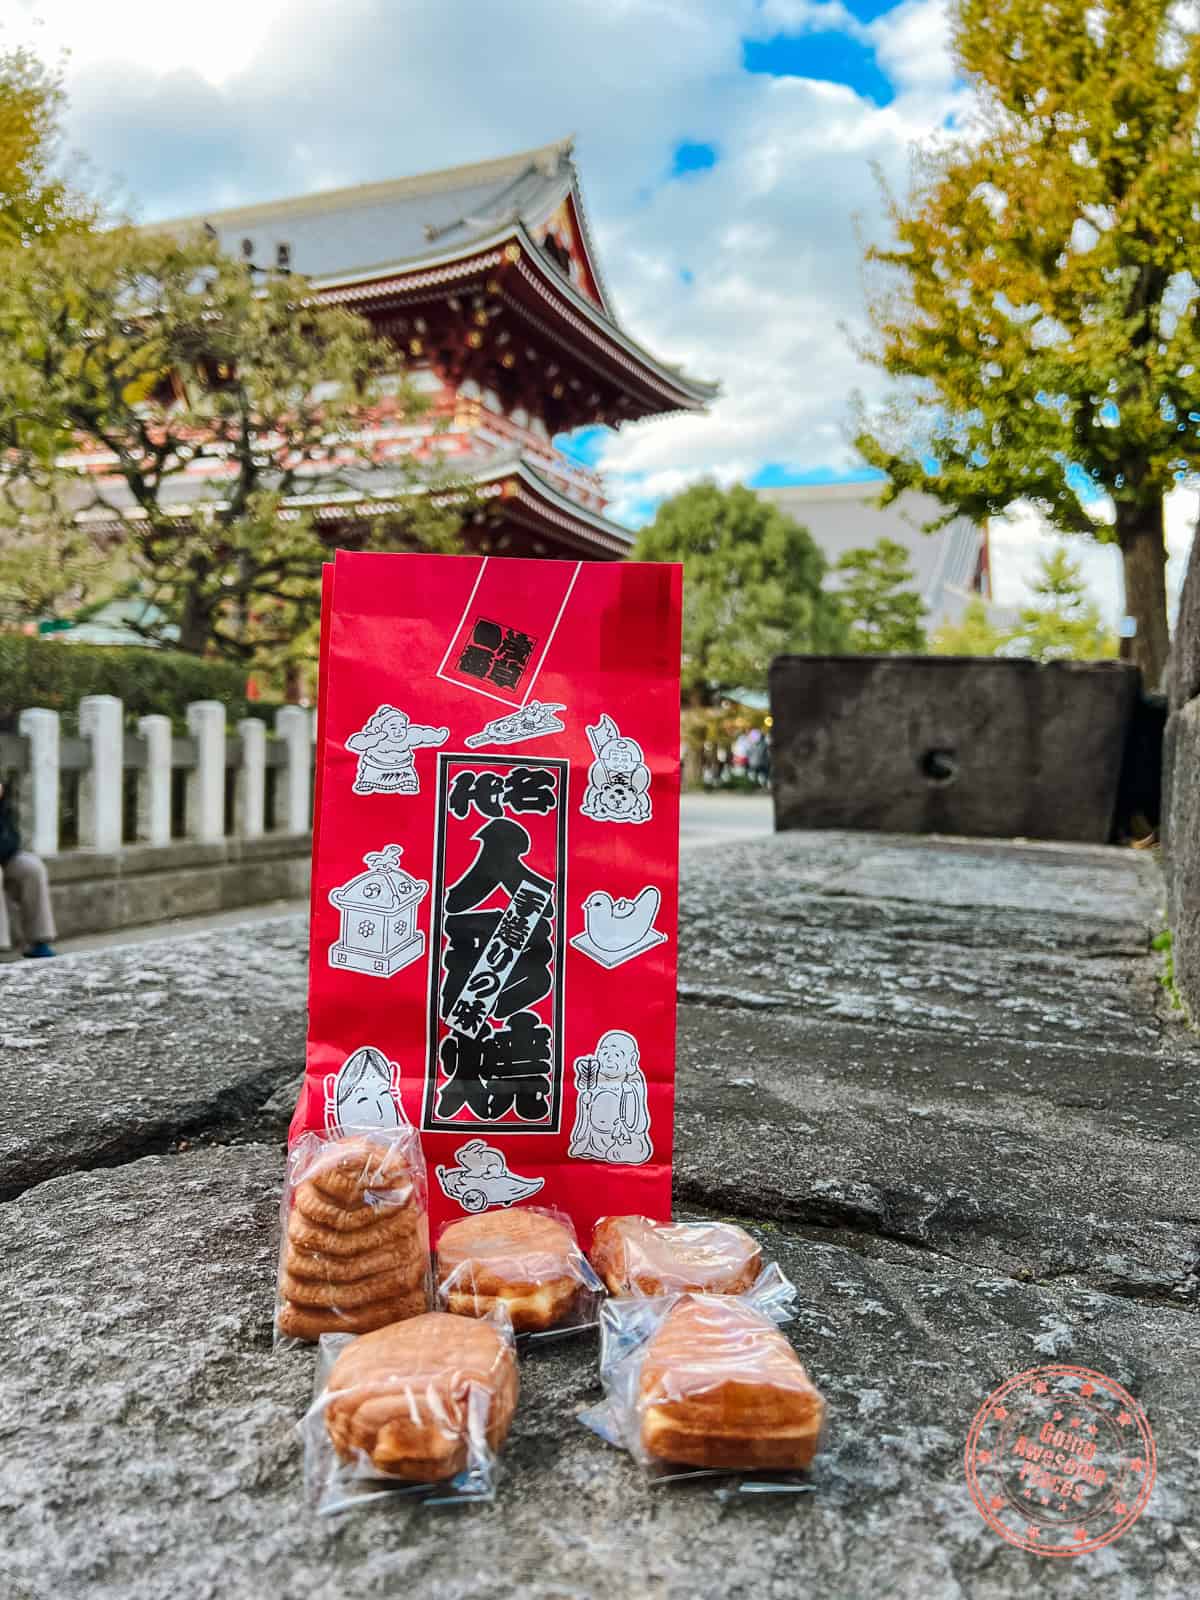
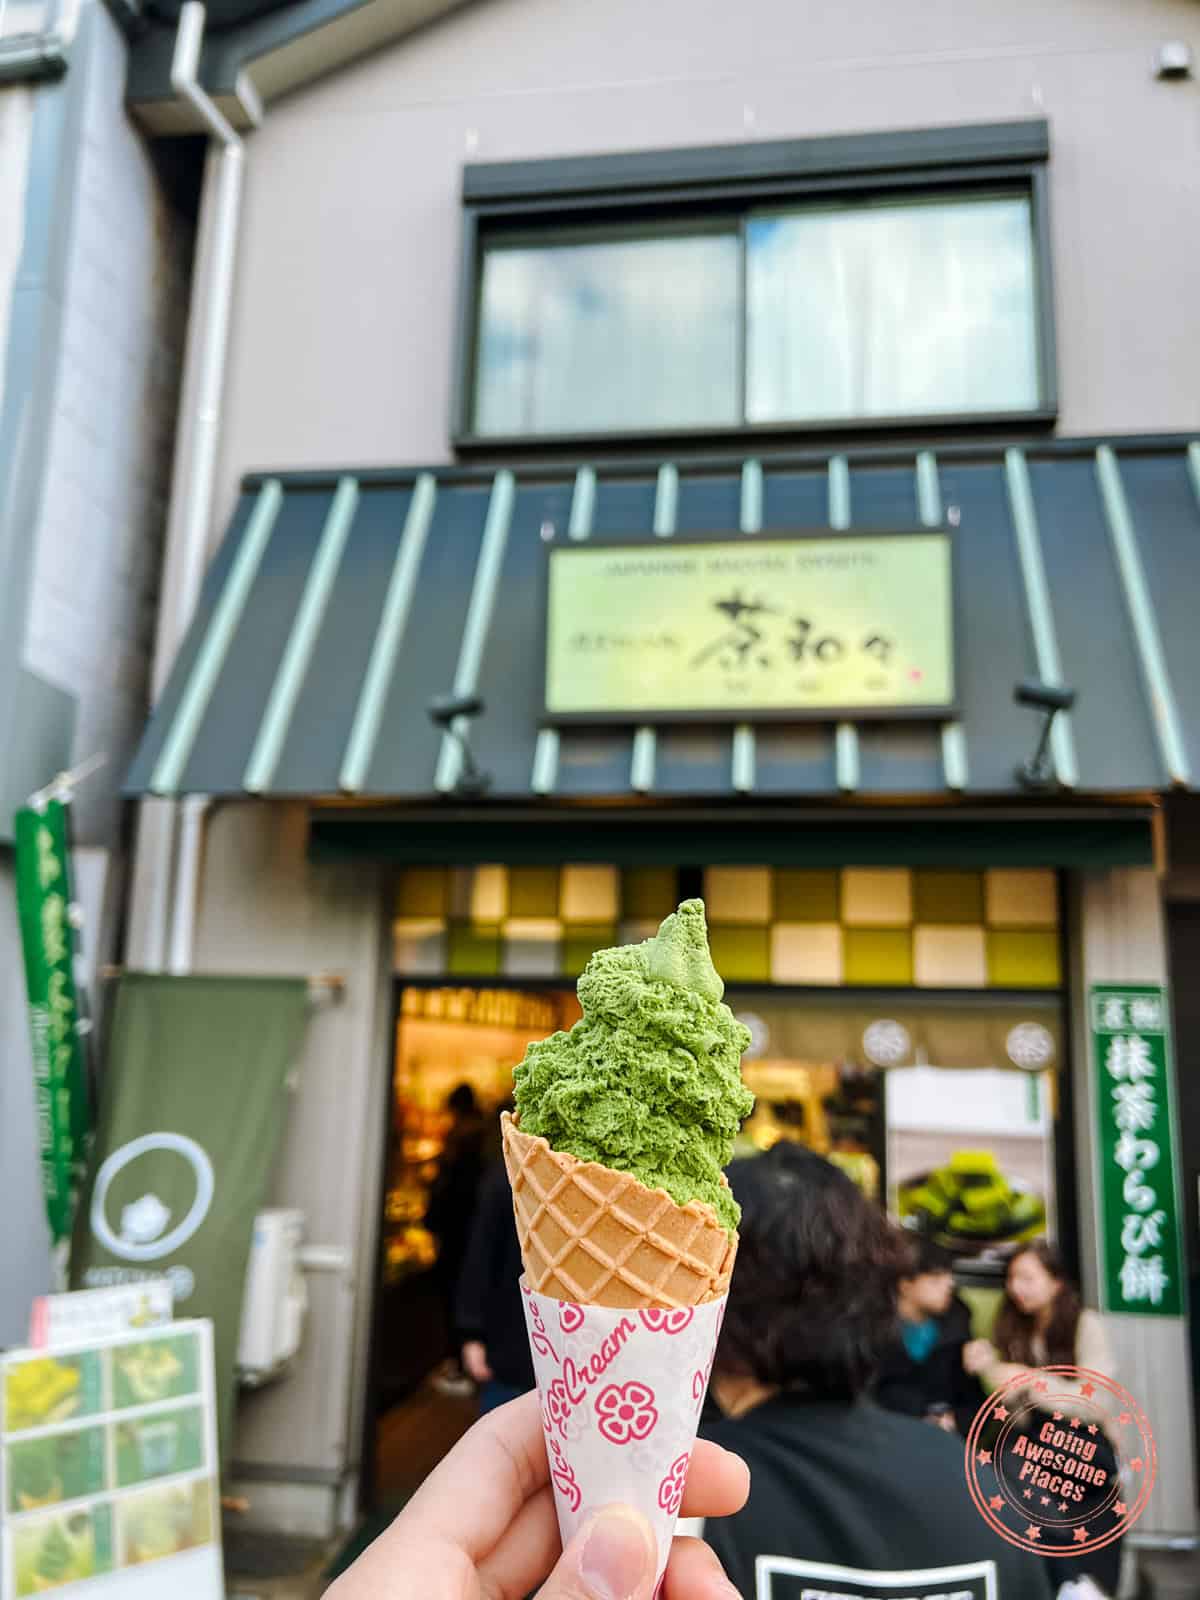
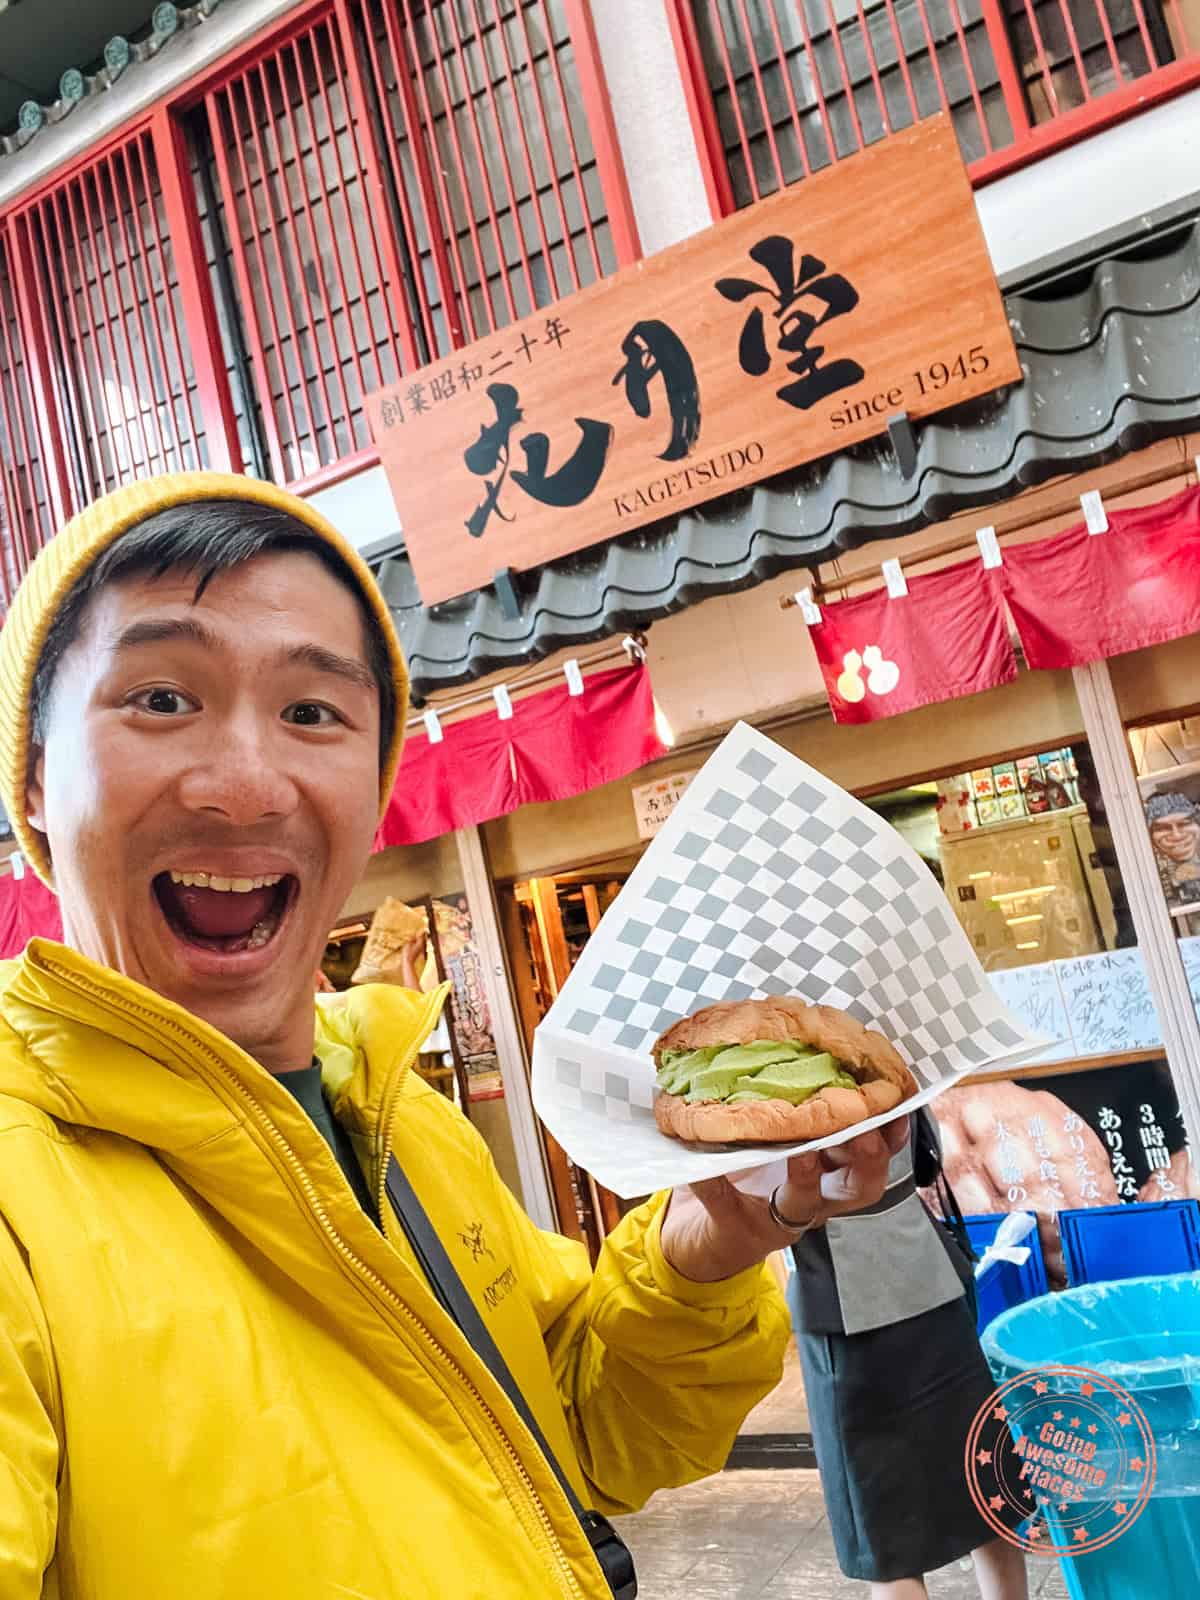
Next is the vibrant neighborhood of Asakusa, famous for its historic Senso-ji Temple, one of the oldest in the city. Strolling through the main Nakamise Street, you’ll be able to nibble on what seems like an endless trail of snacks but you should check out Bairindo and Asakusa Kokonoe. There’s also plenty of traditional shops.
PRO TIP: Asakusa is pronounced “ah-sack-sa”.
When you get to the end of the street is the temple which you’ll be able to identify by its large red lantern welcome visitors and its 5-story pagoda. Come here to make a prayer by putting your hands together, make your prayer, and then bow deeply. Since this is a temple, you don’t need to clap your hands twice.
A few other snack stops we recommend is Sa Wa Wa which you also enjoyed in Arashiyama. Asakusa Katgetsudo is another one of our favourites where they fill freshly baked melon pan with matcha soft-serve ice cream.
Buying The Perfect Japanese Gift
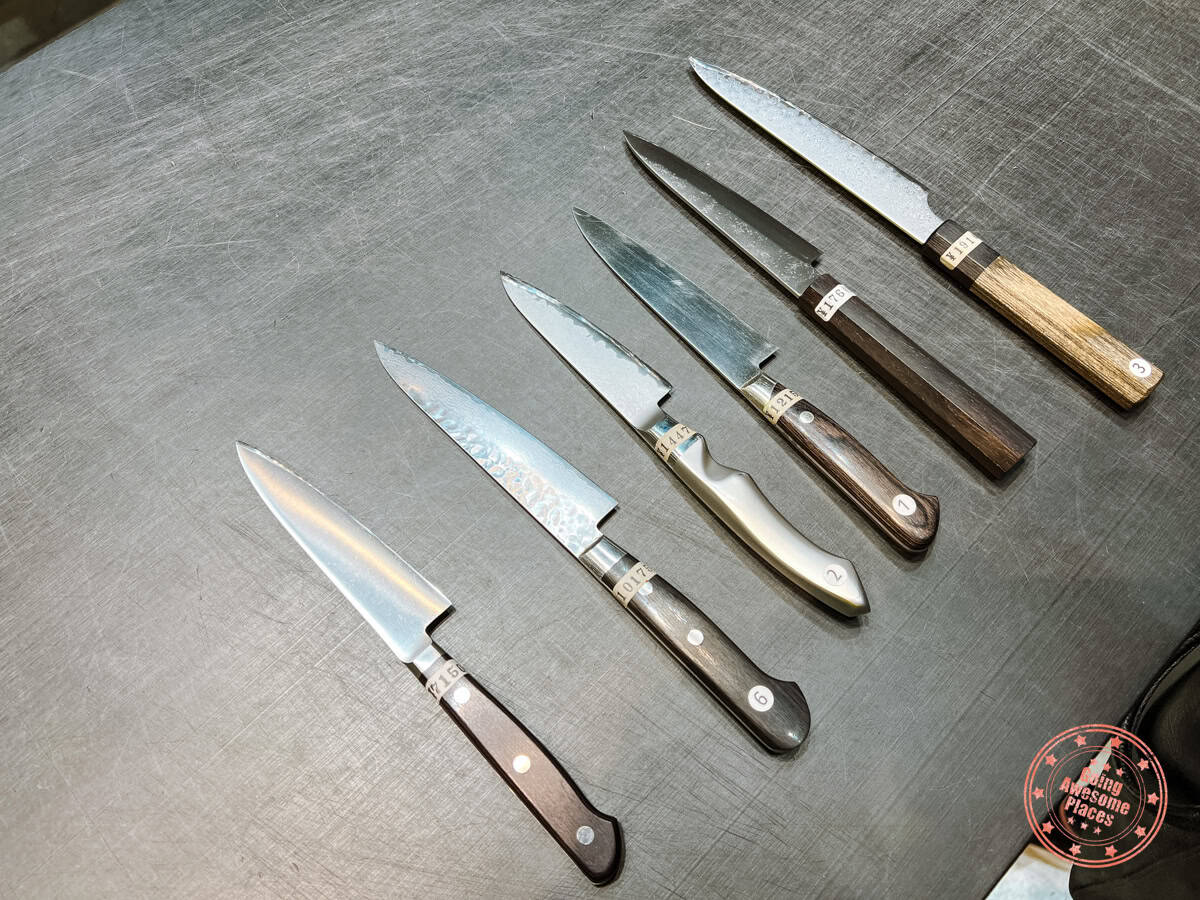
While you’re in Asakusa, you’d be remiss if you didn’t go to Kappabashi Street, the kitchenware district of Tokyo. Now even if you’re not a restaurant owner, you’ll want to visit because this is the best and easiest place to purchase high-quality Japanese knives.
There are many knife shops but the one we’ve been a frequent customer of is Kama Asa. Their service is excellent, their sales staff speak English, and their prices are quite reasonable considering how much they cost back home.
The Spunky Harajuku
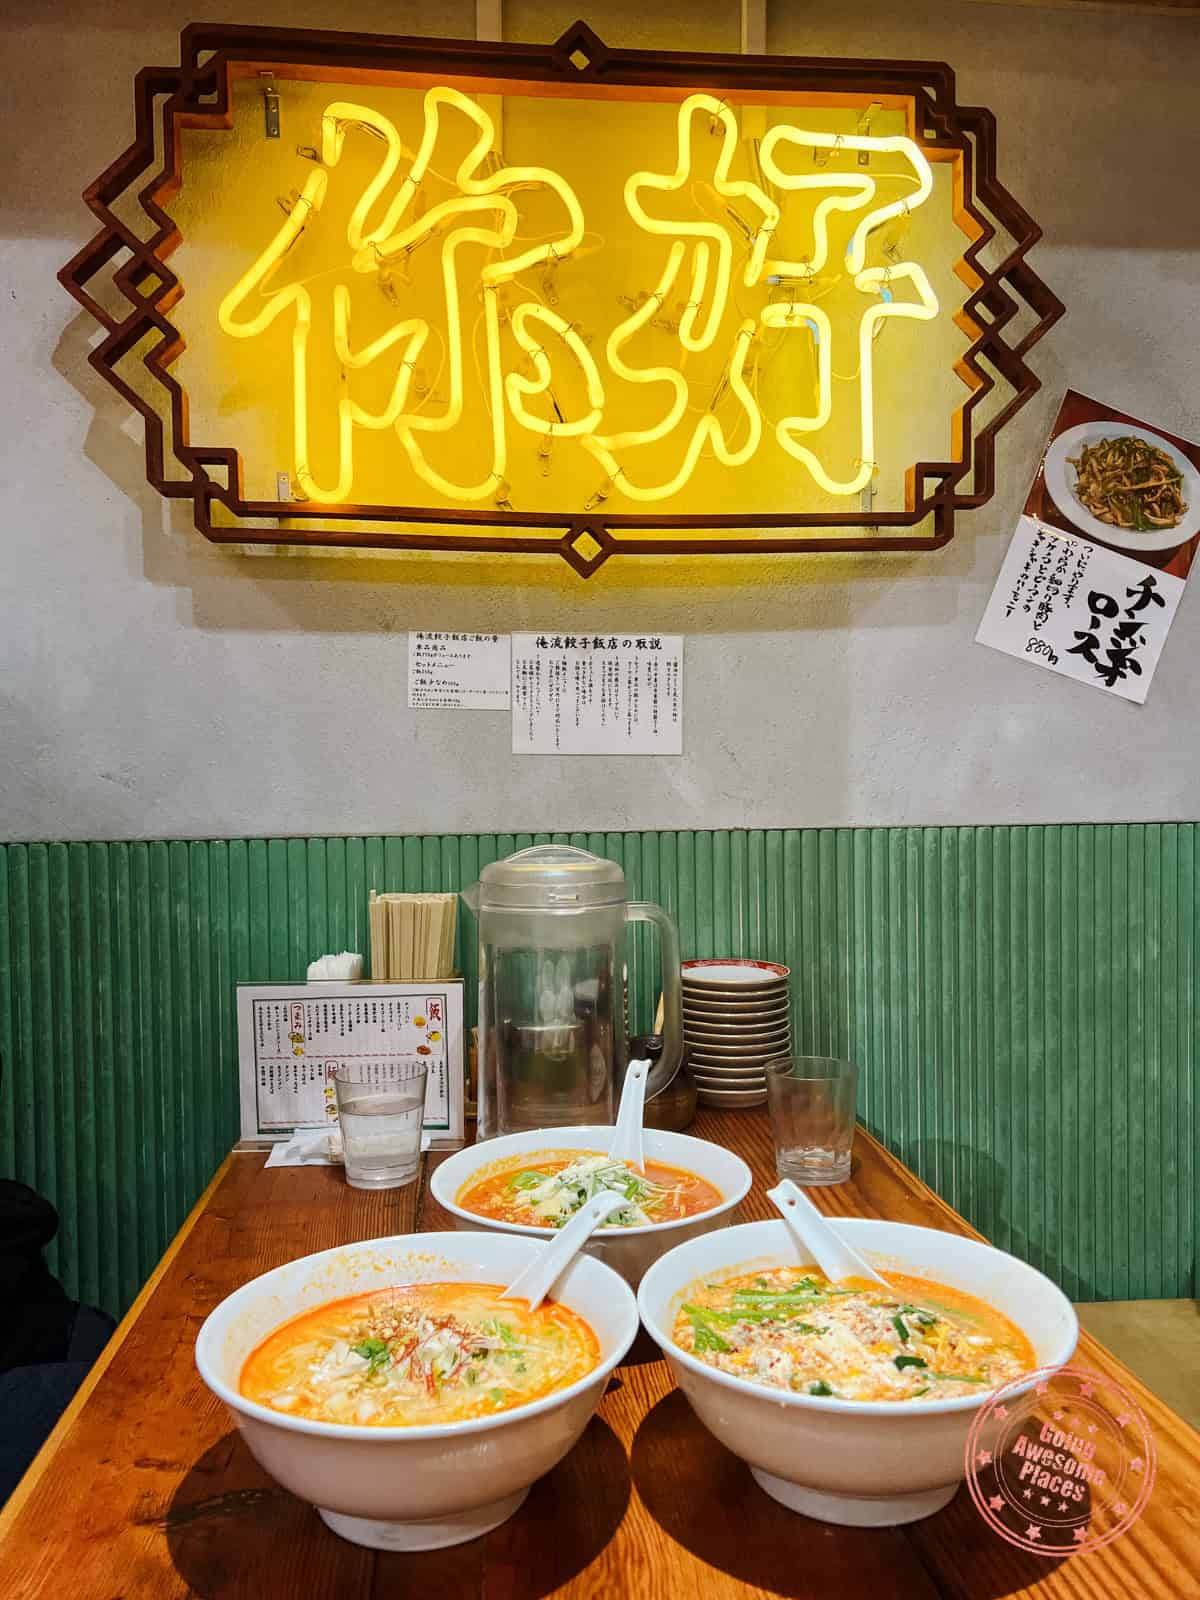
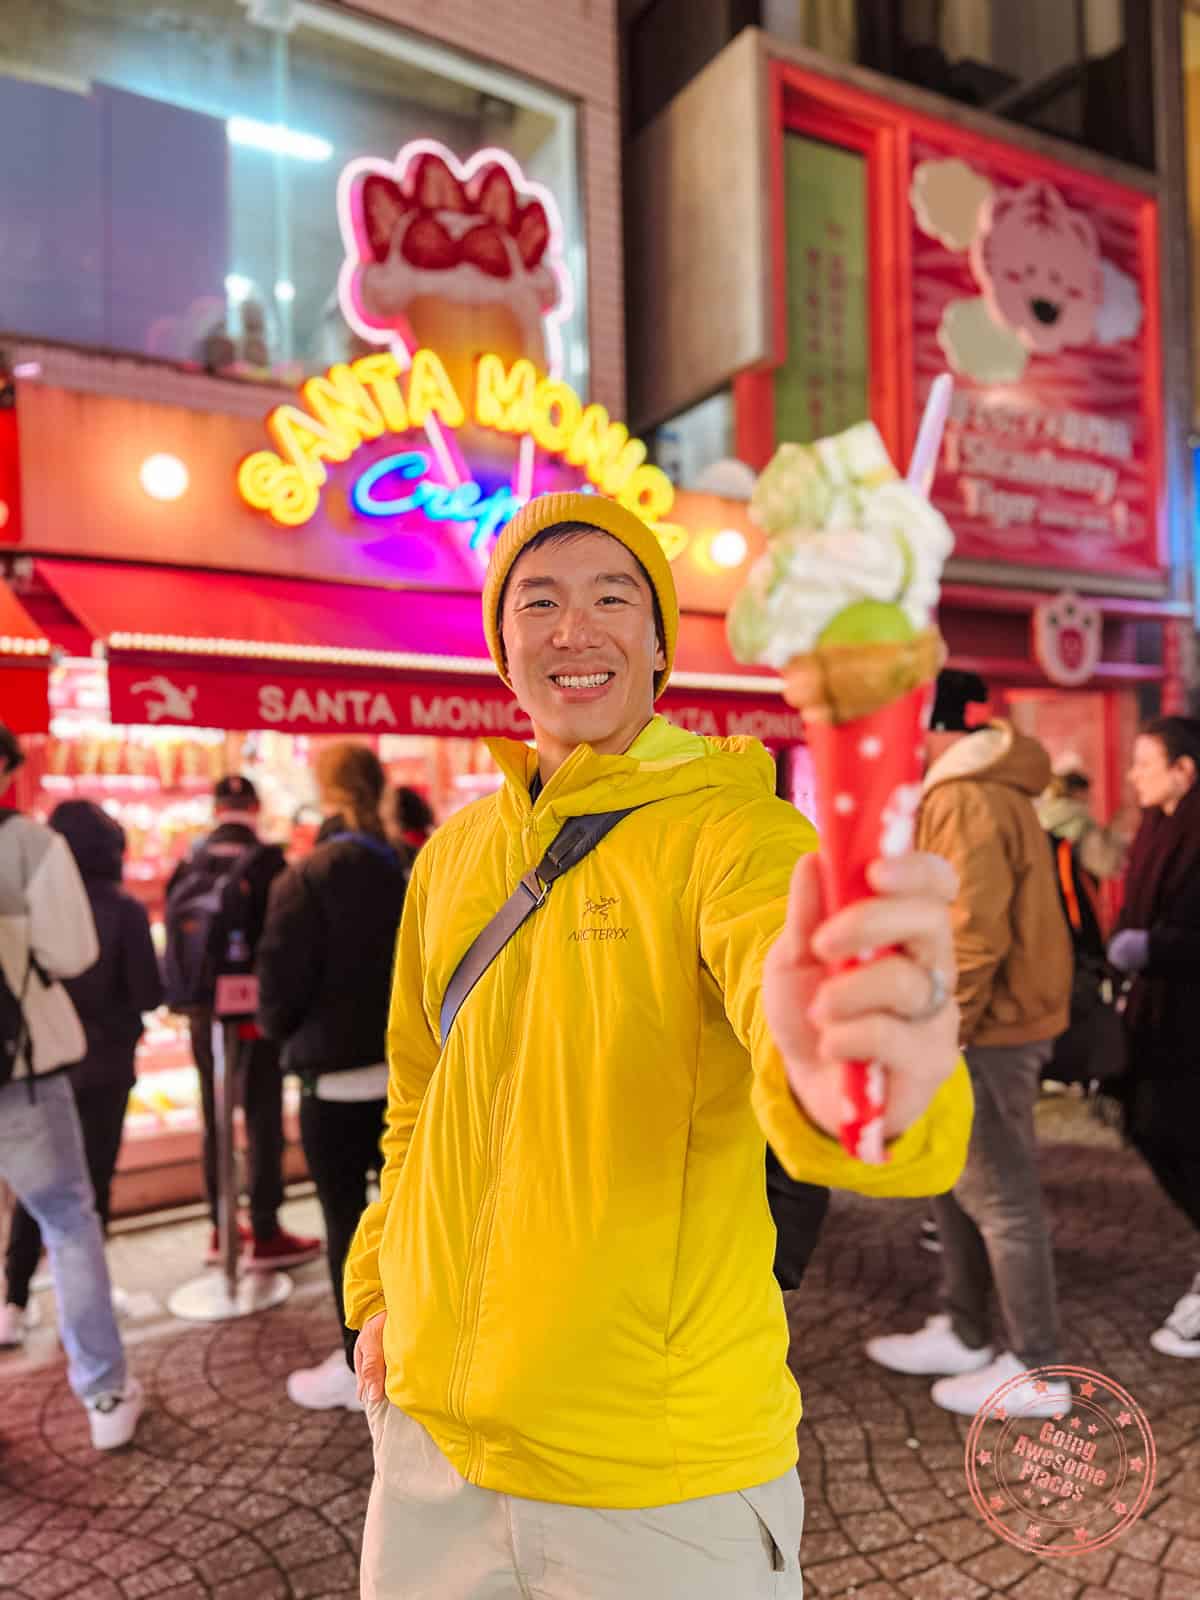
To close out the night, you’ll visit the bright neon lights of Harajuku, famous for its lolita girl fashion and the latest in trending Japanese culture.
There are a lot of restaurants in Harajuku and the adjacent Omotosando Hills. We ended up choosing Oreyu Shio Ramen Harajuku to try their unique blend of Chinese noodles and ramen.
To close out the evening, stroll along the famous Takeshita Street where you’ll n doubt be tempted by its many boutiques and dessert shops. Craving Japanese crepes, I couldn’t resist picking one up from Santa Monica Crepes, a worthy challenger to Marion Crepes which is also nearby.
Day 9 Summary
What you’ll see & do:
Where you’ll eat:
- Breakfast – Kitsuneya – Not exactly the most conventional breakfast but I’ve always wanted to see what the hype was all about. They’re best known for their gyu-don but if you’re feeling adventurous, the horumon-don with stewed cow intestines is quite tasty. It’s a frenetic experience with standing tables but is emblematic of what Tsukiji is all about – authentic and hearty.
- Snack – Yamacho – This is the iconic tamagoyaki spot where there’s always a huge line up. Don’t fret though, the queue moves quite quickly. Don’t underestimate these eggs on a stick.
- Snack – Tsukiji Iroha – A small cart that specializes in ichigo daifuku, or mochi filled with a flavored bean paste and topped with a strawberry.
- Lunch – Kouragumi Tsukiji 2-goten – Being more time conscious and knowing my parents didn’t want to wait in line for hours, this was a no-nonsense sushi restaurant with decent (although not amazing) chirashi bowls.
- Snack – Bairindo – They are located near the entrance of Nakamise-dori in Asakusa and specialize in ningyo-yaki, which is a Japanese confectionary (cake) filled with red bean paste and shaped with the Asakusa Kaminarimon Gate.
- Snack – Asakusa Kokonoe – Age manju is a fried bun that’s chewy on the inside and filled with a sweet custard.
- Snack – Sa Wa Wa Asakusa – The same matcha specialist that you had in Kyoto but because they’re so good, how can you say no?
- Snack – Asakusa Kagetsudo – Bakery that specializes in melonpan buns. The must-have item here is the melonpan ice cream sandwich which usese matcha soft-serve.
- Dinner – Oreryu Shio Ramen Harajuku – This is one of our more unconventional choices for Tokyo but we were craving ramen in the Harajuku area and this franchise looked like a unique spot. Turns out, their menu consists of many Chinese noodles and dishes but they also have sesame and tomato shio (salt-based) ramen.
- Snack – Santa Monica Crepes – Alongside Marion Crepes (also on Takeshita Street in Harajuku), they have the most exquisite selection of Japanese crepes in cone form.
Where you’ll stay:
Itinerary Day 10 – Criss Crossing In Tokyo
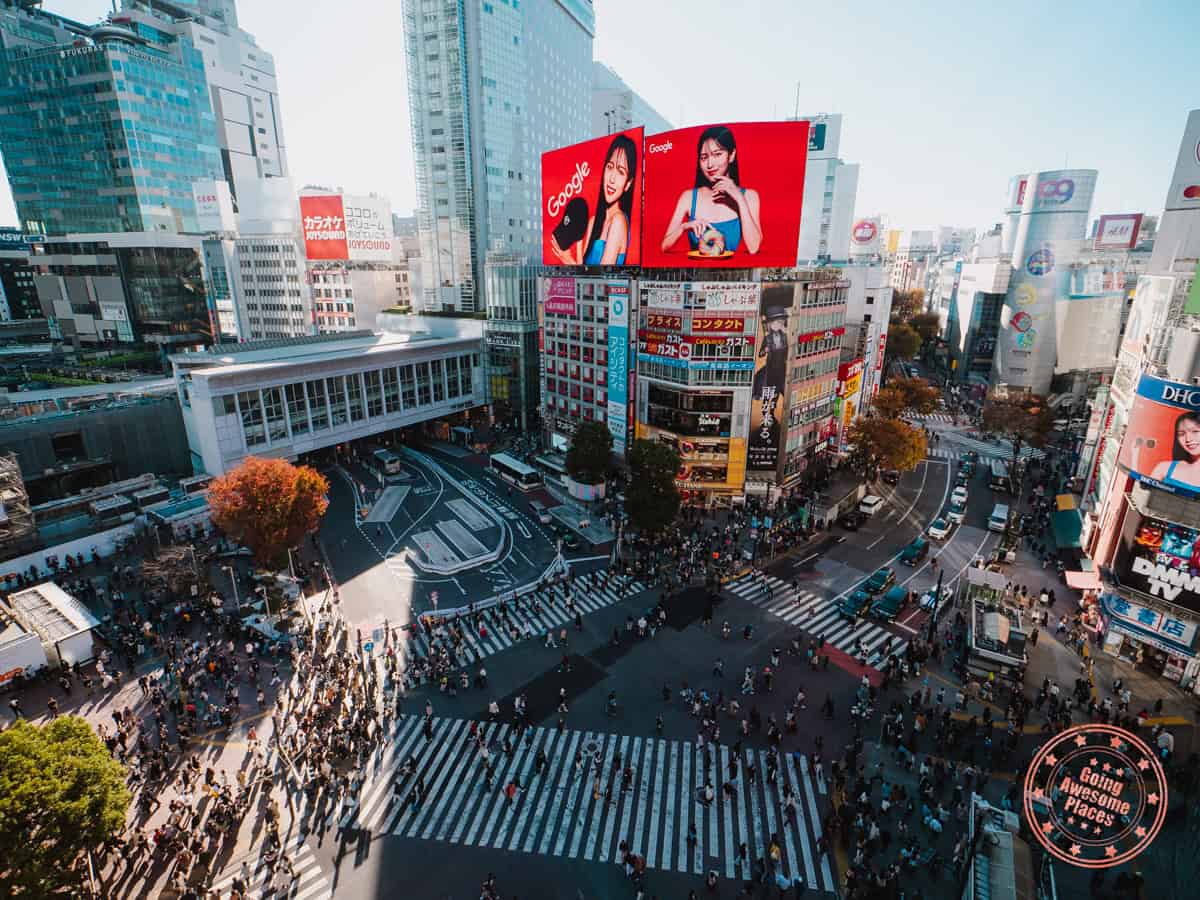
It’s your final day in your whirlwind tour of Japan and we make sure you end off with a bang! From conveyor belt sushi, the Shibuya Scramble, and the heights of Shinjuku, you’ll get to see a whole other side of Tokyo.
Conveyor Belt Sushi Delight
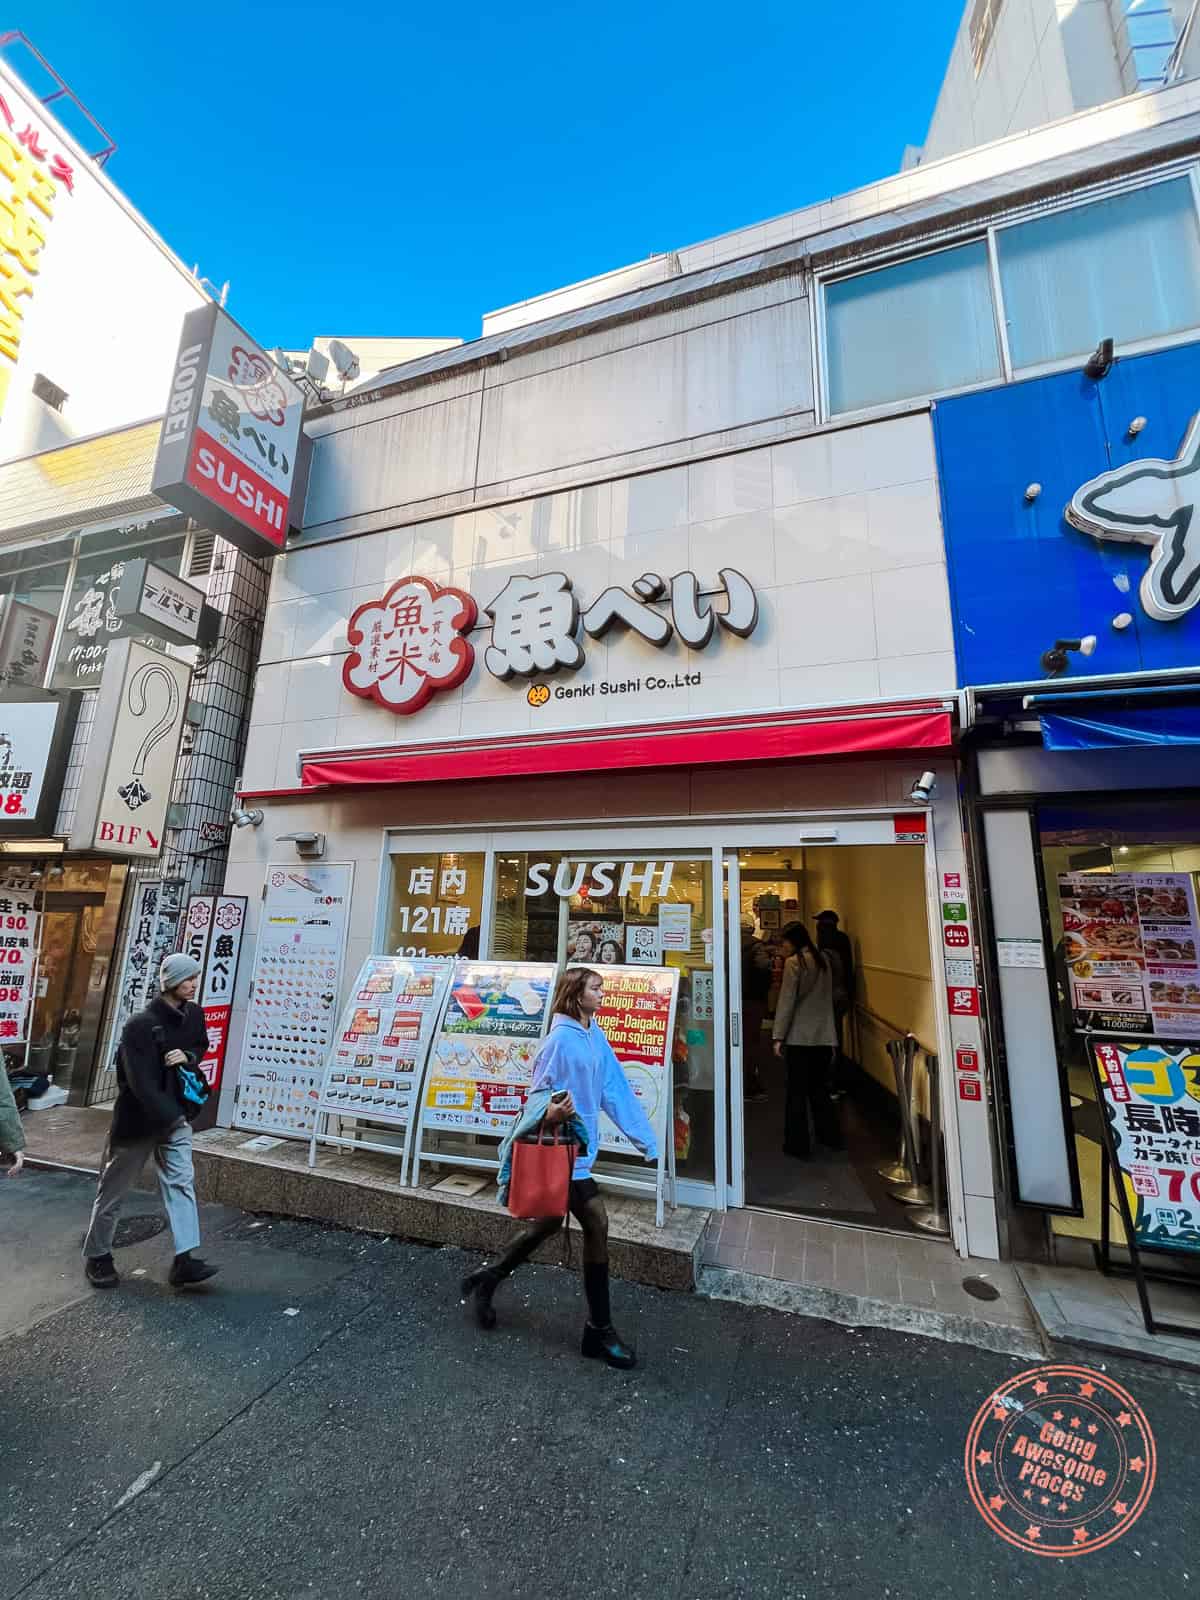
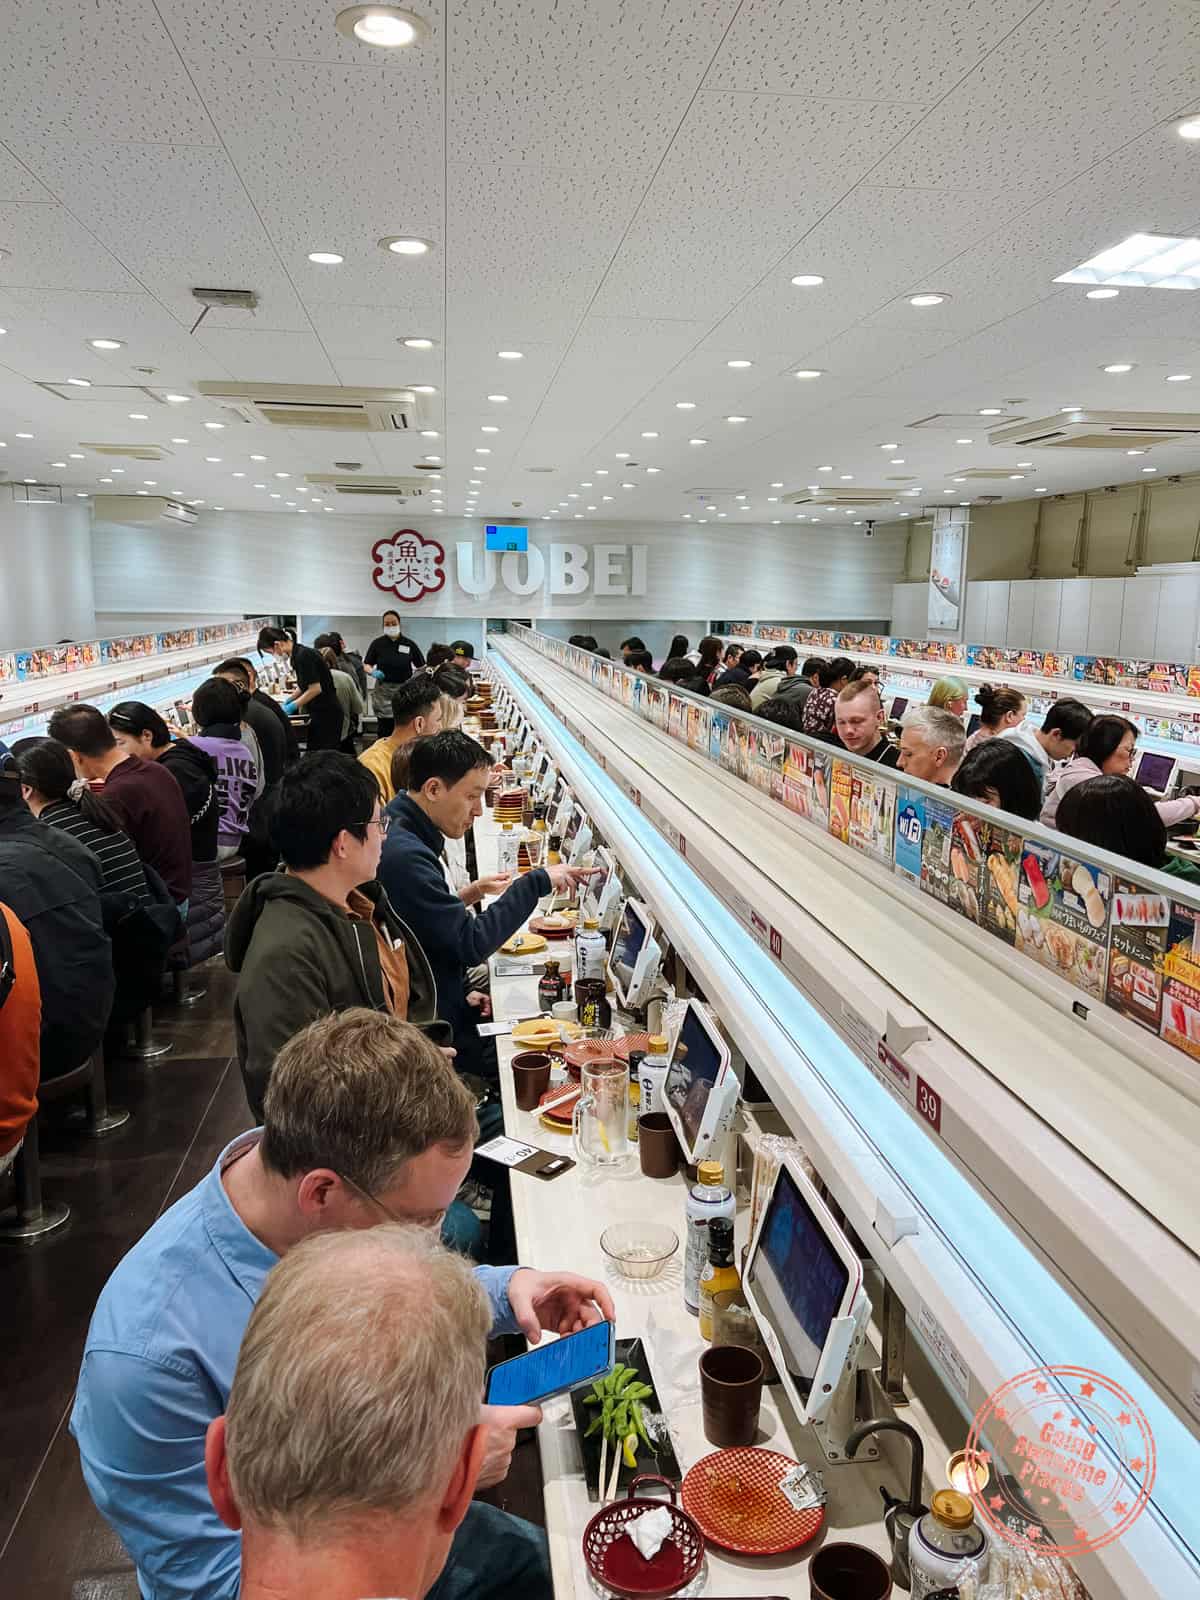
It’s perfectly acceptable to have sushi for breakfast! When in Japan right?
Uobei Shibuya Dogenzaka is a modern take on sushi delivered on a conveyor belt. They have multiple locations around Tokyo but since today’s focus is the western side of the city, centered around Shibuya and Shinjuku, this was the perfect spot.
What makes this unique is that instead of one circular conveyor that brings you you the same stale sushi around over and over, this one has you ordering exactly what you want on a tablet and the food gets delivered right to you when ready.
It’s quite a fun experience, the sushi is great, and it doesn’t come out to be as expensive as you think it’d be.
Scramble Around Shibuya
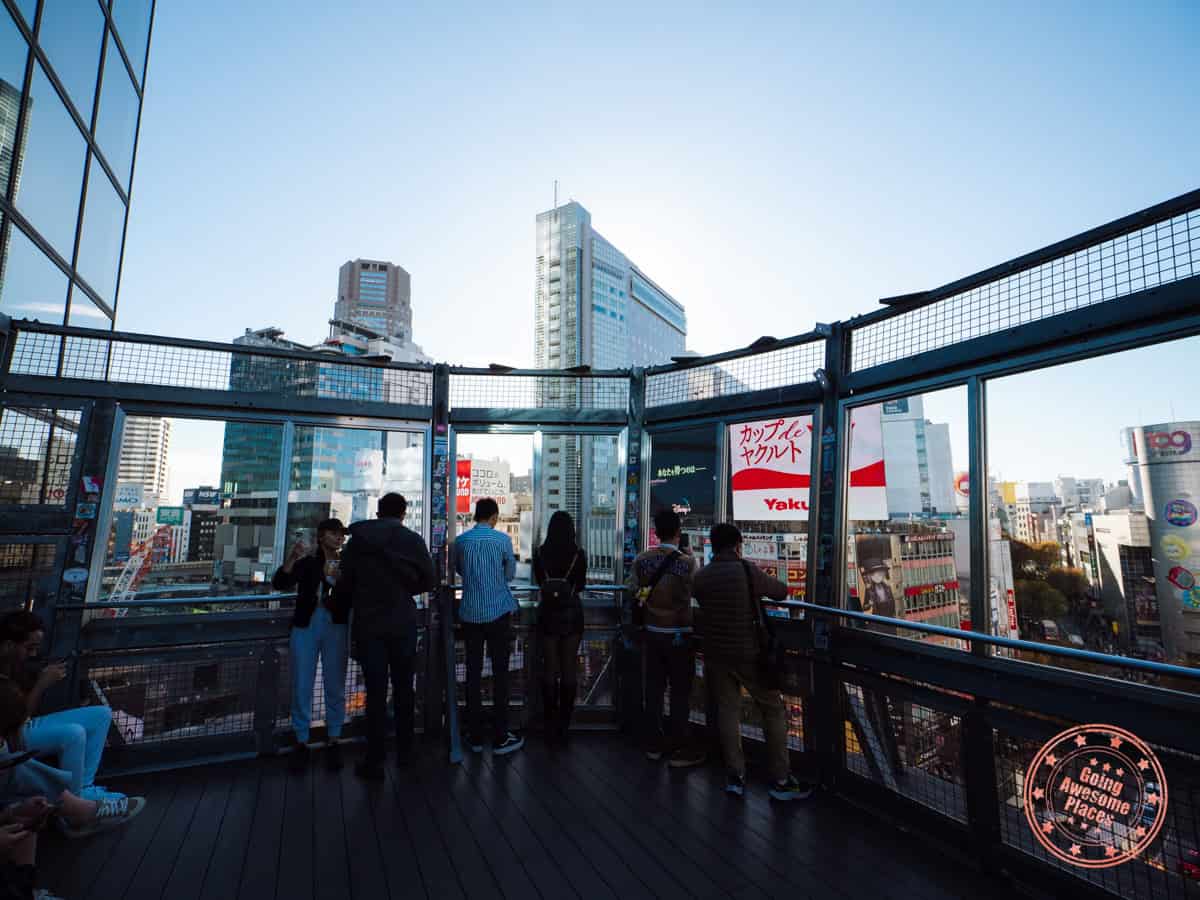
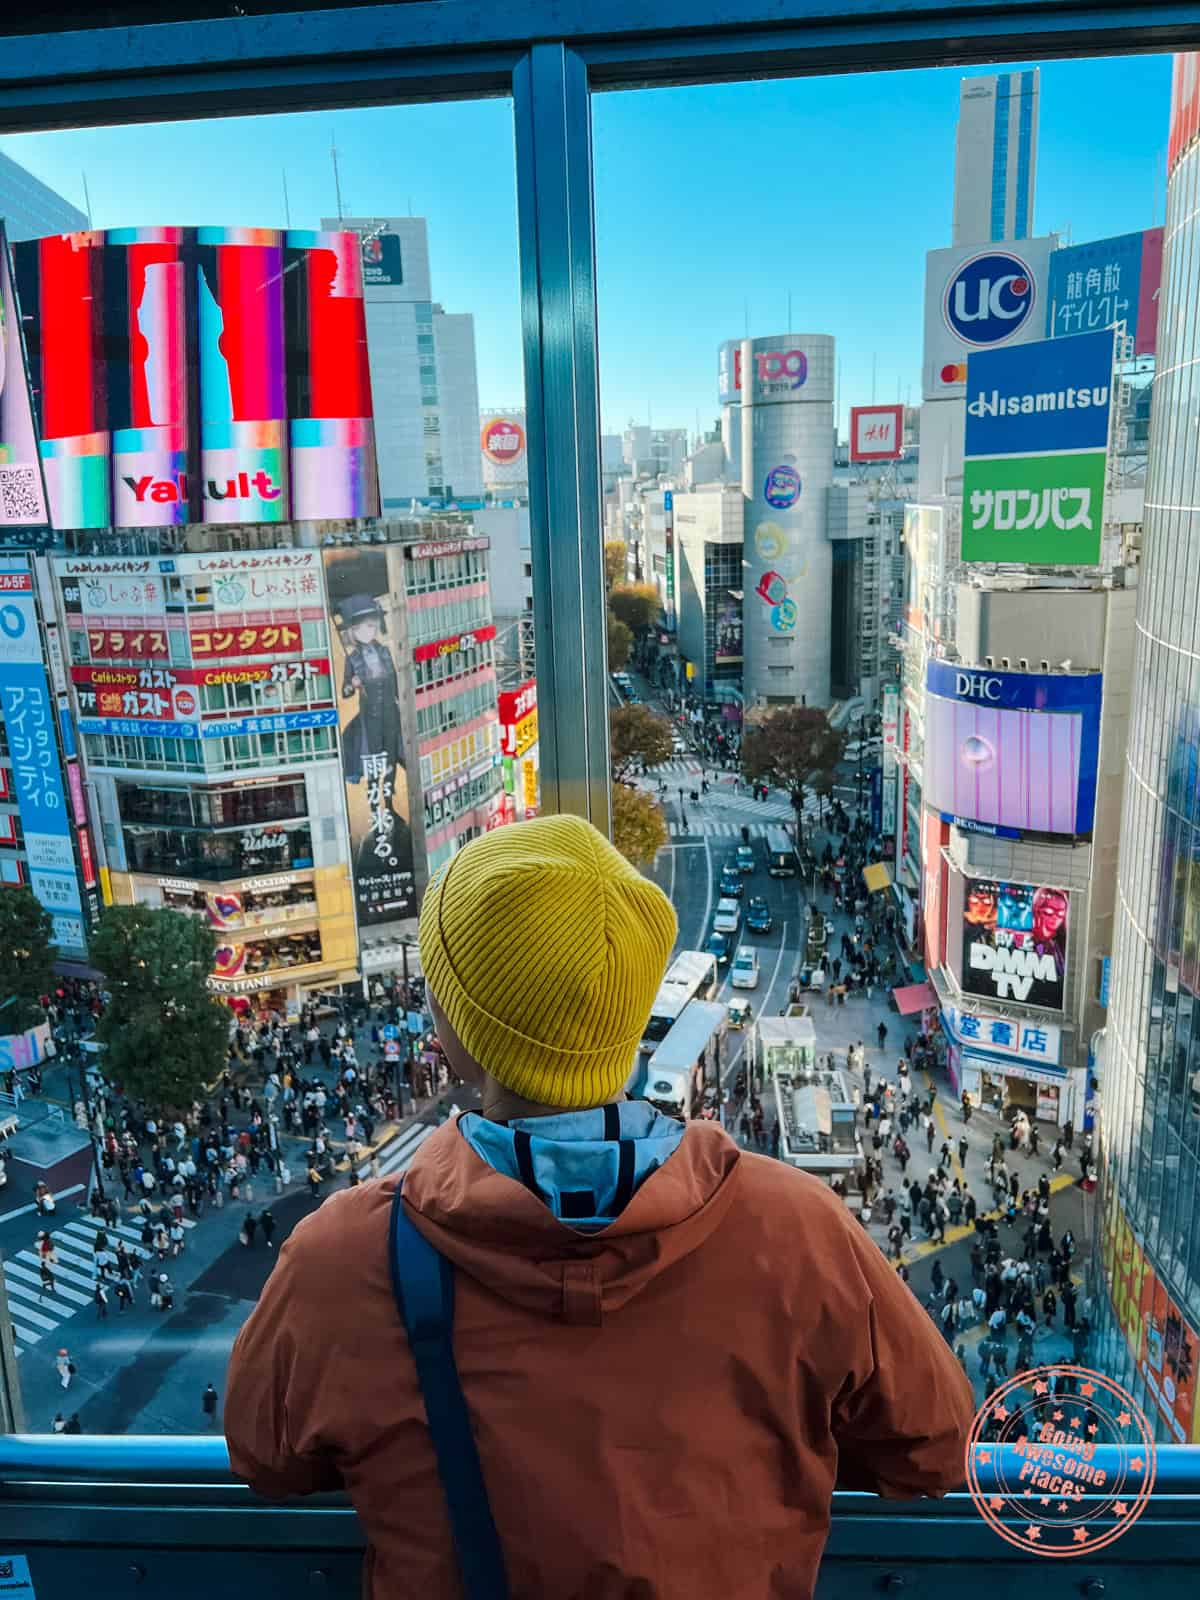
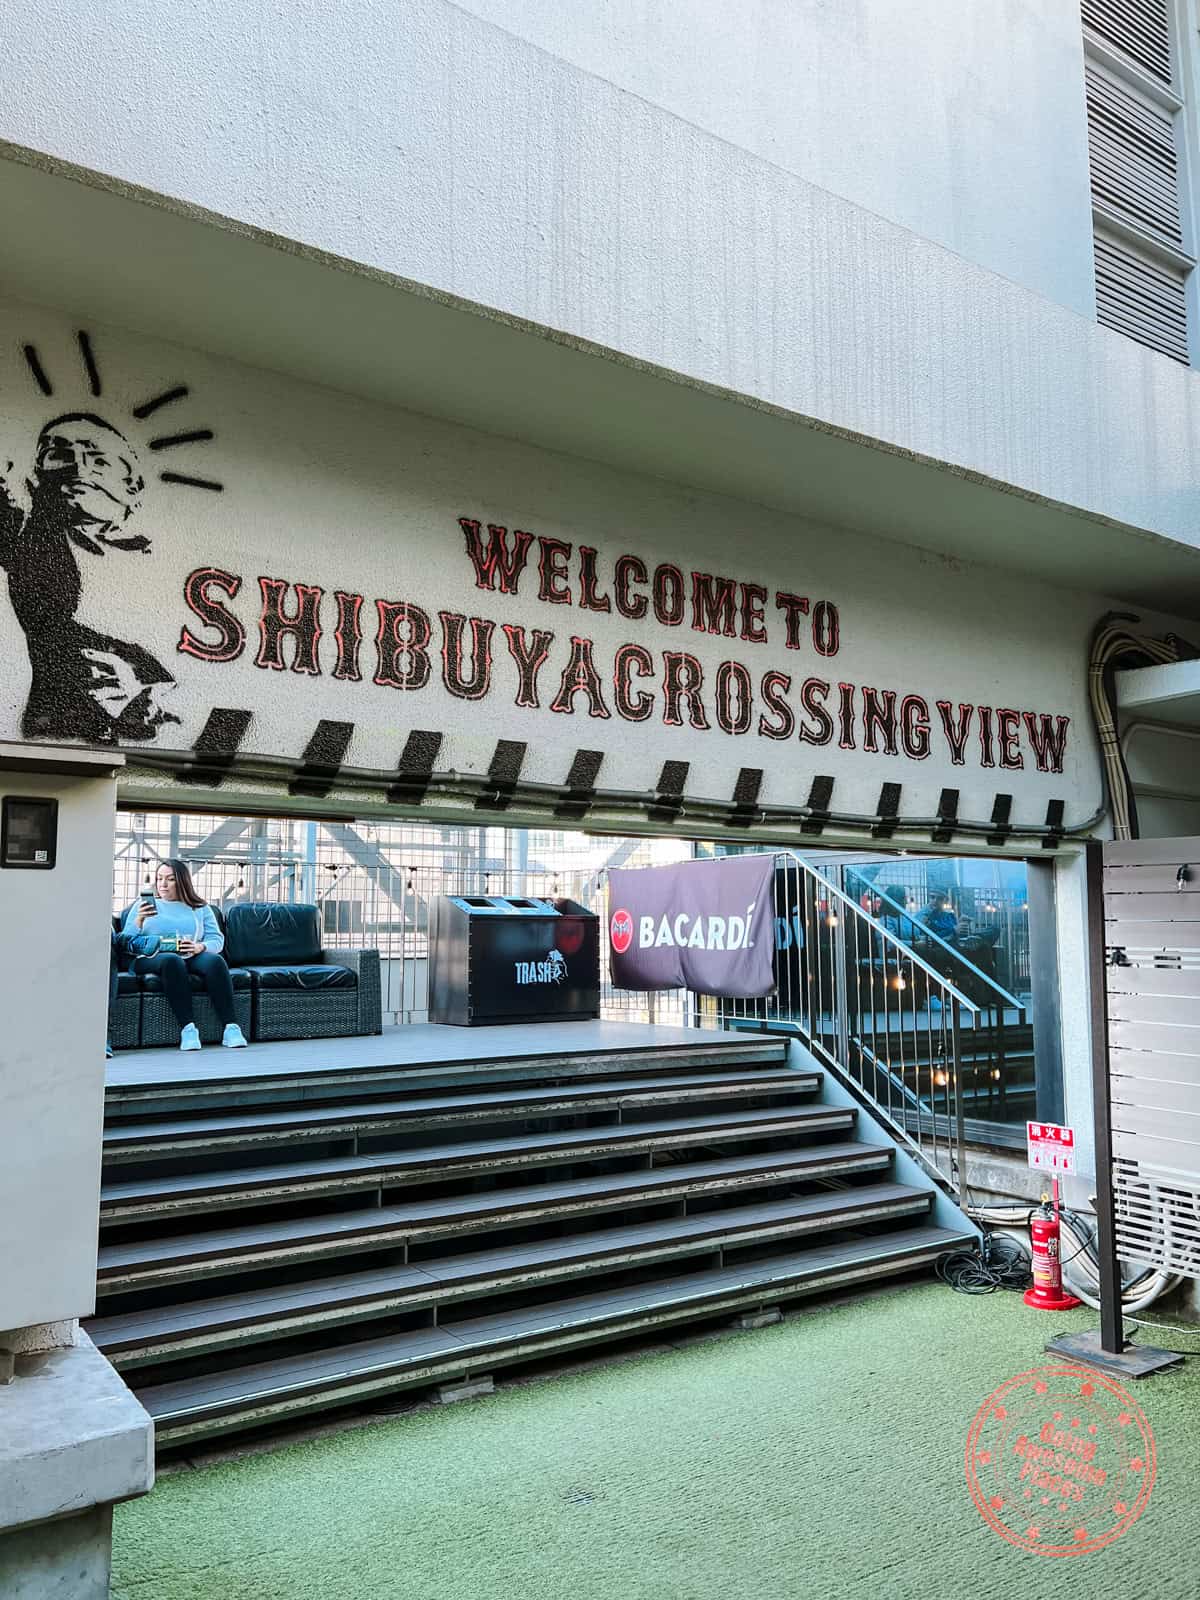
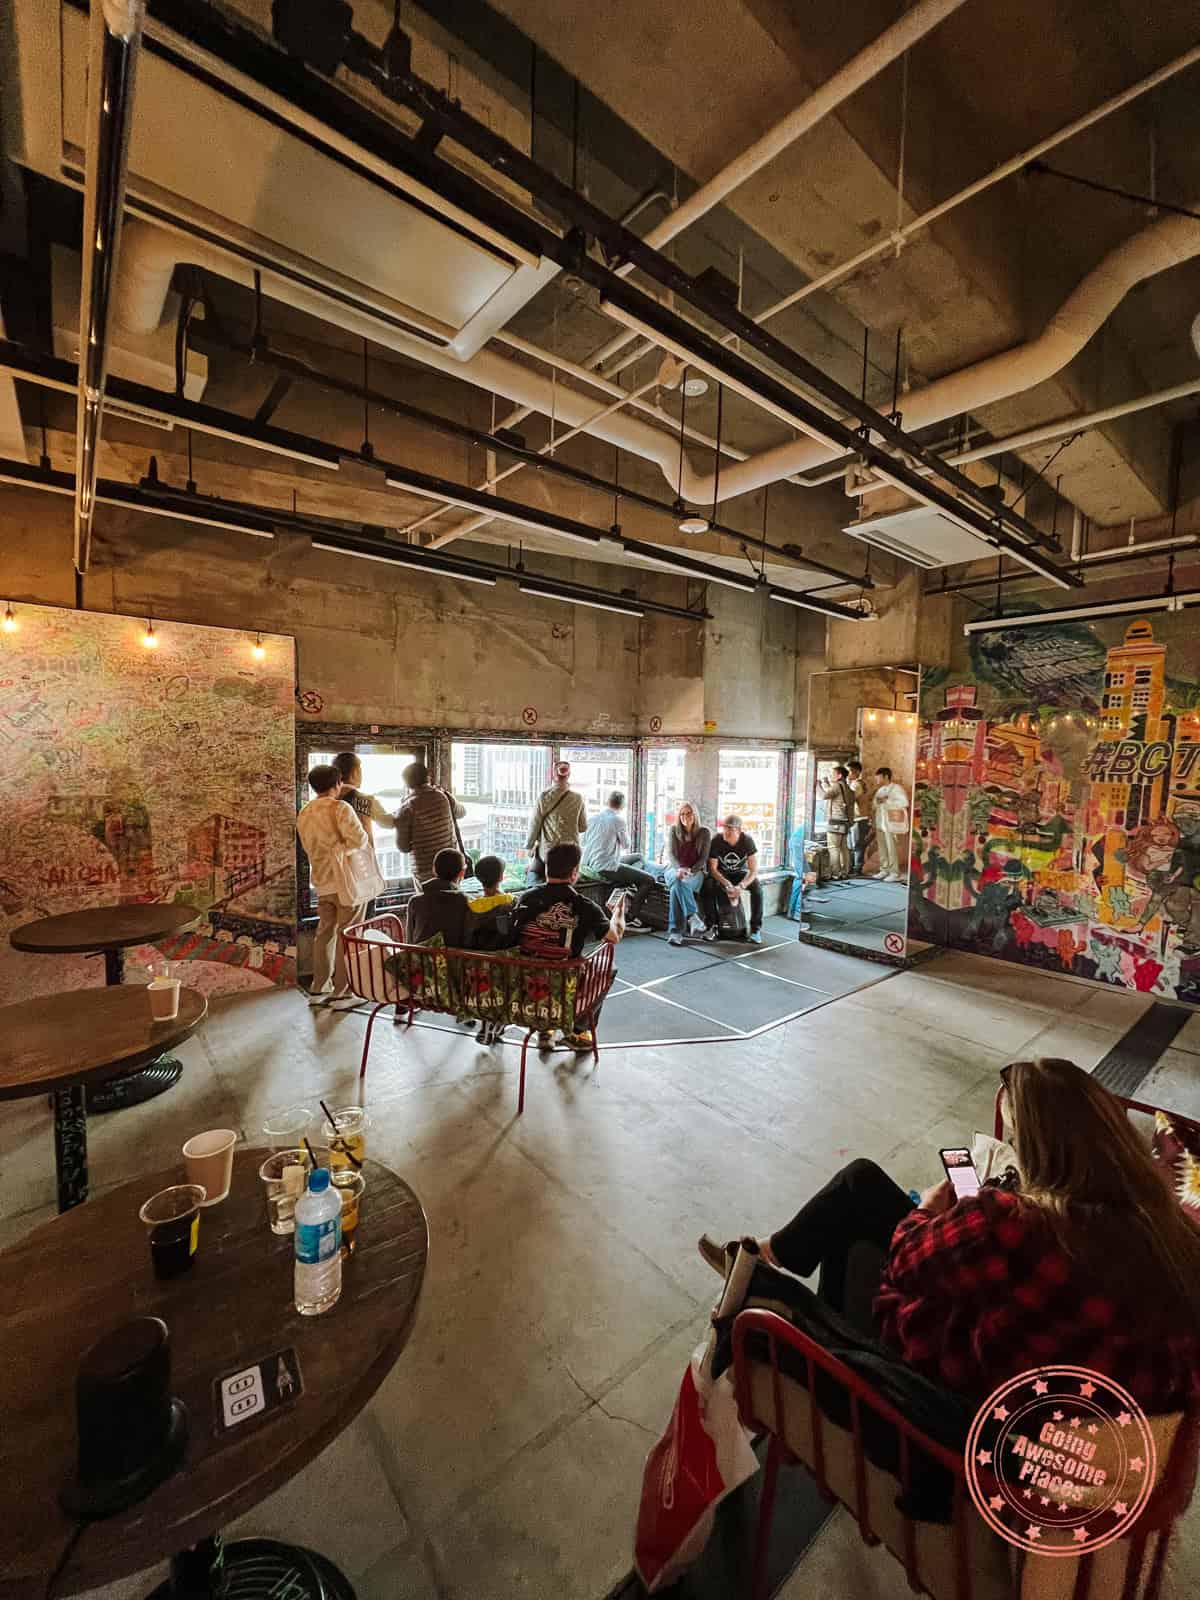
You’re now in the heart of Shibuya, one of the busiest shopping and entertainment districts in Tokyo that range from big department stores to quirky izakayas.
At the center of it is the true pulse of the city with the Shibuya Crossing where you can see and feel the swirl of people around you.
By Shibuya Station is also the Hachiko Memorial Statue, honoring the story of the most loyal dog in Japan and the inspiration to Richard Gere’s Hachi: A Dog’s Tale.
If you’re wondering where the best view is of all the action, it’s at the top of the Mag8 building. The name of this spot simply Crossing View & Rooftop Lounge Mag8 or Shibuya Crossing View but since it’s paid, very few people come up here.
With the rooftop angled perfectly towards the scramble, you get the perfect line of sight. With the alcohol that comes with admission, it’s also not a bad place to hang out for a bit.
WHAT YOU NEED TO KNOW
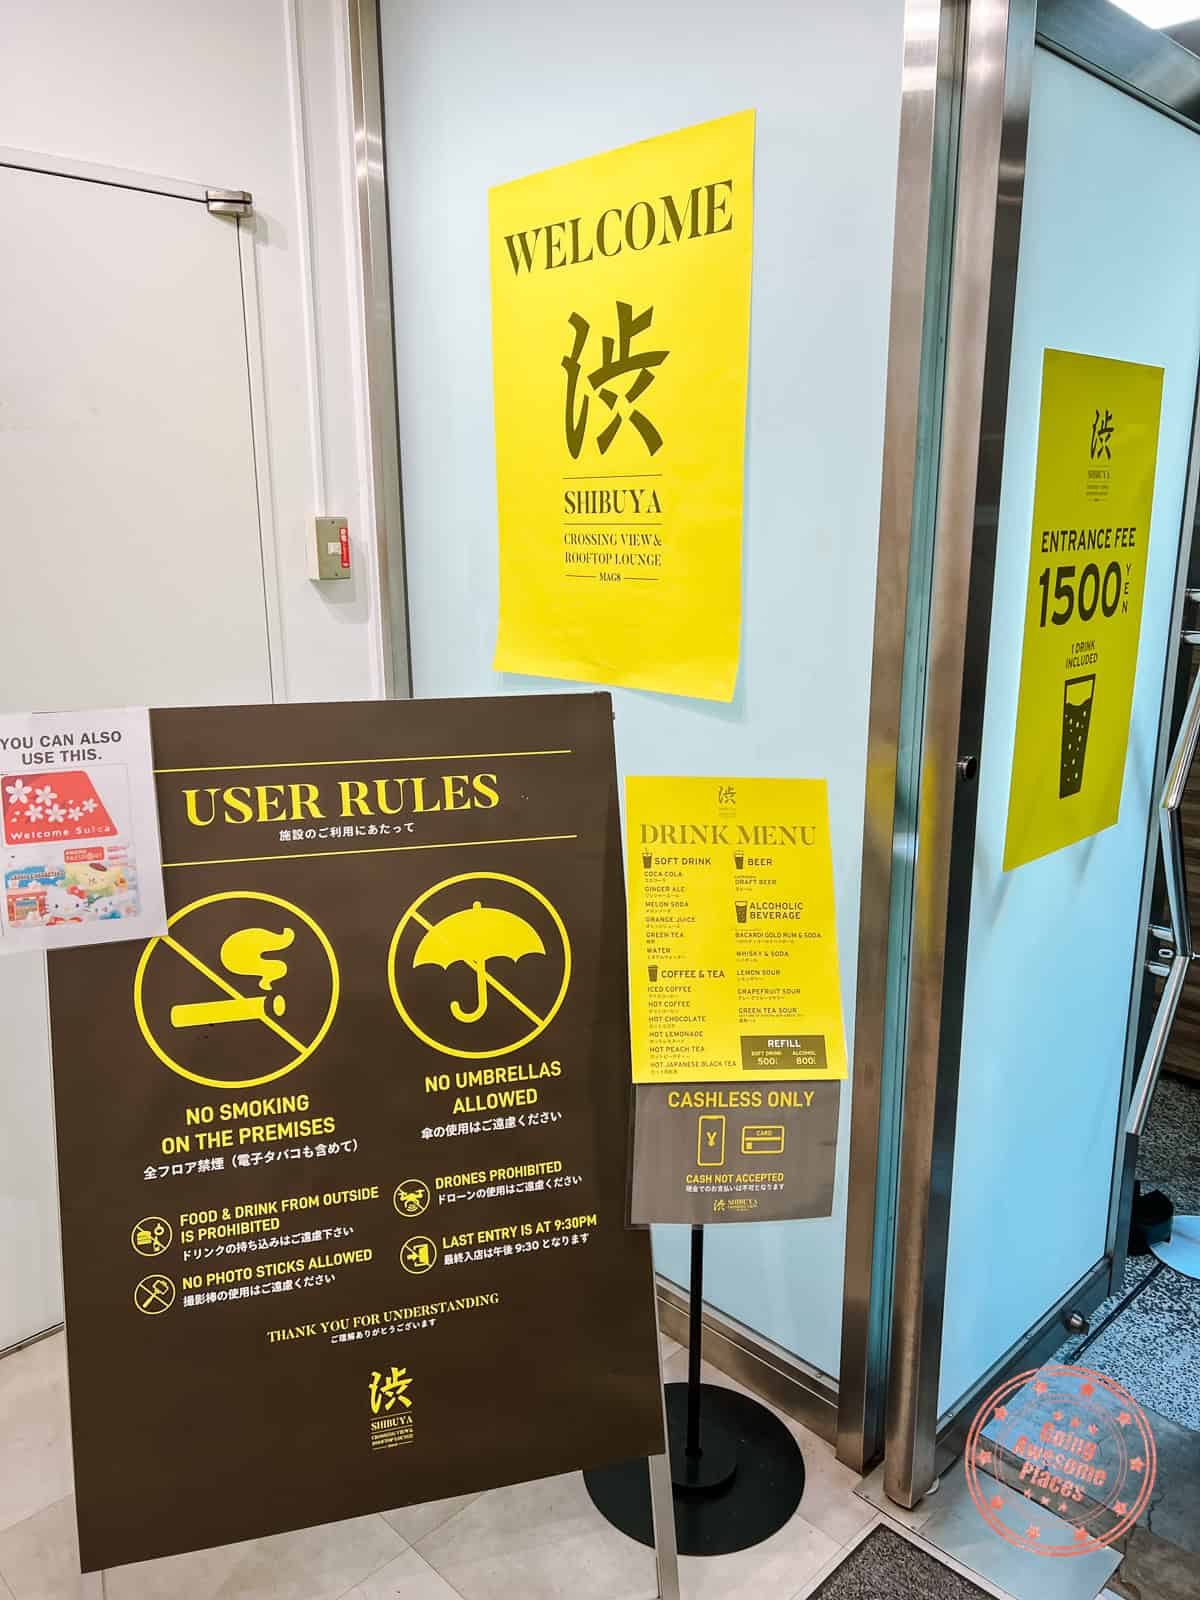
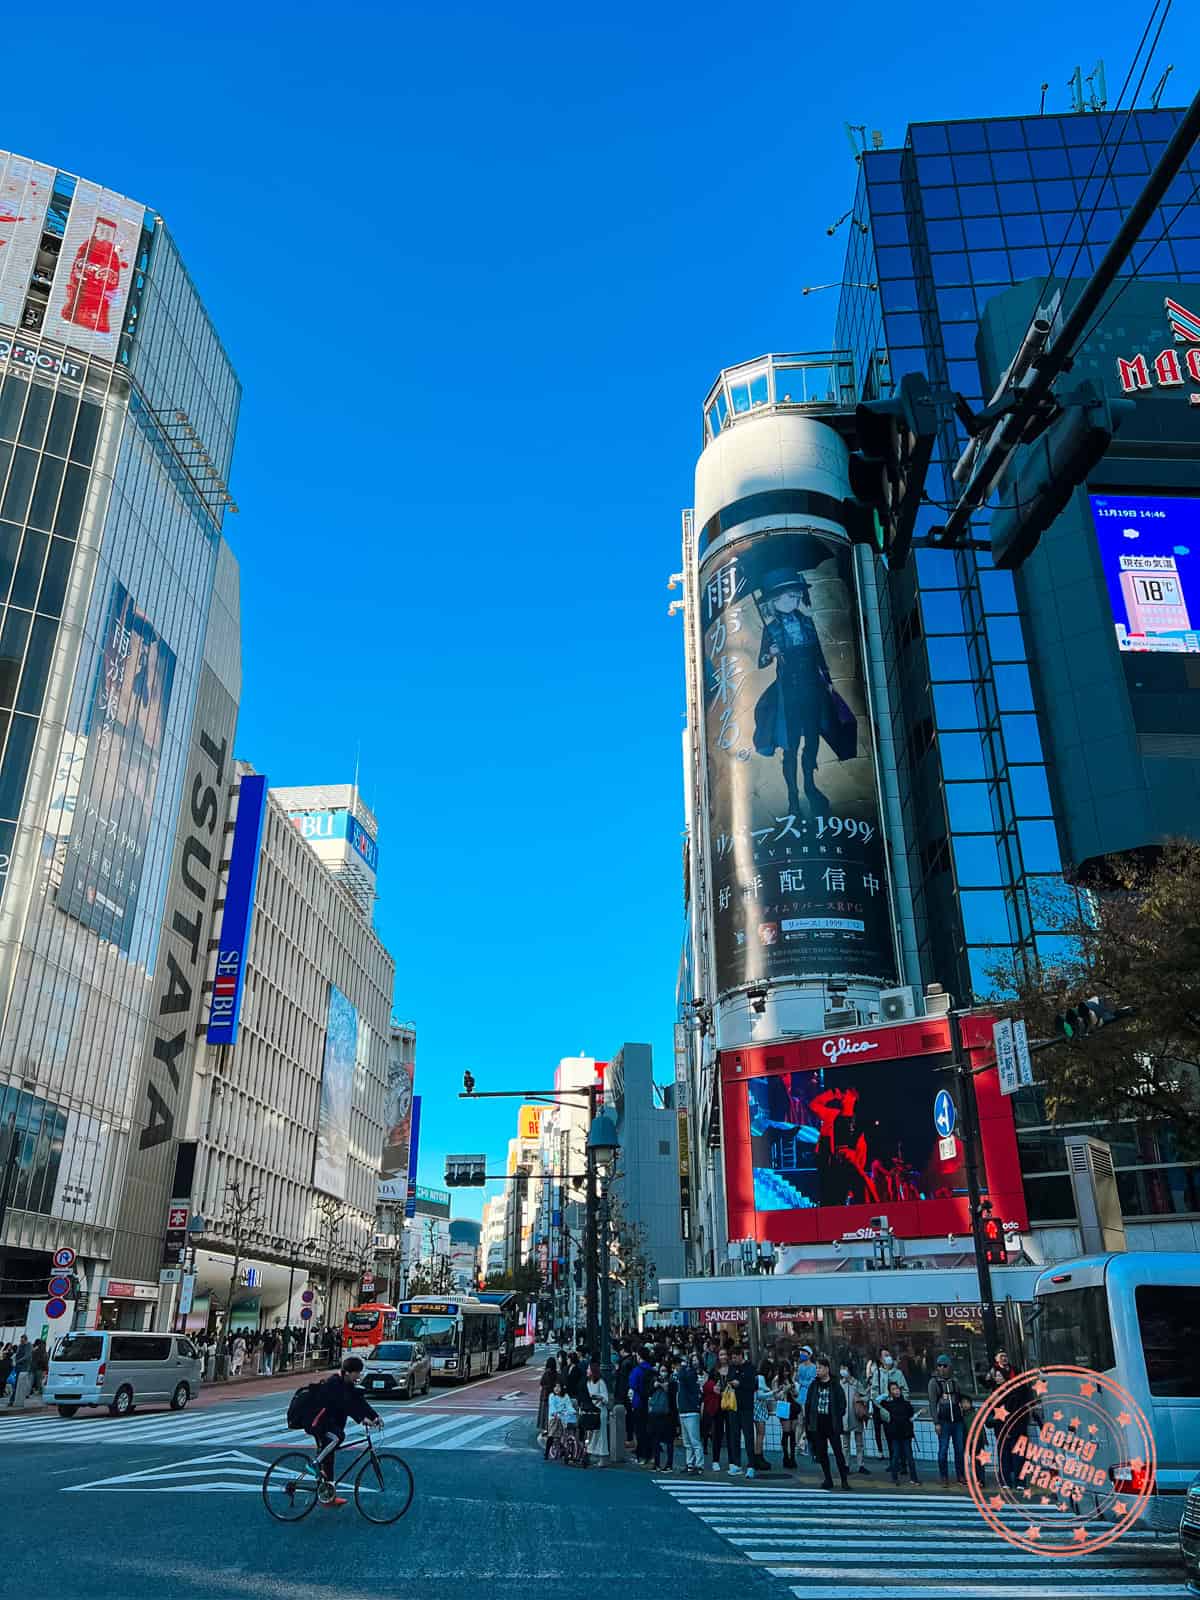
Address: 1 Chome-23-10 Jinnan, Shibuya, Tokyo 150-0041, Japan
Hours: Daily at 10AM – 10PM. Last admission is at 9:30PM.
Price: Updated price is ¥1,800 per person which includes one drink (including alcoholic). Credit card or IC card accepted only (no cash). Free for children 6 and under.
Website: Crossing View & Rooftop Lounge at Mag8
FAQ:
- When is the best time to go? It typically doesn’t get too busy until sunset and into the evening but overall, since this is a paid attraction, it rarely gets over-crowded. For photos, it’s better to come during the day.
- Do they have bathrooms? Yes, there are bathroom facilities in the rooftop lounge.
- What kind of alcoholic drinks are served? They have draft beer, Bacardi Gold Rum & soda, whisky & soda, lemon sour, grapefruit sour, and green tea sour.
- What are the non-alcoholic drinks on the menu? They have Coca-Cola, ginger ale, melon soda, orange juice, green tea, water, iced coffee, hot coffee, hot chocolate, hot lemonade, hot peach tea, and hot Japanese black tea.
- Is there a time limit for how long you can stay? No, you can stay as long as you wish.
Tips:
- The best angle for photos of the crossing itself are from the open-air deck in the corner. The nice thing is that the glass is at an angle but reflections will still be a challenge regardless. If you have a camera with a lens, you need one of these nifty anti-reflection lens hoods.
- There are a list of rules for this attraction: no smoking, no umbrellas, no drones, no selfie sticks, no food or drink from the outside, and no drones allowed.
Take Advantage Of A Free Observation Deck
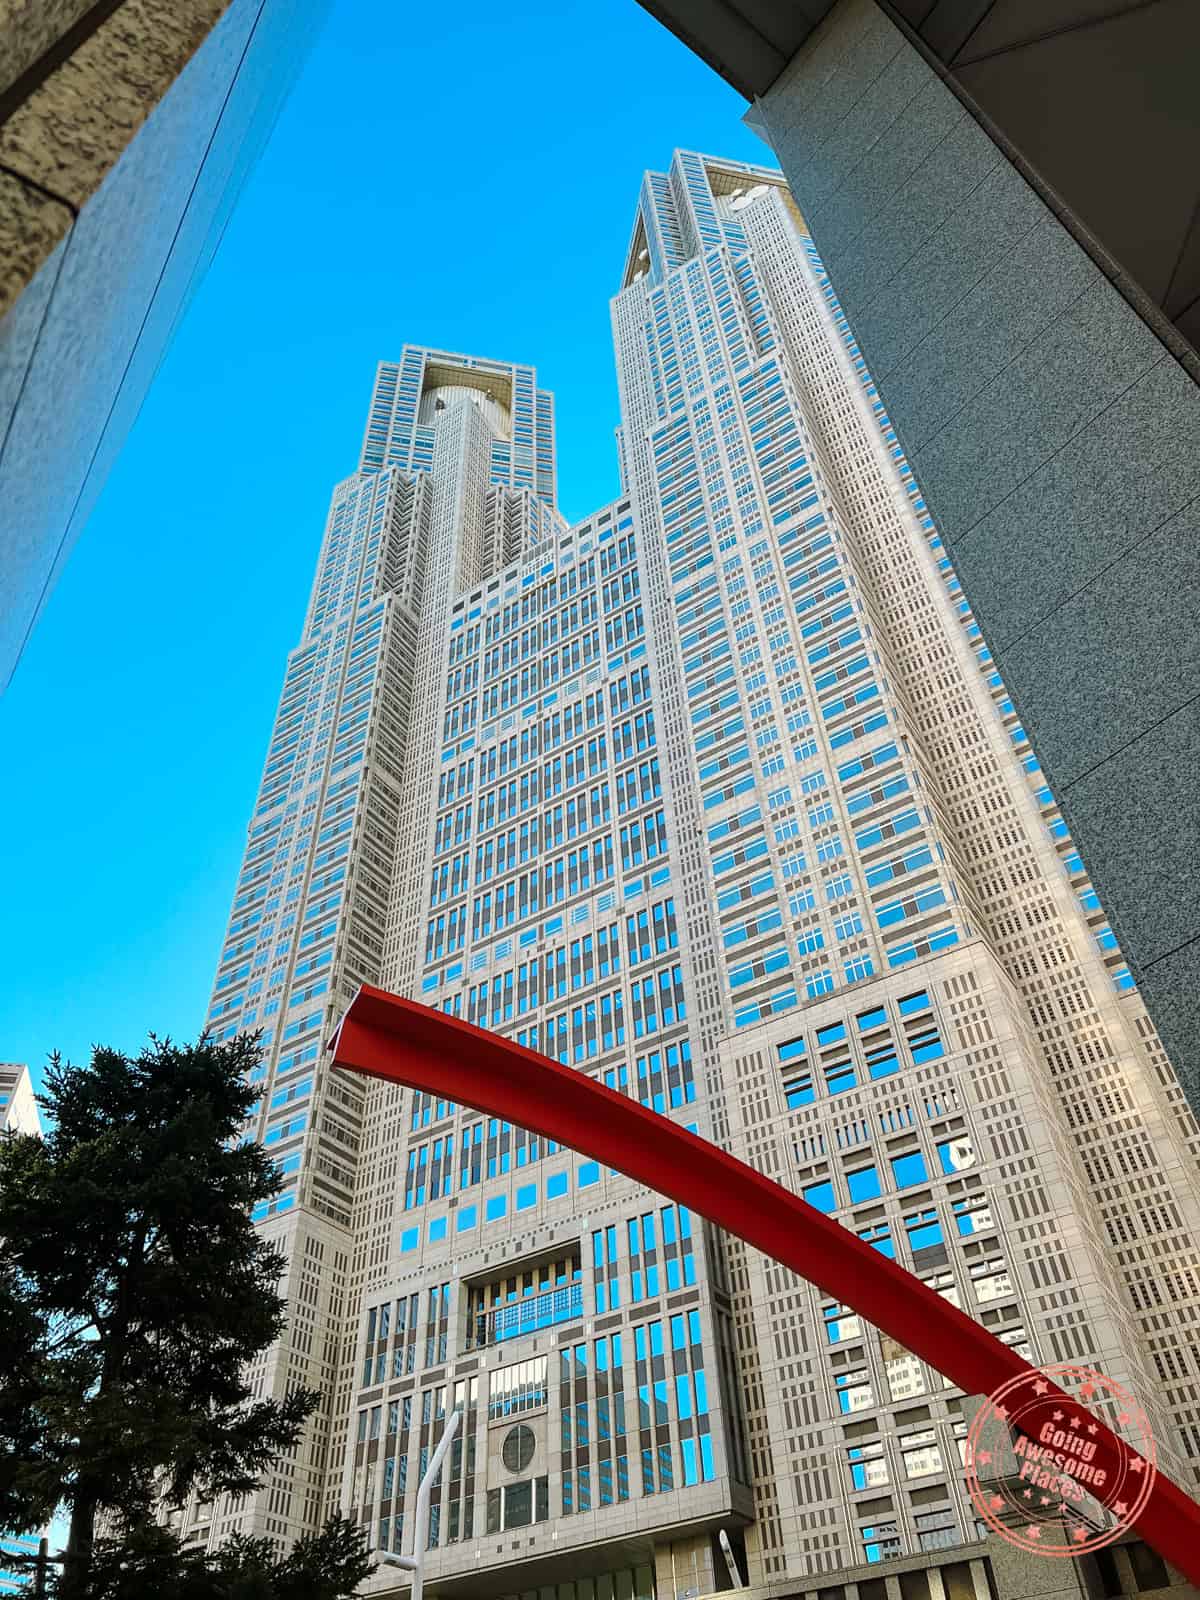
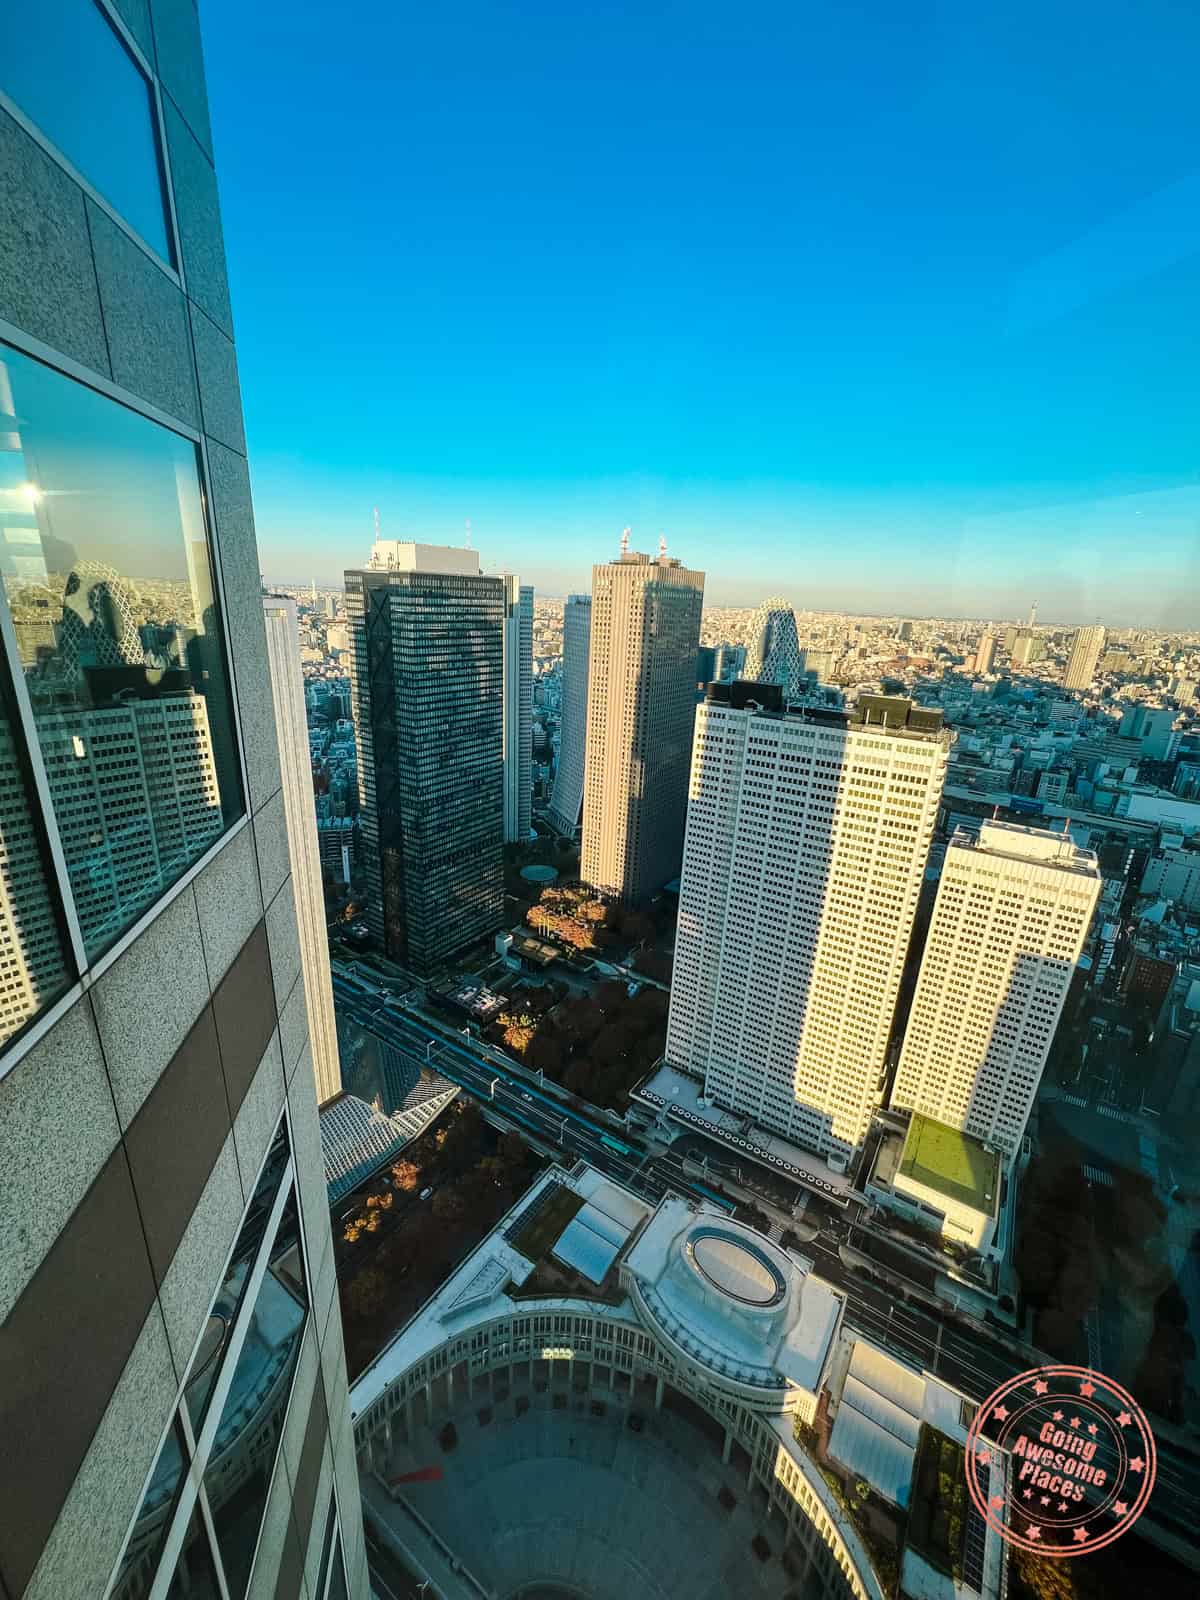
The other neighborhood you’ve yet to explore is Shinjuku. This is another city within a city, sprawling with a massive scale of piercing skyscrapers, glittering neon-lit streets, retail therapy, and the city’s largest entertainment district.
One of the highlights of this lively part of town is the Tokyo Metropolitan Government Building. It has the most low key name of all tourist attractions in town but what might get your attention is that it’s free! The views from either of the two twoers is superb because you can see all of the other iconic towers.
So forget Tokyo Tower and Tokyo Skytree. This free observation deck can’t be beat.
WHAT YOU NEED TO KNOW
Tokyo Metropolitan Government Building consists of a North and South Observatory (one for each of the towers). Between the two towers, South Observatory is more popular and open for a longer period as well which is why most end up there.
Address: Japan, 〒163-8001 Tokyo, Shinjuku City, Nishishinjuku, 2 Chome−8−1 東京都庁第一本庁舎 45F
Hours:
- South Tower – Daily from 9:30AM – 10PM (last entry at 9:30PM). Closed 1st and 3rd Tuesday of each month and also closed December 29- January 3 (except on January 1).
- North Tower – Daily from 9:30AM – 5:30PM (last entry at 5PM). Closed the 2nd and 4th Monday of every month.
- In both cases, they will open on It opens on national holidays but if it lands on one of the special Tuesdays, it’ll close the next day.
Price: Free
Website: Tokyo Metropolitan Government Building
FAQ:
- When is the best time to go? Since this is a free attraction, it can get very busy, especially around sunset time. The best time to visit is in the morning or in the evening. In the evening, make sure to check out their project mapping show. While sunset is beautiful, photography can be a challenge with all of the reflections.
- Are bathrooms available? Yes, there are bathroom facilities on the observation deck.
- Is there a time limit for how long you can stay? No, you can stay as long as you wish.
- Are reservations required? No reservations are needed to visit the Tokyo Metropolitan Government Building.
- Which is the better tower to visit? Between the two, the South tower is better because it has the longer operating hours and is also open at night. The South tower also has a cafe.
Tips:
- Even more-so here, you’ll want an anti-reflection lens hood.
- On average, the wait time is 15-20 minutes. Overall, they’re quite efficient in getting people up and back down from the observation deck.
- Every night, they have a Tokyo Night & Light show which is where they pair music with projection mapping on the building itself. According to Guinness, it is the largest (permanent) architectural projection-mapped display. They have multiple showings per evening, making it a great pairing with the observation deck.
- If you’re lucky, on a clear day you can see Mt. Fuji so make sure to look in that direction.
- There is a secret cafeteria on the 32nd floor that’s meant for government officials but you can actually get a pass at the reception desk. The cafeteria is open for lunch (11AM – 2PM) on weekdays only. They serve various set meals and is extremely affordable.
Vibing in Shinjuku
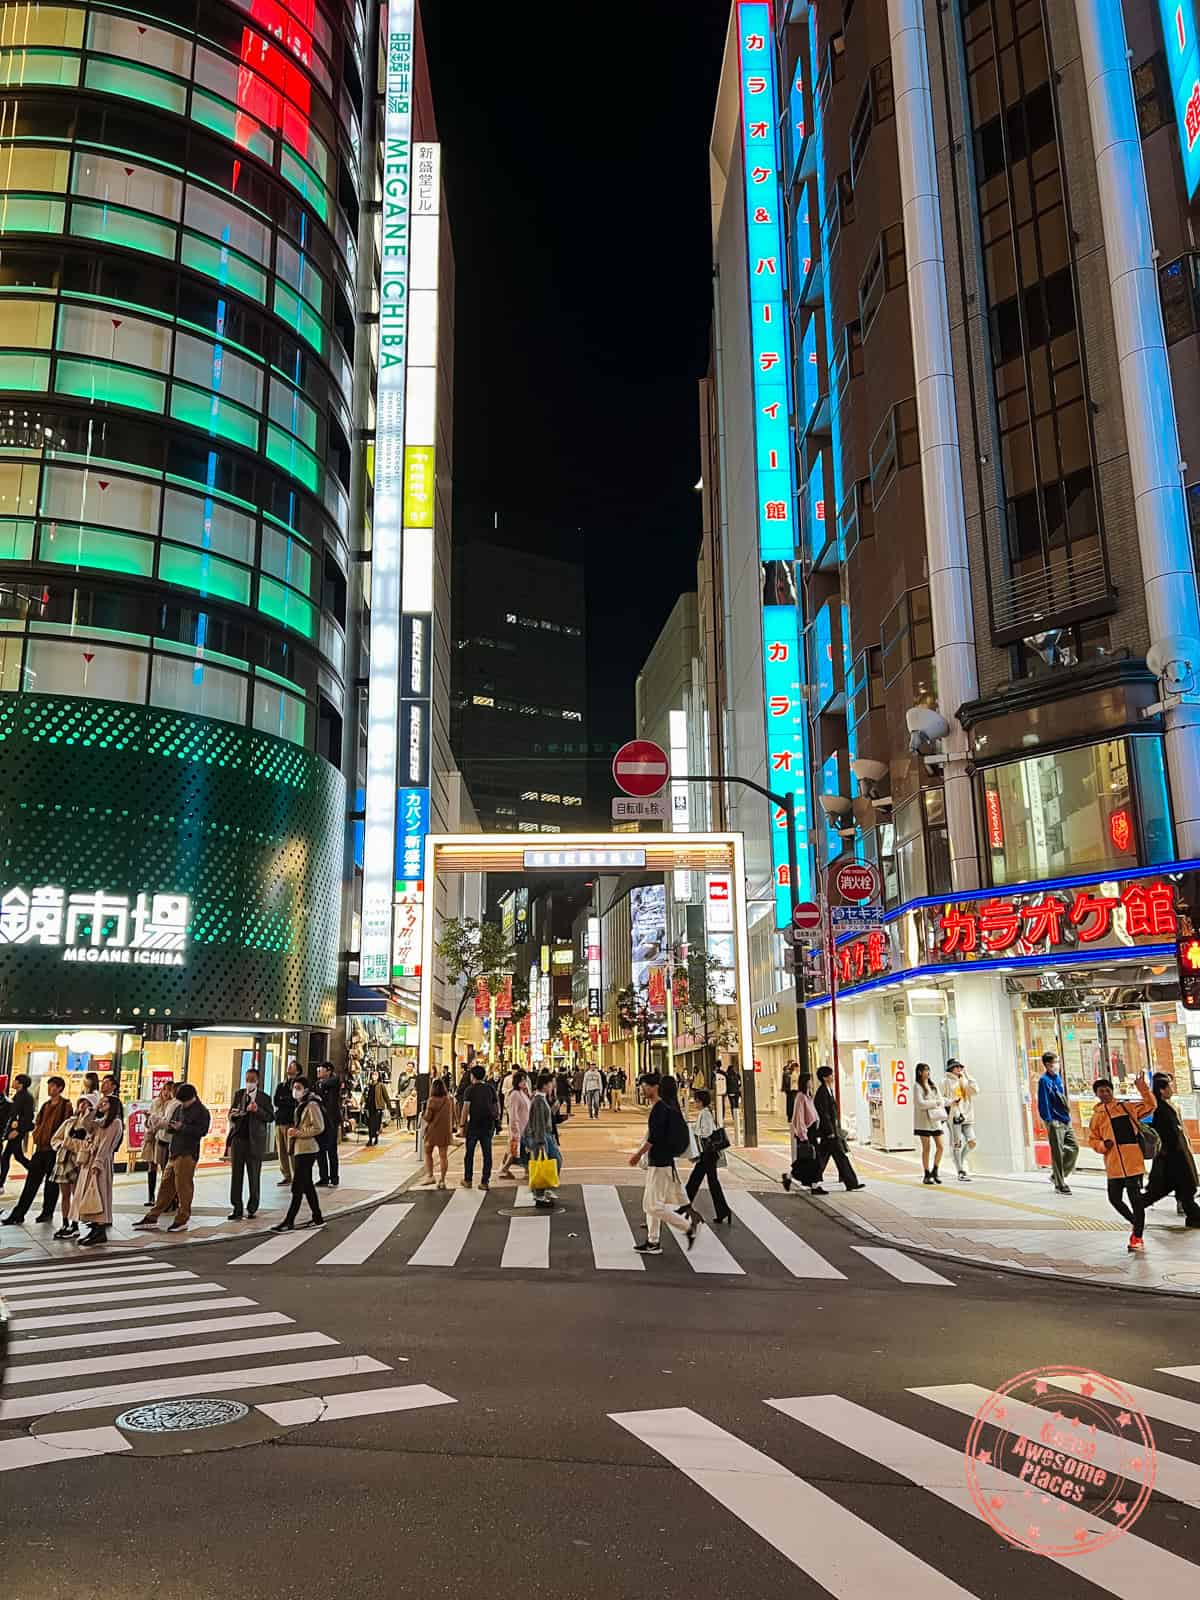
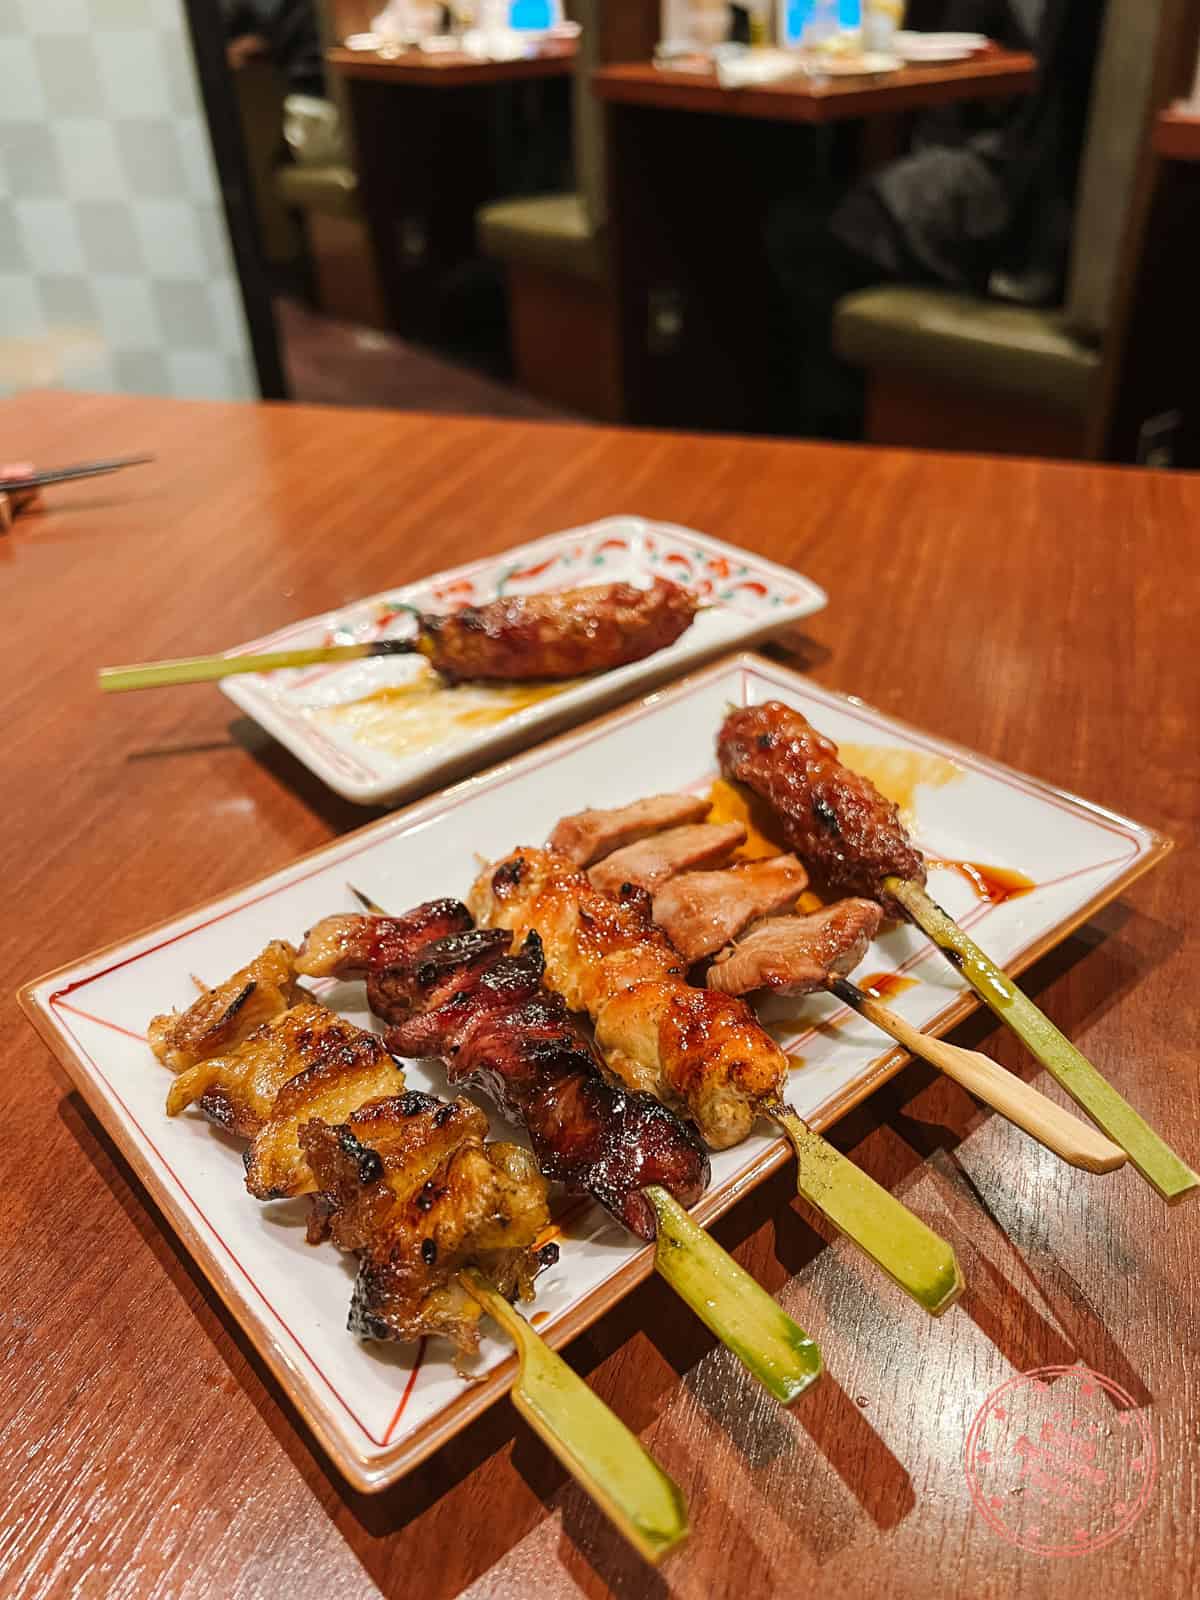
Now that the sun has gone down, you’ll see how Shinjuku in terms becomes even livelier. This is your time to roam around.
Since we were pretty tired, we focused primarily on checking out these stores: HANDS and MUJI. If you have the time and energy, you could easily try to fit in namco TOKYO, the Godzilla atop the Hotel Gracery Shinjuku, the 3D cat billboard, and Map Camera.
For dinner, there are a ridiculous amount of restaurants here but since we hadn’t had yakitori this whole trip, we landed on Yakitori Haretsubame Shinjuku Higashiguchi which we loved because it was unpretentious, extremely local, and super tasty.
If you’re really looking to end off the night with a bang, you could also drop by Shinjuku Golden-Gai for a drink in one of its many bars.
Final Run To Don Quijote
For your final act in Japan, make one last trip to Don Quijote. This is your chance to purchase a big haul and take advantage of those secret coupons. Stock up on all of the goodies including our recommendations for great food souvenirs from Japan.
PRO TIP: It’s a good idea to do shopping on your last day so you can figure out if you’re missing any gifts or things you want for yourself. By making a bulk purchase, you can also take advantage of one of the Don Quijote coupons.
And that ends your 10 day journey through Japan as a first-timer. You’ll barely have seen the tip of the iceberg but you’ll come away with it smiling from corner to corner with everything that you’ve seen and experienced.
Trust me, you’ll be wanting to come back. It’s a guarantee.
Day 10 Summary
What you’ll see & do:
Where you’ll eat:
- Breakfast – Convenient Store – At this point, this shouldn’t be a surprise that we always recommend loading up your mini fridge with a few food items from the konbini the night before.
- Lunch – Uobei Shibuya Dogenzaka – Modern-style conveyor belt sushi restaurant where orders are made on a tablet and dishes come right to you on the belt. This is a fun experience with good quality sushi.
- Dinner – Yakitori Haretsubame Shinjuku Higashiguchi – The truth is, we didn’t have this one well-planned as I didn’t know where we’d end up in the night but it just goes to show you that you can’t go wrong with any restaurant in Japan. Honing in on yakitori, this spot looked popular amongst locals so we walked in and got seated right away. There were barely any tourists in sight and the skewers were delicious!
Where you’ll stay:
Map Of This Japan Itinerary
We are map-obsessed when it comes to trip planning and even more so in Japan because it’s imperative to try to cluster points of interests as best as you can and to also get a good lay of the land in regards to transit options.
We’ve literally maxed out what you can do with custom Google Maps so we hope you enjoy. It has every single location we visited in this itinerary.
HOW TO USE THE MAP: You can use the Japan in 10 days map as is. However, if you’d like to do more with it, expand the map and create a copy in your logged-in Google account. With this copy, you’ll be able to access it in your Google Maps app under the Saved tab. Scroll to the bottom and look for the “Maps” button. Keep in mind that you need data to access this map. For an offline solution, use the offline Google Maps feature and individually save location pins on your primary map.
5 Japan Travel Tips You Have To Know
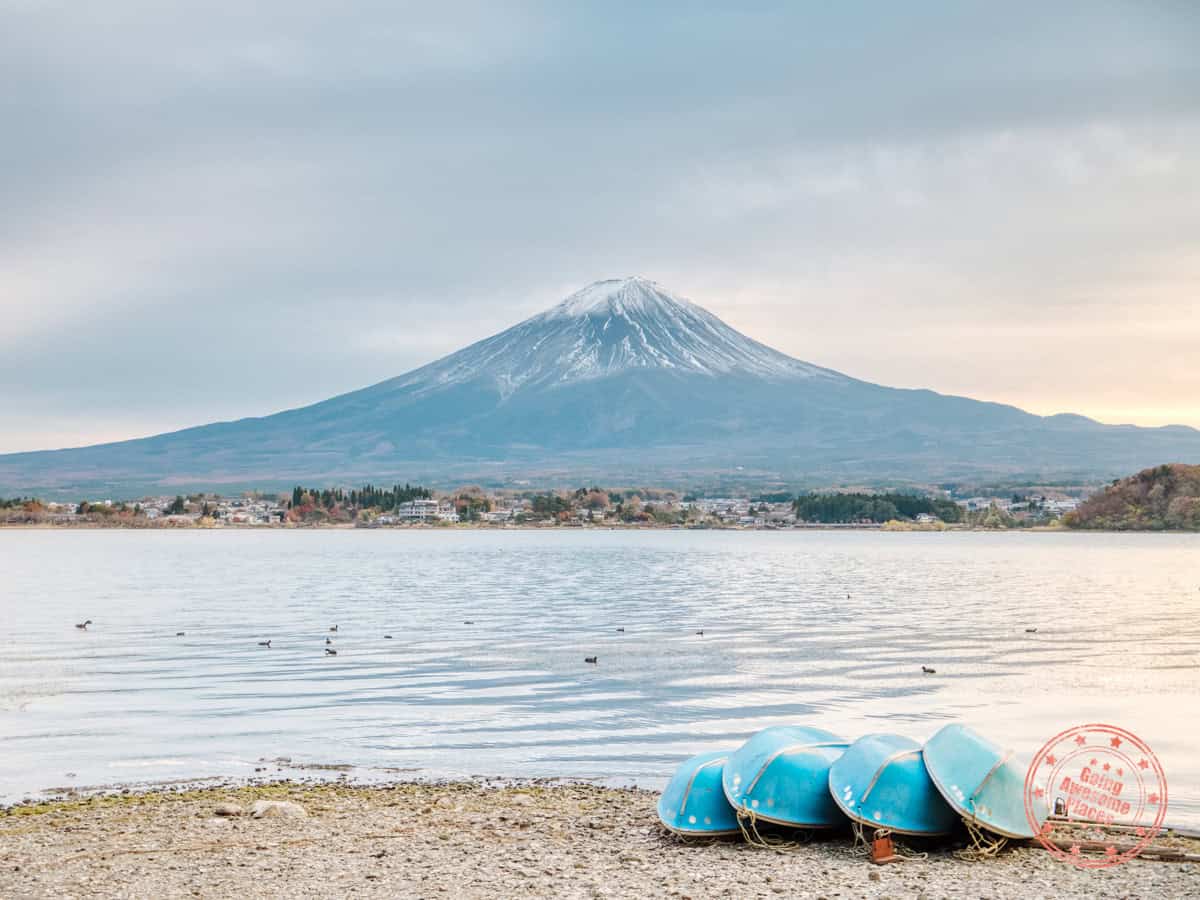
As you know, we’ve been back to Japan a lot of times and we’ve accumulated so much knowledge.
Many, we’ve covered in our Ultimate Tokyo Food Guide but thinking more broadly about the whole country, these are 5 key nuggets of advice that’ll make travel in Japan so much easier, especially if it’s your first time.
1 – You Still Need Japanese Yen
While the digital-savvy and minimalists will tell you that credit cards work everywhere in Japan, that’s simply not true.
Here are a few examples of where you’ll need cash:
- Food self-serve machines – Mostly found in ramen shops, these machines only take cash.
- Local food stalls – Some might have credit card machines but many of the smaller ones don’t.
- Bus fare – If you get on a bus and you don’t have an IC card (i.e. Suica), the only other method of payment is cash.
- Parking – In the case of more ad-hoc or special event parking such as in Kawaguchiko, some only take cash.
Yes, it’s true that most businesses are equipped to accept credit card but I think ramen alone is enough of a reason to always make sure you carry cash with you.
We’ve simply encountered too many unexpected cash-only businesses where it’s a lot safer to have some with you.
How Much Cash Should You Bring
This is always the follow up question. For a 10 day trip such as this, for 3 people, we spent ¥251,015 ($1,700 USD). That comes out to $566 USD per person over 10 days.
PRO TIP: If you are in a bind and need to withdraw money from an ATM, after much experimentation, we found that the 7-Eleven machines have the lowest transaction fee.
A conservative average would be $50 USD per person per day.
About The 2,000 Bill
While we’re on the subject of currency, a quick note about the note that’s a dead giveaway you’re a tourist. When you get Japanese Yen internationally, the ¥2,000 bill is still in circulation.
Domestically, it’s already out of circulation which creates a bit of an awkward situation. Officially, it’s still legal tender so don’t worry, they’re not fake bills, but you’ll get some raised eyebrows when you see it.
The 3 scenarios you’ll encounter are:
- The bill is accepted – Some won’t bat an eye and it won’t be an issue
- They’ll need to check with the manager – We saw this numerous times at convenient stores. The manager would always approve it but it was funny to see this bill cause so much trouble.
- You won’t be able to use it – The is most common in automated point of sales devices such as ramen, buses, and self check-out machines (i.e. UNIQLO) where they list the bills they accept and the ¥2,000 isn’t one of them.
2 – Get The Best Conversion Rate On Credit Card
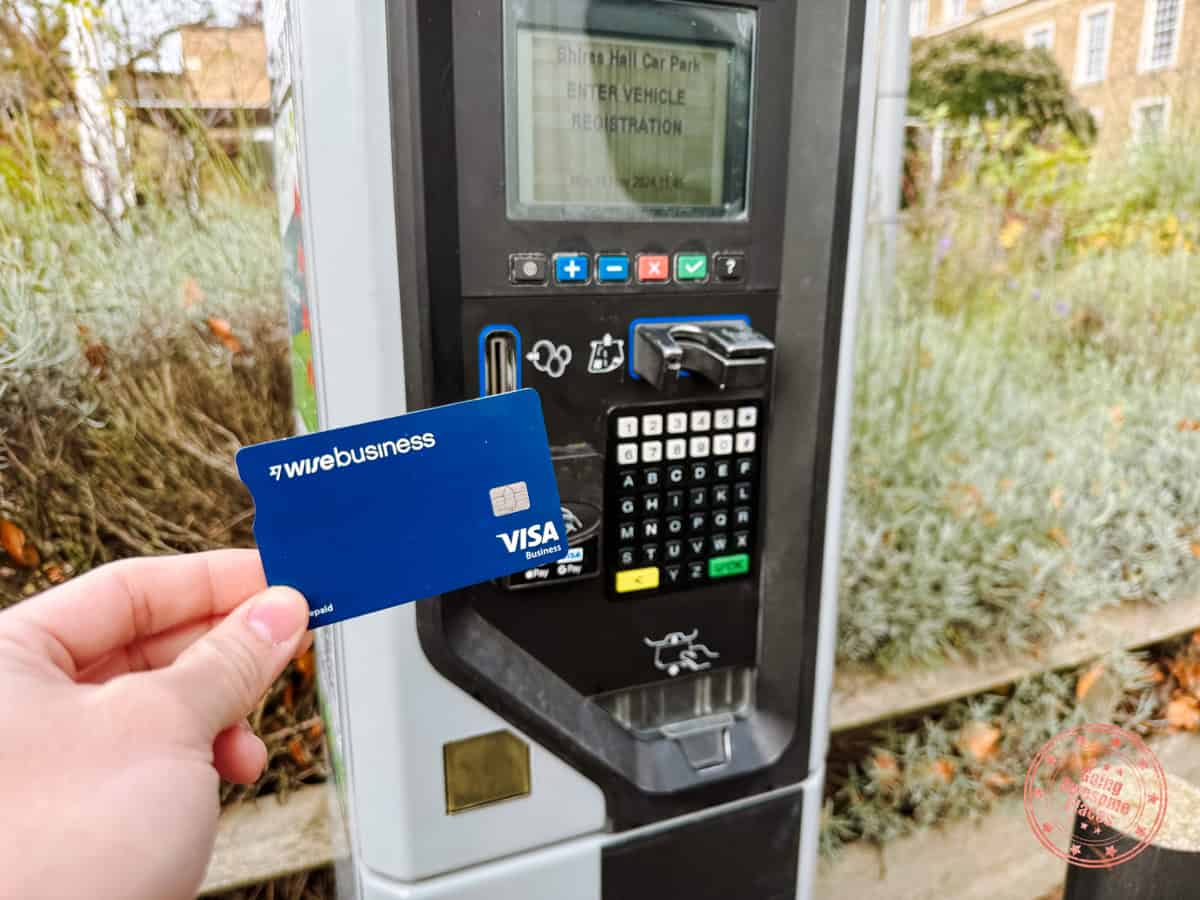
To contradict the previous point, while cash is still widely accepted, Japan is more credit card-forward compared to before. This is great news for travelers.
When it comes to using your international credit card, the main thing you need to know is that almost all cards add a 2.5% foreign exchange fee. This means on top of covering the Japanese Yen to your home currency using market rates (typically unfavourable ones already), the rate also has another 2.5% fee embedded.
In the past, this meant the only way to get good rates was to either go to shop around at your local currency exchange centers, or you could look for credit cards with no foreign exchange fee. In Canada, that would mean the likes of the Scotiabank Passport Visa Infinite.
PRO TIP: When credit card machines ask whether you want the charge to be in your local currency or Japanese Yen, always pick the local currency. That way, you’re not forced to use the unknown Japanese financial institution’s exchange rate.
Thankfully, there’s a better option now with the Wise card. You could say it’s a fancy prepaid card. You essentially load it with money and convert that to the different currencies you need when you travel. The beauty of Wise is that they offer near-market exchange rates. You’re getting ripped off significantly less and you use the card as a normal Visa. Since you’re spending local currency, there is no foreign exchange fee to worry about either.
PRO TIP: Sign up for your card at least a month ahead of time to give you time to receive the physical card.
Should You Load Your IC Card With Money?
With how useful the IC cards such as Suica, PASMO, and ICOCA are, you’ll be tempted to load lots of money onto it so you can use it to make regular purchases where they’re accepted.
In our opinion, it’s not worth it. You’d be better off loading more funds into Wise.
The IC cards are incredibly useful for transportation but even as a seasoned traveller to Japan, it’s really hard to tell which businesses accept Suica and which don’t. Load the money you need for the subway, trains, and buses but that’s it.
PRO TIP: I would also avoid converting your IC card to a digital wallet. What they don’t make clear is that once you convert it to your Apple or Android wallet, it is irreversible. This means that your physical card gets deactivated, and you won’t be able to share it with friends and family that go to Japan later on.
This is a bit of a long story but the Suica in my Apple Wallet completely glitched out, leaving $50 inaccessible. The problem is that neither JR East nor Apple have any tools to help debug wallet issues. Each company told me to talk to the other and in the end, nobody could help me.
3 – Be Purposeful With The Time Of Year You Visit
Our first 12 day Japan itinerary was in 2012 and even comparing our recent trip to 2019, you could really see a dramatic difference in crowd sizes. That’s why it’s more important than ever to time your trip to either avoid the crowds.
Over-tourism is a serious problem around the world, and Japan hasn’t been immune to its affects. This video about Kamakura shows how locals are trying to cope.
Alternatively, Japan is also magical at some of the busiest times of the year and there are several specific ones that you should absolutely try to make. In this scenario, you know it’ll be busy but you’ll also get to see something that you won’t get any other time of the year.
Here are when we think are the best times to go to Japan.
Fewest Crowds
- Post-summer – September to mid-October (outside autumn leaves peak)
- Winter – December to February (outside of the holidays)
- Pre-summer – mid-May to June
Special Events, Seasons, and Festivals
- Sakura (end of March to early-May) – It’s quite magical to see the cherry blossoms in full bloom in Japan.
- Fall colors (late-September to early-December) – Japan is stunning when it’s blanketed with hues of red, yellow, and orange.
- Obon Festival (mid-August) – This is a festival commemorating ancestors and a huge national holiday. Coming here for this festival will allow you to see many traditional celebrations including floating lanterns, fireworks, and hillside bonfires. Warning though, it’s very hot and humid this time of year.
- Sumo season – There are 6 tournaments every year. 3 are in Tokyo (January, May, and September), 1 in Osaka (March), Nagoya (July), and Fukuoka (November).
Something else to consider is that there is so much more to Japan than just the Golden Route. That’s precisely why we’ve tried to visit other areas such as Hokkaido’s Far East and the island of Shikoku more recently.
We understand that first timers will always want to explore the Golden Route but your best chance of avoiding large crowds is to go to less popular places, which often lends itself to more authentic Japanese experiences.
4 – Download These Five Apps Before You Go
We’ve compiled the best apps to download for Japan in the past but here’s even more focused list to pay attention to.
- Google Maps (iOS/Android) – Google is incredibly accurate, reliable, and easy to use in Japan. For train travel, we love that they display train track numbers, and for subways, which car is the closest to the escalator. Remember to turn Google Maps offline before you go.
- Klook (App page) – It’s crazy how they’ve risen to become the de-facto tour platform in Asia now. They are constantly running different promos and offering coupons which we share on our Deals page. Download the app to stay up to date and use code BetterOnApp get 5% off your first purchase.
- Google Translate (iOS/Android) – Language is probably one of the biggest hurdles to overcome in Japan and while there are a a bunch of apps out there, Google Translate is still the most intuitive. Their live-translation through the camera is also incredibly useful. Make to to download Japanese language pack for offline use.
- JapanTravel (iOS/Android) – This used to be NaviTime app but they’ve optimized it for English. Mainly use this app for transit recommendations in situations where you might want to double check what Google Maps is giving you. They also have a handy IC card balance checker built into the phone!
- smartEX (iOS/Android) – This is a newer addition to the mix as you can now purchase train tickets on this official app. The convenience of this app is that you can buy Shinkansen tickets on the app, have a QR code generated, and tap this at the gate to directly get in. You no longer need to redeem for paper tickets.
Honorable mentions also go out to GO / Taxi app for Japan, and Uber. Between the two, we usually ended up with Uber just because of the familiarity and easy of use but most locals use GO.
5 – Book In Advance To Avoid Disappointment
Another common question we get is what things you need to book in advance when visiting cities like Tokyo, Kyoto, and Osaka.
If this were 10 years ago, we’d say you can take it easy and plan activities on-the-go. Today, that could spell disaster if there was something you really wanted to do.
For this particular 10 day Japan itinerary of the Golden Route, we’d recommend that you book the following:
- Kobe Beef Steak Ishida – Booking through My Concierge Japan was a breeze. This and all other Kobe steak restaurants need to be reserved in advance.
- Kimono Tea Ceremony Maikoya – You can reserve directly or you can book through Viator. Since this is a high-in-demand experience, you should book this ahead of time.
- Kawaguchiko Bus – The Tokyo Fuji Five Lakes Liner is one of few ways to get to here efficiently since there aren’t any direct trains. As a result, this fills up quickly. The easiest ways to make this reservation is on Japan Bus Online. Reservations open up for a rolling month (i.e. October 9 – November 9) so jump on it once your day is available.
- Kichi Kichi Omurice – Made famous through social media, they’ve had to put in place an awkward reservation system. Its changed a few times but currently, you can only book a slot at 9AM for the same-day. This is perhaps one of the more competitive bookings in Japan.
- Unagi Sora – This kind of goes for any popular restaurant in Kyoto. Leverage your hotel reception staff to help you with this 2-3 weeks in advance.
Speaking more broadly from experience, here are a few other things that you should look into booking early.
- Hotels – Prices rarely dip, especially if you’re going during a prime season. You’re better off booking as early as possible. We recommend going through Agoda as their cancellation process is easy. If you pay in advance, make sure you pay in your local currency so you get burned on the refund.
- Car Rentals – There’s a bit more wiggle room with car rentals but for places such as Kawaguchiko, if you’re set on having a car, there’s no risk in booking right away because it’s easy to cancel.
- Flights – No brainer, right?
- Toyosu Fish Market – If you are intent on seeing the tuna auction in Tokyo, you should study how the Toyosu Fish Market application process works.
- Any fancy restaurant – Basically any massively popular or high-calibre restaurant can and must be reserved. The question is whether it requires a Japanese-speaker to call or if there’s an online system. For the online systems, they can be as competitive as Kichi Kichi Omurice.
- Any excursion or activity – This could be a cooking class, guided tour,
- Pocket wifi – The most popular in Japan is NinjaWifi.
What about the train? You’ll notice that one thing is glaringly missing here and that’s the Shinkansen and other trains. Whether you have the JR Pass or you’re buying them a-la-carte, we’ve never found it necessary to book online. In non-Shinkansen cases, you can tap your IC card to get through. For the express bullet trains, those can be purchased through the machine or customer service desk. Trains are rarely packed.
The only situation where I’d reserve in advance is if you’d like an assigned seat, you want to travel in in a nicer class car, or you’re traveling during a national holiday.
Otherwise, we think it’s advantageous to have a bit of flexibility in case plans change.
Where To Stay In Japan
We hopped quite a lot in our 10 days in Japan but that’s the nature of this type of trip where you want to see as much as you can in a short span of time.
While we put a lot of thought into each stay, we recognize that it might not be exactly what you might want so we’ve curated a few alternatives, in addition to our own to help you in your trip planning process.
Lastly, we quickly realized traveling in a group of 3 can present its challenges but we were able to find triple occupancy options in all the cities we visited.
PRO TIP: You might not’ve used them before but Agoda is king in Asia. The big reason why we booked them for all of our stays in japan is because they have the lowest prices. In addition, they always give away free coupons that’ll save you a few bucks here and there. Every little bit helps!
Osaka
In Osaka, you want to be in the city center but don’t feel like you have to be by the Namba/Dotonbori area. In fact, it’s almost better to be a bit further north so it’s quieter. Just make sure you’re a short distance to a metro station.
WE STAYED HERE
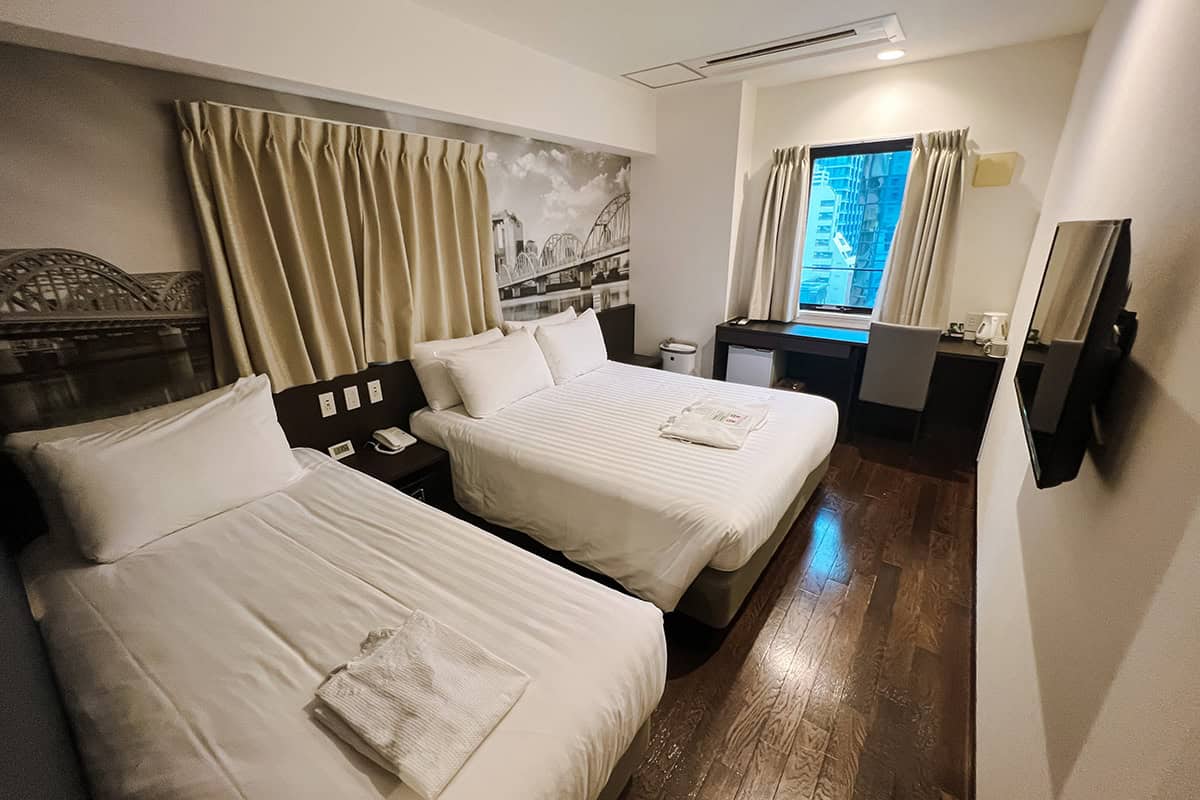
Travelodge Honmachi Osaka
This is completely different from the Travelodge experience in the US. It’s fresh, modern, and extremely affordable. They’re located in a convenient and quiet part of Osaka.
AFFORDABLE
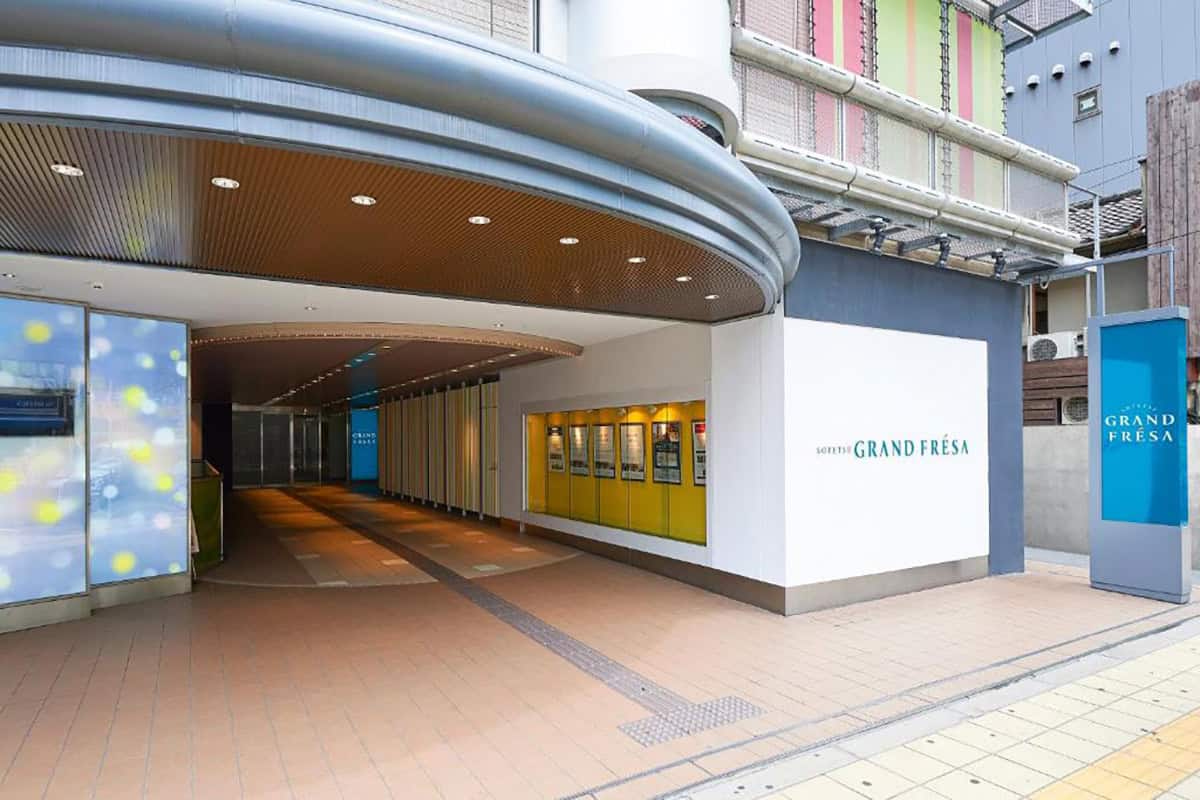
Sotetsu Grand Fresa Osaka Namba
Close to Nippombashi Station, this is a well-known Japanese hotel brand that is practically next to the river that leads into the famous Dotonbori district. As a business hotel, the rooms are more no-frills but for the price you can’t complain.
ONSEN
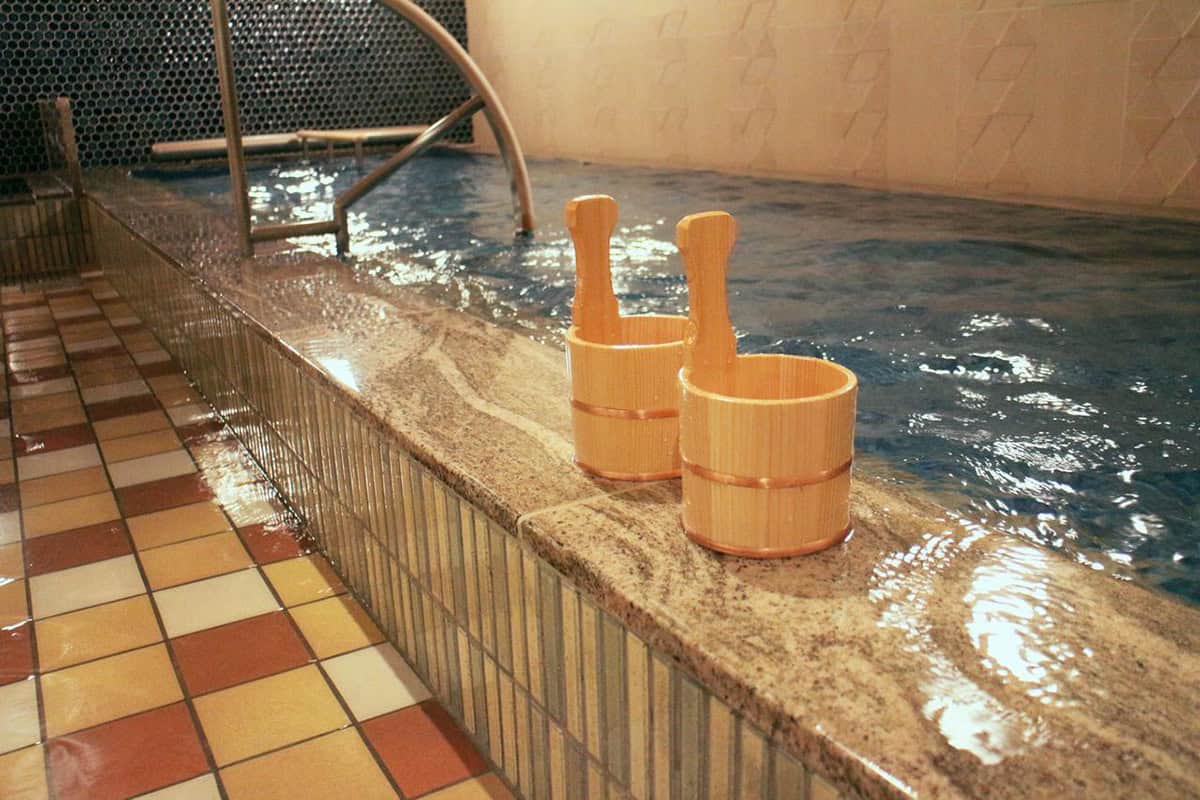
Onyado Nono Namba Natural Hot Spring
If you’re a fan of onsen, this cozy property comes with access to their indoor and outdoor baths for basically the same room rate. You also don’t have to sacrifice location as it’s by Nippombashi Station.
LUXURY
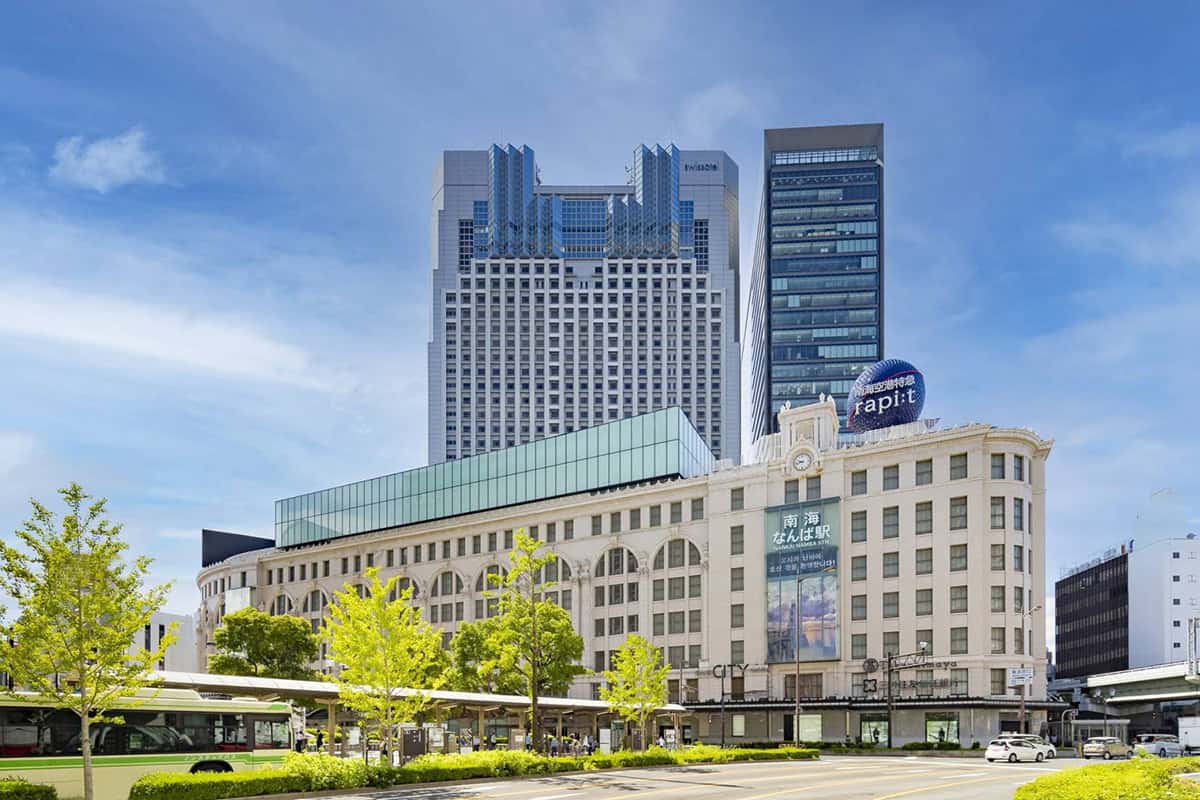
Swissotel Nankai Osaka
This is a Western-style hotel so that means spacious rooms. Located above Nankai Namba Station, you’re right in the heart of the city and you’ll get amazing views of the city.
Kyoto
Without doing any research, you might think that staying near Kyoto Station might be the best choice but in reality, you are much better off staying closer to the Shijo Street where I consider the “downtown” of Kyoto to be.
As one of the oldest cities in Japan with a lot of tradition and well-preserved historic districts, it makes a lot of sense to stay in a ryokan. It’s not for everyone though so we’ve tried to provide a few alternate options.
Staying in the Higashiyama area near Kiyomizu-dera can have its advantage as it’ll allow you to walk the streets when it is less crowded at night or in the morning without needing to make a big trek. That said, it’s also a little less convenient to get to Kyoto Station and there are no subway stations near there.
WE STAYED HERE
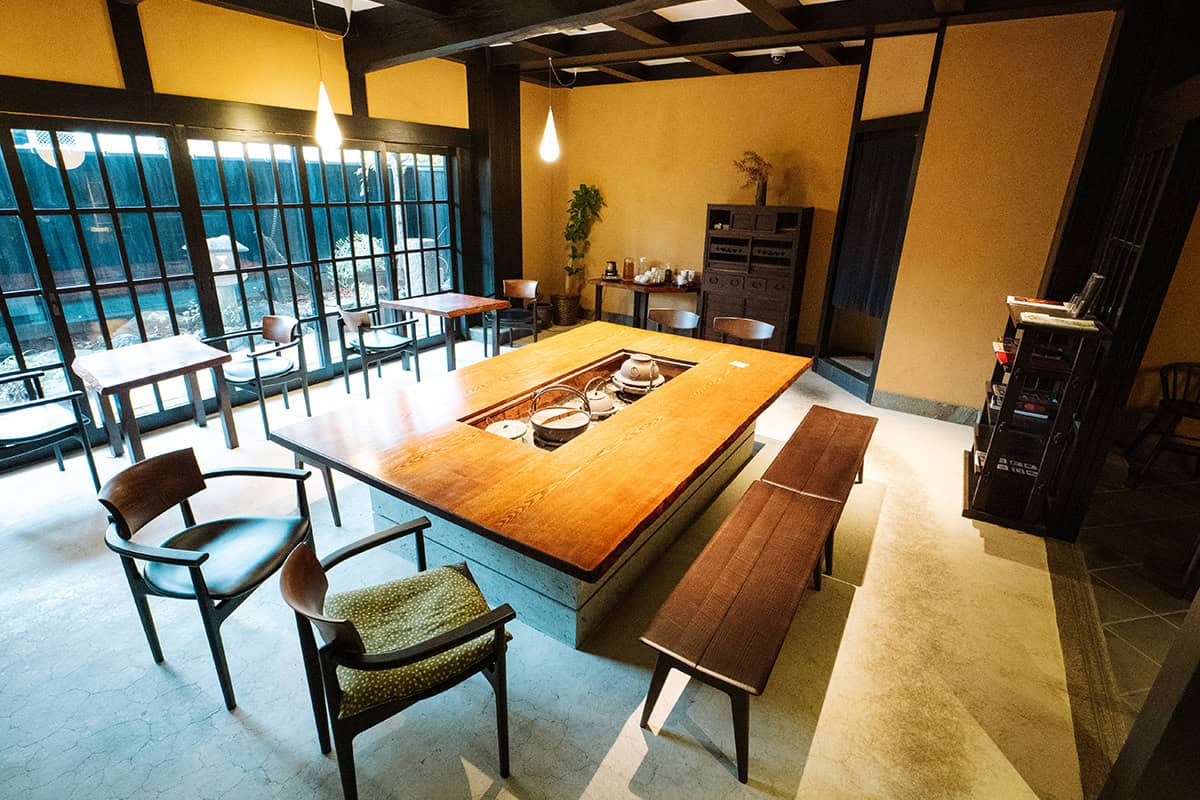
Kyomachiya Ryokan Sakura Urushitei
Located in quiet and convenient part in Kyoto, you are treated with excellent service, comfortable tatami rooms, giving you that quintessential ryokan experience, offers a traditional breakfast. The only disappointment was their private bath turned out to be basically a single bath tub.
AFFORDABLE
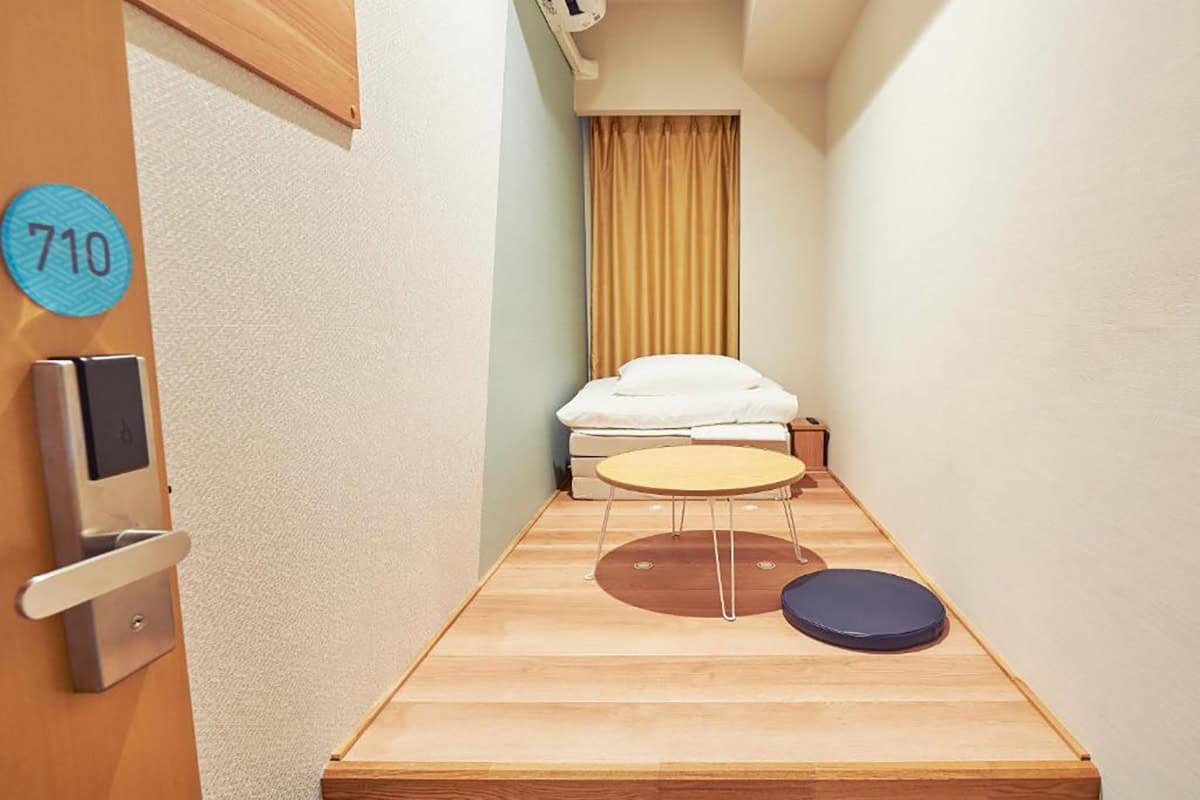
The Pocket Hotel
If you’re on a tight budget but looking for a clean and modern space in a great location? While compact, the private rooms aren’t that much smaller than a business hotel. The tradeoff is that they have shared bathrooms but they are meticulously clean.
POSH
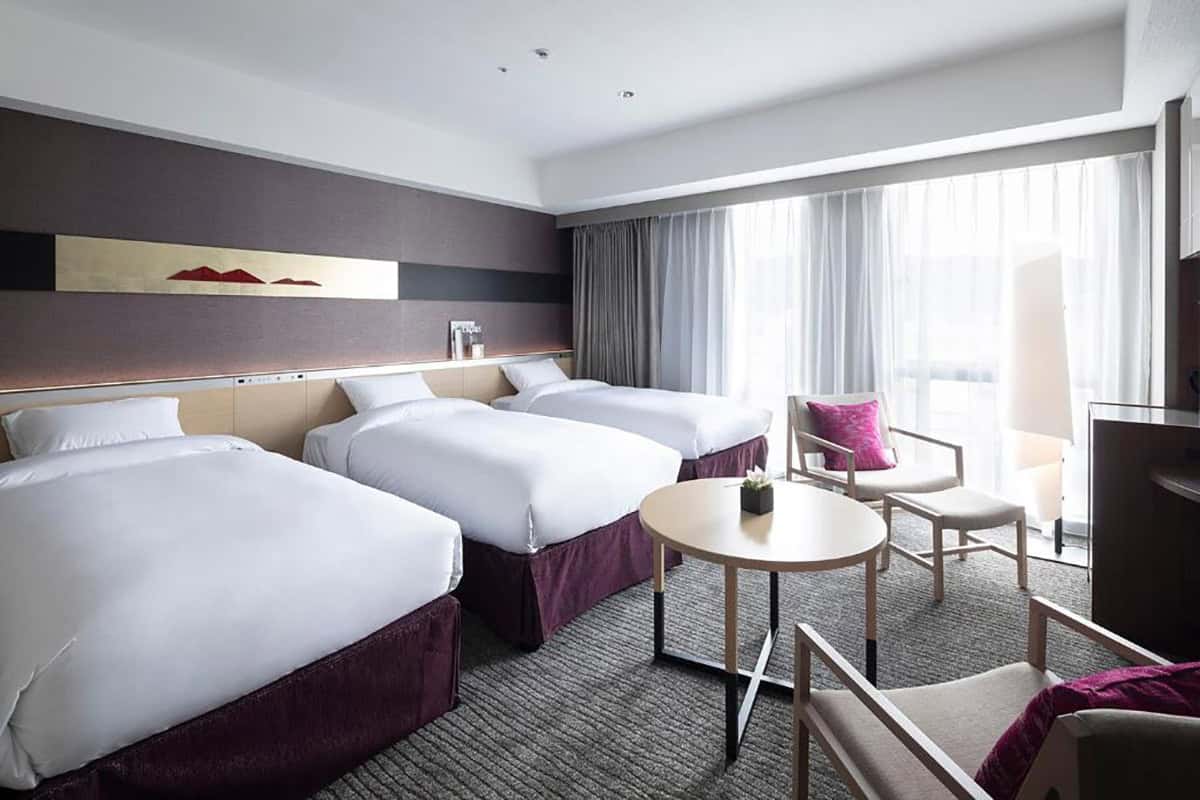
Cross Hotel Kyoto
A brilliant blend of Kyoto-style architecture and modern design, this property is right by the river and is hailed for being posh without being over-priced. You can often snag a great deal on this property so always check them out first.
LUXURIOUS RYOKAN
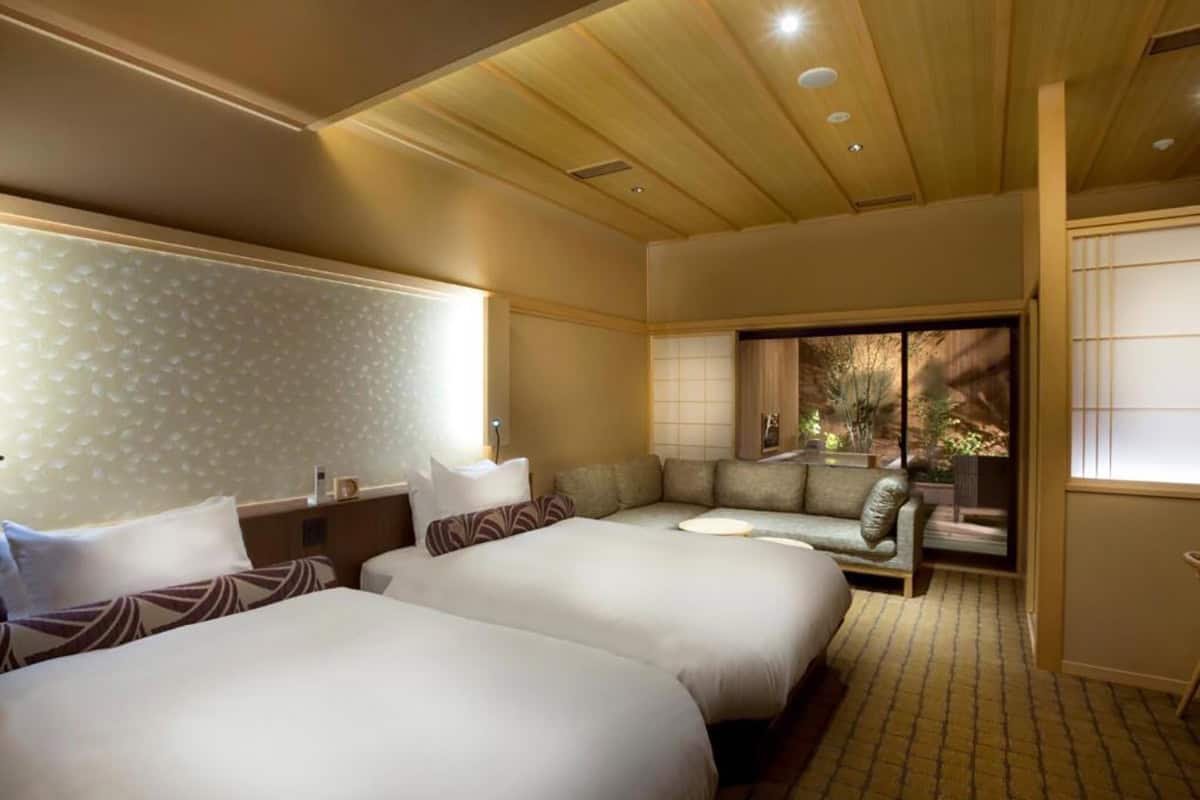
Saka Hotel Kyoto
If you want to truly enjoy Kyoto to the max, stay in this modernized ryokan in the heart of Higashiyama district where an excellent breakfast, private bath, spacious rooms, and close proximity to the main sights will blow you away.
Kawaguchiko
The key to finding a place to stay in Kawaguchiko is:
- Book incredibly early especially for the coveted hotels with views (as early as one year in advance).
- If not renting a car, make sure the hotel is near a bus stop.
- If renting a car, make sure they have free parking.
- Make sure they have at least a partial view of Mt. Fuji.
WE STAYED HERE
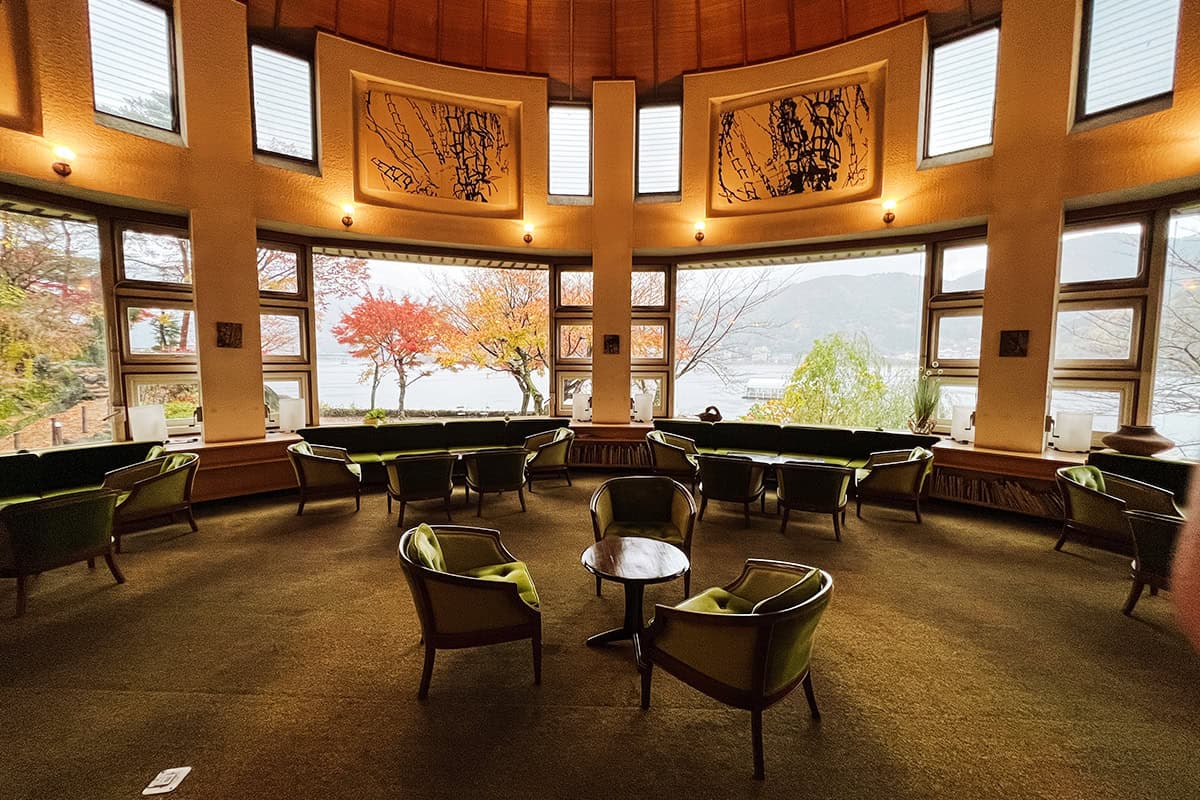
Fuji Lake Hotel
We had more limited choices with the combination of it being the autumn festival and triple occupancy but this one fit the bill perfectly as we also were looking for one that had proper onsen facilities. You’ll be impressed with how large the rooms are here as a ryokan. The buffet breakfast was also amazing.
GLAMPING
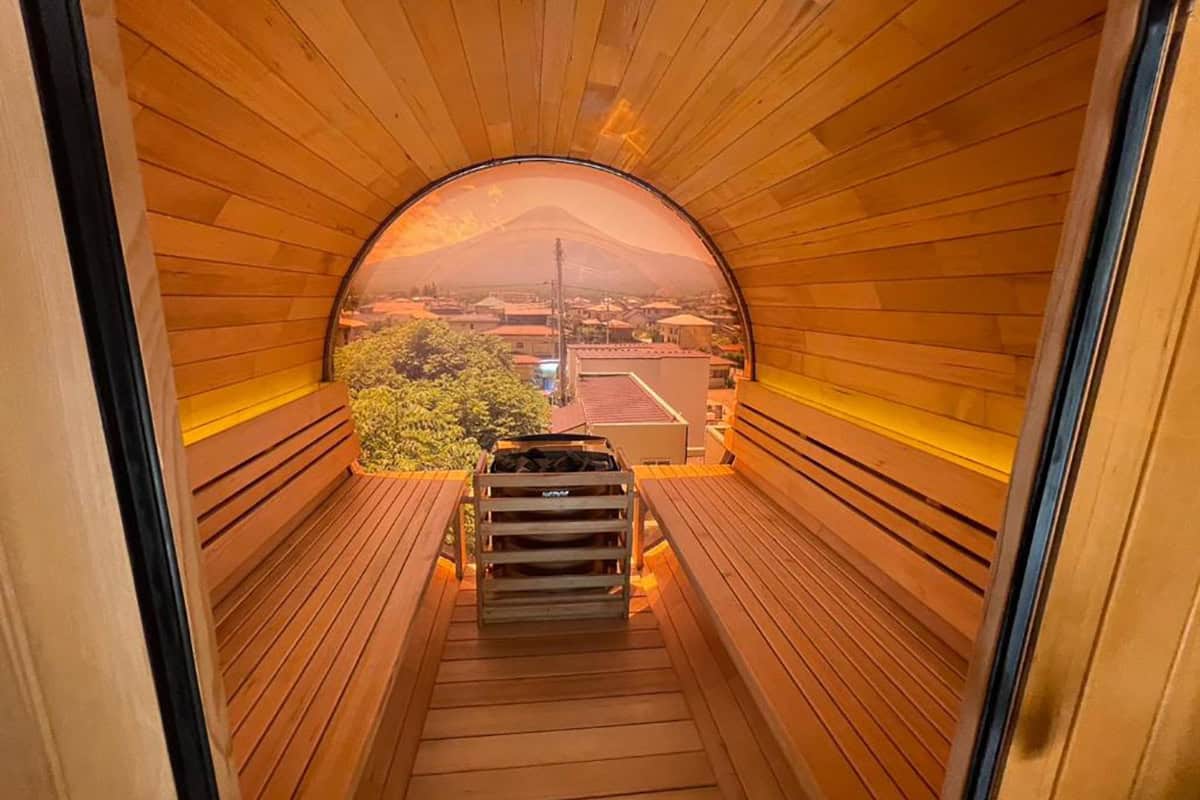
Mount Fuji Panorama Glamping
This is a bit of an unconventional pick but if you’re looking for a unique stay that has chilled out vibes, a killer sauna, and terrace views of Mt. Fuji, this is a great alternative to the traditional hotels and ryokans. They have a mix of container-built rooms and a geo-dome.
MT FUJI VIEWS
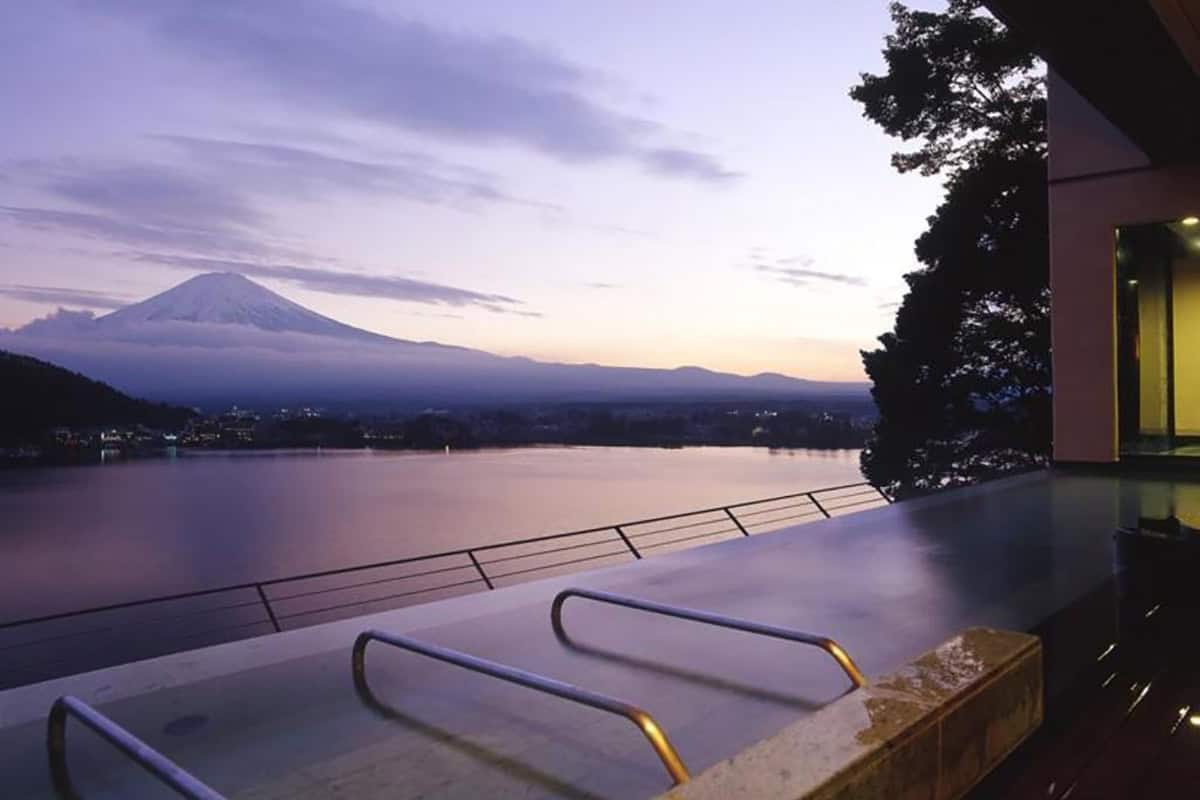
The Kukuna
One of the two properties that are positioned perfectly to face Mt. Fuji with Lake Kawaguchi in the foreground. All balconies have a postcard view of Mt Fuji and is also known for their outstanding service and packages that include breakfast and dinner. Parking is also free.
MT FUJI VIEWS ++
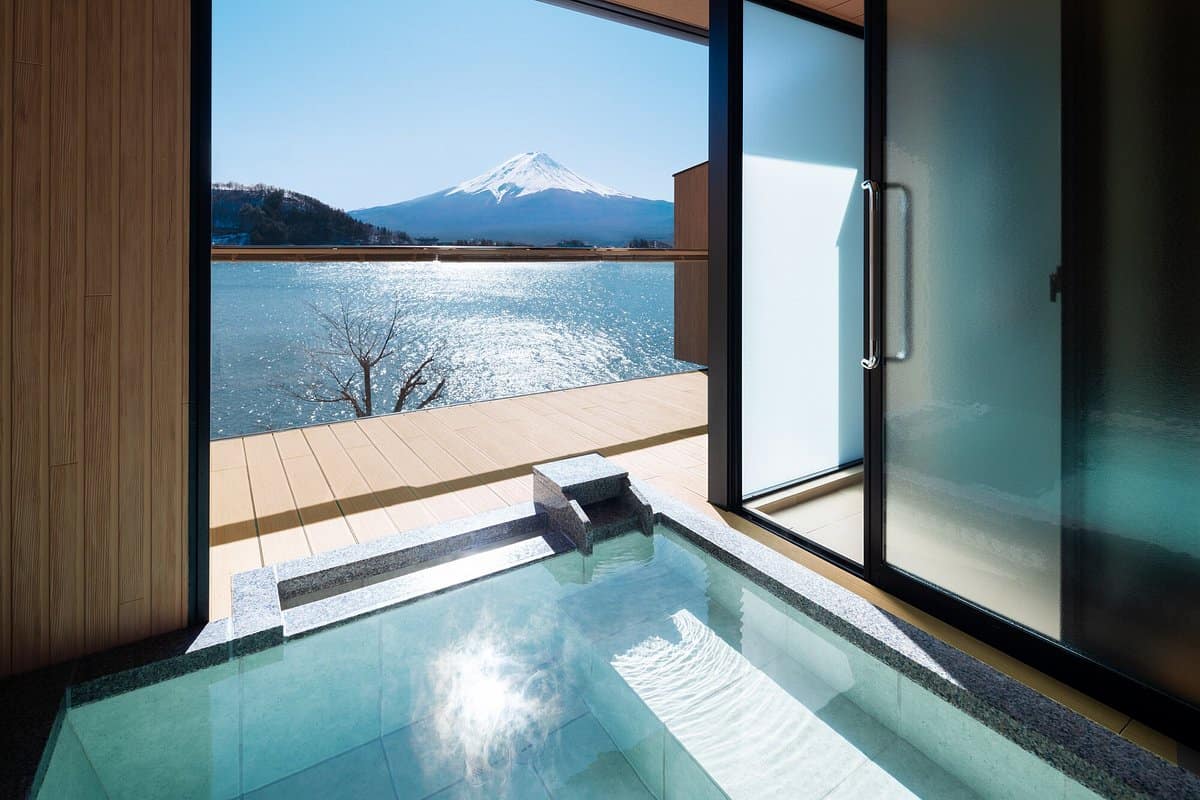
Ubuya
This is hands-down the hottest property in town. I’m not even sure if you can book it 1 year out. It’s a fabulous hotel with a view to die for and many rooms (Western and Japanese-style) with their own private onsens. Packages including breakfast and dinner. Parking is also free.
Tokyo
Surprisingly, hotels in Japan are a lot more affordable than you think. While the big cities are pricier than small towns, you don’t get close to the type of crazy inflation that you see in places like New York.
A few top tips to know about where to stay in Tokyo are:
- Always a good idea to book early.
- There’s nothing wrong with business hotels. You’ll find that most rooms are of the smaller size and that’s pretty normal. The good news is that these type of hotels are really well-kept and very clean.
- Make sure you’re close to a subway station.
- Picking a neighbourhood is important but know that it’ll be impossible to be close to every attraction since the city is so large.
- In our opinion, the best neighborhoods are Ginza, Shinjuku, Shibuya, and Hamamatsucho.
WE STAYED HERE
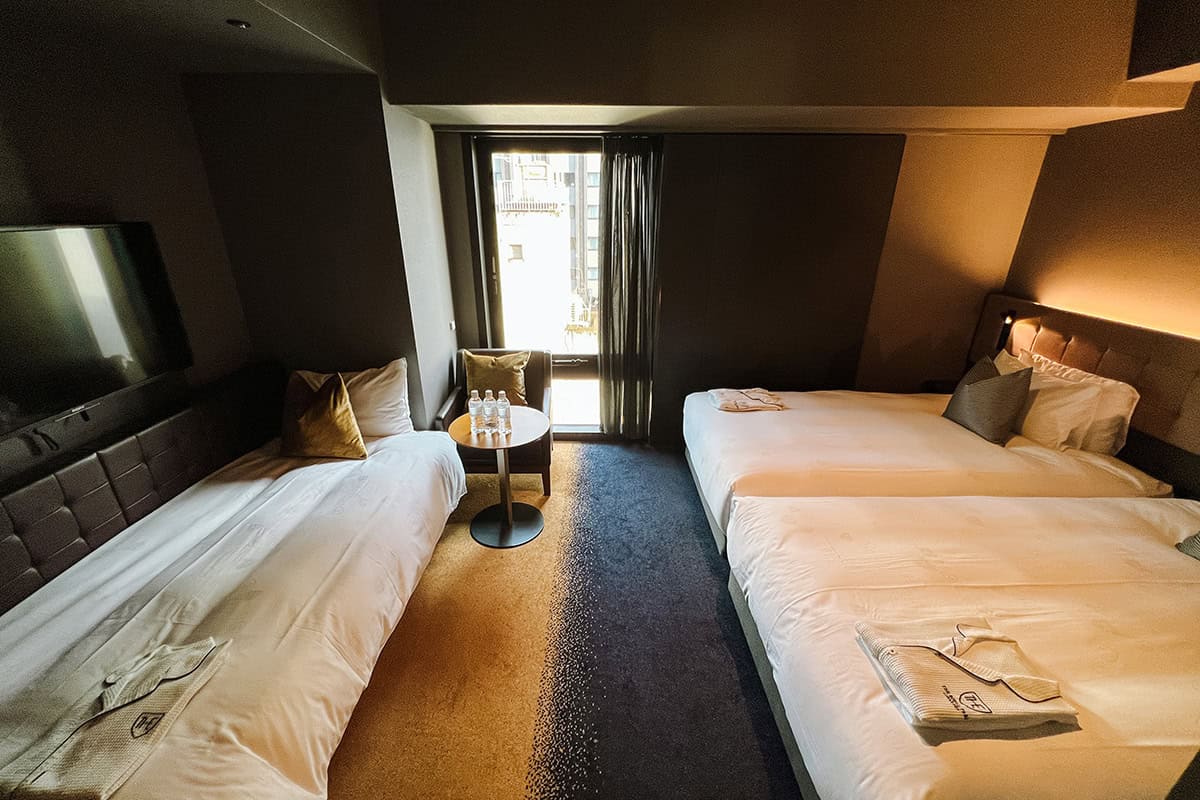
The Royal Park Canvas Ginza 8
Impressed with my stay at their Sapporo property, I knew to expect a modern, trendy, and sustainable hotel in a prime location. It delivered on all counts. The beauty of where it is in Gina is that you have the entire neighbourhood available to you and you’re also close to Shimbashi Station.
SHINJUKU
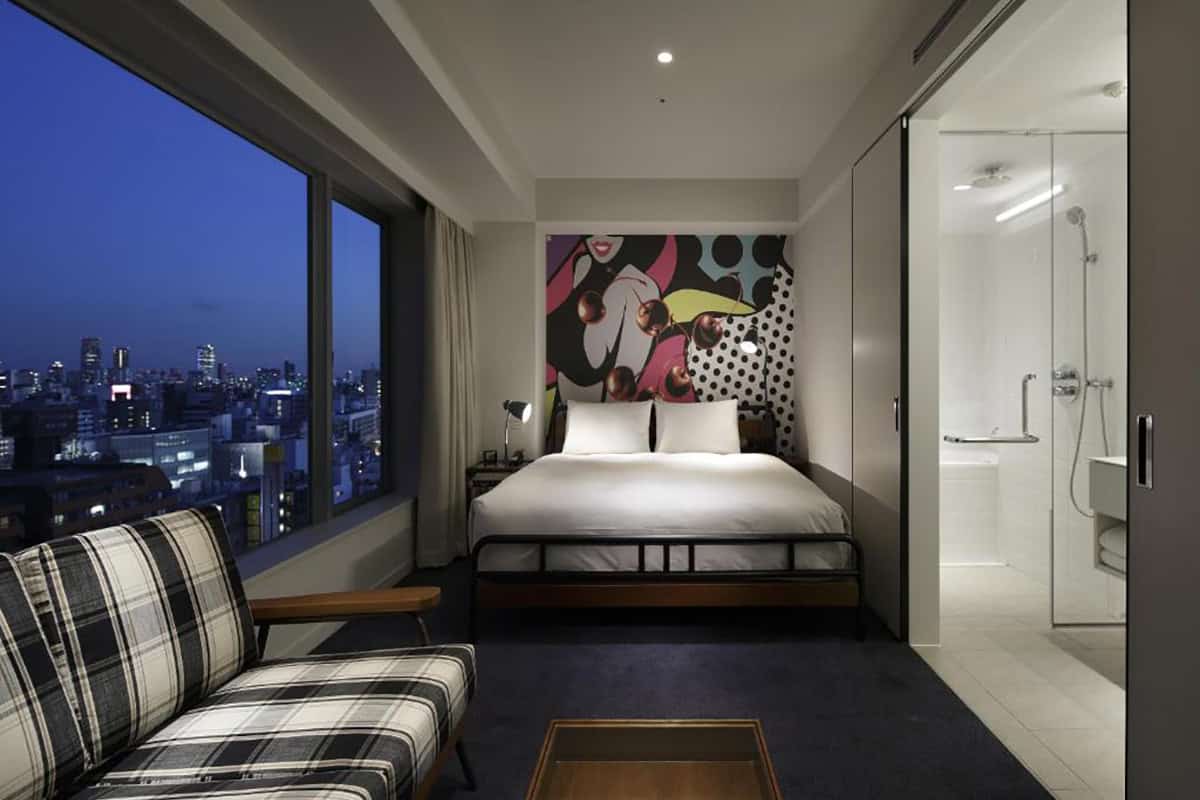
Shinjuku Granbell Hotel
A sleek modern hotel in a ridiculously good location within Shinjuku, this is a favourite for many because of it’s location, 13th floor rooftop bar, friendly staff, and modern amenities. Breakfast is also worth the upgrade.
SHIBUYA
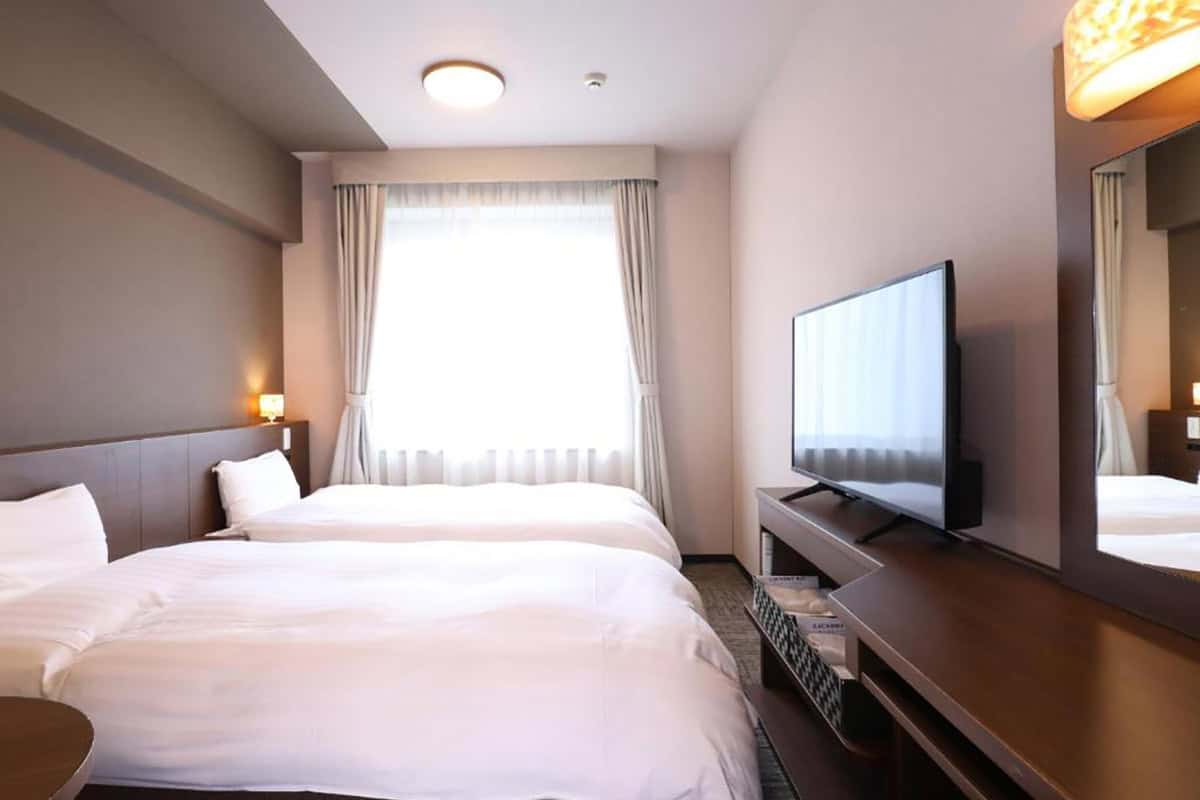
Dormy Inn Premium Shibuya Jingumae
There aren’t many hotels in Tokyo that have an onsen so when you find them, you mark them down. Dormy Inn is a well-known business hotel in Japan and is perfect for your Tokyo adventures. I also love that it’s in between Shibuya and Harajuku.
HAMAMATSUCHO
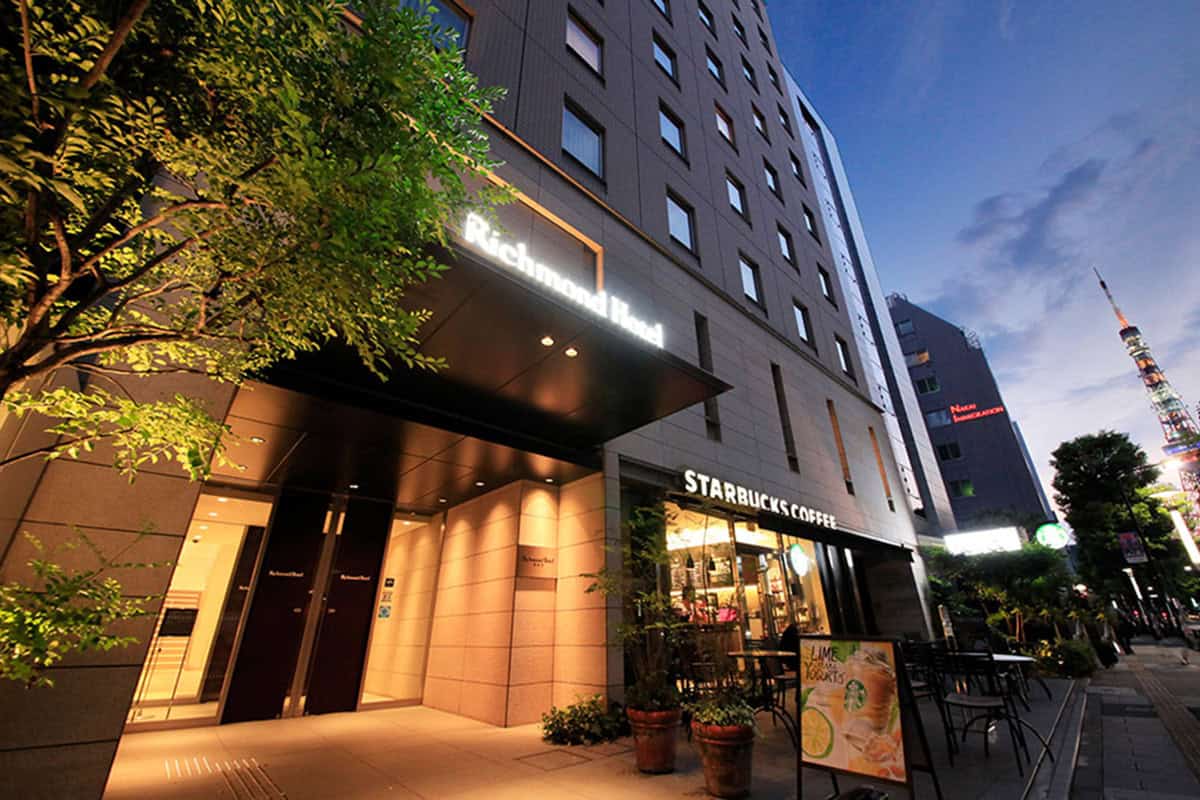
Richmond Hotel Tokyo Shiba
Boutique-style hotel at affordable prices, this property is my new favourite spot to be especially if you’re flying through Haneda. It’s also close to JR, subway station, and Tokyo Tower. Staff is excellent, and clean. Only downside is that they don’t have a breakfast restaurant.
Looking for more accommodation ideas in Tokyo?
We breakdown the different neighborhoods in Tokyo, reasons to stay at each, and provide hotel recommendations.
Japan Trip Cost Breakdown
Knowing that it’s helpful to have an idea of how much a Japan trip of this length costs, similar to our other travel itineraries, we kept track of our real-life expense and summarized them in the table below.
As a heads up, we’ve excluded flights just to give you a more fair comparison.
| Category | Amount (USD) |
|---|---|
| Accommodations | $2,109 |
| Transportation | $914 |
| Food | $792 |
| Activity | $319 |
| Souvenirs | $242 |
| Communication (Airalo) | $26 |
| Supplies | $10 |
| Laundry | $4 |
| TOTAL | $4,416 (for 3 people) |
This means that the per-person cost for this trip was $1,472 USD across 10 days. That’s $147 USD/person/day.
Comparing to other Japan trips where 12-day Shikoku itinerary was $208 and 7 days in Sapporo in the winter cost $318 and Hong Kong which was $316 USD/person/day, this was actually quite affordable.
For this trip, I can’t say that we splurged like crazy but if I were to pinpoint something, it’d be the Fuji Lake Hotel which was singularly the most expensive hotel per night.
You’ll be shocked to hear that this was a far cry from averages for other trips. 1 month in Chile averaged out to $308, 3 weeks in New Zealand was $353, and 10 days in Egypt was $204 USD/person/day.
Japan Trip Essentials
This itinerary is packed with information but we know it doesn’t apply to everyone. What EVERYONE can get out of this article are these basics for travel in Japan.
Flights – Use Skyscanner’s alerts to track the prices so you can book when they’re the cheapest.
eSIM – We’ve tested Airalo, Ubigi, and AloSIM in Japan. While 5G was kinda neat with Ubigi, it also felt a little unstable at the same time. Ultimately, Airalo seemed the most consistent and easy to use.
Hotel – After much price comparison, Agoda always turned out to be cheaper than Booking.com and other platforms. While a bit random, Agoda always seems to have random coupons available to save a bit more money
Tours – You can shop around with GetYourGuide and Viator but we found Klook usually had the better price and more selection of experiences.
Transit – IC cards are going to be key for getting around. In Tokyo, Suica and Pasmo are the cards you’ll want but since you’re starting in Osaka, ICOCA is the IC card they use. Since you can’t order these ahead of time, you’ll have to buy one from a JR West station ticket vending machine. Note that you can only use cash to buy one of these cards.
Travel Insurance – While Japan is incredibly safe, accidents can still happen and the worst thing is not having any coverage and having to pay a ton out of pocket. We ALWAYS have a travel insurance active when we travel. We recommend buying a policy from HeyMondo but if you’re on the road for a longer stretch SafetyWing.
What To Pack for A Trip To Japan
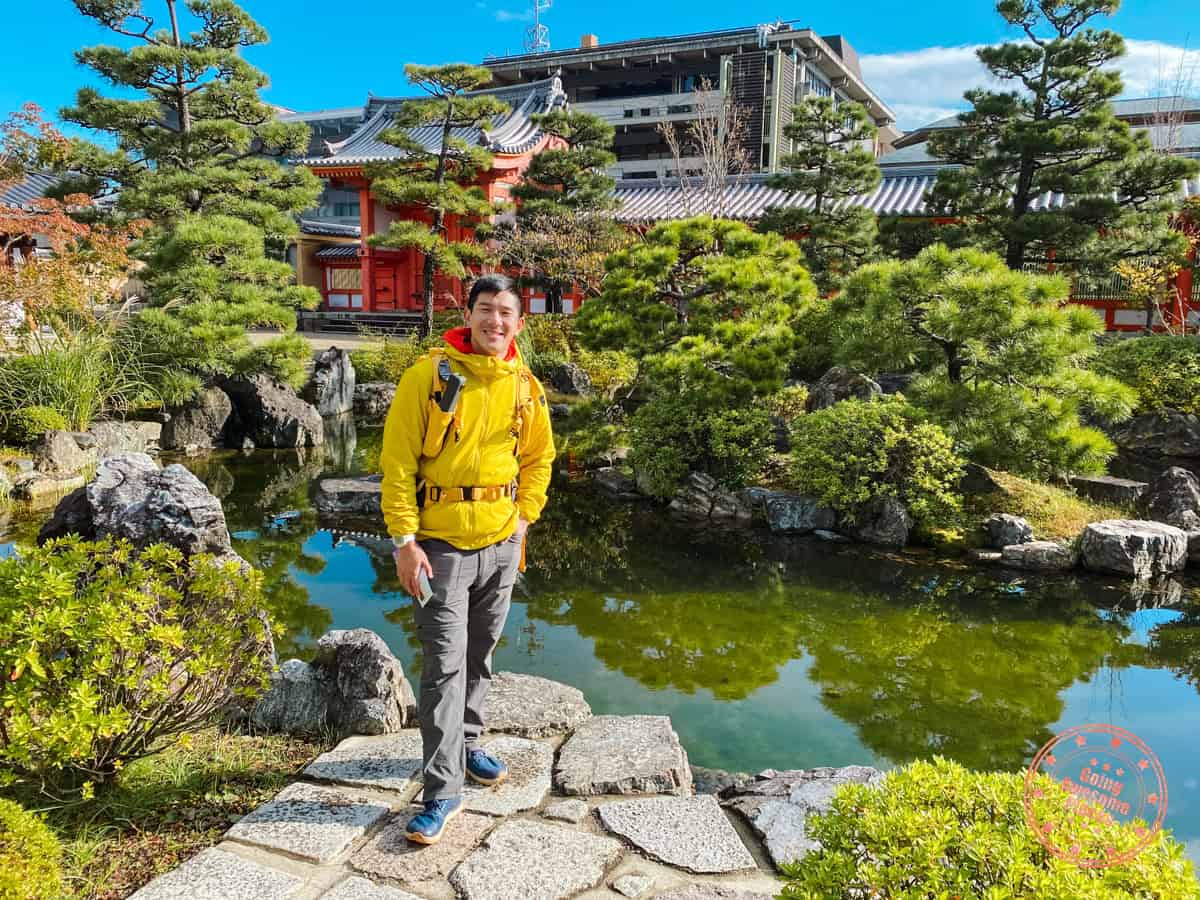
What to pack for a trip to Japan will vary wildly depending on the season but to keep things focused, since we did the Golden Route in November, we’ll stick to what to pack in the autumn season.
In the fall, the weather is quite pleasant but is mostly in the low 10s (°C) / 50s (°F) so you definitely want to have a jacket on you. It can get quite warm in the sun but temperatures dip quickly if it’s cloudy and when the sun goes down.
Clothes
- Jacket – Arc’teryx Atom Hoody – This was my main workhorse for the trip. I love the pop of yellow in photos but it is also quite breathable, not restrictive, and great insulation.
- Waterproof jacket – Teton Bros Tsurugi Lite – Not wanting to bring a lighter weight shell jacket, I opted to try out Japanese brand, Teton Bros because I really loved their sidewinding zipper design. Not only was it waterproof, but it also acted as another layer on colder days.
- Waterproof pants – Arc’teryx Beta Pant – I packed this in case but never ended up using it. This is worth packing if you’re traveling during a wetter season.
- Active fleece – Delta Hoody – This is a technical sports fleece that I felt like I wore everyday. On warmer days, this is the only layer you’ll need overtop a t-shirt.
- Travel pants – Outdoor Research Ferrosi Joggers – My new favorite travel pants that features a zippered back pocket, elastic cuff hem, elastic waist, and quick-drying material. The one that you see me wear in the photo above is the Outdoor Research Equinox Convertible Pants. These haave been discontinued but the good news is that there’s the Ferrosi Convertible Pants
- Shoes – Altra Lone Peak 7 – Lightweight, versatile, zero-drop shoes that are comfortable for long days on foot and excels on the trail.
- Active t-shirt – Arc’teryx Cormac Crew Shirt – It’s counter-intuitive but it’s actually important to stay breathable even in colder weather because it’s easy to overheat with multiple layers.
- Hat – Ciele GOCap – I’m a big fan of these light, quick-drying, packable, and fun-colored hats for travel. Don’t worry, you don’t need to be a hardcore runner!
- Sunglasses – Maui Jim – The current model I’m wearing is discontinued (Chee Hoo) but I can back up optometrist’s claiming that they have the best clarity and quality of lenses on the market.
Gear
- Luggage – Db Journey Ramverk Luggage – I chose the medium size of this niche-brand suitcase because they use one of the best and largest wheels on the market (60mm Hinomoto), making them really easy to roll around from airport to hotel and going from station to station.
- Charging – Mogics Super Bagel – This is a handy universal power strip for travelers that gives you 5 standard North American outlets, fast-charging Type C USB and a original USB A. You’re also protected with a replaceable fuse.
- Backpack – Shimoda Action X50 V2 – With all of the camera gear I have, this is our current primary travel bag that we’re able to use as a carry-on and is packed with nifty features that make it really useful when on the road.
- Messenger bag – Peak Design Everyday Sling – The 3L and 6L slings are great for travel. If you’re looking for something that’s even more lightweight, check out the new Outdoor Line which has a 7L and 2L sling that are perfect for the road.
- Packing cubes – Eagle Creek Pack-It Cubes and Compression Cubes – A must-have for any suitcase.
- Sunscreen – Sun Bum SPF50 for face and body – Make sure you’re protected every day even when its cooler.
- Reuseable tote – Peak Design Packable Tote – Super handy when you go shopping and don’t have space in your sling or backpack.
Gadgets
- Tripod – Peak Design Carbon Fiber Travel Tripod – This is our go-to tripod for our travels and we’ve reviewed it extensively.
- Camera 1 – DJI Osmo Pocket 3 – I’m continuously amazed by how this makes filming on-the-go so easy and how it brought joy to the process. For the video I shot in Japan, it was mostly done with the Pocket 3.
- Camera 2 – OM System OM-1 Mark 2 – I love my OM System (previously Olympus) micro-four-thirds system. It’s perfect for travel. For this trip, wanting to not get distracted too much with my parents, I only used this for specific cinematic shots.
- Drone – DJI Mini 4 Pro – This is the perfect travel drone although there really weren’t many opportunities to fly it on the Golden Route. If I had more time, it would’ve been nice to fly in Kawaguchiko.
- Lens – OM System M.Zuiko Pro 8-25mm – I had to be selective with my lens choices for this trip and ended up using this one the most.
- Powerbank – VEEKTOMX 10,000mAh – These are so good that I now travel with 2 of these now. One is permanently inside the Shimoda backpack and the other in the sling or my pocket.
What We Missed In This Itinerary
There’s no wrong way to do Japan’s famed Golden Route and because everyone has different preferences, travel styles, interests, and companions.
The reason why our itinerary looks a little different from the usual is because I had originally done this with our 12 days in Japan. While I wanted to keep much of it the same for my parents, I decided to make some switches to keep some parts fresh for me as well.
Itineraries are very much a personal process so to not leave you hanging, I’m also giving you a list of places that I think you should consider if you’re spending 10 days on the Golden Route.
Osaka
- Nara – You’ll notice that we went to Kobe as our day trip. If Kobe beef isn’t a priority, Nara is the common choice for first timers. This is where deer roam freely in the city and you’ll see Kofuku-ji and Todai-ji which houses one of Japan’s largest bronze Buddha statues.
- Universal Studios Japan – Yes, the original Super Nintendo World is in Osaka so if you have a day to dedicate to this and love theme parks, this is a great choice. While slightly smaller than Universal Studios Hollywood which we did in one day, Super Nintendo World has an additional ride and more photo ops.
- Osaka Castle – An important heritage site with panoramic views of the city. Make sure to buy your ticket before you go.
- teamLab Botanical Garden – If you loved teamLab in Tokyo, it’s definitely worth the trip to see the Nagai Botanic Garden transformed to an interactive open-air museum. Get your tickets here.
- Osaka Observatories – There are two different observatory towers in the city. One is the Umeda Sky and the other is Harukas 300.
- Osaka Aquarium Kaiyukan – Great for families, this is a well-put-together aquarium in the city. It’s also extremely affordable and usually not too busy.
Kyoto
- Monkey Park Iwatayama – We were so close to visiting here during our morning in Arashiyama but we simply ran out of time. Come here for an encounter with Japanese macaque monkeys.
- Hozugawa River Boat Ride – In traditional river boats, navigate the scenic river from Arashiyama. Book this experience in advance.
- Eikando Zenrinji Temple – This is one of many more temples you can visit in Kyoto especially if you love zen gardens. Others to consider are Nanzen-ji, Tofuku-ji Temple, Kennin-ji, Tenryu-ji, and Sanzen-in Temple. It’ll be impossible to do them all so only fit these in if you’re really interested or if you have the extra time.
- Katsura Imperial Villa – Located on the western side of the city, you’ll see a 17th-century imperial villa surrounded by a garden and teahouses. An English guided tour is available but reservations are mandatory as it’s the only way to visit.
- Heian Shrine – A beautiful and photogenic shrine that is known for their cherry blossoms on the spring. Free to visit but the garden (a highlight) has a small fee. It’s quite the large complex.
- Kyoto Railway Museum – A great spot for families especially if someone in your family is interested in Japanese trains.
- Hirobun – This is the social media viral noodle restaurant that’s delivered down bamboo shoots and near Kinkakuji. Just keep in mind that they’re only open during the warm seasons of the year.
Kawaguchiko
- Climb Mt. Fuji – This is a topic on its own but some may make it their mission to summit Mt. Fuji and others might be okay to do the hike up to the 4th or 5th Station and take the bus back down. There are so many ways to do this.
- Mt. Fuji Panoramic Ropeway – The gondola takes you 400 meters from the eastern side of Lake Kawaguchi, giving you awesome panoramic views of Mt. Fuji.
- Saiko Iyashi no Sato Nemba – Built on the remains of an old village, you’ll see a collection of traditional cottage buildings. Mopst come here for the Instagrammable shots of the village and Mt. Fuji in the background. This is much easier to get to if you have a car but it’s possible by bike as well.
- Kawaguchiko Music Forest Museum – Quirky “European Alps” inspired theme park devoted to automatic musical instruments like music boxes, mechanical organs, and more.
- Ide Sake Brewery – Family-run sake brewery that offers a tour that covers the sake-making process and you also get to do a tasting at the end.
- Lake Saiko and Lake Shoji – Next to Lake Kawaguchi are other lakes you can visit that make the perfect road trip pitstops.
Tokyo
There are too many to list but from our numerous trips, here are bigger ideas to consider.
- Day trip to Kamakura – Not only do they have the iconic Buddha but it’s a charming town with lots of yummy eats and shopping.
- Day trip to Hakone – This is a popular addition to the itinerary to see parts of Old Tokaido Road, hop on a pirate ship, get up-close to a volcanic crater, and try their legendary hot springs.
- Yokohama – A neighbouring port city that reminds me a lot of Kobe but larger. Makes a great half or full-day trip.
- Disney Sea – Tokyo Disney Resort has two parks – one that’s essentially the classic Magic Kingdom and the other is Disney Sea. If you had to choose, I’d go for Disney Sea because it’s unique.
- Sumo – I can never seem to get things to line up perfectly to see the Grand Sumo Tournament Tour but just as good is something like this which also includes a chankonabe meal.
- Toyosu Fish Market – Tsukiji these days is a touristy market but if you want to see where they’re auctioning tuna, you’ll need to apply for the Toyosu Fish Market auction. If you’ve never been, it’s worth it.
- Kichijoji – We’ve done day trips out to here to try their street food but another good reason to come here is for the Ghibli fans out there, there’s a Ghibli Museum (advanced reservations required). Check out this 3-stop tour includes the museum.
- Shibuya Sky – One of our favourites from a previous trip was Shibuya Sky, a new rooftop observation deck with easily the best views and great photo opportunities as well. Grab your tickets in advance so you can get 10% off food and drinks at the lounges!
Ramen Etiquette
Before you go, make sure you know all the do’s and don’ts of going to a ramen shop. Believe it or not, there are rules!
Japan’s Golden Route Never Disappoints
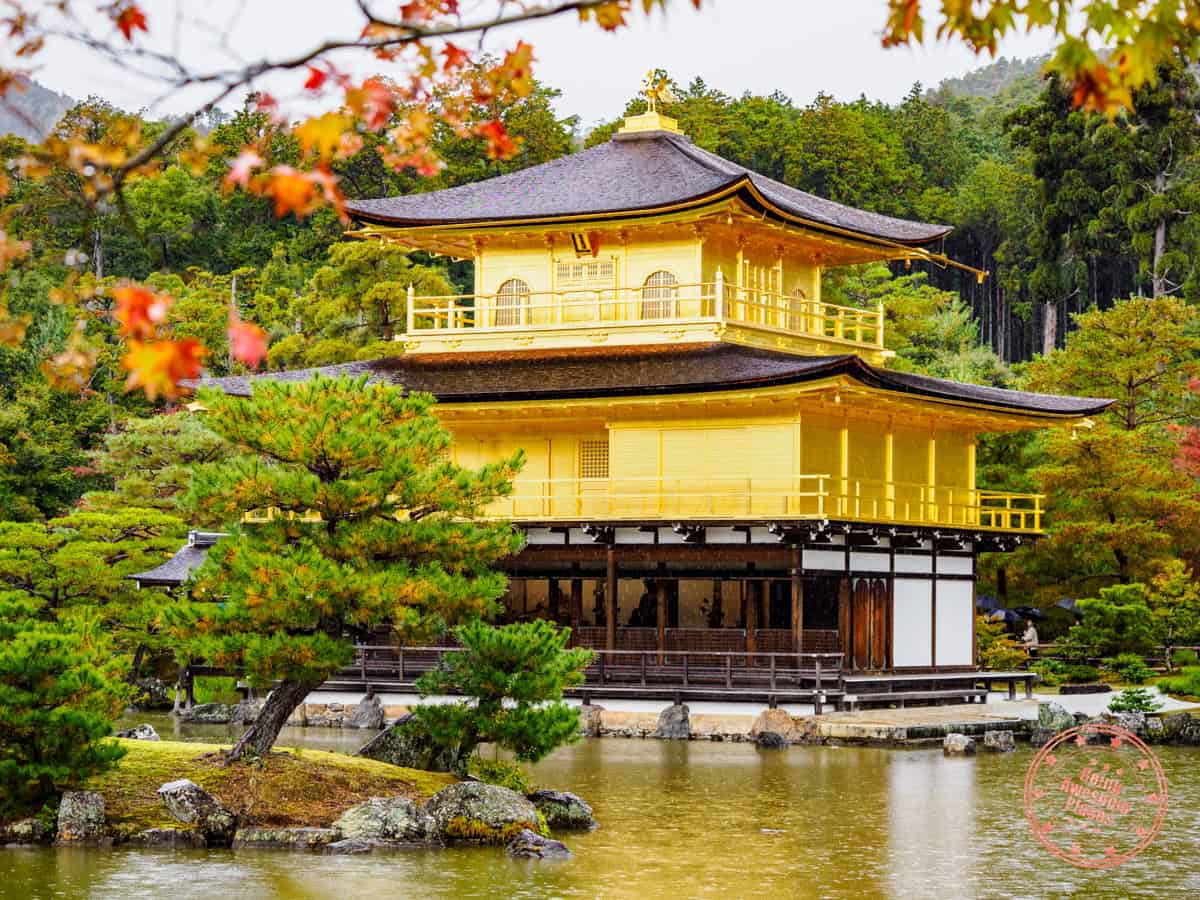
I have never heard of anyone coming back from Japan and not wanting to go back. This was my 5th trip back and while yes, I was returning back to many of the places I had been to before, it was special to see my parents eyes light up with all of the wonders that are on the Golden Route.
Sure, some places are more crowded than ever before but by incorporating lesser-known spots and smart planning, it was all quite manageable.
10 days isn’t a lot of time when it comes to seeing Japan for the first time, but luckily, it’s just enough to come away with a full heart, and like I said, a yearning to come back to see more.
We hope this itinerary gives you a solid foundation for building your own trip and we can’t wait to hear about it!
Frequently Asked Questions
The one time of the year to avoid is summer because it is incredibly hot and unpleasant. To avoid the heat and tourists, your best bet is to go during the shoulder seasons and away from main Japanese holidays. The best time of the year is March – May and September – November but make sure to avoid Golden Week (April 29 – May 5).
This is all about trying to time your trip to when the leaves are at their most colourful. You don’t want to go too early or else they are too green and if you go too late, many trees will be bare. While it changes year to year, the autumn leaves are usually at their best the last week of November.
At a minimum, you’ll want to spend 10 days in Japan. As you can tell from our itinerary, it was just enough to do many of the highlights of the Golden Route. That said, ideally you’ll want 14 days or more for your first trip to Japan.
We did this trip the second and third week of November.
Japan has strict rules when it comes to drones and it’s all laid out by MLIT. This includes registration, labeling your drone, restricted airspace, asking for permission, and logbooks. If you are planning to fly, know the rules, and make sure you register and pay ahead of time. As a rule of thumb, flying over densely populated areas is not allowed. Most cultural sights (i.e. temples and shrines) also have no-drone signs posted so make sure to adhere to those. That is why I didn’t end up using the drone for this itinerary.
The best eSIM to use in Japan is Airalo because of their customer support, ease of installation, and user-friendly app. Use code WILLIA9500 to get $3 off your first order. For an alternative, KnowRoaming has great eSIM prices . Use GAP10 to save 10%.
Get Inspired With More Japan Articles
Japan Trip Planning Essentials And Discounts
If you’re in the middle of booking your trip to Japan, here are the most important places you need to go to book:

- JR Pass – The two most reliable places we always check are JRailPass and JRPass. If you are taking long distance Shinkansen across multiple region, get the full JR Pass. If you’re focusing on one specific area, you only need a JR regional pass. The official booking platform is Smart-Ex.
- Shinkansen – The JR Pass prices have gone up and for many of you, it’ll make more sense to book tickets individually. The secret is that when you buy your Shinkansen tickets through Klook offers special vouchers for Don Quijote and BIC when booking. Their tickets are super easy to redeem as well. Right now, use code SKS10OFF to save $10 USD off.
- Hotels/Ryokans – In Japan, the best website for accommodations, hands down is Agoda. When we’ve compared them against Booking, Agoda consistently came out cheaper.
- Tours – While Viator and GetYourGuide are our go-to’s, Klook and KKDay are much popular in Asia so it’s always worth comparing across all of them to make sure you get the best price. With Klook, use code GOINGAWESOMEPLACES to save up to 10% on your first booking.
- Pocket Wifi – While we do love eSIMs, having a pocket wifi is great for sharing data with a large group. The most popular is NinjaWifi which is easy to pick up at the airport. Use code AWESOME15 to save 15% (automatically applied). Alternatives are offered by JRPass and JRailPass but they aren’t as cheap. For a more global solution, consider Solis and PokeFi.
- eSIM – The best one is Airalo. Save money by getting the Japan region eSIM and use referral code WILLIA9500 to get $3 USD credit on your first purchase. From now to Feb 29, the 10GB package is half price as well! Ubigi is another one that we’ve had success with where they uniquely offer 5G coverage. Use code AWESOME10 to save 10% on your first order.
- Car Rental – Big companies like Budget, Avis, and Enterprise operate in Japan but they’re usually the most expensive. The best companies are the local Japanese ones such as Toyota Rentacar, Nippon Rentacar, Orix Rentacar, Nissan Rentacar, and Times Car Rental. To make things easier, use Rentalcars and Klook to compare prices all in one place. Don’t forget, you need an IDP to drive in Japan so get one before you leave your home country.
- Learn Japanese – It helps to know even a bit of the language before you go. Start your learning with Rosetta Stone Japanese.
- Cash or credit – Cash is still very important to have in Japan but when you use credit cards, make sure you’re not getting charged those extra exchange rate fees. The best card right now is the Wise Multi-Currency Card which is actually a debit card where you can convert at favorable rates beforehand. This cuts out any sneaky transaction fees.
- Travel Insurance – Make sure you’re covered in case something happens. Get quotes from HeyMondo where booking through our link gets you 15% off automatically and if you’re from Canada, get quotes from RATESDOTCA.
- Shopping – Discovering Don Quijote is a quintessential part of the Japan experience. The secret for tax-free shopping is that they have a coupon that can help you save 10% off + additional 5% off if you spend ¥10,000 or more.


